

Learn how to make homemade baby food in small portions, freeze individual ingredients, and mix and match them into easy meals. This practical freezer-meal prep system uses both fresh and frozen foods to save time, reduce food waste, and make everyday feeding easier.
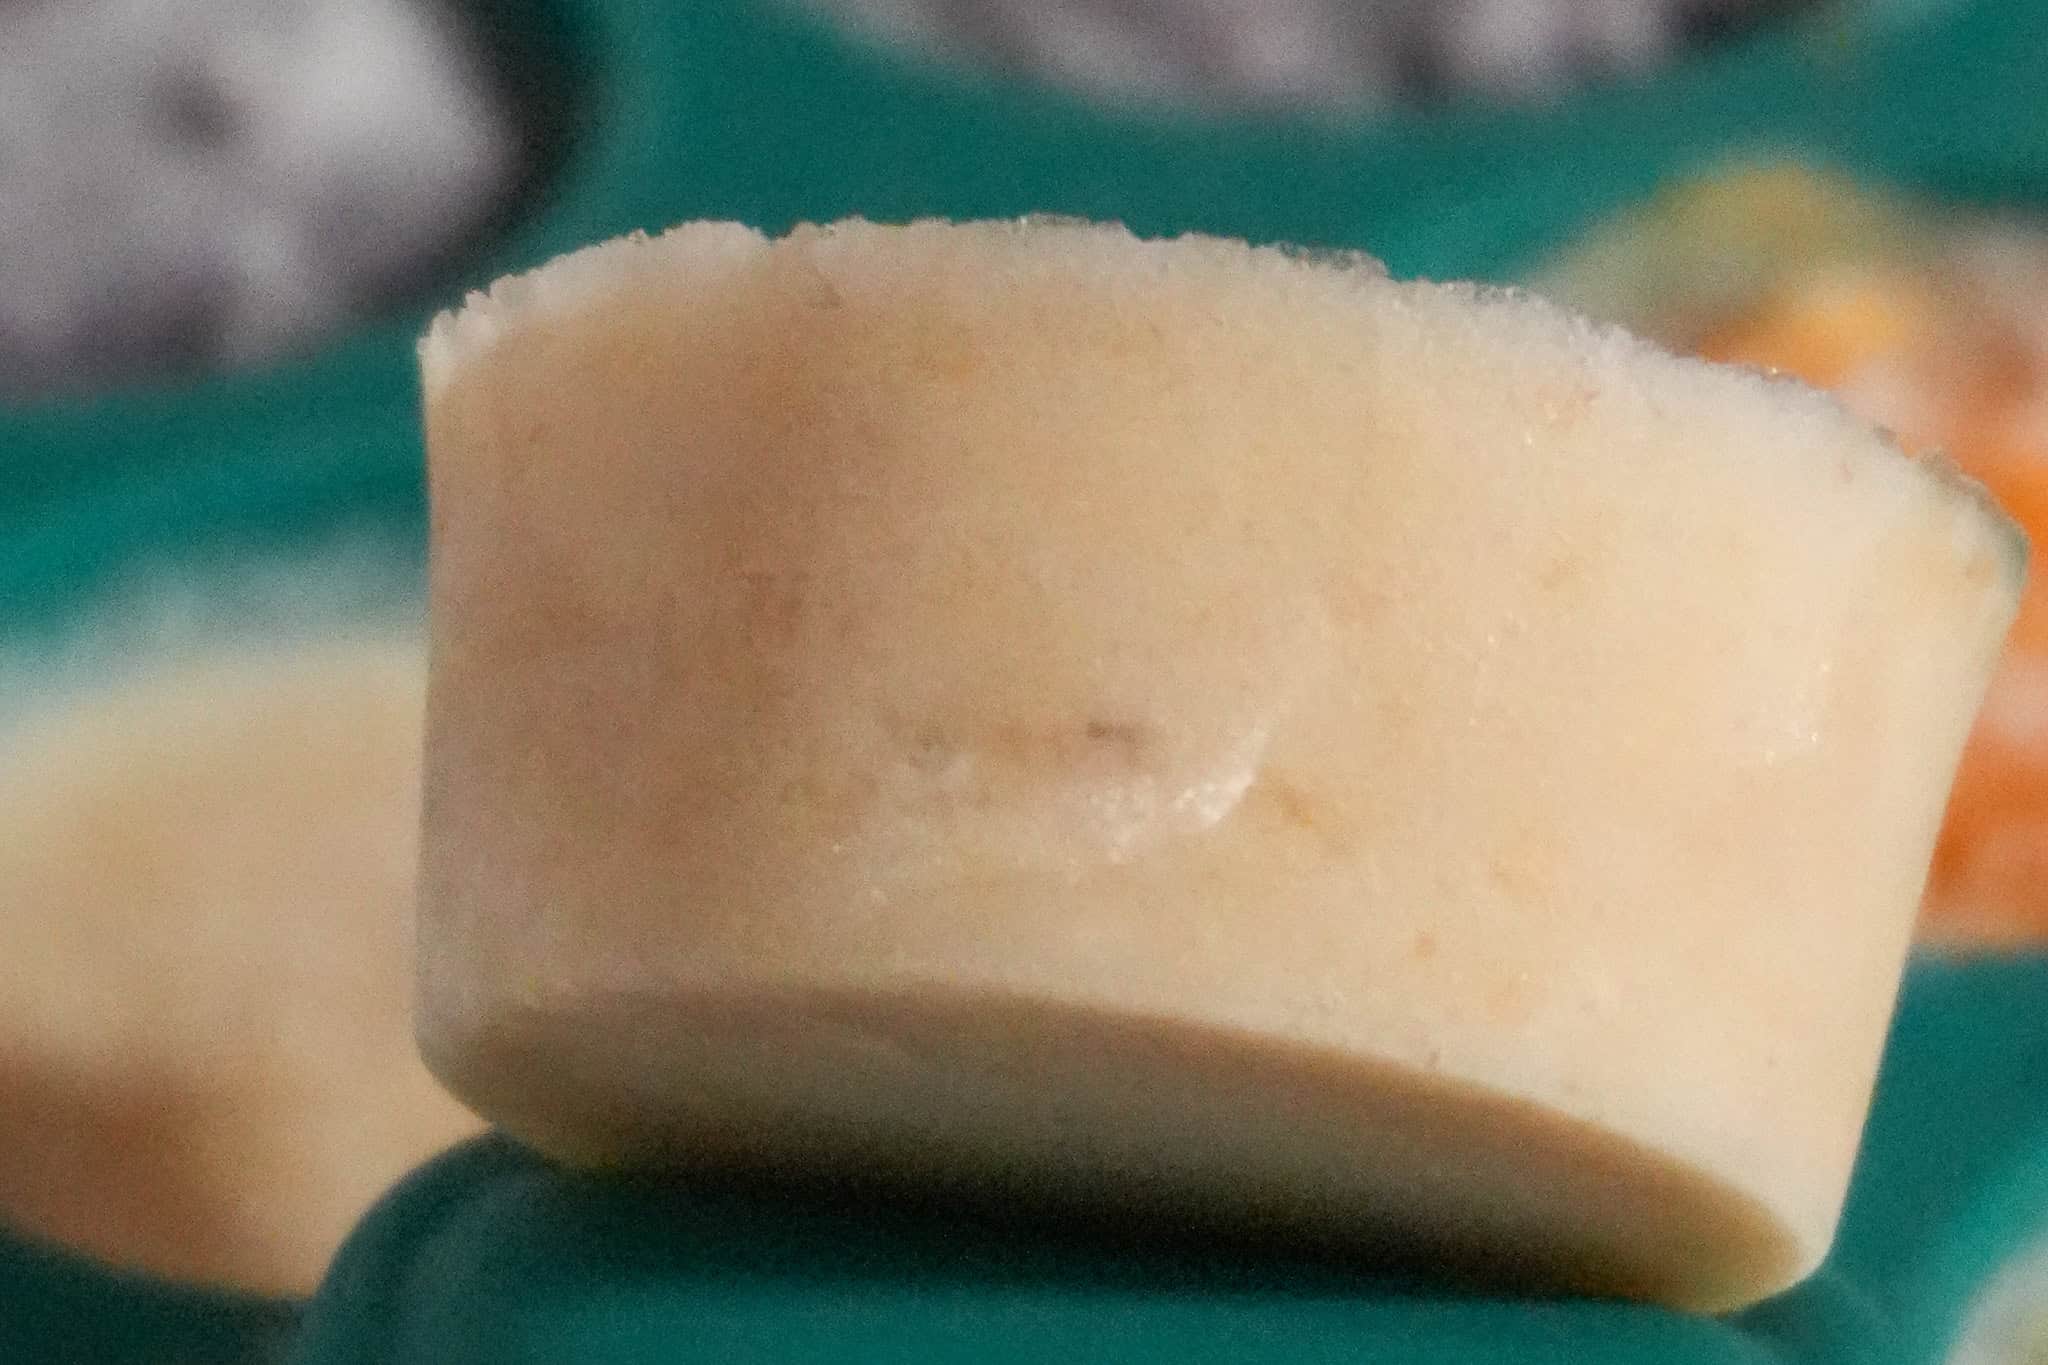
Table of Contents
Jump to:
- An Easier Way to Make, Freeze, and Store Homemade Baby Food
- Why I Make Homemade Baby Food in Small Portions
- My Mix-and-Match Homemade Baby Food System
- Why I Don't Freeze Only Complete Baby Meals
- Homemade Baby Food Ingredient Guide:
- Vegetables
- Fruits
- Meat
- How I Assemble Meals From Frozen Baby Food Cubes
- The Equipment I Use
- Kitchen Tools I Use and Recommend
- How This System Helps Me Reduce Food Waste
- My Baby Food Freezer Test
- Foods I'm Testing Next
- Frequently Asked Questions
- Dinner Recipes
- Cooking Tips and Tutorials
- Have a Comment or Question?
An Easier Way to Make, Freeze, and Store Homemade Baby Food
Making your own baby food doesn't have to mean spending an entire day preparing large batches of homemade purees. I've found that making small portions, freezing individual ingredients, and mixing them as needed is a much more manageable way to keep homemade baby food on hand.
Instead of preparing complete meals ahead of time, I prepare small portions of fruits, fresh and frozen vegetables, oatmeal, and protein such as chicken. I freeze the prepared food in individual 2-tablespoon portions, then combine two or three ingredients in small glass jars to create different meals.
I also freeze extra ingredients before they become baby food. If a butternut squash is too large to use quickly, for example, I can cube the remaining squash and freeze it in freezer bags. When I'm ready to make another batch of baby food, I take out only the amount I need.

This simple process helps me reduce food waste while keeping a variety of flavors and ingredients available for my daughter.
Important: This article outlines my personal food preparation and storage system and is intended as general information, not medical advice. Babies develop differently, so discuss appropriate solid foods, textures, portions, allergen introduction, and feeding practices with your child's pediatrician or another qualified healthcare professional.
American Academy of Pediatrics - Making Your Own Baby Food: Particularly useful for homemade baby food, developmental readiness, food variety, allergens, storage, freezing, and textures.
American Academy of Pediatrics - Introducing Common Food Allergens: A good resource for your mention of allergen introduction and developmentally appropriate food textures.
USDA - Infant Nutrition and Feeding Guide: Especially valuable for the food-safety side of your article, including preparation, sanitation, and storage of infant foods.
Why I Make Homemade Baby Food in Small Portions
I don't want making my baby's food to become an entirely separate cooking job.
Most of the time, I'm already in the kitchen making dinner. If I'm preparing sweet potatoes, carrots, broccoli, butternut squash, or another ingredient that I can also use for her food, that's a great time to prepare a small amount.
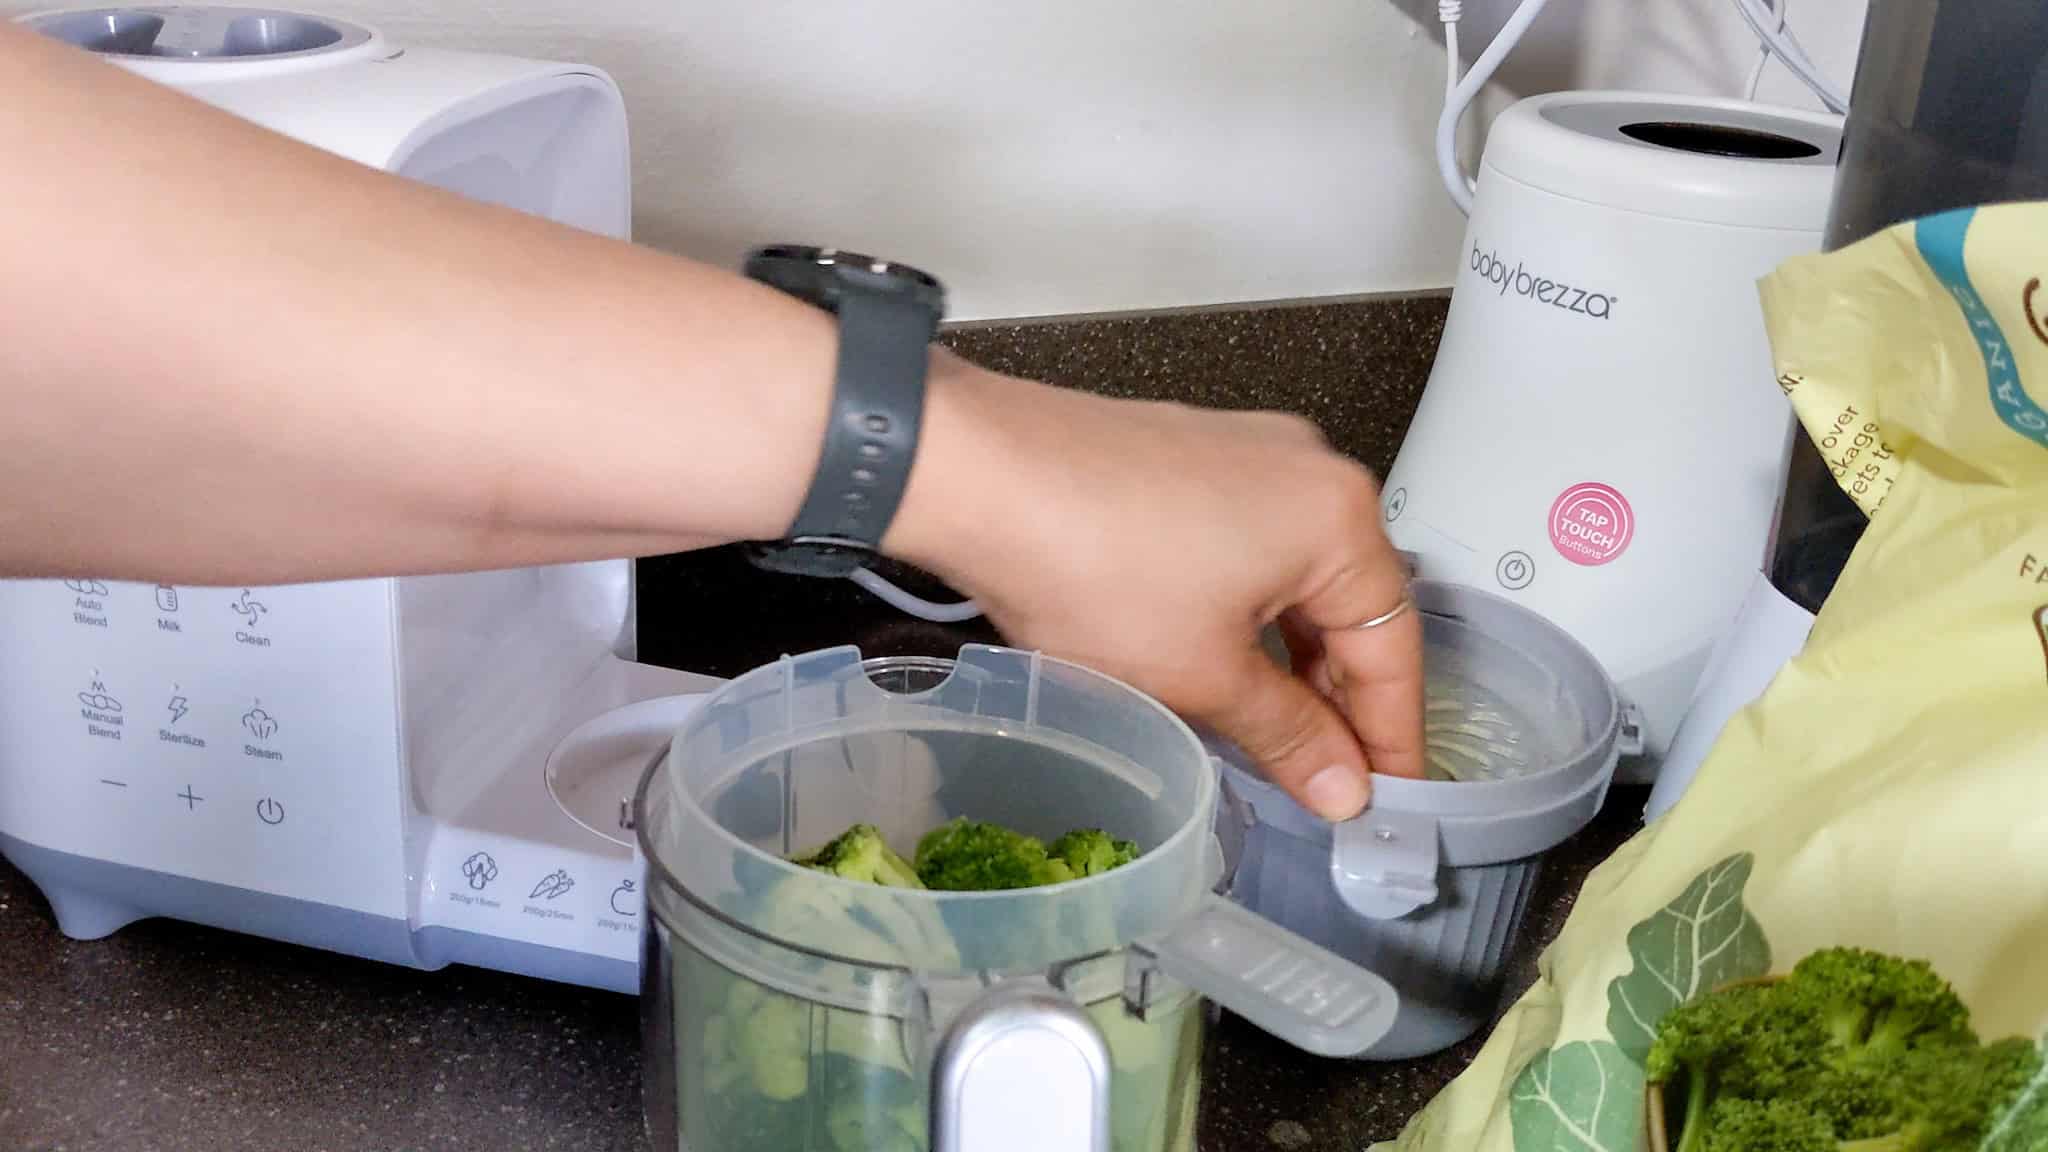
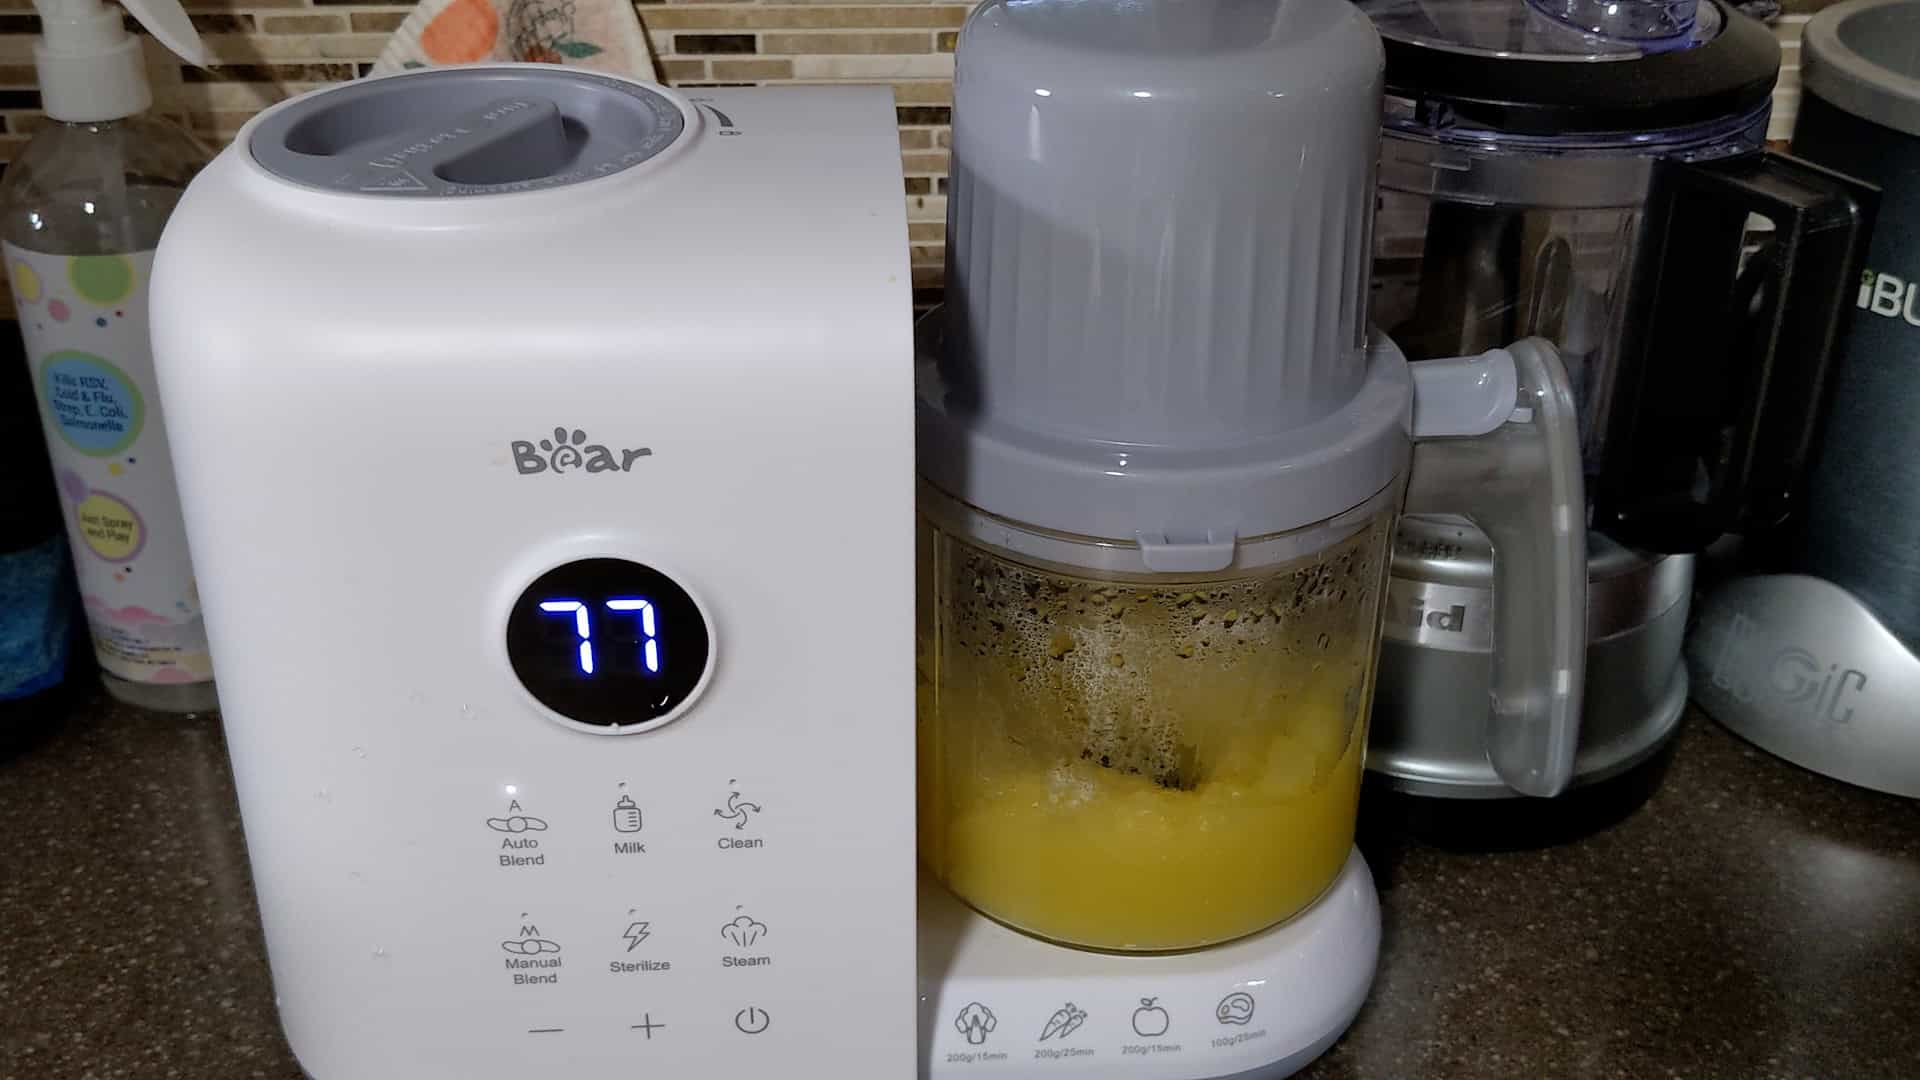
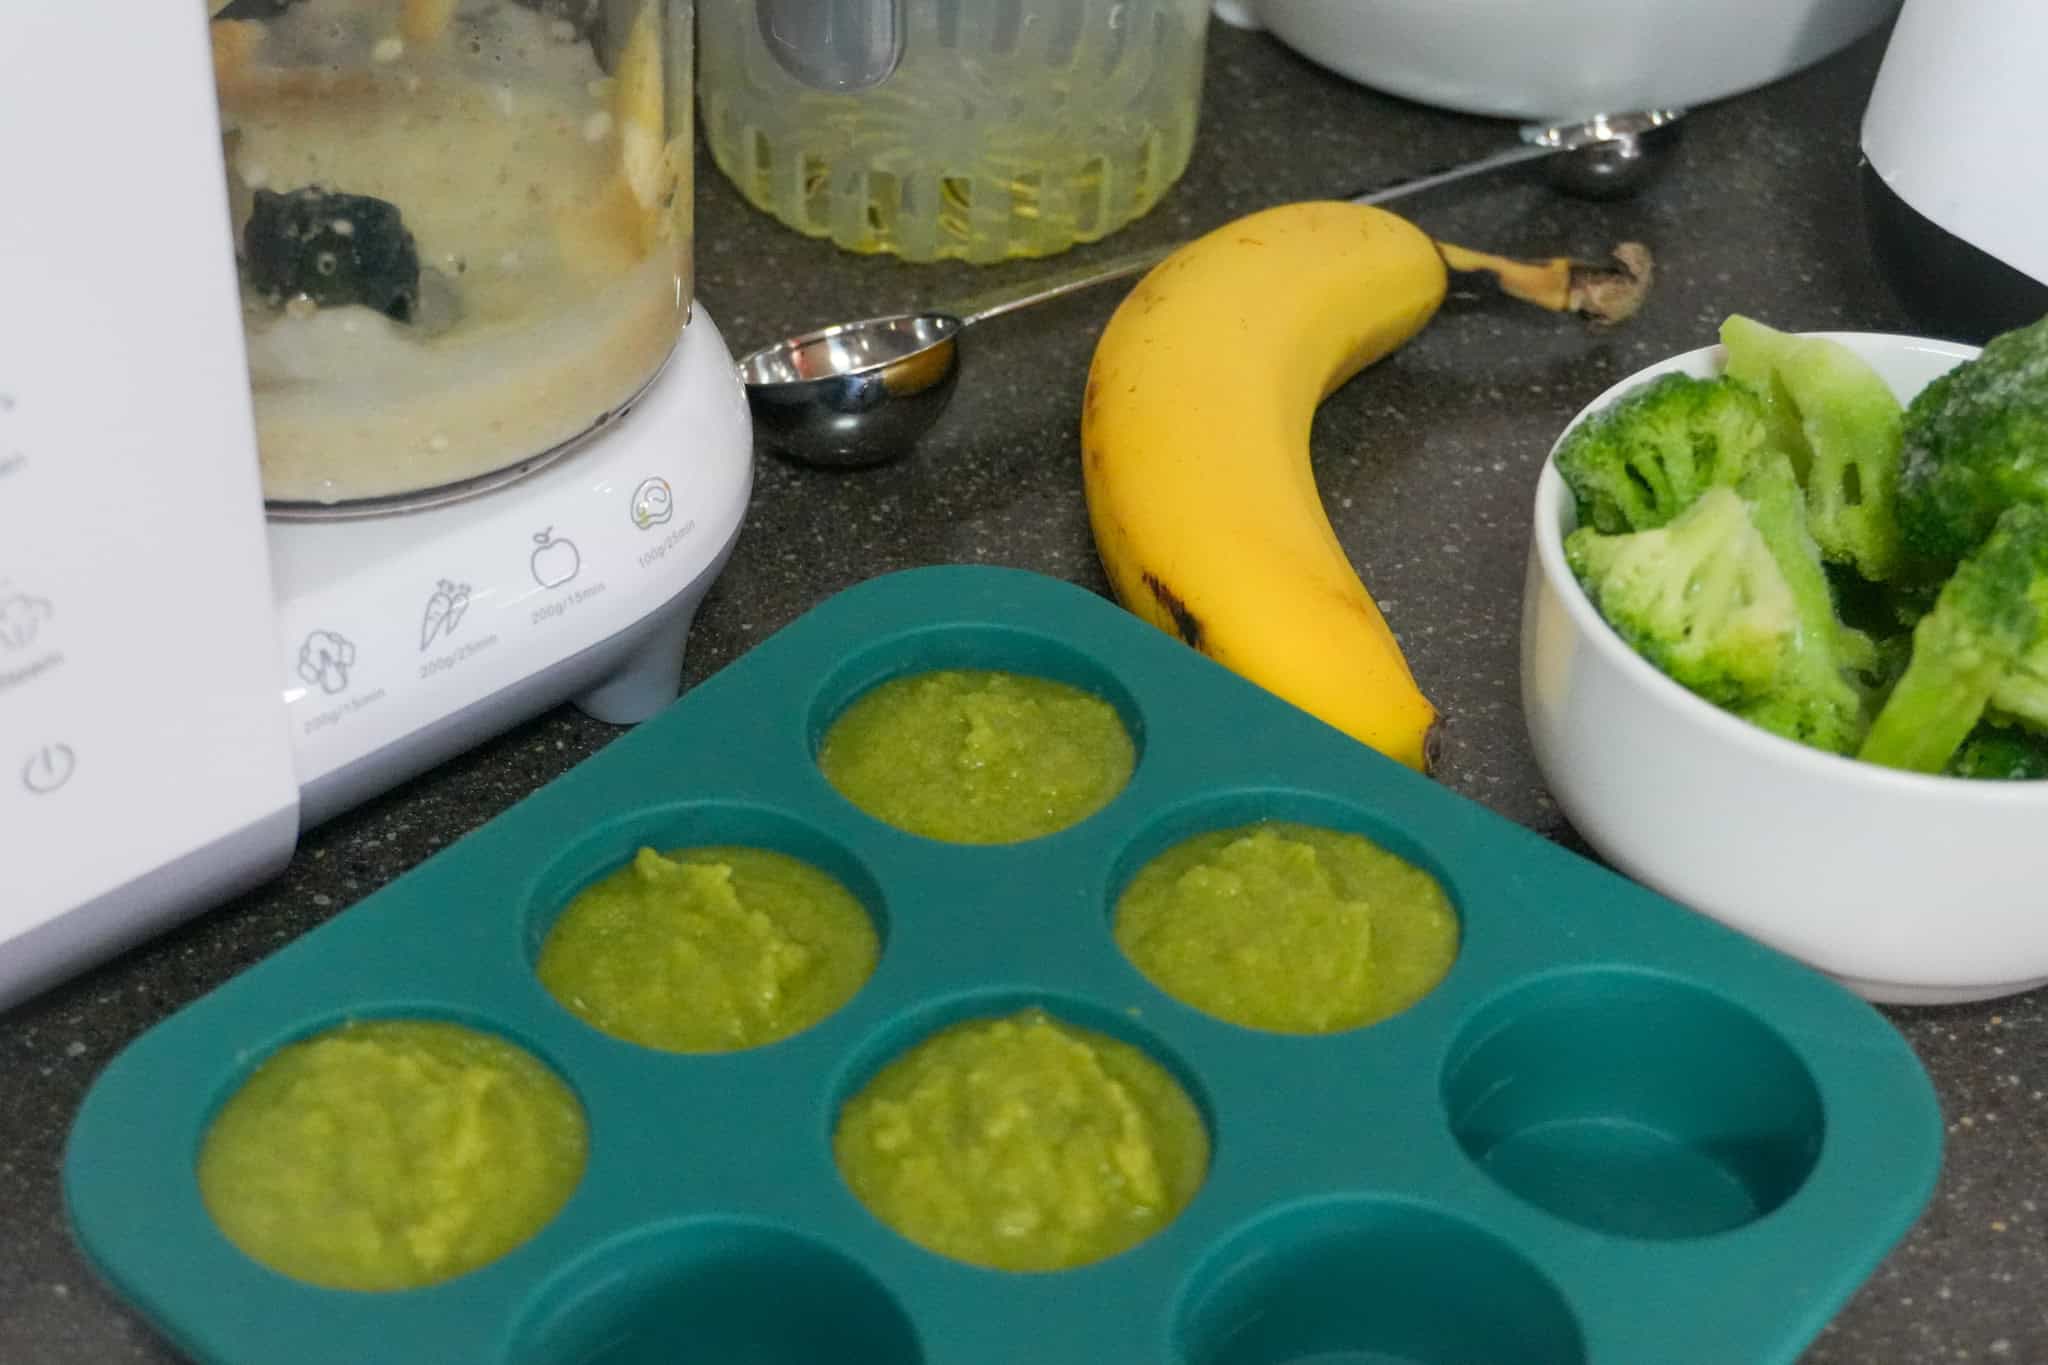
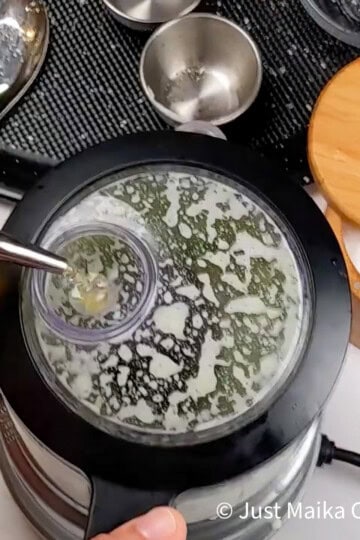
I use a baby food maker that steams and blends in the same machine. It even has an automatic blending function, which is one of my favorite features.
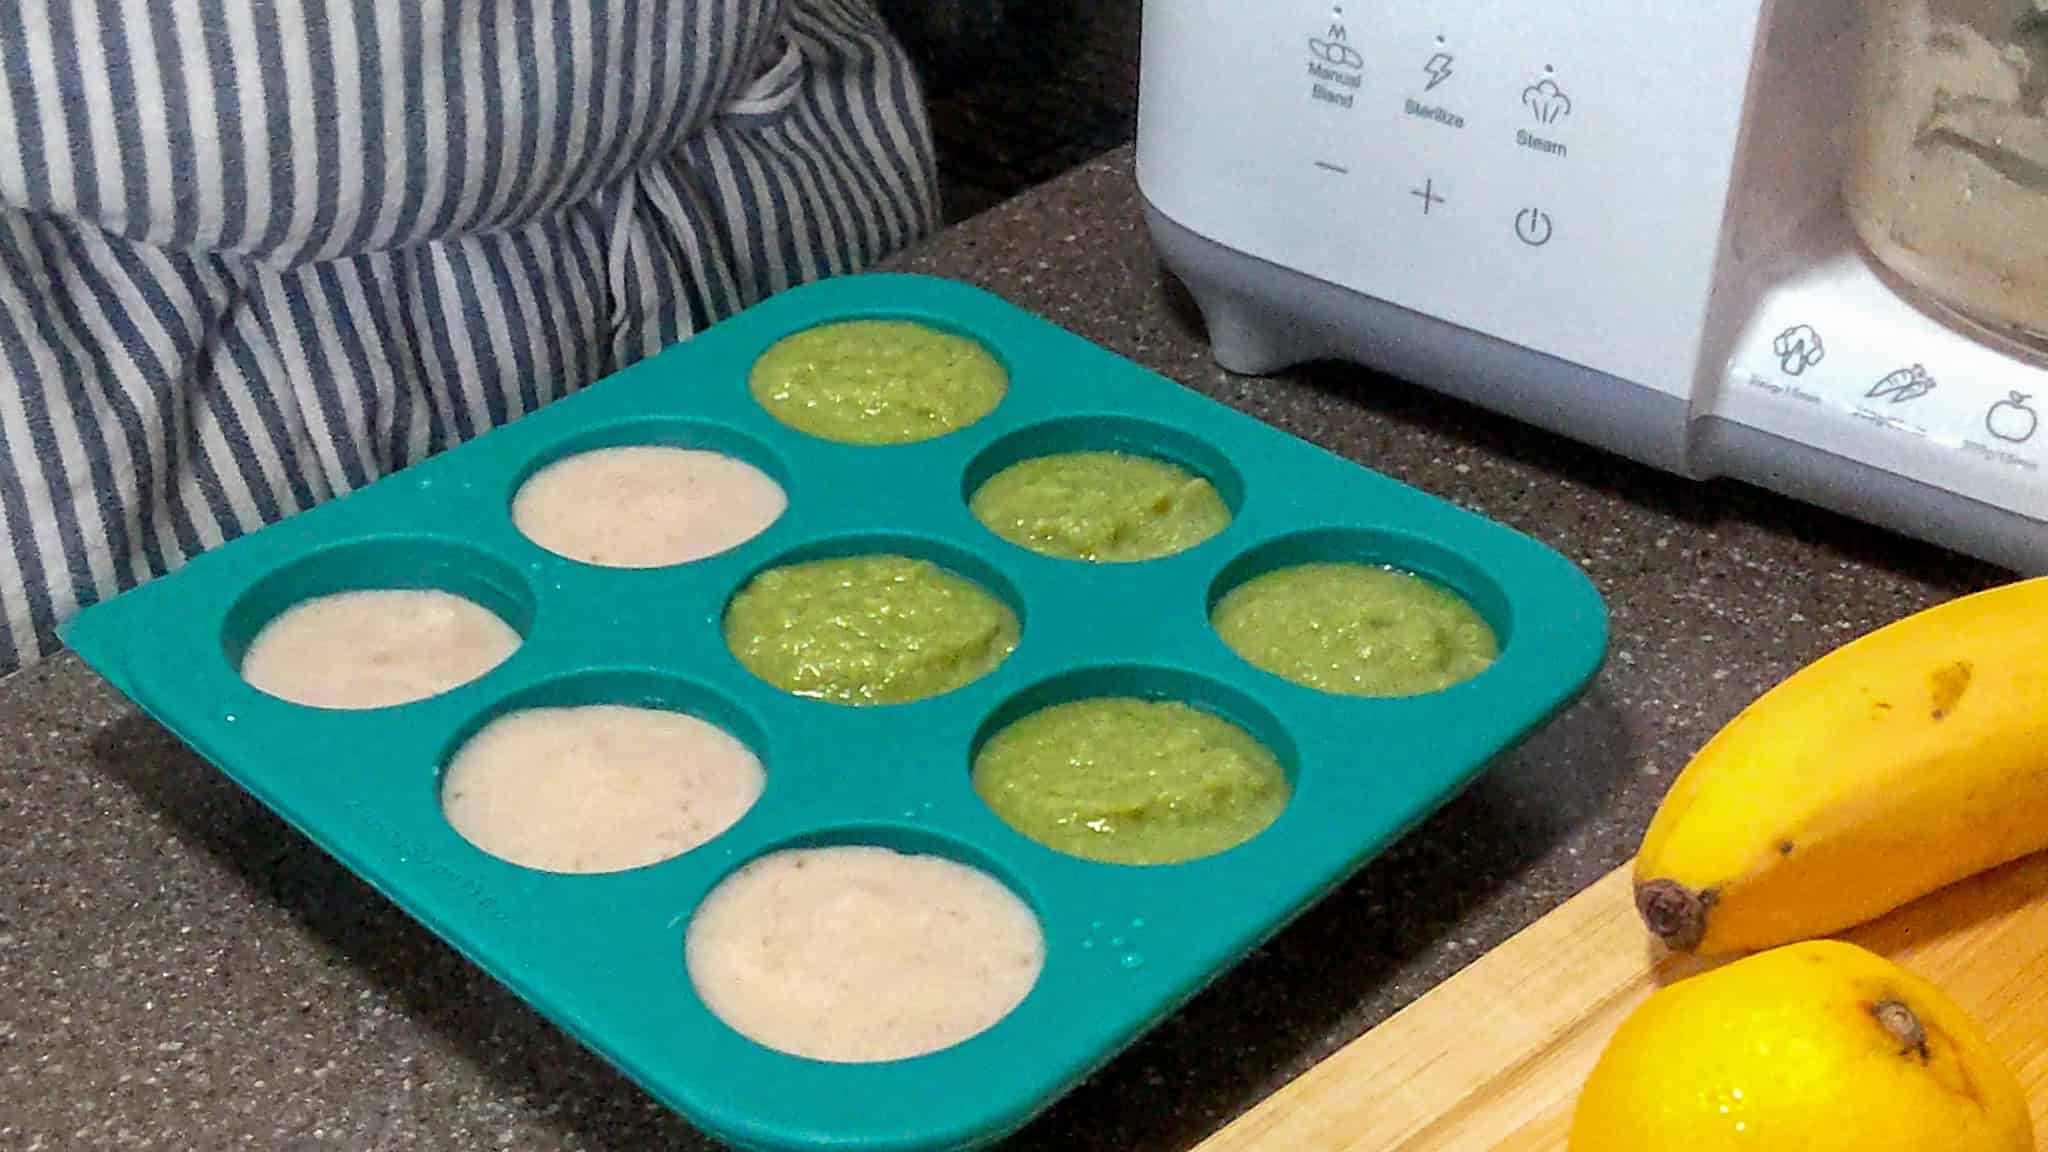
I can start her food and continue making dinner while the machine does some of the work. And I don't feel obligated to make a large batch of baby food every time. Sometimes I make enough to fill only three or four compartments in my freezer tray ↗ Those smaller portions eventually create a freezer filled with different foods that I can mix and match.
Note From Chef Maika:
Introduce Foods Before Mixing! Before I started creating combinations, I kept a running list of the individual foods my daughter had already tried. I introduced new foods on their own first rather than immediately combining several unfamiliar ingredients. This made it easier to track what she had eaten and watch for a possible reaction before that ingredient became part of our mix-and-match meals.
Once an ingredient was familiar to her, I felt more comfortable combining it with other foods she had already tried. This is also why you'll see so many combination ideas throughout this guide; they're combinations I can build from foods I've already introduced individually.
When and how to introduce potential allergens can vary, particularly for babies at higher risk of food allergy, so follow your pediatrician's guidance for your child.
Recommended Reads
- Listeria and Frozen Dinners: Why Food Safety Matters
- How to Store Fresh Berries So They Last Longer (Without Getting Mushy)
- Irresistible Frozen Treat Recipes for Any Time of Year
- Zhug Feta Hummus Chicken Wrap
- Mirepoix: The Classic French Flavor Base Every Home Cook Should Batch-Prep
- Smart Storage and Kitchen Safety Tools I Can't Live Without
My Mix-and-Match Homemade Baby Food System
My system has three parts. This gives me more flexibility than freezing complete meals together:
Ingredient freezer → prepared baby food freezer → upcoming meals
1. Freeze Extra Ingredients Before They Spoil
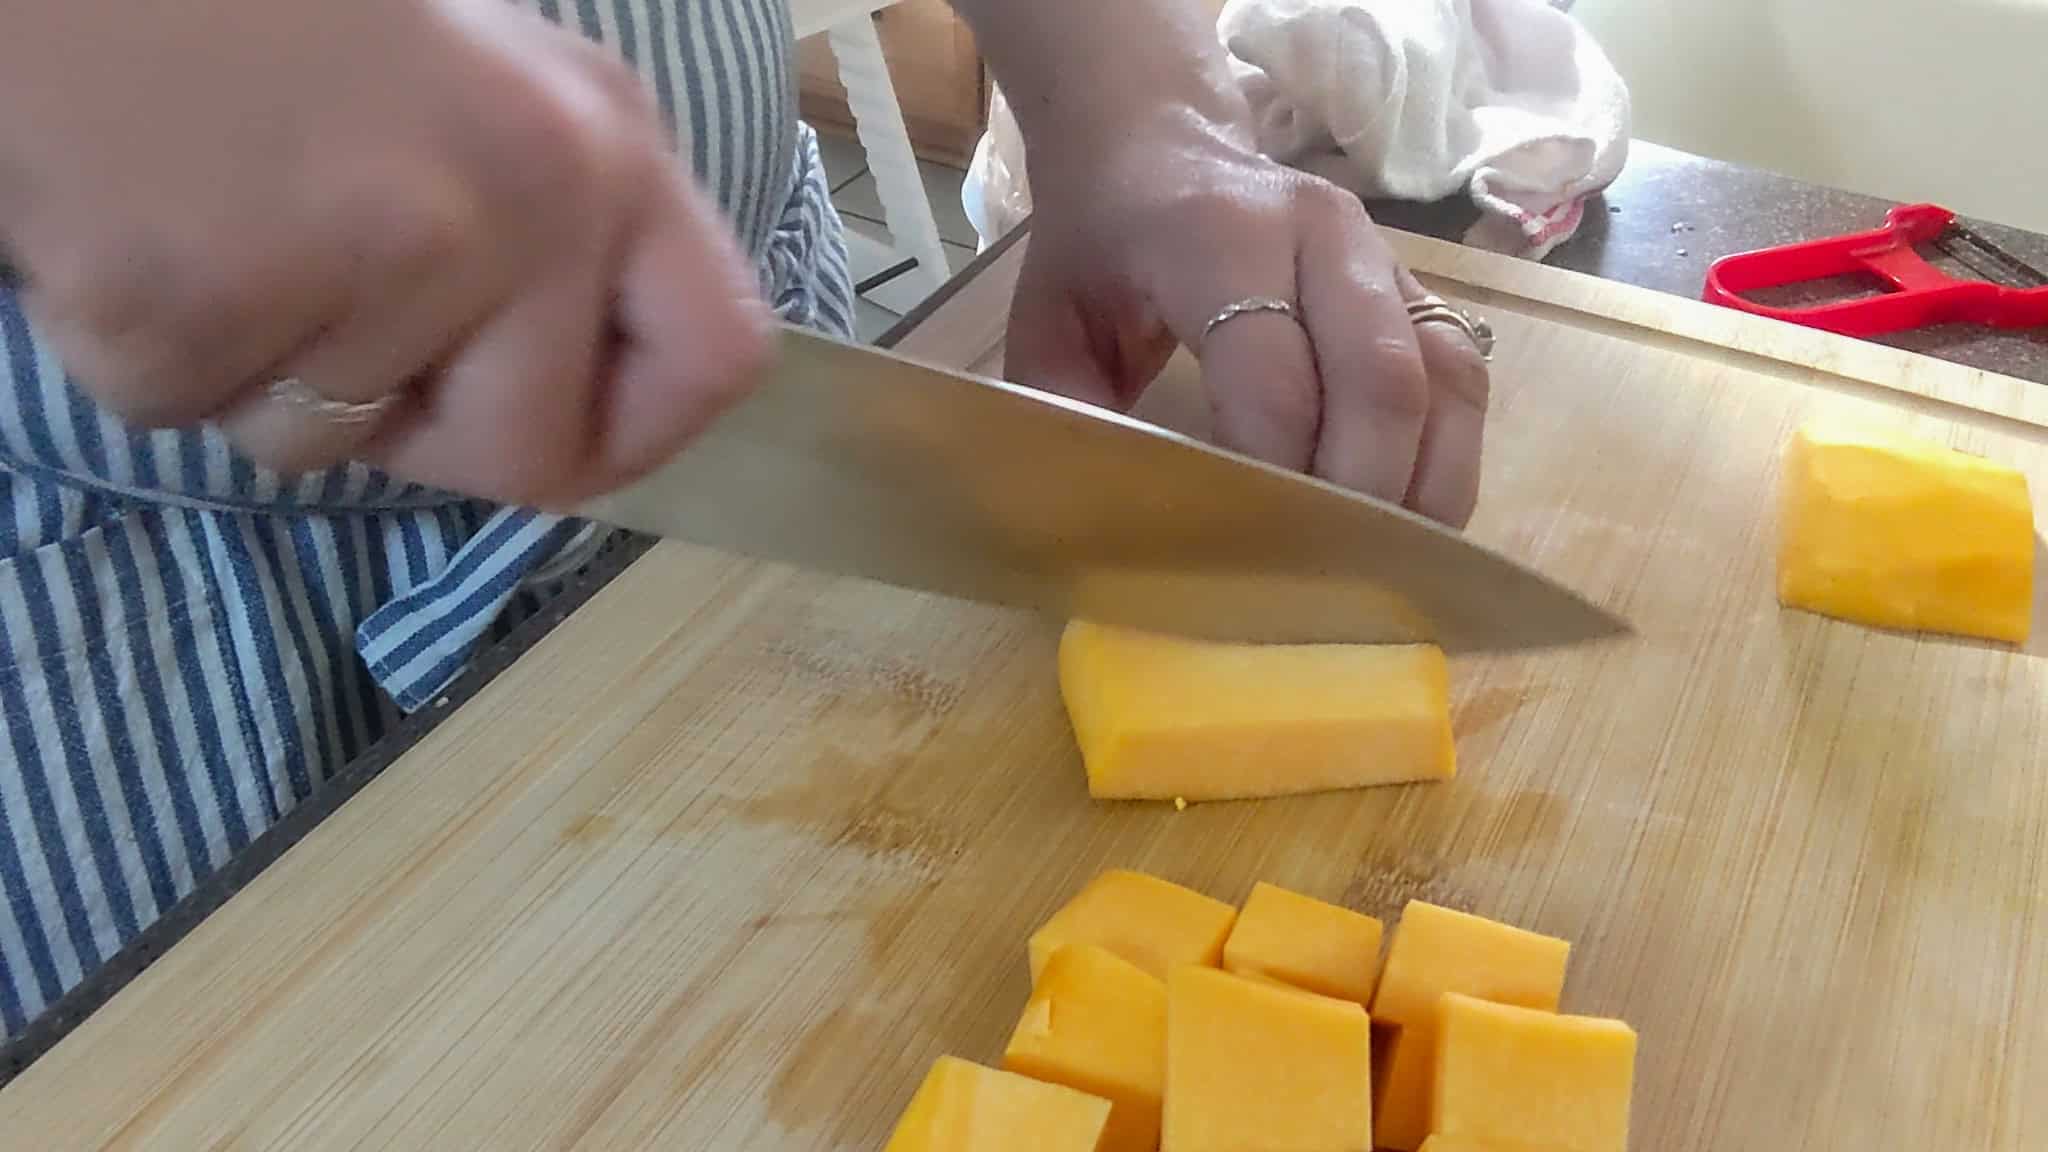
Sometimes the ingredient itself is simply too large to use quickly. Butternut squash is a perfect example. I can peel and cube the entire squash, cook the small amount I need for my daughter's meal, and freeze the rest for later. Then, instead of rushing to use the entire ingredient, I can pull out small amounts as needed. This is also why I encourage using store-bought frozen vegetables.
2. Freeze Prepared Food in Individual Portions
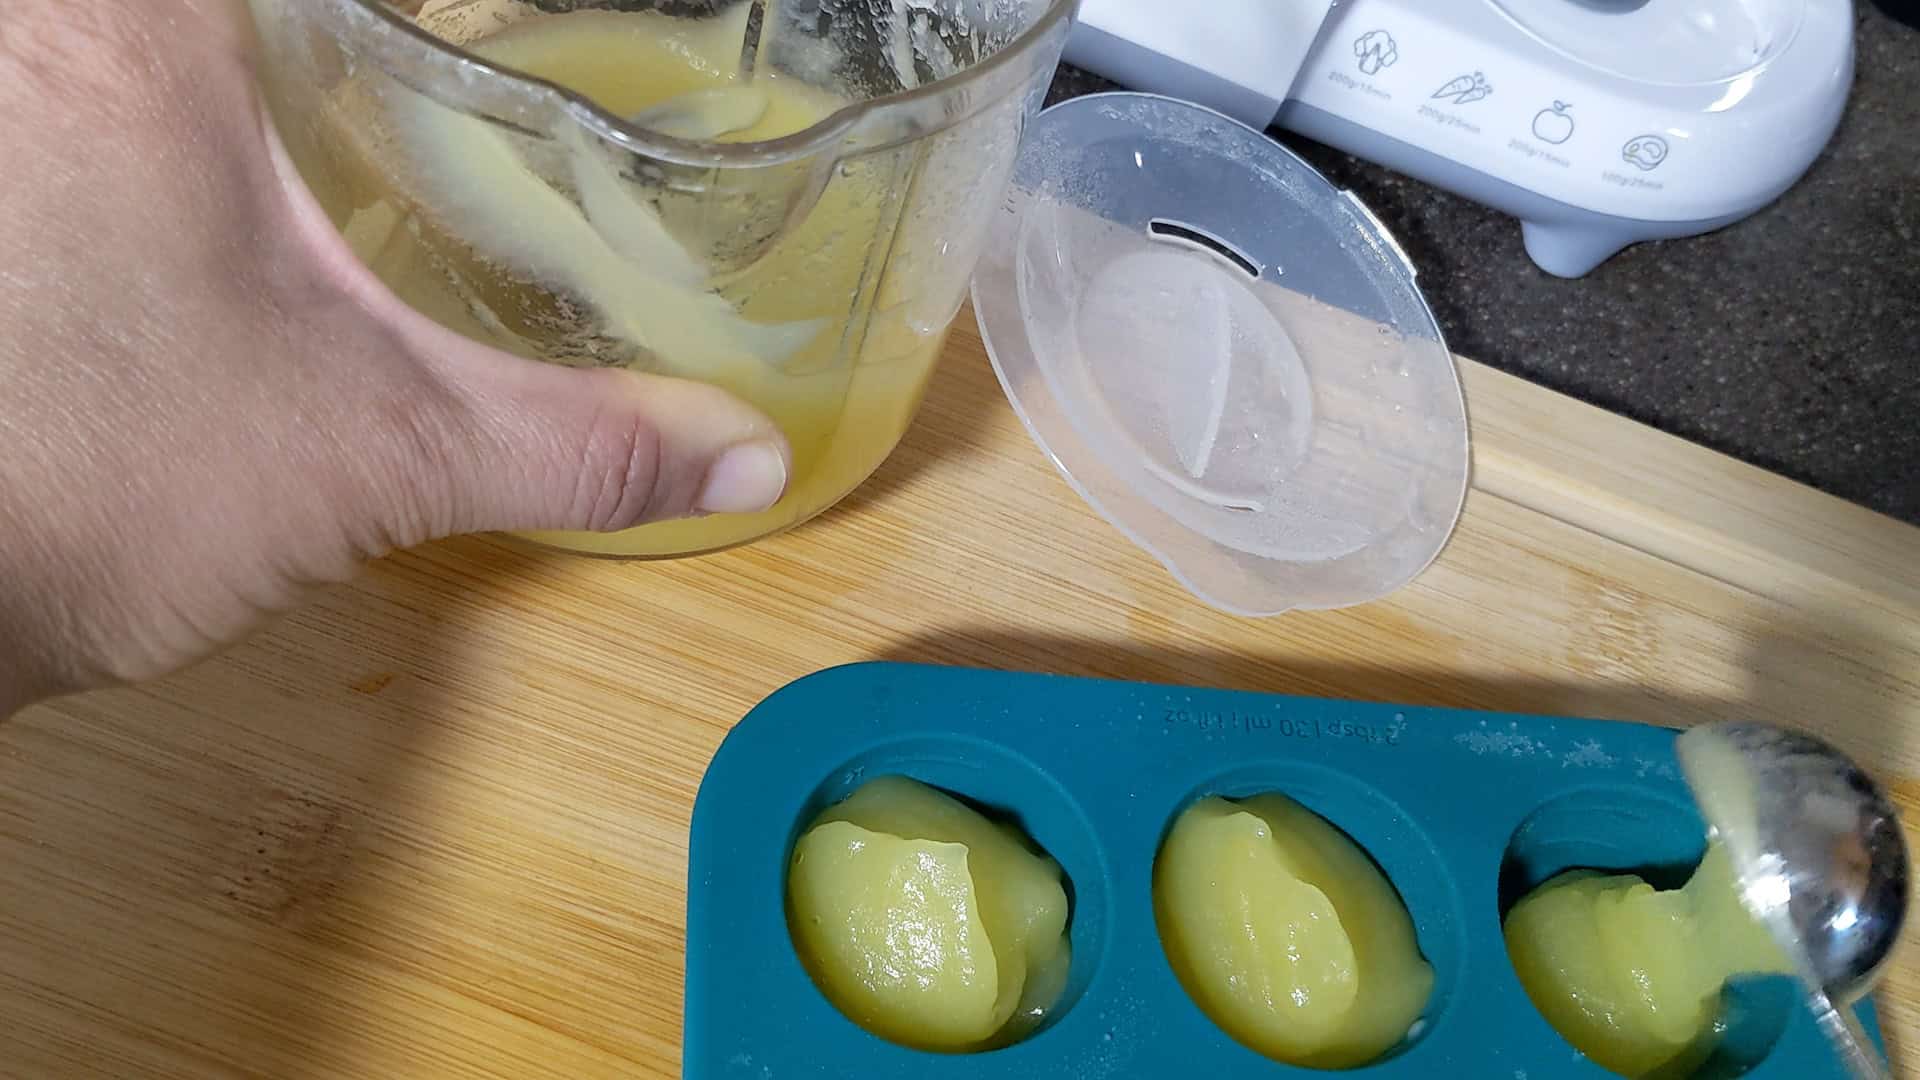
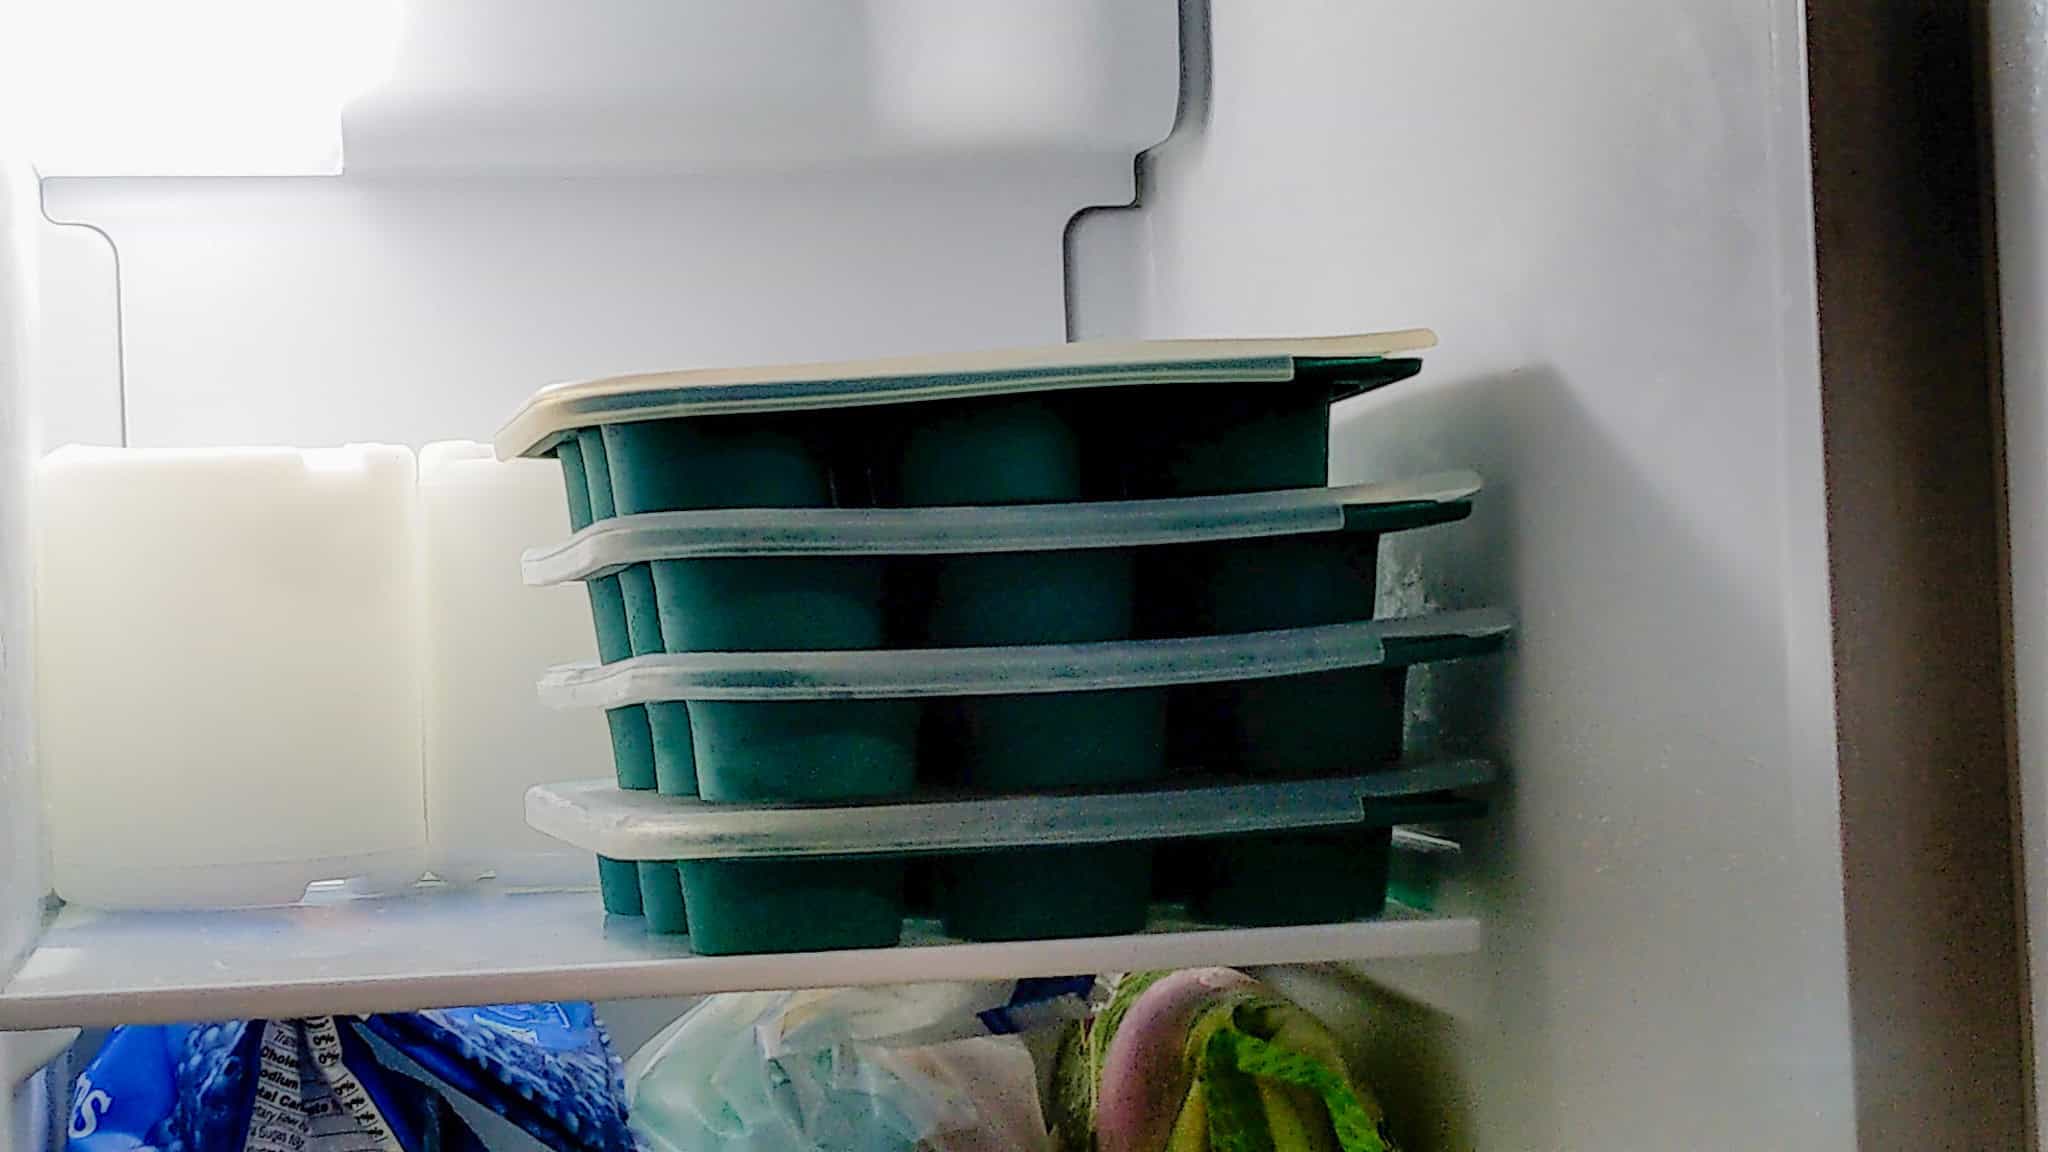
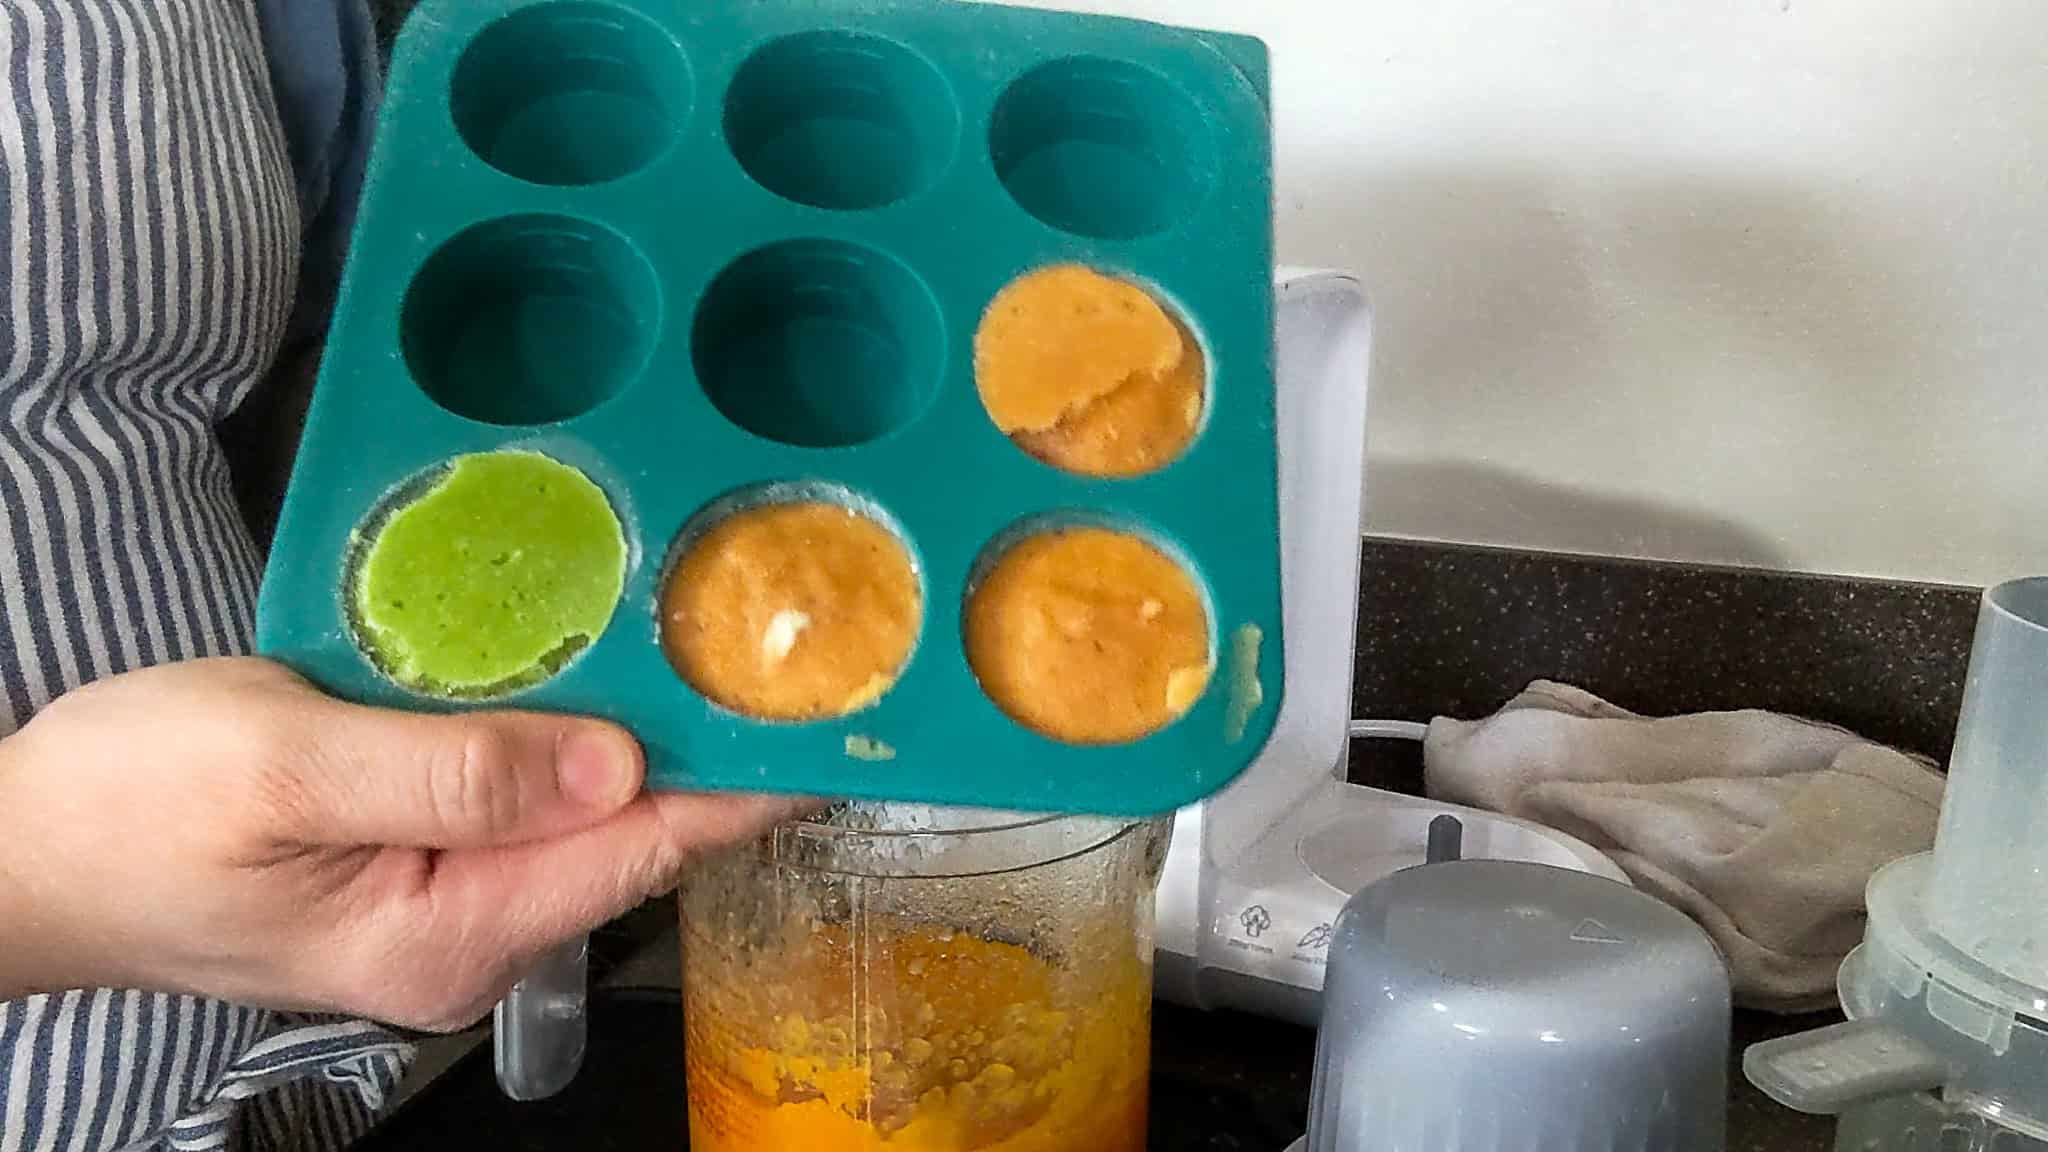
After cooking and blending the baby's food to the consistency I want, I portion it into freezer-safe containers. I'm currently using Anytime Freezer Trays with 2-tablespoon compartments. I have four trays, but I don't necessarily fill each tray with a single type of food. I may make four portions of sweet potato today, three portions of broccoli tomorrow, and several portions of chicken another day. Over time, I build my own collection of frozen baby food "cubes" to mix and match.
3. Mix and Match Tomorrow's Meals
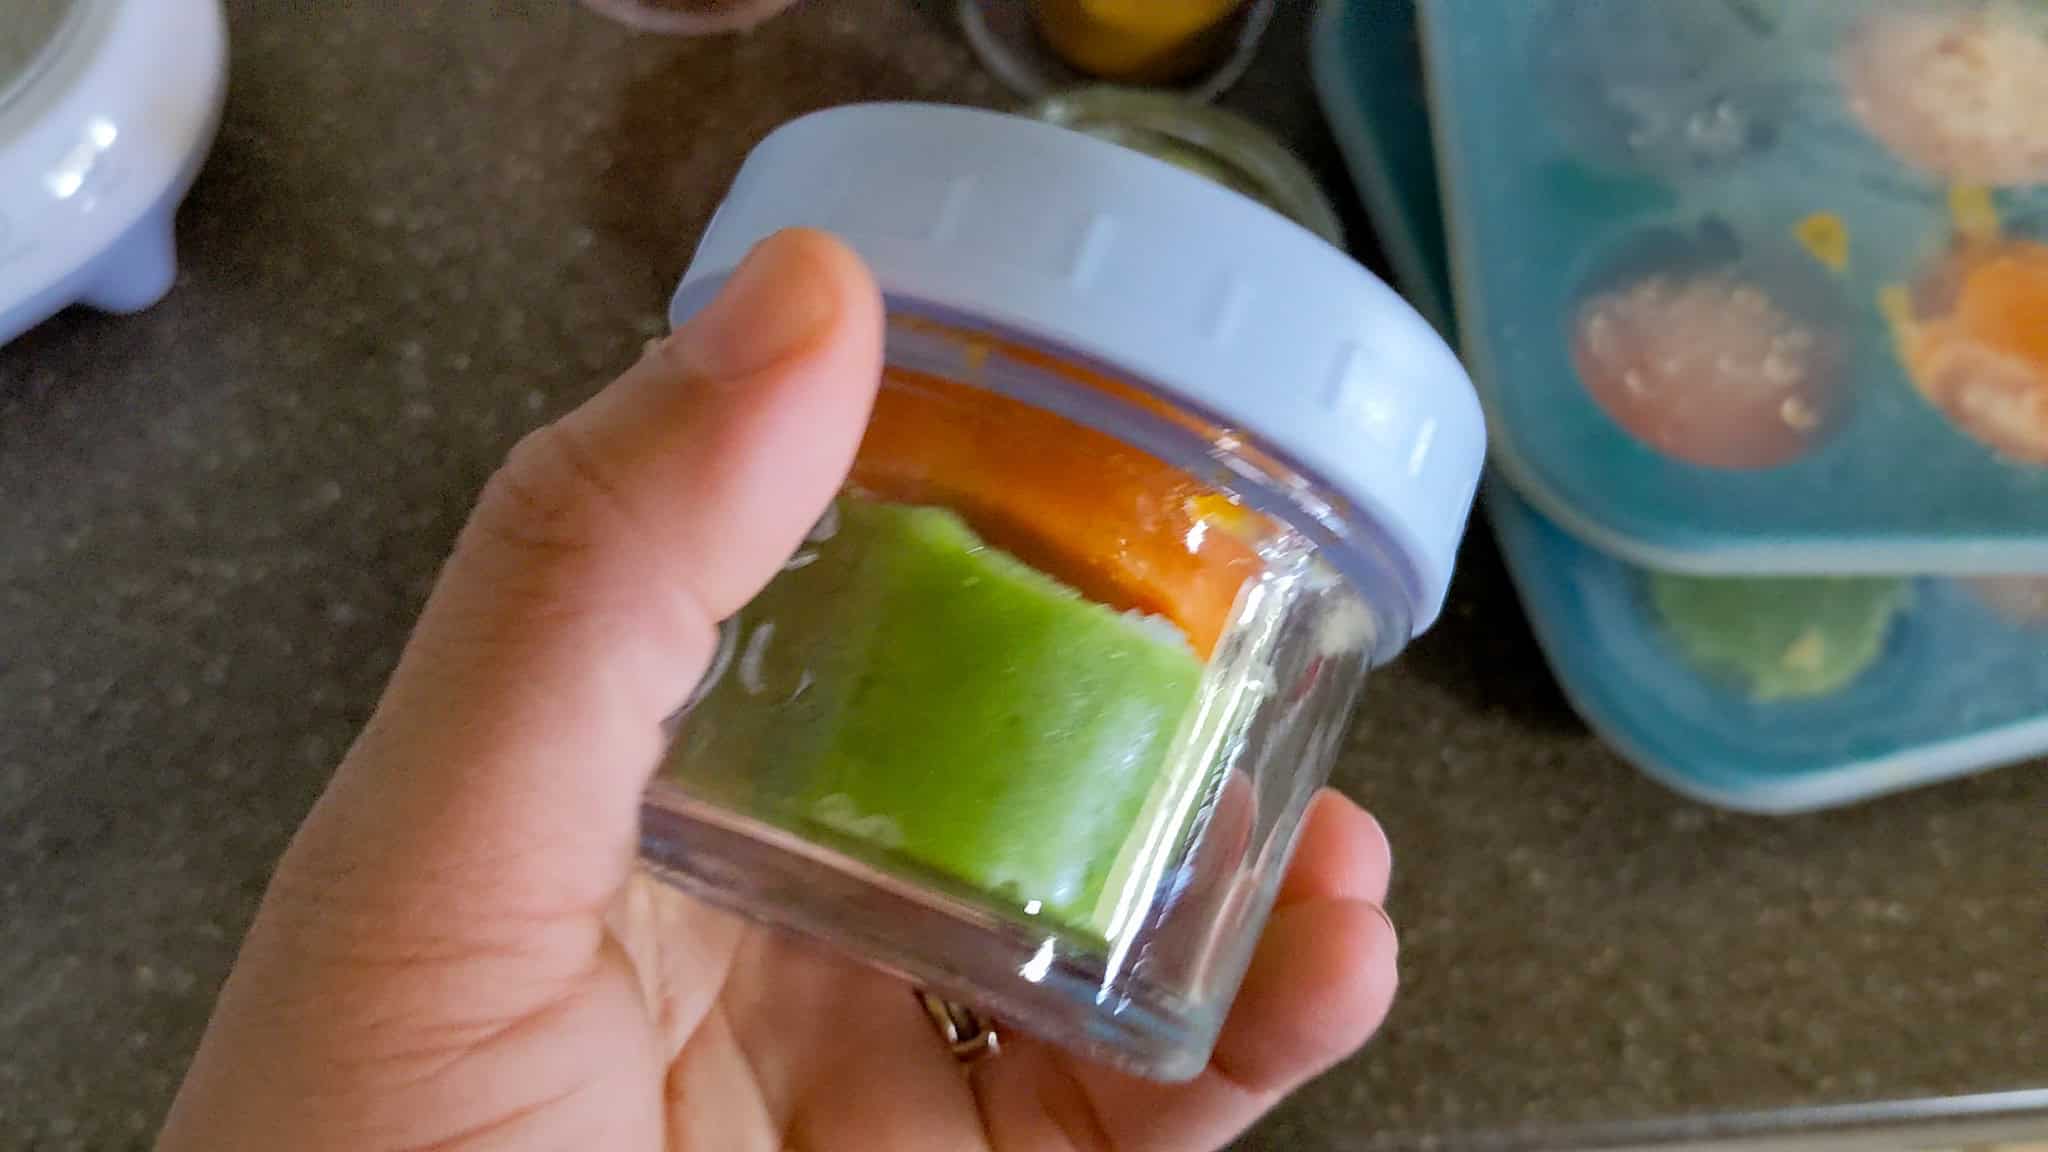
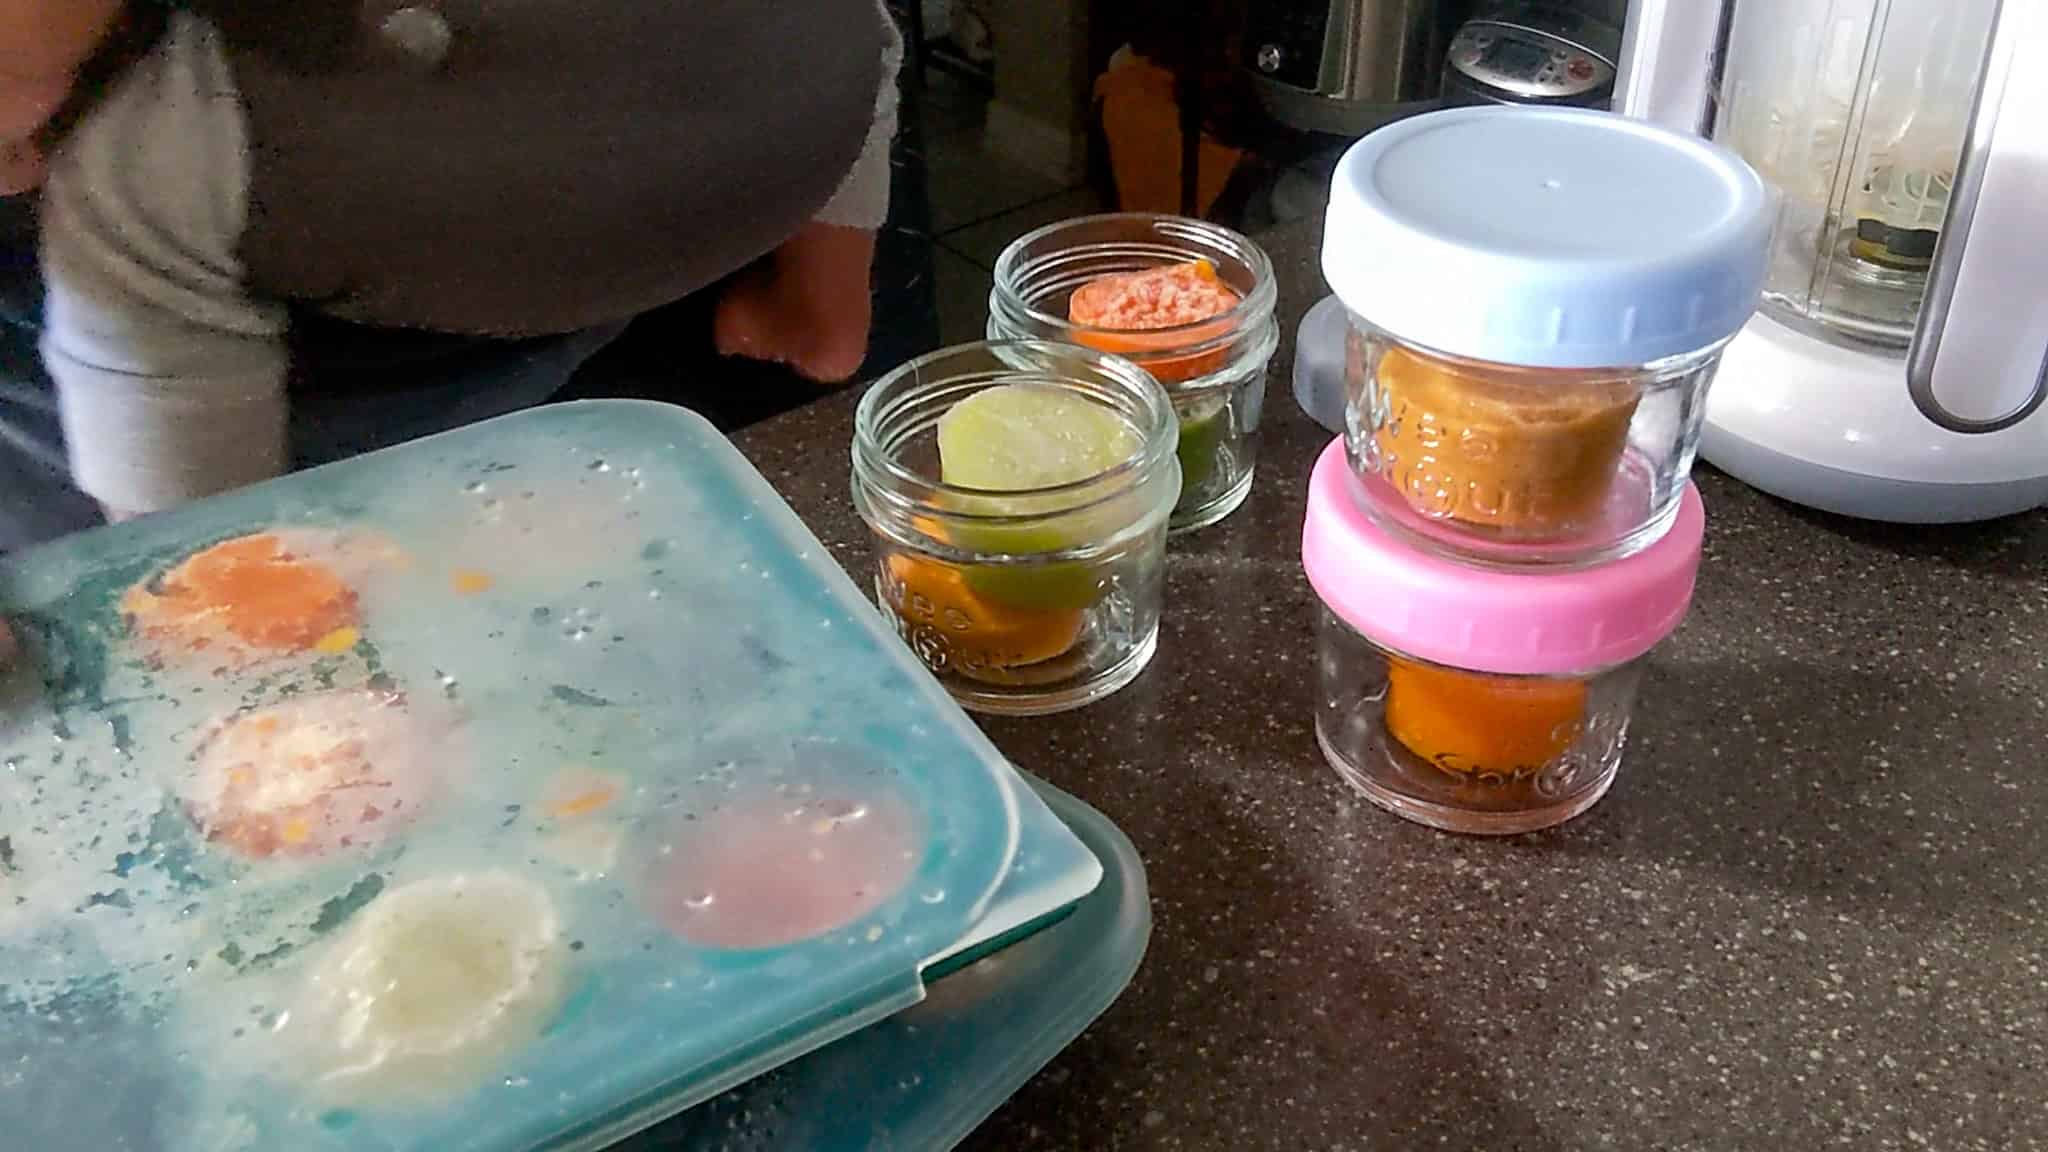
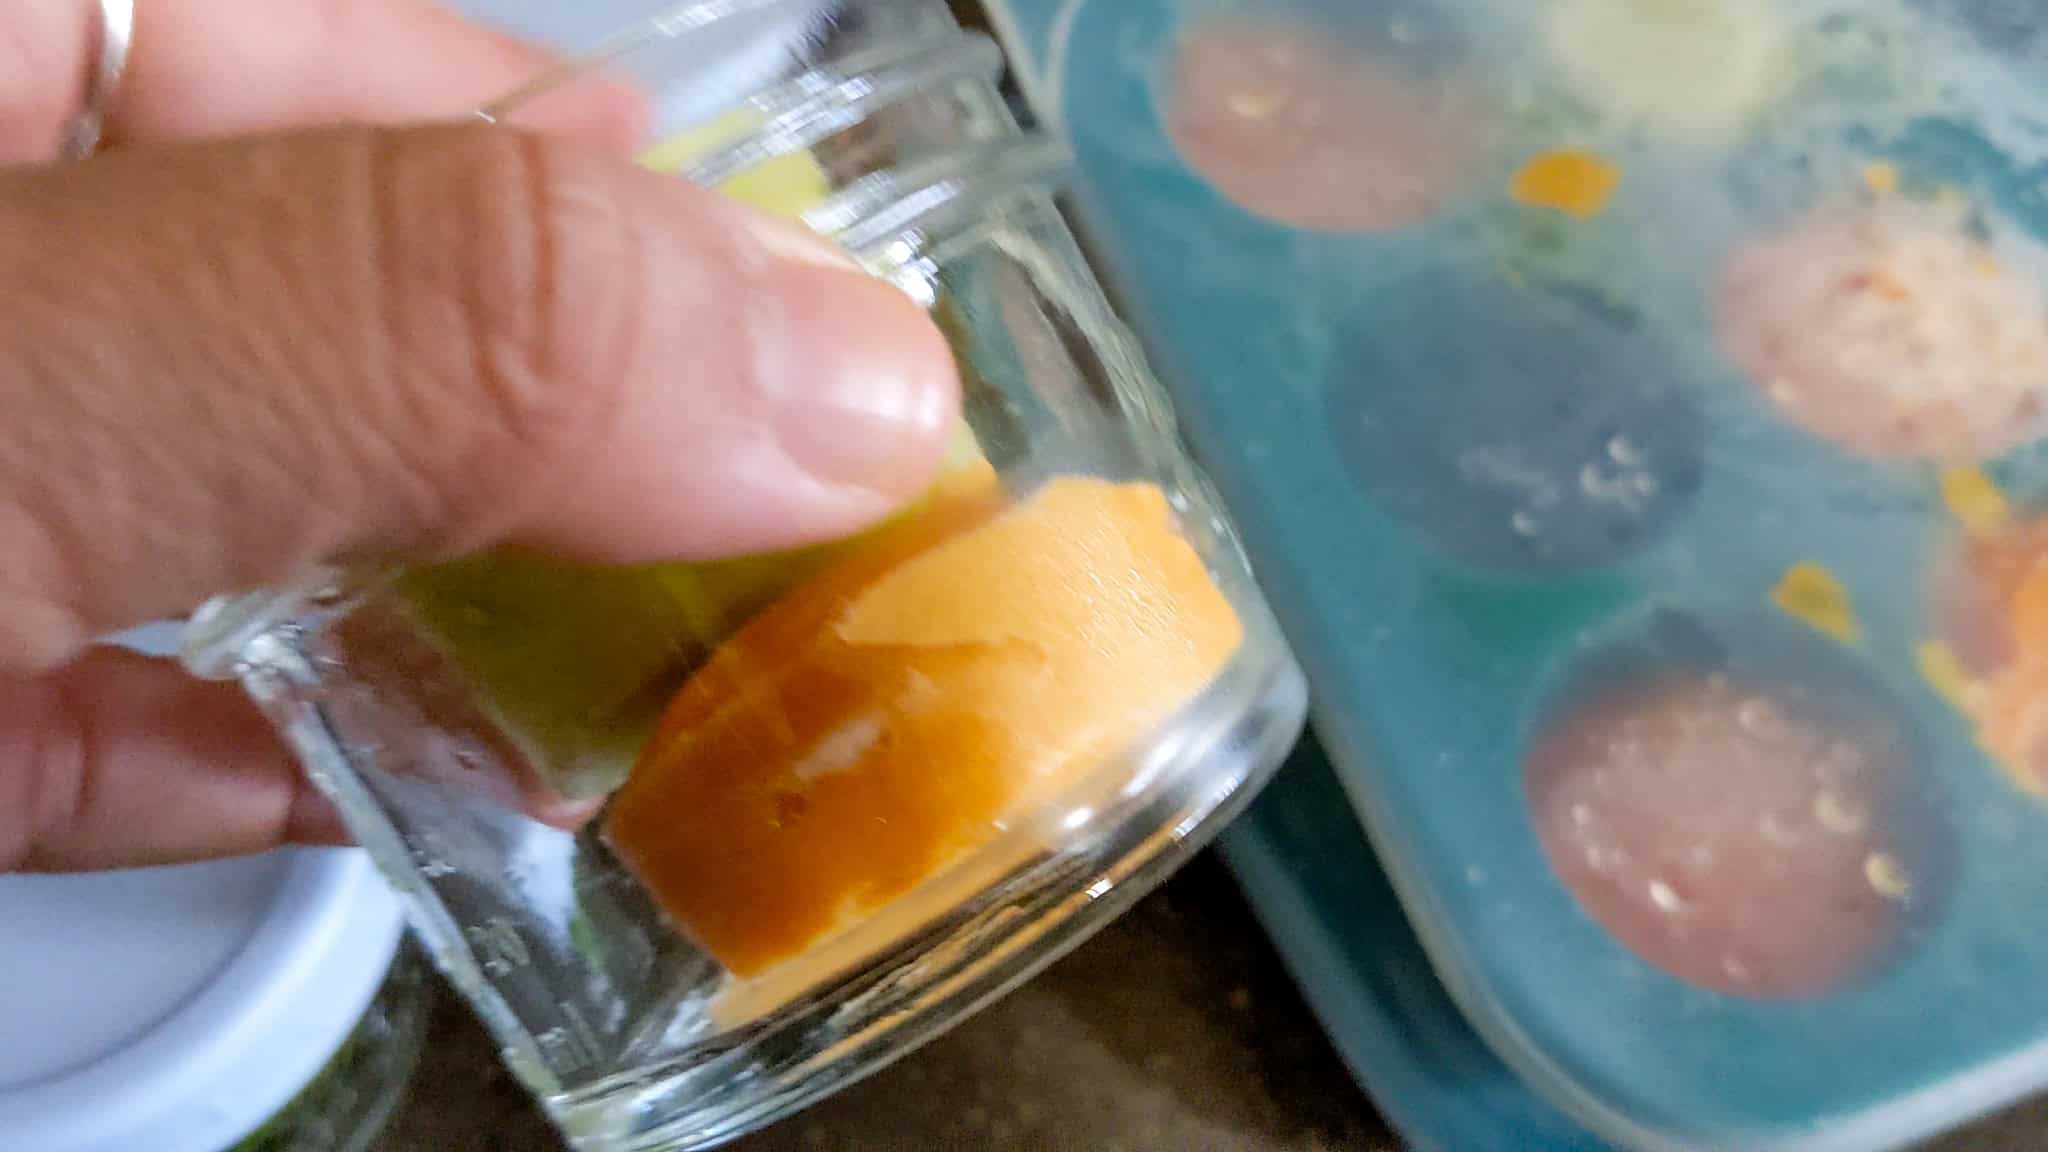
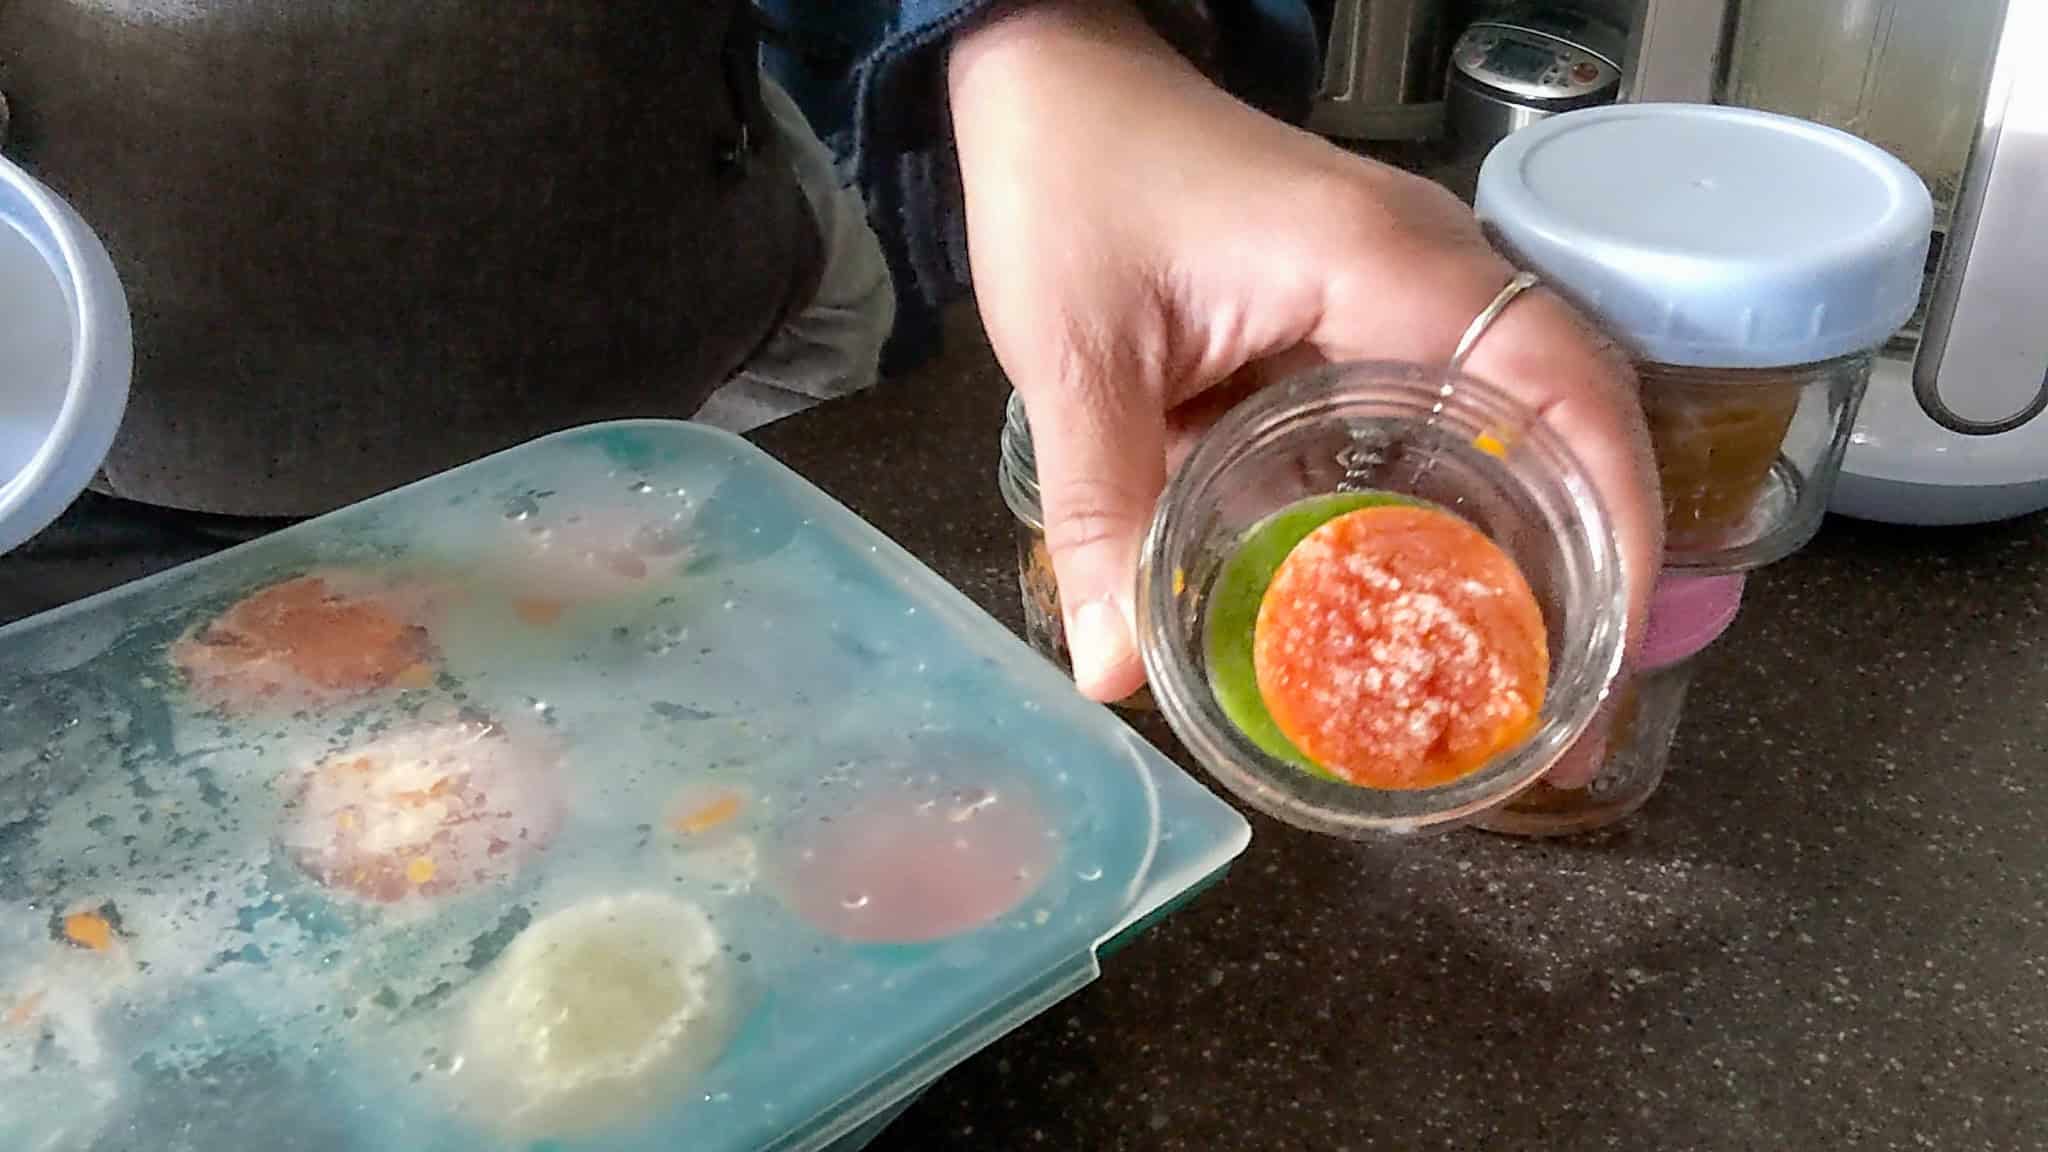
When I'm planning the next day's meals, I select two or three frozen portions and place them in a 4-ounce glass baby food jar. I put the sealed container in the refrigerator to thaw. Once the food has thawed, I can combine the ingredients and adjust the consistency as appropriate before serving. Instead of deciding exactly what every meal will be when I make a batch of baby food, I decide later.
Why I Don't Freeze Only Complete Baby Meals
Individual portions give me options. If I freeze chicken, peas, carrots, broccoli, sweet potato, butternut squash, oatmeal, and fruit separately, those ingredients can become many different meals. Chicken doesn't always have to be paired with sweet potato. Oatmeal doesn't always have to contain blueberries. It's essentially a small mise-en-place system for homemade baby food. I do the prep ahead of time, but I leave myself flexibility when assembling the final meal.
Fresh or Frozen Vegetables for Homemade Baby Food?
Both can be useful. There is nothing wrong with using frozen vegetables when making your own baby food. Commercial frozen vegetables are generally harvested near peak ripeness and blanched before freezing. Freezing can preserve nutrients well, making frozen vegetables a practical alternative to fresh vegetables. They're also convenient. If I have a bag of frozen peas or broccoli, I can remove a small amount and leave the rest frozen, rather than worrying about using fresh produce before it spoils.
One important distinction, however, is that blanched doesn't necessarily mean fully cooked. Depending on the type of food and the texture your baby currently needs, frozen vegetables may still need to be cooked until sufficiently tender before blending. For me, frozen vegetables aren't a lesser option. They're another useful ingredient in the freezer.
How I Make Baby Food for Freezing
The exact cooking method depends on the ingredient, but this is my general process.
1. Prepare the Food
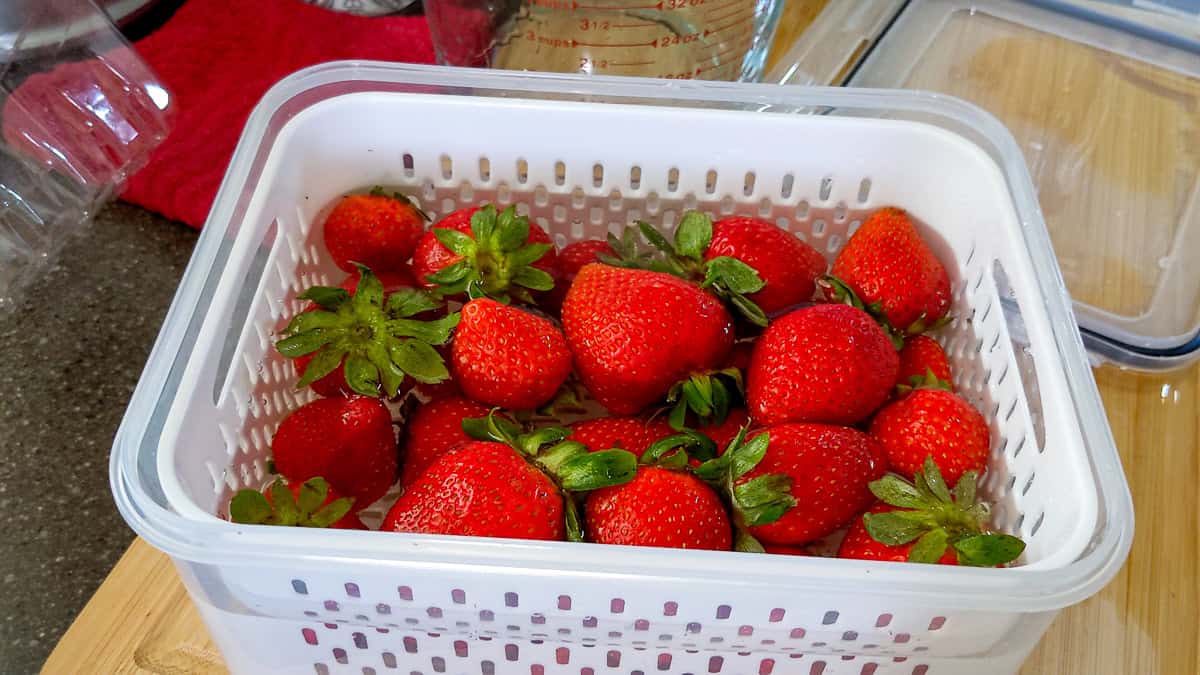
Wash fresh fruit and vegetables and prepare them as appropriate for the ingredient. When cutting foods that need to be cooked, I try to cut them into relatively small, similar-sized pieces so they cook evenly.
2. Cook Until Appropriately Tender
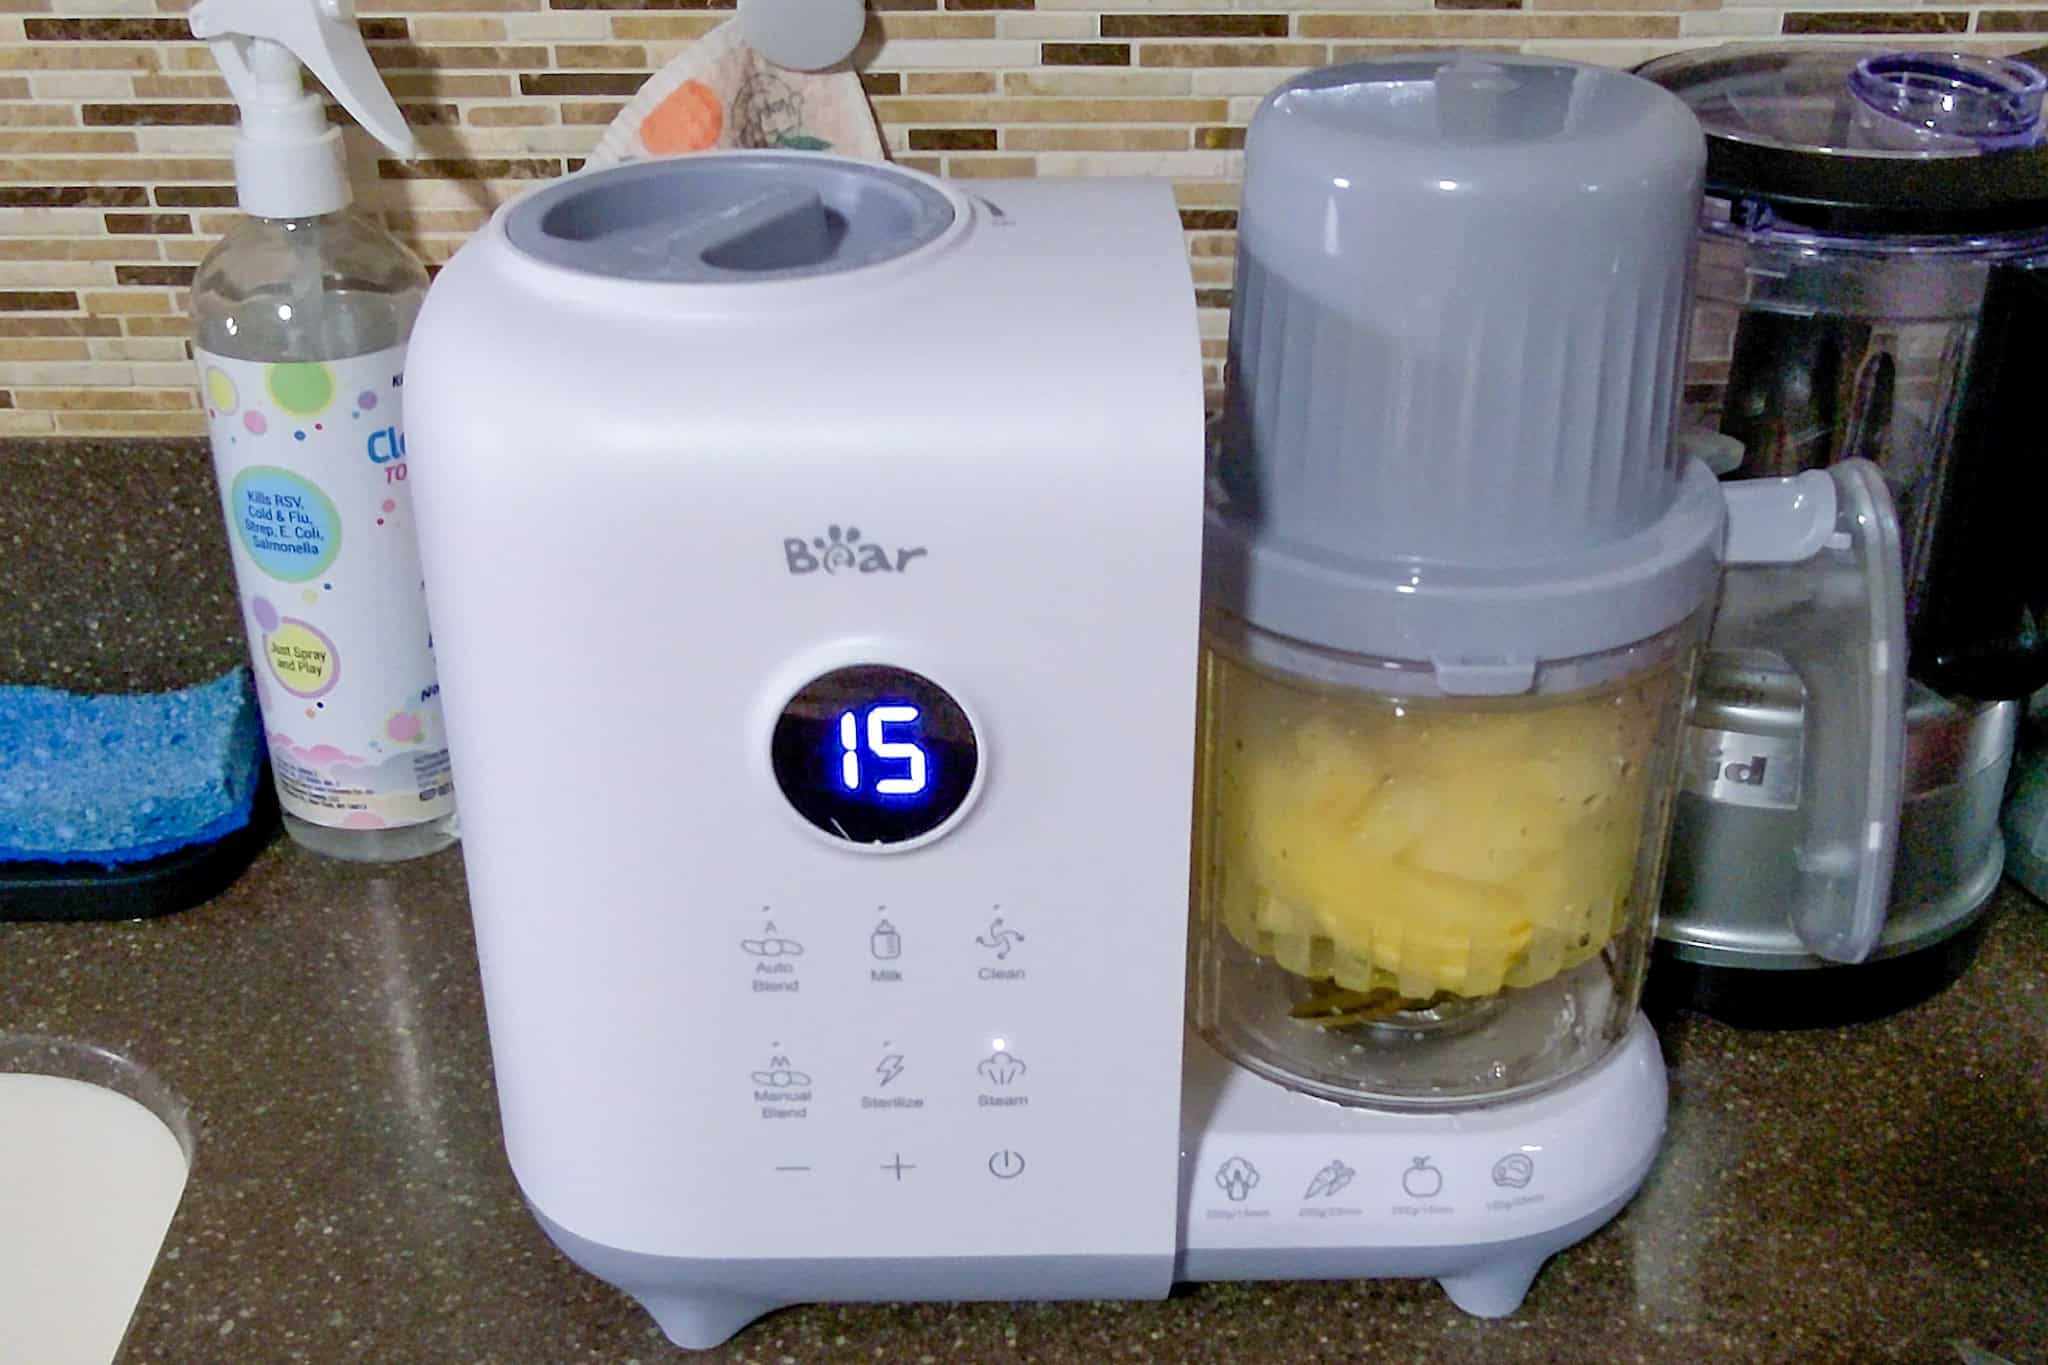
I usually steam foods in my baby food maker, although other cooking methods can work depending on the ingredient. The key is reaching the right texture before blending.
3. Blend
Once cooked, I blend the food to the consistency I'm serving. Some ingredients naturally contain more moisture than others. Thicker homemade purees may need liquid to reach the desired consistency.
4. Portion
I divide the pureed food into individual portions. My freezer tray compartments hold about 2 tablespoons, so I can freeze smaller portions instead of committing to an entire meal.
5. Freeze
Once properly cooled and handled, cover the portions and freeze them according to baby food safety and storage guidelines. Also check out Understanding Food Temperature Safety Zones: Cook, Store & Serve Safely.
6. Build Meals as Needed
I remove only the frozen cubes I need and thaw them safely in the refrigerator in my glass containers. If you haven't yet, check out Understanding Food Temperature Safety Zones: Cook, Store & Serve Safely.
Homemade Baby Food Ingredient Guide:
Every food behaves a little differently after cooking, blending, freezing, and thawing. That's one reason I'm documenting the ingredients individually instead of simply giving you a list of baby food recipes. For each food, I'll show you how I prepared it, how it froze, what happened after thawing, and whether I would prepare it the same way again.
Vegetables
Butternut Squash Baby Food
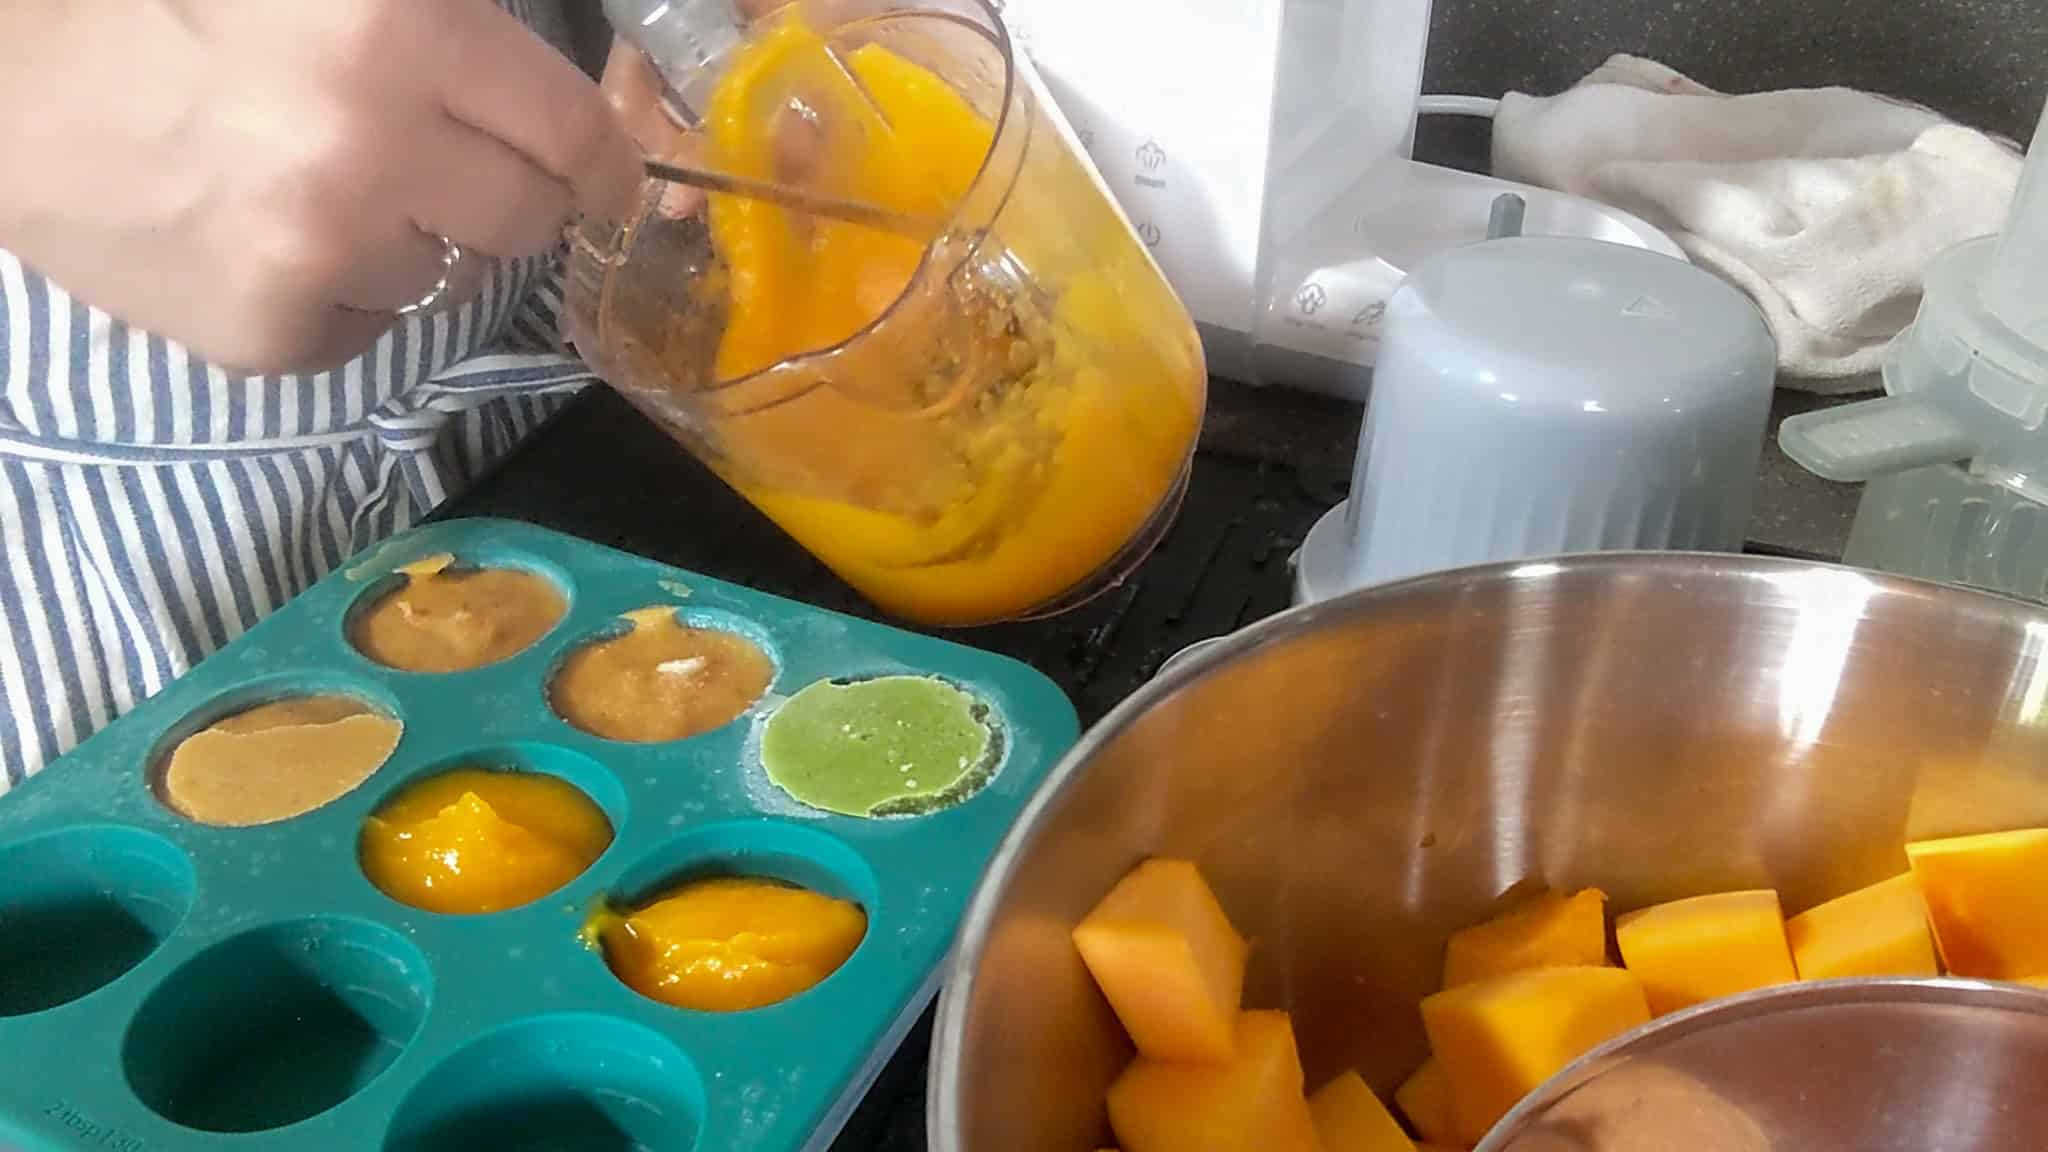
Butternut squash demonstrates both sides of my freezer system particularly well. A whole squash can provide much more food than I need for a few baby portions, so I don't necessarily puree the entire thing.
How I Prepare It
Cut the squash, remove the seeds, peel it, and cut the flesh into relatively even cubes. I take the amount I want for baby food and freeze the remaining prepared squash for later if I know we won't use it quickly. Cook the baby food portion until very tender and blend to the desired consistency.
- Color after thawing: Butternut squash freezes very well and keeps its bright orange color after thawing, with very little noticeable change.
- Texture after thawing: It stays smooth and makes a great puree. After steaming, I usually don't need to add much water when blending because the squash is already soft and moist.
- Water separation: There is barely any noticeable water separation after thawing. A quick stir is usually all it needs.
- Would I freeze it again? Yes. Butternut squash has been one of the better vegetables I've tried for freezing because it maintains its color and smooth consistency.
What I Pair It With
I usually mix butternut squash with broccoli, peas, carrots, or sweet potato/yam. Since I freeze each food in small individual portions, I can easily change the combination depending on what I want to serve.
Sweet Potato Baby Food
Sweet potatoes become naturally soft and creamy when thoroughly cooked, which makes them easy to turn into homemade baby purees.
How I Prepare It
Wash the sweet potato and prepare it for cooking. Cut into similarly sized pieces and steam or cook until completely tender. Blend to the desired consistency, adding liquid as needed. Divide into individual portions and freeze.
How It Freezes
- Color after thawing: Sweet potato keeps its bright orange color after steaming, with little noticeable change after freezing and thawing.
- Texture: When blended with minimal liquid, sweet potato makes a thick, smooth paste. I prefer freezing it this way rather than adding a lot of water before freezing. The concentrated puree takes up less freezer space and gives me more flexibility later.
- Does it need additional liquid? I add liquid when I'm ready to serve the baby food. You can thin the sweet potato with your preferred appropriate milk or combine it with a higher-water-content vegetable. This also lets you add other foods and nutrients, rather than using extra water to thin the puree before freezing.
- Would I freeze it again? Yes. Sweet potato freezes very well and is especially useful as a thicker base that I can combine with other ingredients.
What I Pair It With
I like to pair sweet potato with butternut squash, carrots, peas, spinach, broccoli, or yogurt. Its thicker consistency makes it especially useful for combining with more moisture-rich vegetables.
Carrot Baby Food
Carrots need enough cooking time to become very tender before blending.
How I Prepare It
Wash, trim, and prepare the carrots. Cut them into relatively even small pieces. Steam or cook until a piece can be easily crushed. Blend to the desired texture and portion for freezing.
How It Freezes
- Color: Carrots maintain a beautiful, bright orange color after freezing and thawing.
- Texture: The puree stays smooth after thawing. Carrots naturally contain enough moisture that I usually get a smooth consistency without needing much additional liquid.
- Separation: I've noticed very little to no separation, and the carrot puree thaws very well. I let the puree cool appropriately before freezing rather than placing it in the freezer while it's still hot. This also helps minimize excess condensation and ice crystals.
- Would I freeze it again? Yes. Carrots freeze very well and are an easy ingredient to keep portioned and ready for mixing with other foods.
What I Pair It With
Carrots pair well with sweet potato, butternut squash, green peas, beets, and chickpeas. I also like combining carrots with a simple hummus-style chickpea puree when those ingredients are appropriate for your baby's feeding stage.
Green Pea Baby Food
Frozen peas are one of my favorite examples of using store-bought frozen vegetables for homemade baby food. Prep is minimal, and I can use only the amount I need.
How I Prepare It
Take the amount of frozen peas you want from the package. Cook until sufficiently tender. Don't assume that simply thawing frozen peas makes them soft enough for the texture you need. Blend to the desired consistency. Pea skins can affect the final texture, so I watch for them when blending.
How It Freezes
- Color: Green peas maintain a beautiful, bright green color after freezing and thawing.
- Texture: The puree is fairly thick, but small pieces of pea skin can remain after the first blend. For a smoother consistency, I usually blend it a second time until it reaches the texture I want.
- Is the skin noticeable after thawing? Yes. The skins can still be noticeable after thawing, so if you want a very smooth puree, an additional blend can help create a finer consistency.
- Would I freeze it again? Yes. Peas are convenient to portion, freeze, and keep on hand, especially when starting with store-bought frozen peas.
What I Pair It With
Green peas are a great addition to many vegetable combinations because their mild sweetness complements other vegetables well. They also contain more moisture than thicker purees like potato or sweet potato, so I like pairing peas with those foods to balance the final consistency.
Broccoli Baby Food
Broccoli works well with this small-batch approach because I can use either fresh or frozen broccoli.
How I Prepare It
For fresh broccoli, wash thoroughly, then cut into appropriately sized florets and usable tender-stem pieces. For frozen broccoli, take out only what you need. Cook until very tender before blending.
How It Freezes
- Color: Broccoli keeps a beautiful, bright green color when I steam it just until tender, without overcooking. That color holds up well after freezing and thawing.
- Texture: Broccoli has a relatively high water content, so it blends into a smooth puree without needing much additional liquid.
- Does it become watery? I blend the broccoli while it's still warm without adding extra water. I've found this gives me good consistency when freezing and keeps me from unnecessarily diluting the puree before portioning.
- Would I freeze it again? Yes. Broccoli freezes well and is especially useful as a higher-moisture ingredient in my mix-and-match system.
What I Pair It With
Because broccoli contains more moisture than thicker foods, I like pairing it with ingredients that can absorb or balance some of that moisture after the portions thaw together in the refrigerator. Sweet potato and other potatoes work especially well, but you can also combine broccoli with well-cooked rice, oatmeal, or a simple hummus-style chickpea puree.
This is one reason I like freezing ingredients separately: I can use one food's natural consistency to balance another instead of automatically adding water to every puree.
Fruits
Coming Soon!
Subscribe to Let's Get Cooking
Don't miss the next one.
Get new recipes, practical cooking tips, and deals from Chef Maika delivered to your inbox.
Meat
Coming Soon!
Subscribe to Let's Get Cooking
Don't miss the next one.
Get new recipes, practical cooking tips, and deals from Chef Maika delivered to your inbox.
How I Assemble Meals From Frozen Baby Food Cubes
I usually choose two or three frozen portions for an upcoming meal. I put the baby food cubes directly into one of my 4-ounce glass jars. I cover the jar and place it in the refrigerator to thaw. Once thawed, I stir everything together and check the consistency and temperature before serving. This means the same freezer ingredients can become many different breakfasts, lunches, and dinners.
Baby Food Storage and Safety
Food safety is especially important when preparing food for babies because their immune systems are still developing. There are a few areas where I pay particular attention.
Keep Everything Clean: Wash your hands before preparing your baby's food and use clean equipment, utensils, work surfaces, freezer-safe containers, and glass jars.
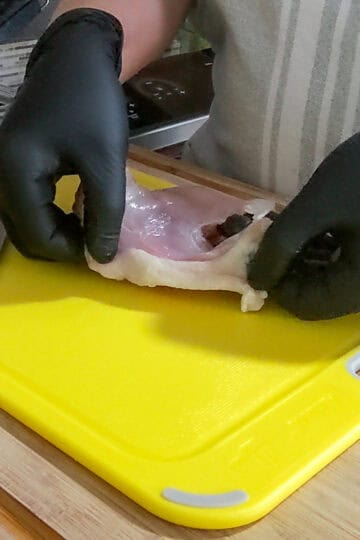
Prevent Cross-Contamination: This is especially important when working with raw meat. Keep raw chicken and its juices away from fresh fruit, cooked foods, and anything else that won't be cooked later. Wash hands, cutting boards, knives, and other equipment appropriately after contact with raw meat.
Cook Food Thoroughly: Different foods have different safe cooking requirements. When preparing chicken or other meats, use a food thermometer rather than relying solely on appearance to determine doneness. Check out: Internal Meat Temperature Chart (Printable Guide).
Cool and Store Food Safely: Don't leave cooked or pureed food at room temperature for long. Cool and refrigerate or freeze hot food according to current food-safety recommendations. Check out: Understanding Food Temperature Safety Zones: Cook, Store & Serve Safely.
Use Freezer-Safe Containers: Use containers designed for freezer storage, and seal food properly to protect it from freezer burn and maintain quality. Freezer trays, airtight containers, and appropriate freezer bags can all serve different purposes within this system.
Thaw Baby Food Safely: My preferred method for thawing the next day's meals is to thaw them in the refrigerator. I transfer the frozen portions into covered glass jars and let them thaw in the refrigerator in clean baby food jars. Check out: Understanding Food Temperature Safety Zones: Cook, Store & Serve Safely.
Be Careful With Leftover Food: Once a spoon has entered a baby's mouth and returned to the food, bacteria from the mouth can contaminate the remaining food. I don't treat leftover food from feeding the same way as untouched food that has been properly stored. Read further in Keeping Your Baby's Food Safe by Michigan State University.
The Equipment I Use
You don't need my exact equipment to make homemade baby food, but these are the tools that currently make the process easier for me.
Baby Food Steamer and Blender: I use a baby food maker that lets me steam and blend in one machine. I especially like the automatic blending feature because I can prepare my daughter's food while I'm making dinner, rather than starting a separate cooking session.
2-Tablespoon Freezer Trays: I use four Anyday freezer trays with 2-tablespoon compartments. The smaller portions are what make my mix-and-match system work. I can make three or four portions of a single food without filling an entire tray.
4-Ounce Glass Baby Food Jars: I use WeeSprout 4-ounce glass jars to assemble the frozen portions I'm planning to serve. I can place two or three different portions in a jar, cover it, and refrigerate it to thaw.
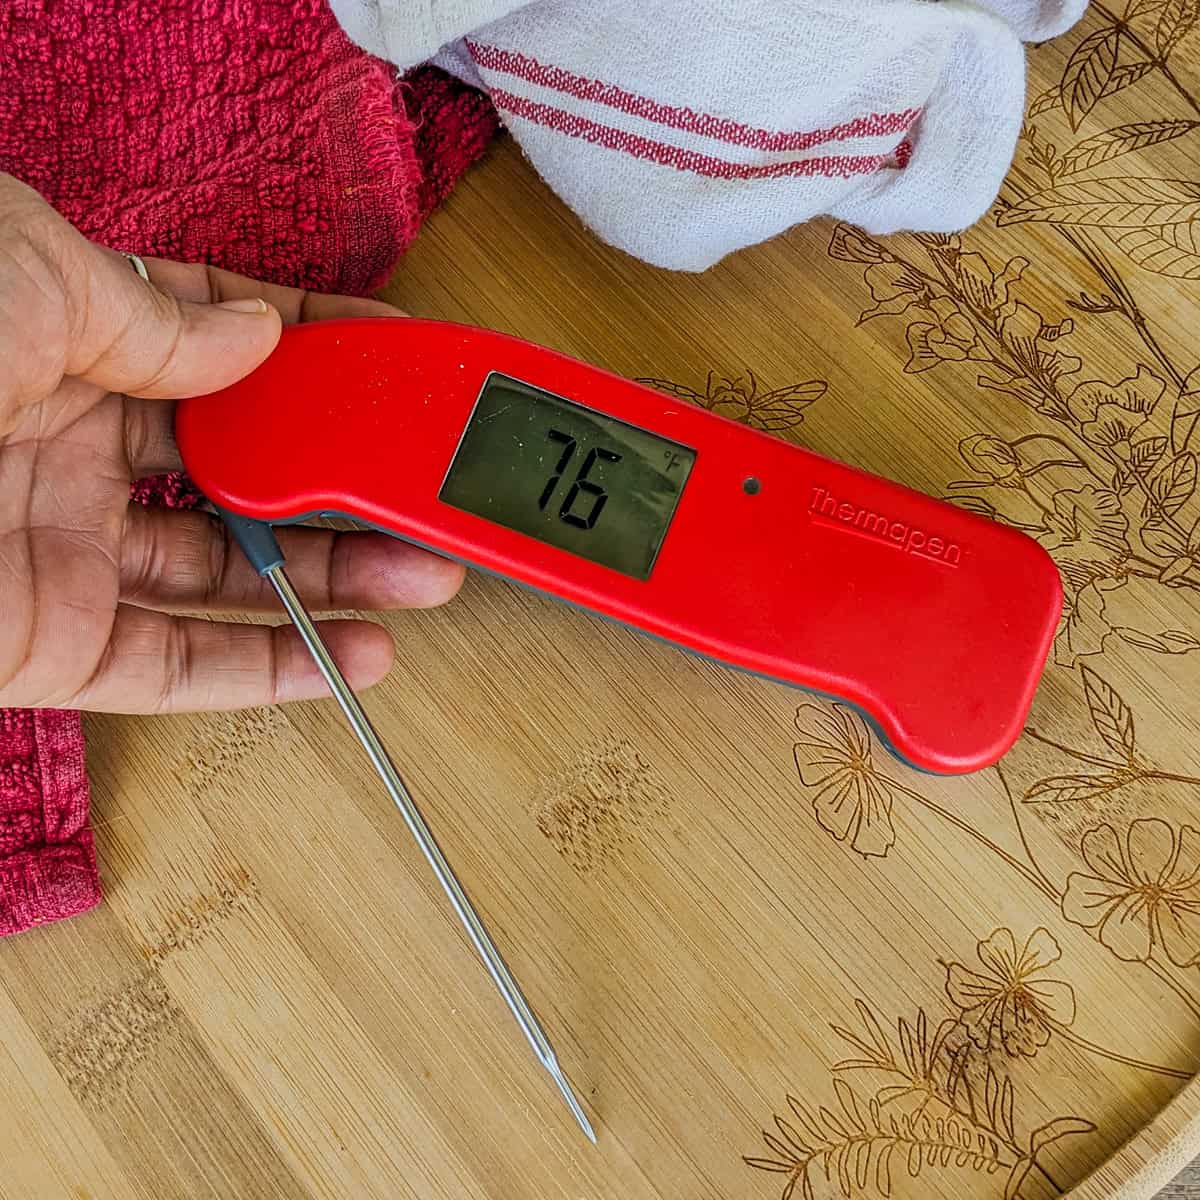
Food Thermometer: A reliable food thermometer is especially useful when preparing meat and poultry because it lets you verify the internal temperature rather than relying on appearance alone.
Kitchen Tools I Use and Recommend
These are some of the kitchen tools I personally use that make cooking faster and easier. If you're building your kitchen setup or upgrading your tools, these are great places to start. More Kitchen Must-Haves - Find other tools I use here.
My Review: I love how convenient the Bear Baby Food Maker is, especially because it combines several functions in one machine. I was a little intimidated at first, but once I understood the controls, it became easy to use; it even provides recommended food weights and steaming times for different ingredients right on the machine in case you forget. The steam basket lets me cook the food first, then I can puree or chop it right in the machine, and I especially love the automatic blending function, which pauses between blends to let the food fall back toward the blades before blending again. It's been a huge help when I’m busy caring for my baby while juggling everyday household tasks, from cooking to cleaning.

My Review: The Anyday 2-Tbsp Anytime Freezer Trays have been incredibly handy for portioning and freezing homemade baby food, making it easy to grab small portions and mix and match different ingredients into meals. I also love that these trays will remain useful long after my baby outgrows purees. I can use them for garlic and ginger paste, epis, chopped onions and scallions, seasoning pastes and compound butters, reduced stocks, homemade bouillon cubes, and chopped fresh herbs. The trays feel sturdy without being bulky, stack nicely in the freezer, and the flexible silicone compartments make the frozen portions easy to pop out when I need them.

My Review: I love that the WeeSprout 4-ounce Baby Food Storage Jars are made of glass because I can store my baby’s homemade food much like we store our own food. Glass is durable for repeated use and won’t absorb stains or odors as easily as some other materials, making these jars a great long-term addition to my kitchen. Once my baby outgrows baby food, I can repurpose them for homemade dressings, leftover sauces, condiments, and other small portions, instead of having containers useful for only one stage of life. Plus, I just realized the lids are perfect for erasable markers for dating.

America's Test Kitchen - Winner
My Review: The Thermapen ONE by ThermoWorks is my go-to kitchen thermometer - simple, fast, and incredibly precise. It delivers accurate readings in just one second, making it perfect for everything from meats to baked goods. I love that it's waterproof, has a rotating backlit display, and turns on automatically when you unfold the probe. America's Test Kitchen voted it its top thermometer. It comes with a 5-year warranty and a NIST-traceable calibration certificate, so you can trust it as a must-have tool for any cook.
My Review: This dual-measure spoon set is perfect for quick, no-fuss measuring. I use it when I’m cooking from memory and just need a reliable tablespoon or teaspoon without pulling out a whole set. The long handles make it easy to scoop from jars or bags, and the stainless steel build feels sturdy and precise.

My Review: I love that this bamboo cutting board set came in so many convenient sizes; it makes it easy to grab exactly what I need, whether I’m chopping herbs or breaking down meat. The bright tones of the wood really stood out to me; they look beautiful on camera and bring a nice pop of warmth to my kitchen. It’s especially come in handy during meal prep or when I have someone else helping me; everyone gets their own board! I also appreciate how lightweight yet sturdy they are, making them easy to move around while still holding up to serious chopping. Definitely a great gift for yourself or anyone who loves to cook or entertain. P.S. My hubby accidentally placed it in the dishwasher. And guess what? It didn't warp. A+!
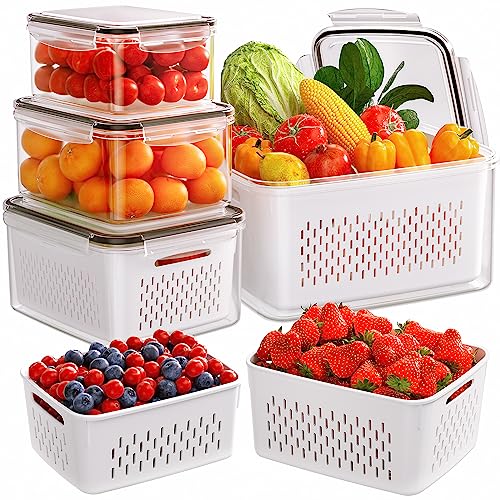
My Review: I absolutely love these 5-pack fruit storage containers. They completely exceeded my expectations! I was truly surprised at how long they kept my produce fresh, especially delicate items like berries and lettuce that usually spoil quickly. The removable colanders are super convenient for rinsing and draining right in the container, and the leakproof lids make fridge organization a breeze. I was so impressed with how well they worked, I went ahead and bought three packs! These have definitely become a go-to in my kitchen for keeping fruits, veggies, and even prepped meats fresher for longer.
How This System Helps Me Reduce Food Waste
One unexpected benefit of making baby food this way is how much easier it is to use ingredients before they go to waste. I don't have to choose between making a huge batch of butternut squash puree and watching half a squash deteriorate in the refrigerator. I can prep it once, use what I need, and freeze the remaining ingredient.
I can also keep frozen vegetables on hand and remove small amounts as needed. Then, once the food has been cooked and prepared, freezing it in individual portions gives me another layer of flexibility. For me, that's a much more realistic approach to homemade baby food.
Prepare once. Freeze what you can't use. Cook small amounts. Portion. Mix and match later.
My Baby Food Freezer Test
As I continue adding new foods to this guide, I'll evaluate them using the same questions. That means this guide will keep growing as I prepare new foods, rather than becoming a list of baby food recipes I haven't personally tested. Here's what I'll be asking:
- How easy was it to prepare?
- Did I use fresh or frozen ingredients?
- How did the color change after freezing?
- How did the texture change?
- Did liquid separate after thawing?
- Was it easy to stir back together?
- Did I need to adjust the consistency?
- What other foods did I pair it with?
- Would I freeze it again?
Foods I'm Testing Next
Next on my list are homemade applesauce and avocado, along with another banana freezer test. I'll also continue adding different vegetables, fruits, proteins, breakfast combinations, and mix-and-match meals as we try them. The goal isn't to have the biggest possible freezer stash.
It's about having enough useful ingredients on hand so that putting together a homemade meal doesn't become another major task. Sometimes that means fresh vegetables. Sometimes it means frozen vegetables. Sometimes I make only three small portions while I'm already cooking dinner.
All of those small amounts eventually add up to a freezer that gives me more choices, helps me waste less food, and makes preparing my daughter's meals much easier.
Frequently Asked Questions
Here are common questions I have answered. If you have any questions, please write them in the comments below.
Yes, you can freeze many homemade baby food purees in small portions for later use. I freeze individual ingredients in 2-tablespoon portions so I can mix and match foods when planning meals. Some ingredients freeze better than others, so I document the color, texture, and any separation I notice after thawing each food in this guide.
I usually choose two or three frozen portions, place them in a covered glass baby food jar, and refrigerate the jar to thaw. Once thawed, I stir the ingredients together and check the temperature and consistency before serving.
Yes. Store-bought frozen vegetables can be a convenient option, especially when you only need small amounts. Because frozen vegetables are generally blanched rather than necessarily fully cooked, I cook them until they reach the tenderness I need before blending.
I usually avoid adding more liquid than necessary before freezing. For thicker foods such as sweet potato, I prefer freezing a concentrated puree and adjusting the consistency after thawing with an appropriate liquid or a higher-moisture food. This also keeps the portions compact in my freezer.
You can make combinations, but I prefer freezing many ingredients individually. Once my daughter has already tried the individual foods, I can choose different frozen portions and create new combinations for breakfast, lunch, or dinner. I also keep track of foods she's tried individually before introducing combinations so I can more easily identify a potential reaction.
Freezing and thawing can change the structure of foods, causing some ingredients to release liquid. I've found that the amount varies considerably by ingredient, which is why this guide includes my actual results after freezing and thawing each puree. Sometimes a good stir is all that's needed.
Storage time depends on the ingredients, preparation, handling, and storage conditions. Because babies are more vulnerable to foodborne illness, I recommend following current USDA/FDA guidance rather than relying on appearance or smell alone. I also label my portions so I can keep track of when they were prepared.
Dinner Recipes
Turn these simple ingredients into dinner for the whole family with my quick, globally inspired recipes, then set aside a little to prep for baby, too.
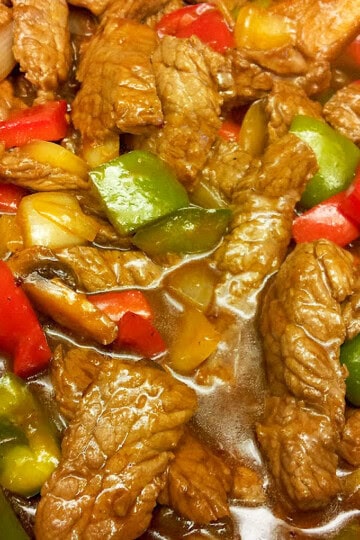
- Chinese Pepper Steak with Red Wine and Hoisin Sauce
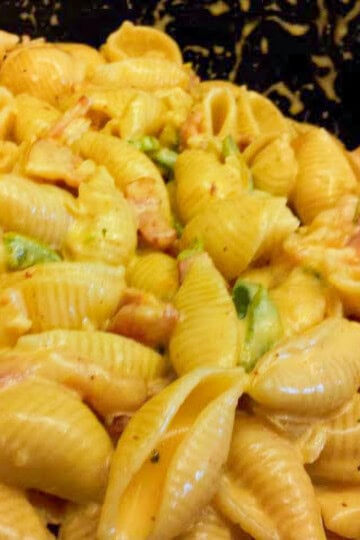
- Bacon Jalapeño Mac and Cheese
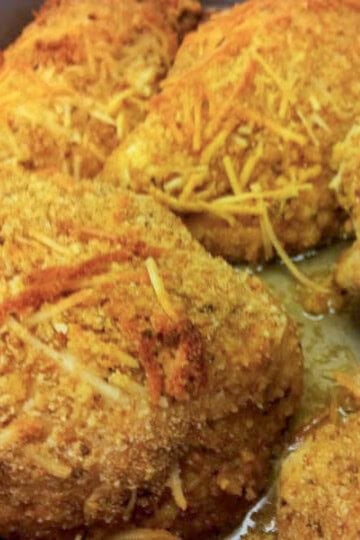
- Crispy Garlic Parmesan Baked Chicken
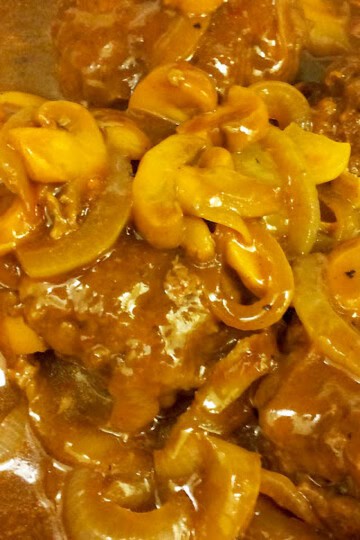
- BBQ Salisbury Steak with Mushroom Gravy
Cooking Tips and Tutorials
If you found this tutorial helpful, you'll love my Cook's Notebook collection. From knife skills and flavor bases to time-saving tricks and essential equipment guides, this section is packed with chef-tested lessons to help you cook with confidence.
- Seasonal Produce Guide: What Fruits and Vegetables Are in Season?
- How to Roast Food: The Fundamental Principles of Roasting
- 2026 Fall Seasonal Produce Guide: Fruits and Vegetables to Enjoy This Season
- Indian Cooking Techniques That Changed How I Think About Food


Chef Maika Frederic-Liebman
Chef and Educator
Professionally trained Haitian-American chef Maika Frederic is the creator of Just Maika Cooking, where she shares globally inspired recipes, cooking techniques, ingredient guides, and food safety tips designed to help home cooks become more creative and confident in the kitchen. Combining years of professional culinary experience with a passion for teaching, she makes global flavors approachable through practical, accessible instruction for cooks of every skill level.
SUBSCRIBE: 👈To my YouTube Channel to Get Notifications of New Videos.
Have a Comment or Question?
If you have a question or comment about this post, please post it below. You will receive a prompt response. It also helps our other readers to stay informed. Thanks!
Leave a Reply