

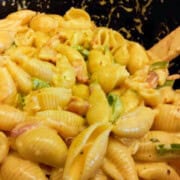
Creamy Bacon Jalapeño Mac and Cheese combines tender pasta shells with smoky bacon, fresh jalapeños, sharp cheddar cheese, and a rich, heavy cream sauce. The shells catch the cheesy sauce in every bite, while sautéed jalapeños add just the right amount of heat to this easy stovetop mac and cheese.
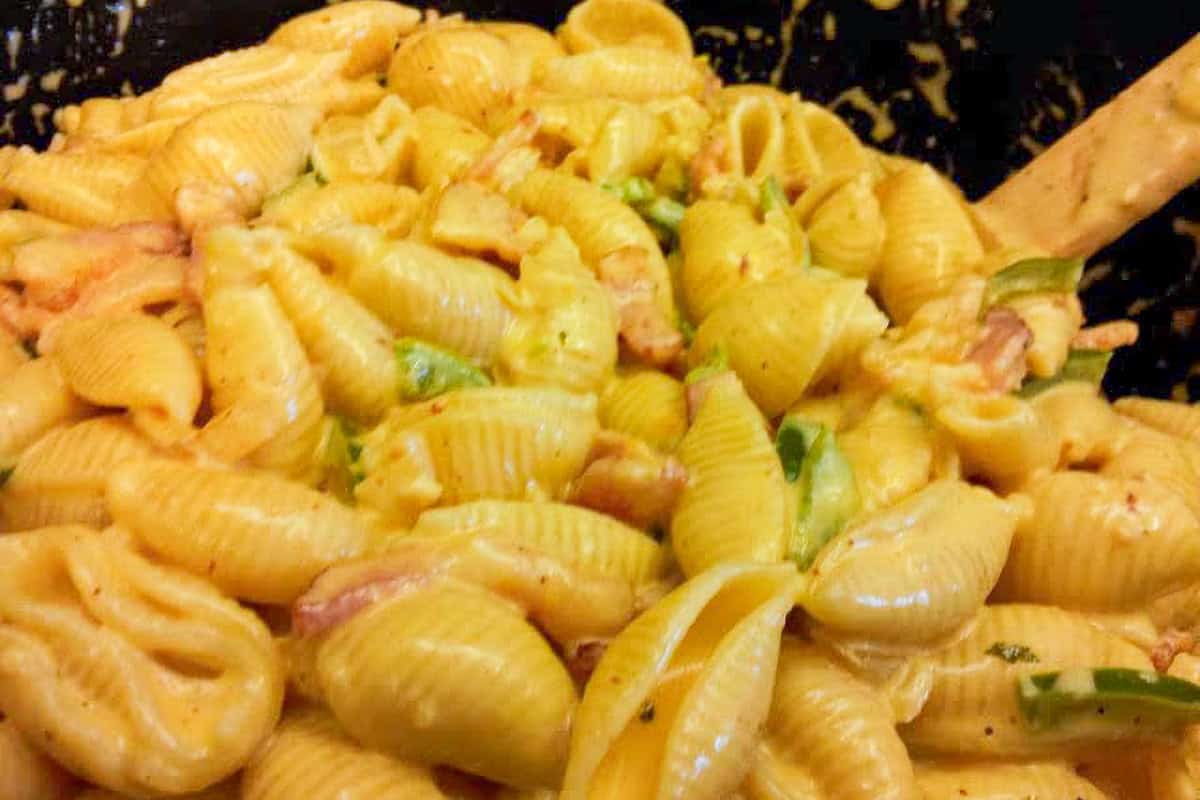
Table of Contents
Jump to:
- Creamy Stovetop Mac and Cheese with Bacon and Jalapeños
- Why You'll Love This Recipe
- Ingredients with Steps
- Culinary Glossary
- Instructions with Pictures
- Equipment You'll Need (With Alternatives)
- Kitchen Tools I Use and Recommend
- Storage and Reheating
- Substitutions
- Variations
- 5 Quick Cooking Tips
- Frequently Asked Questions
- More Pasta Recipes
- Cooking Tips and Tutorials
- 📖 Recipe
- What to Serve with Bacon Jalapeño Mac and Cheese
- Have a Comment or Question?
Creamy Stovetop Mac and Cheese with Bacon and Jalapeños
If you're a cheese lover who also wants a little heat, this Bacon Jalapeño Mac and Cheese takes ordinary mac and cheese in a completely different direction. First, cook the bacon, then use the rendered fat to sauté fresh jalapeños, onion, and garlic. Heavy cream forms the base of a creamy cheese sauce, and you gradually melt sharp cheddar directly into the cream.
Plus, there's no butter-and-flour roux and no béchamel sauce. It's a simple recipe built around bacon fat, heavy cream, shredded cheese, and pasta. And then there are the shells. I specifically used shell pasta, and looking back at the finished dish, I'm glad I did. The creamy sauce coats the outside of the cooked pasta while also finding its way inside those little shells.

That's exactly what I want from this mac and cheese: sauce everywhere!
Why You'll Love This Recipe
- Creamy cheese sauce: Heavy cream and sharp cheddar create a rich sauce without making a separate roux or béchamel.
- Smoky bacon flavor: The bacon does double duty, since the rendered fat also sautés the vegetables.
- Fresh jalapeño heat: Sautéed jalapeños add fresh pepper flavor and customizable heat.
- Sauce-catching shells: Shell pasta holds the cheesy sauce both around and inside the pasta.
- Easy to customize: Start with 3 cups of cheese, add the fourth if you want it the way I make mine, or use my cheddar-and-Pepper Jack shortcut.
Note From Chef Maika
This recipe originally appeared on my former Journey of a Foodie Fool cooking blog on July 18, 2012, back when I was working as a cook and documenting the meals I made at home. Bringing recipes like this into My Cooking Archives has been fun because I get to see what I was doing then, what still works for me today, and what I would change after all these years of cooking.
What I knew
There are actually quite a few things I would keep. I cooked the bacon first and used the rendered bacon fat to sauté the onion, jalapeños, and garlic instead of adding another oil. I used shell pasta, which I still love here because the creamy cheese sauce gets inside those little pockets. I also learned to keep the heat low when adding the cheese so the sauce wouldn't break.
What I Know Now
A few things have changed. Today, I prefer freshly grated cheese because it melts more smoothly into sauces, and I start with 3 cups of sharp cheddar before deciding whether I want the full fourth cup. I personally still love all 4 cups because I want that sauce generously coating and filling the shells.
And on a day when I don't feel like chopping fresh jalapeños? Today's Maika would take the shortcut. I'd skip the peppers and use a 1:1 combination of sharp cheddar and Pepper Jack cheese instead! You still get a little heat, but with one less ingredient to prep.
What I've Learned
That's one of my favorite things about revisiting these recipes. Becoming a better cook doesn't always mean replacing an old recipe with something completely different. Sometimes it's understanding why something worked in the first place, keeping the parts you love, and finding an easier way to get dinner on the table when you need it.
Recommended Reads
Ingredients with Steps
Cook the shell pasta according to the package directions until al dente, reserving some pasta water before draining and leaving the pasta unrinsed. Next, cook the bacon over medium heat until browned and its fat has rendered, then sauté the fresh jalapeños and onion directly in the bacon fat until softened before adding the garlic.
Then, reduce the heat and stir in the heavy cream, warming it gently without boiling. Gradually stir in the freshly grated sharp cheddar cheese, starting with 3 cups and adding up to 4 cups for a richer sauce. Finally, fold in the cooked pasta, loosen with reserved pasta water if necessary, and season with black pepper and salt to taste.
Culinary Glossary
This section provides concise definitions of key ingredients and techniques to enhance understanding and improve cooking skills related to this post. Find More Terms: Culinary Glossary.
Ingredients
- Heavy Cream: A high-fat dairy product that adds richness and body to sauces.
- Sharp Cheddar Cheese: Cheddar aged long enough to develop a more pronounced, tangy flavor.
- Pepper Jack Cheese: Monterey Jack cheese flavored with chile peppers and sometimes additional spices.
- Jalapeño Pepper: A fresh chile pepper with a grassy flavor and mild-to-moderate heat that can vary from pepper to pepper. Also check out: Prepping Chili Peppers.
- Bacon Fat: The rendered cooking fat released as bacon cooks, which you can use to sauté other ingredients.
Techniques
- Al Dente: Pasta cooked until tender while retaining a slight firmness when bitten.
- Render: Slowly cook fatty meat so that its fat melts and can be used as a cooking fat.
- Sauté: Cook ingredients relatively quickly in a small amount of fat over direct heat.
- Reserve Pasta Water: Save some starchy cooking water before draining pasta so you can use it to adjust a sauce.
- Emulsify: Combine ingredients that do not naturally stay mixed into a more uniform mixture, an important concept when working with creamy sauces. Also read: What Is Emulsification? A Simple Guide to Creamier Sauces and Dressings.
Instructions with Pictures
Follow the instructions and cooking tips below using the step-by-step picture guide.
Next time I make this recipe again, I will take process photos. Subscribe to get notified.
Equipment You'll Need (With Alternatives)
Here's what you'll need to be efficient, plus easy swaps if you don't have everything on hand.
- Large Pot: For cooking the shell pasta.
- Large Sauté Pan or Heavy-Bottomed Pot: For rendering the bacon and building the cheese sauce.
- Colander: For draining the pasta without rinsing it.
- Cheese Grater: For freshly grating the cheddar and Pepper Jack.
- Chef's Knife: For chopping the bacon, onion, garlic, and fresh jalapeños.
- Wooden Spoon or Silicone Spatula: For stirring the sauce and folding in the pasta.
Kitchen Tools I Use and Recommend
These are some of the kitchen tools I personally use that make cooking faster and easier. If you're building your kitchen setup or upgrading your tools, these are great places to start. More Kitchen Must-Haves - Find other tools I use here.
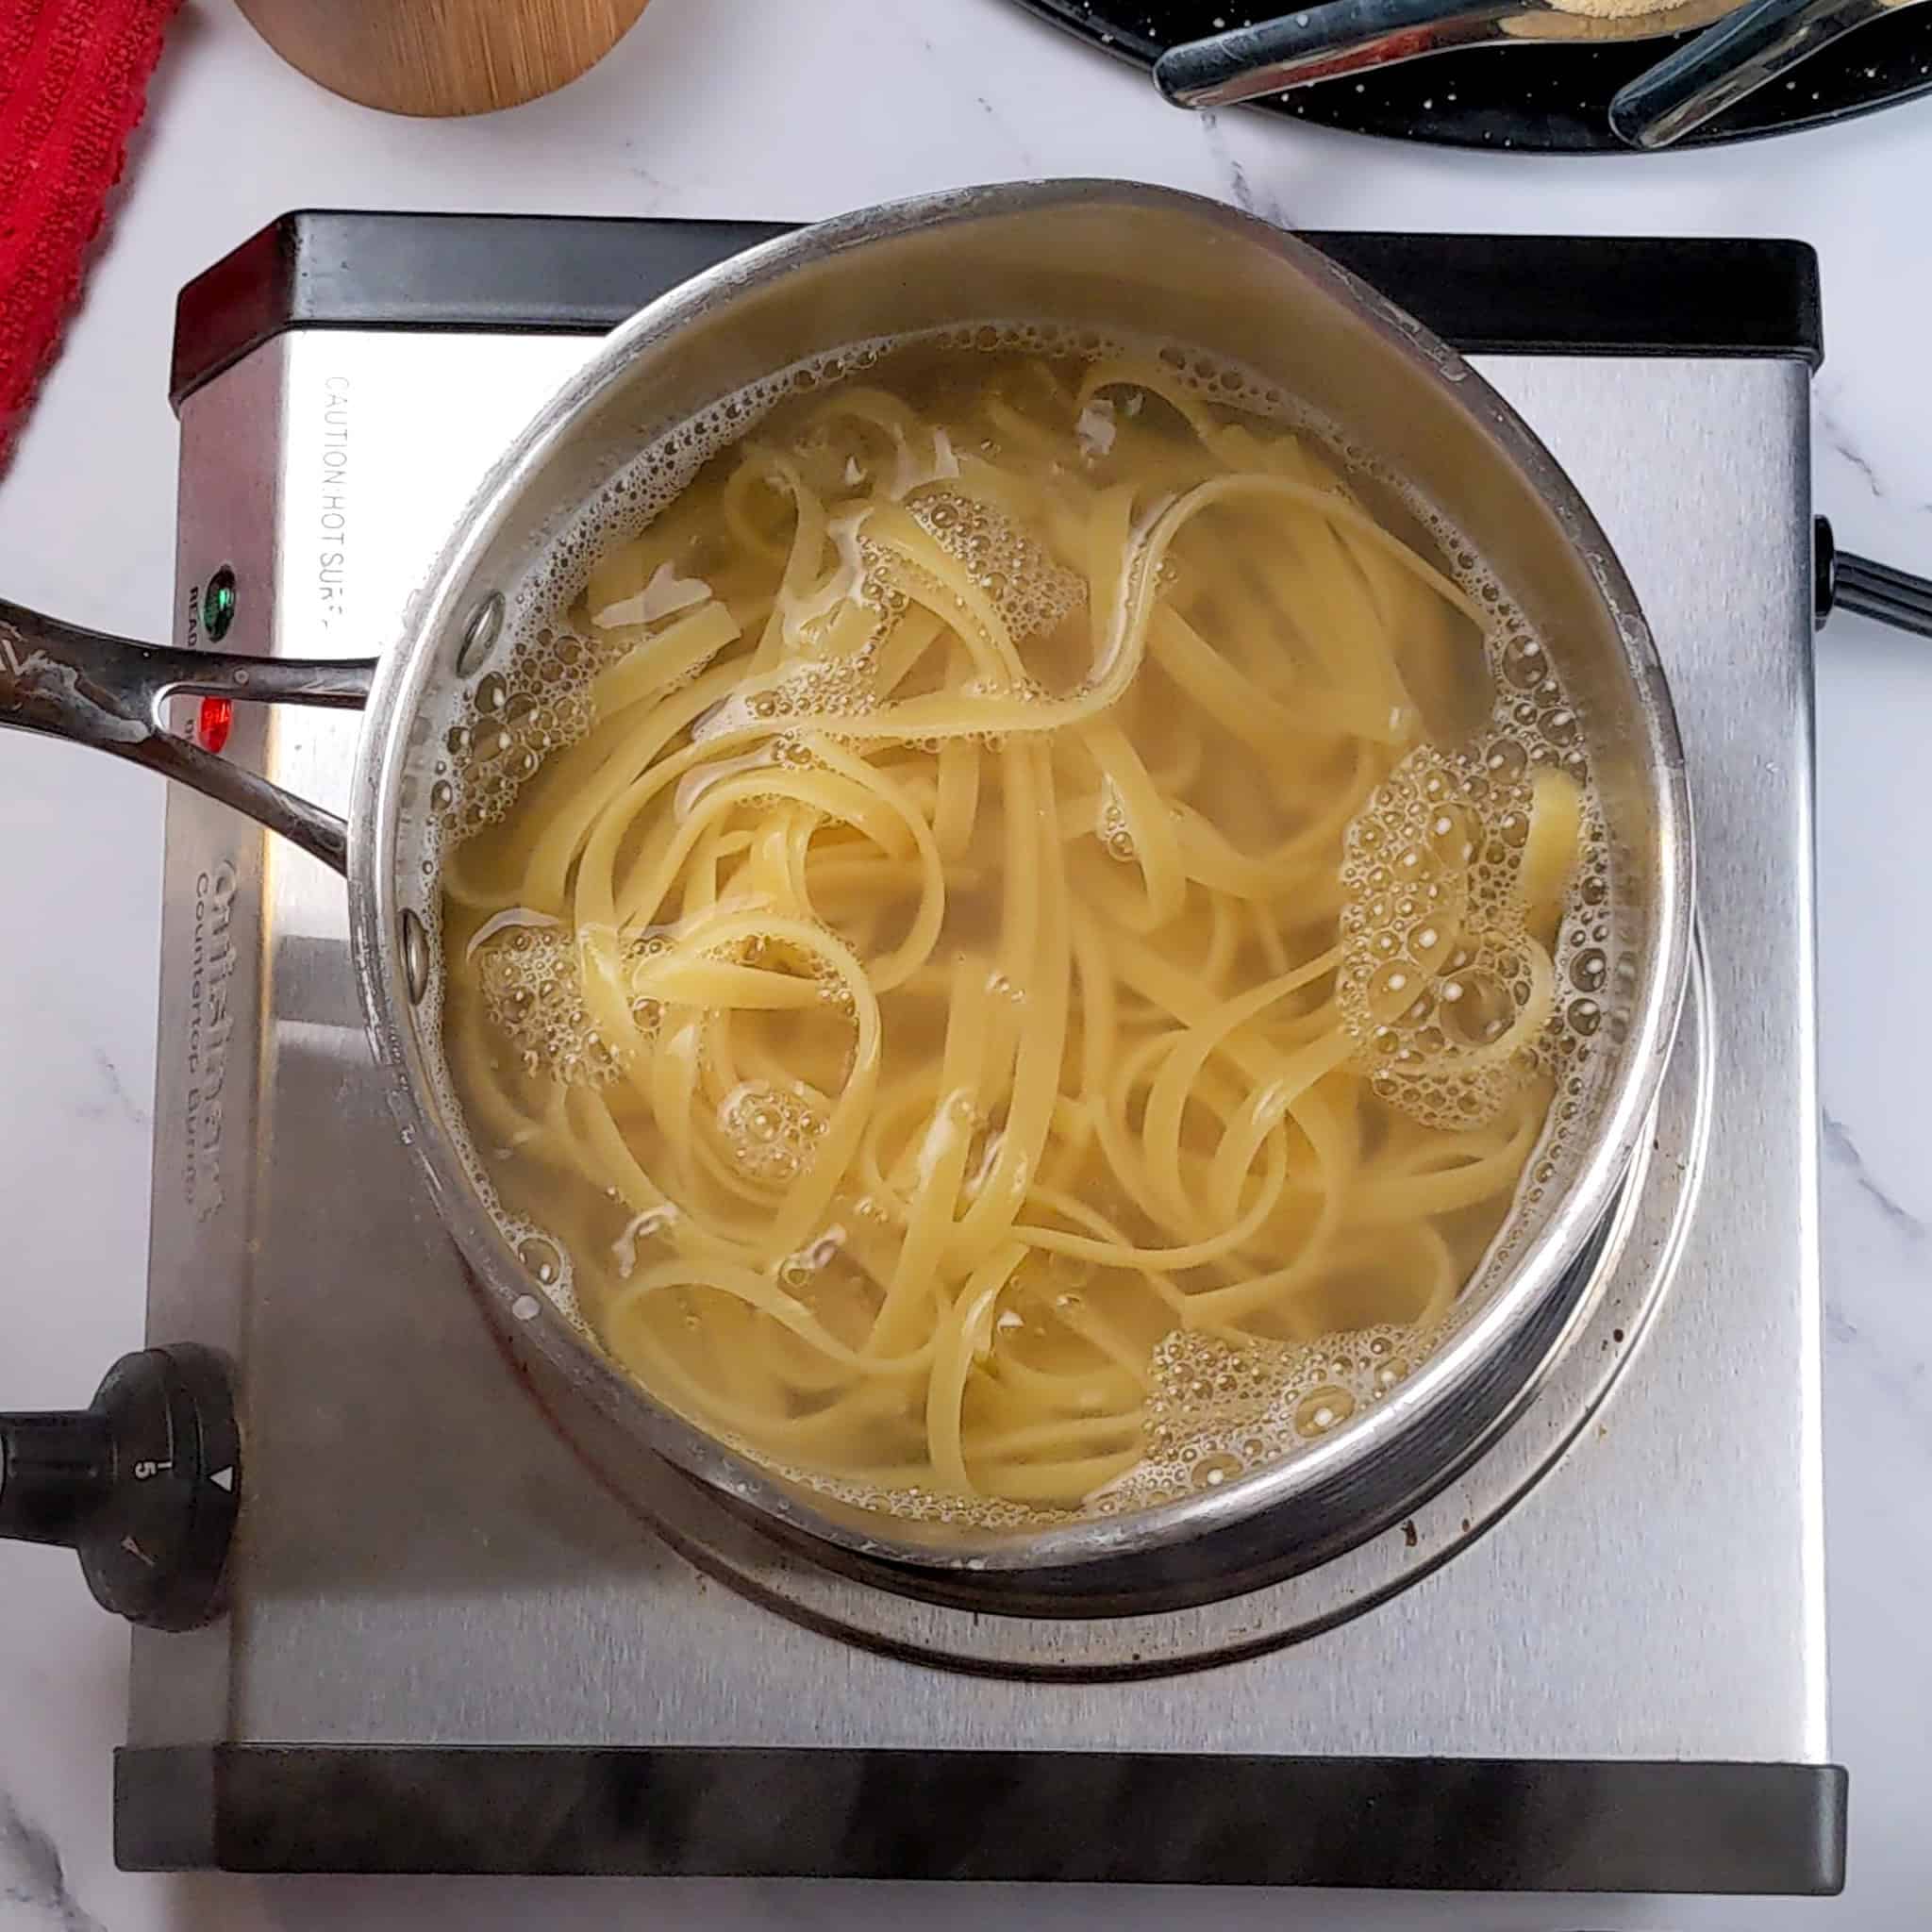
My Review: I’ve had the AVACRAFT Tri-Ply Stainless Steel Saucepan for quite a while now, and it continues to impress me. The tri-ply construction ensures even heating, and the two side spouts with the glass strainer lid make draining pasta effortless, one of my favorite ways to use it. Despite frequent use, it still looks great with its sleek stainless steel finish and feels sturdy in the hand. A reliable, multipurpose pan that has truly stood the test of time in my kitchen.
My Review: Lodge Cast Iron has been a family-owned company in South Pittsburg, Tennessee, for 125 years. Their cookware, known for its dependability, is made of rugged, seasoned cast iron for excellent heat retention and durability. This is still my go-to Dutch oven. You'll find it in a lot of my recent videos. It's heavy, durable, non-stick, and it holds heat well. Also, a big lesson: never preheat an enameled Dutch oven without oil. This will crack the enamel. I learned this the hard way.
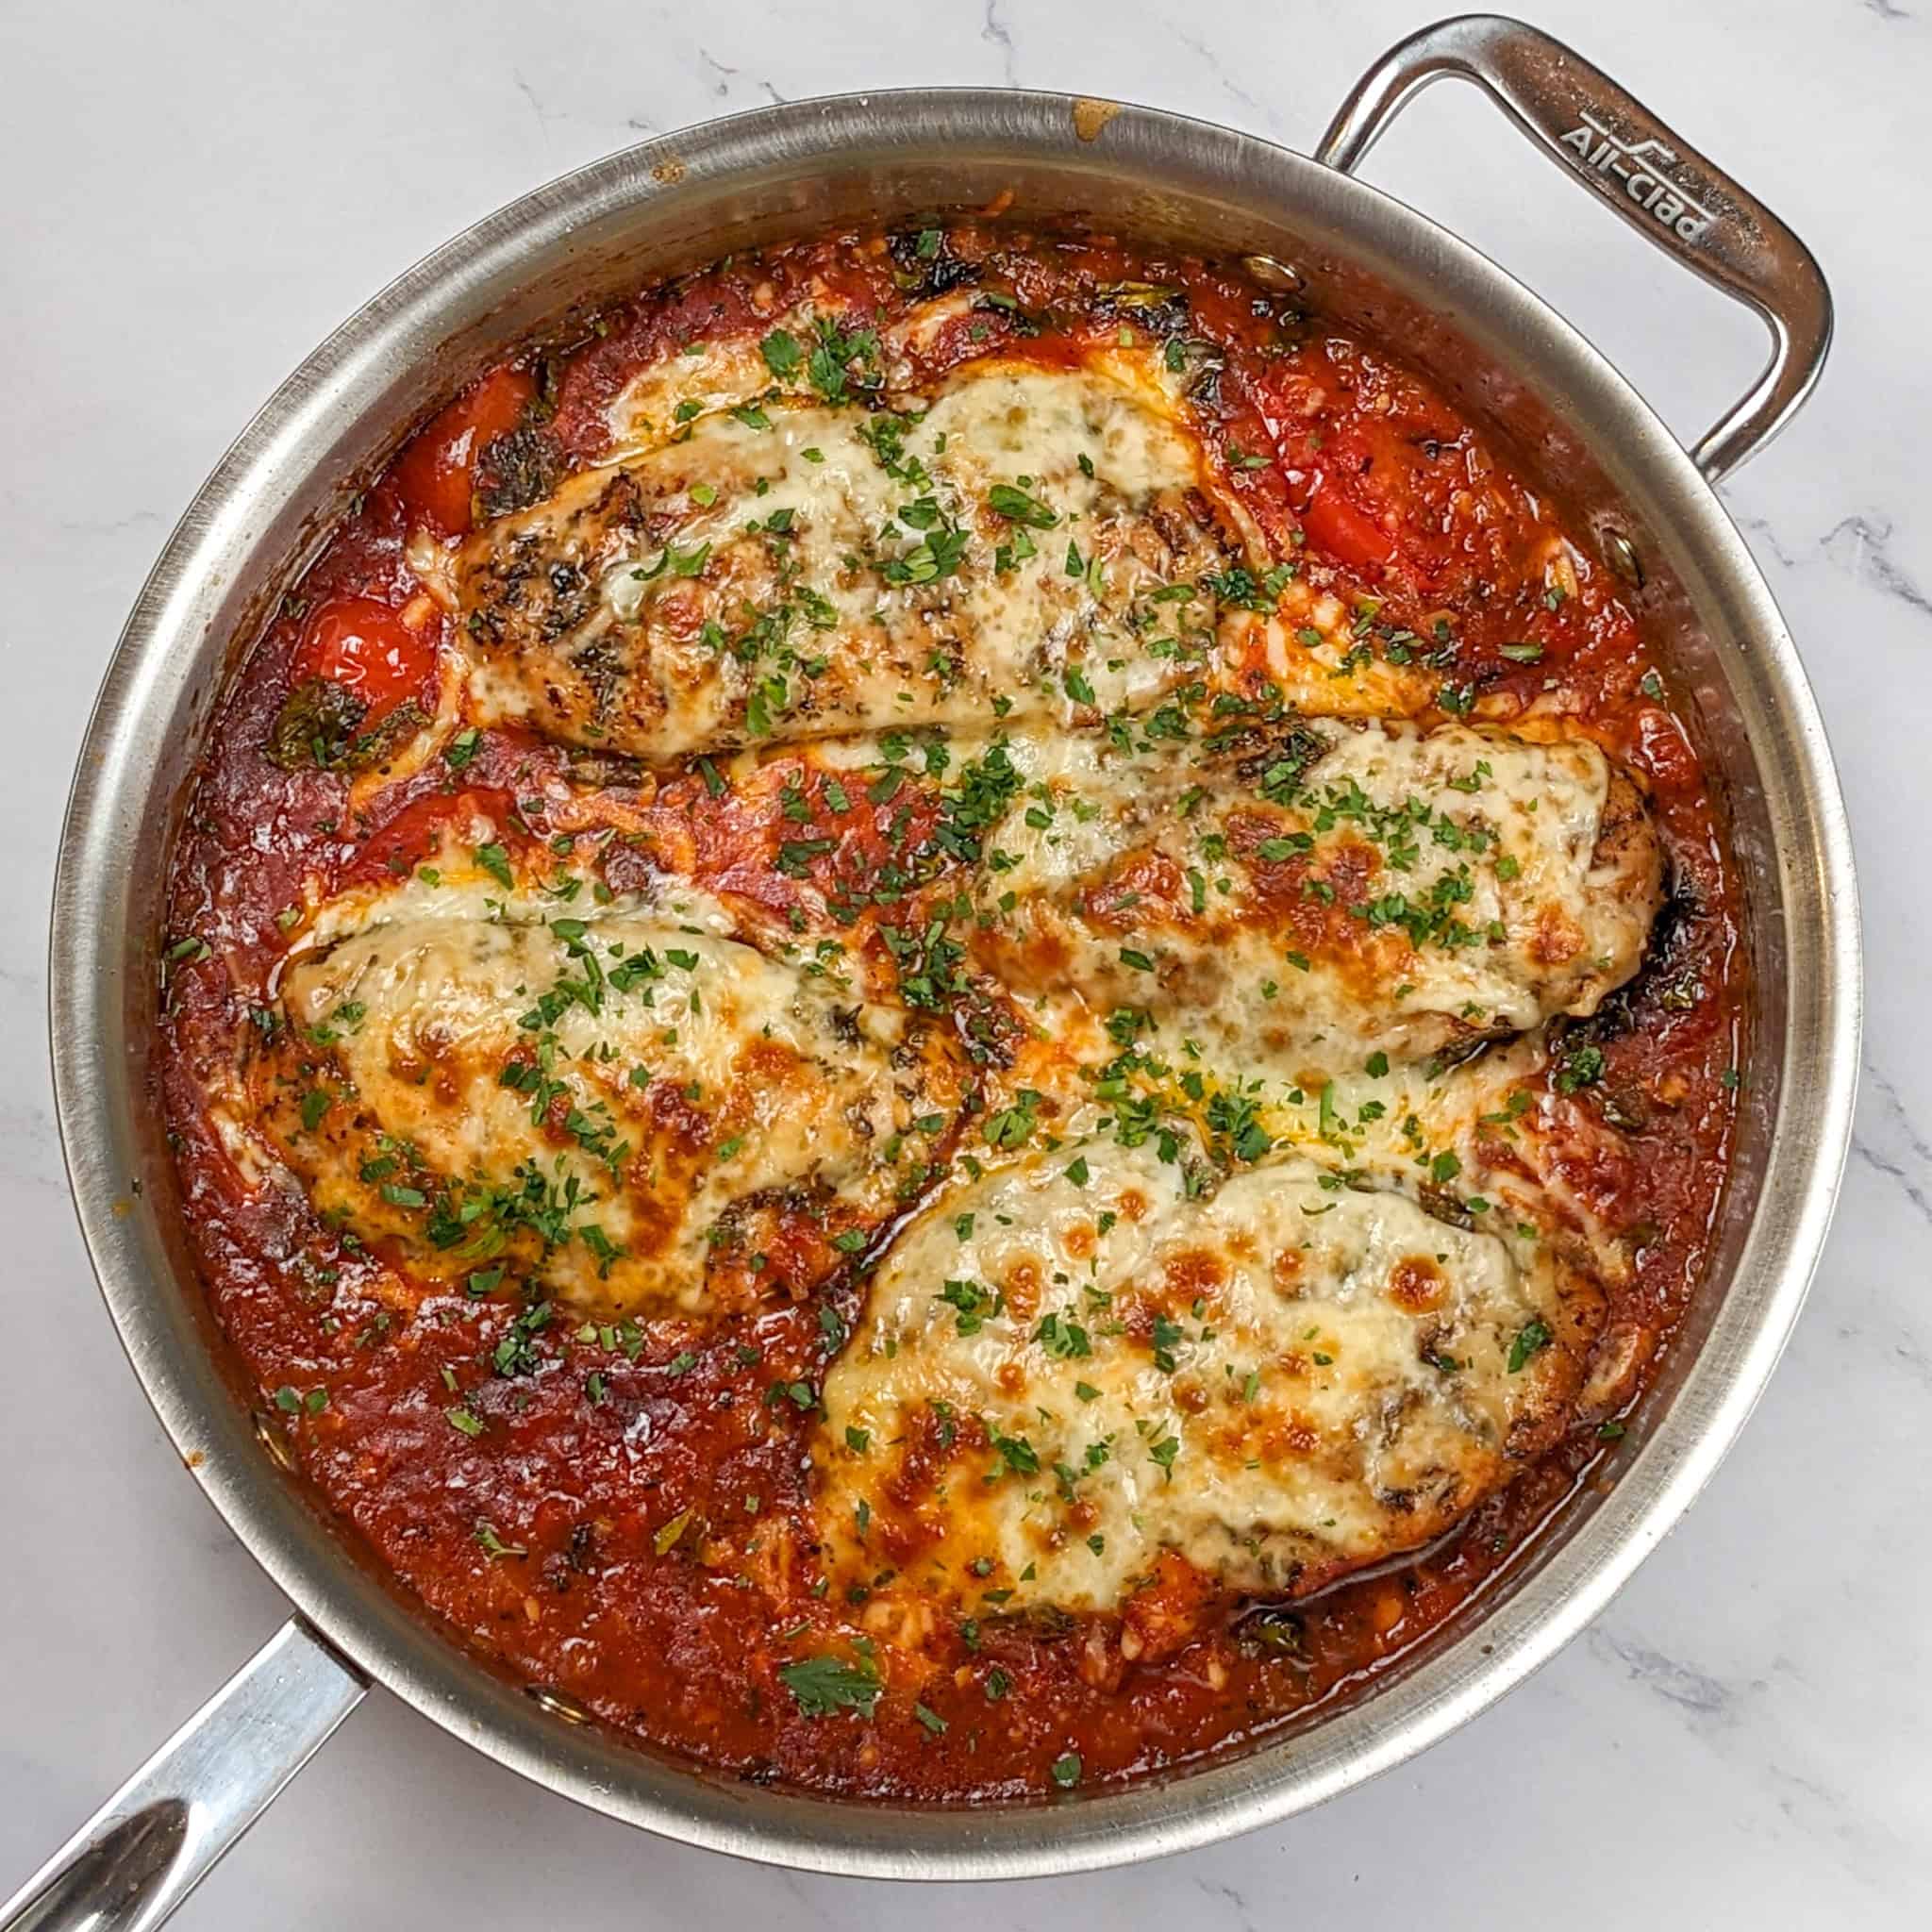
My Review: I absolutely love this All-Clad D3 4-Quart Stainless Steel Sauté Pan. It’s a professionally trusted workhorse in my kitchen. From its sleek, classic design to its even heat control, this pan makes cooking feel effortless. It’s oven- and broiler-safe up to 600°F and still dishwasher-safe, which is a huge win for easy cleanup. None of my All-Clad pans are going anywhere; they're built to last a lifetime and then some. If you're serious about quality cookware, this sauté pan is worth every penny.
My Review: The PAUDIN 8-inch Chef's Knife is an absolute standout in both sharpness and craftsmanship. It stays incredibly sharp through regular use, making prep work effortless. The high-carbon stainless steel blade showcases PAUDIN’s attention to detail, while the ergonomic handle provides a comfortable grip for extended use. Despite its premium feel, this knife is impressively affordable, offering exceptional quality without the high price tag. That’s why I’ve recently switched all my knives to PAUDIN—they truly deliver on durability, beauty, and performance. If you want a reliable, well-crafted knife at a great value, this is the one to get!

My Review: I highly recommend the ForPro Professional Collection Disposable Nitrile Gloves. They’re food-safe, powder-free, and latex-free, making them perfect for cooking. I’ve ordered these several times and use them both personally and for my videos. The gloves are durable and chemically resistant, offering excellent protection when handling raw ingredients. When pressed for time, they’re my go-to for preventing cross-contamination without needing to wash my hands constantly. A must-have for any busy kitchen!

Review: I love this Walfos Silicone Spatula Set! The spatulas are sturdy, with a strong steel core, easy to clean, and come in different sizes, making them perfect for all my cooking, baking, and mixing needs. The seamless design is high quality, and getting five spatulas in one pack is an amazing value for the price. I've always had great experiences with Walfos products, and this set is another reason I love shopping from this brand.

Notable Mention
While I haven't personally used this mandoline slicer, I like the idea of its detachable 3-cup storage container, which can help keep your prep area cleaner by catching sliced ingredients as you work. The container also includes measurement markings, making it useful for tracking how much you've prepped without needing another measuring cup.

Storage and Reheating
Learn how to properly store leftovers and reheat them to keep them fresh and flavorful. Learn more about Understanding Food Temperature Safety Zones: Cook, Store & Serve Safely.
Refrigerator
Allow the Bacon Jalapeño Mac and Cheese to cool before transferring it to an airtight container. Refrigerate for up to 3 to 4 days. The sauce will thicken considerably once chilled. That's normal.
Freezer
You can freeze portions in freezer-safe containers, although creamy cheese sauces can change texture after freezing and thawing. For the best texture, I prefer this particular mac and cheese freshly made or refrigerated rather than frozen.
Stovetop
Place the amount you want to reheat in a small saucepan over low heat. Add a splash of milk or cream and stir gently as it warms to help loosen the cheese sauce.
Microwave
Add a small splash of milk or cream to an individual portion and microwave in short intervals, stirring between each interval until evenly heated. Avoid overheating it. Gentle reheating helps preserve the creamy texture.
Substitutions
Find easy ingredient swaps to fit dietary needs or what you already have in your pantry.
Dairy-Free
Heavy Cream and Cheese: This recipe relies heavily on heavy cream and cheese, so making it dairy-free changes the recipe significantly. You can experiment with an unsweetened dairy-free cooking cream and a dairy-free cheese designed to melt, but expect the flavor and consistency to differ from the original. Also remember that the bacon remains an animal product, even if you replace the dairy ingredients.
Gluten-Free
Pasta: Use your favorite gluten-free shell pasta or another short gluten-free pasta shape that holds sauce well. Cook according to the package directions and watch the texture carefully because gluten-free pasta can behave differently from traditional wheat pasta.
Vegetarian
Bacon: Omit the bacon and sauté the vegetables in olive oil or butter instead. Because bacon fat adds both seasoning and smoky flavor, consider adding smoked paprika or another savory seasoning to make up for some of that missing flavor. For texture, sauté small, diced portobello mushrooms seasoned with smoked paprika in oil at the beginning of the recipe.
Convenience
- Shell pasta: Use elbow macaroni, cavatappi, or another short pasta with curves or pockets.
- Sharp cheddar cheese: Substitute mild cheddar, Monterey Jack, or Colby Jack, depending on the flavor and melt you prefer.
- Fresh jalapeños: Skip them and replace half of the cheddar with Pepper Jack cheese for my shortcut version.
- Heavy cream: A lighter dairy substitution will change the richness and may also change how the sauce behaves, so I prefer heavy cream for this particular recipe.
- Fresh garlic: Garlic powder can work when necessary, but start with a small amount and adjust to taste.
- Thick-cut bacon: Regular bacon works too. Because the slices are thinner, you may want a couple extra strips, depending on how much bacon you want throughout the pasta.
Change Heat Level - Modify the recipe's heat level to your liking and learn more about the Scoville Scale and Chili Pairings.
Variations
Once you have the basic Bacon Jalapeño Mac and Cheese down, you can change the flavor, heat, and texture in several simple ways without learning an entirely new recipe.
- Make It Baked and Crispy: This is one of my favorite ways to finish it. Transfer the prepared mac and cheese to a lightly greased baking dish, sprinkle the top with additional freshly grated cheese and panko breadcrumbs, then bake at 400°F for about 10 to 15 minutes, until hot and bubbling around the edges. For an extra golden-brown, crunchy topping, broil briefly at the end, watching closely.
- Use the Pepper Jack Shortcut: Don't want to prep fresh jalapeños? Leave out the 2 fresh jalapeños and replace half of the cheddar with Pepper Jack. For the full 4 cups of cheese, use 2 cups sharp cheddar and 2 cups Pepper Jack.
- Add Broccoli: Fold cooked broccoli into the finished mac and cheese before serving. If you're making the baked version, stir the broccoli into the pasta before transferring everything to the baking dish.
- Add Spinach: Stir fresh spinach into the hot cheese sauce a little at a time until wilted, then fold in the cooked pasta. This is an easy way to add greens without preparing another side dish.
- Change the Cheese Blend: Keep sharp cheddar as your base and experiment with good melting cheeses such as Monterey Jack, Pepper Jack, or Colby Jack. Changing one portion of the cheese lets you experiment with different flavors without completely changing the sauce.
- Adjust the Heat: Use 1 jalapeño instead of 2 for a milder version, remove the pale inner ribs and seeds, or leave more of the pepper intact for more heat. Since individual jalapeños vary, taste and adjust rather than assume every pepper will have the same level of spice.
5 Quick Cooking Tips
Cook's Notebook is your Cooking Tips Resource Guide. Become a better home cook with tips to help you cook more efficiently.
- Choose a pasta shape that holds sauce: I use shell pasta because the creamy cheese sauce coats the outside and collects inside the shells. If substituting another shape, try elbows, cavatappi, or another short pasta with curves, ridges, tubes, or pockets that can catch the sauce.
- Freshly grate the cheese when possible: Freshly grated sharp cheddar generally melts more smoothly into the heavy cream. Store-bought shredded cheese is convenient and will still work, but it may contain anti-caking ingredients that can affect how smoothly it melts. If pre-shredded cheese makes dinner easier, use it.
- Start with 3 cups of cheese: My original recipe uses 4 cups, and I still prefer the full amount because I love how generously the sauce coats and fills the shells. Start with 3 cups, let it melt, and add the remaining 1 cup if you want yours as cheesy as mine.
- Keep the cheese sauce over gentle heat: This recipe doesn't need a flour-based roux or béchamel because heavy cream provides the rich base for the sauce. Keep the cream below a boil and gradually stir in the cheese over low heat to help prevent the sauce from becoming grainy or separating.
- Control the jalapeño heat or take a shortcut: For less heat, remove the pale inner ribs and seeds from the fresh jalapeños before slicing. Don't want to chop peppers at all? Skip the fresh jalapeños and use a 1:1 combination of sharp cheddar and Pepper Jack cheese. For my 4-cup version, that's 2 cups of each.
Frequently Asked Questions
Here are common questions I have answered. If you have any questions, please write them in the comments below.
Not necessarily. Jalapeños vary naturally in heat, but you can make the dish milder by removing the pale inner ribs and seeds before slicing them. If you're sensitive to spicy food, start with 1 jalapeño instead of 2, then adjust next time.
Yes. You can leave them out completely for a bacon mac and cheese, or use my shortcut and replace half of the sharp cheddar with Pepper Jack cheese. For 4 cups of cheese, use 2 cups sharp cheddar and 2 cups Pepper Jack.
The starch remaining on the cooked pasta helps the creamy cheese sauce cling to the shells. Simply drain the pasta after cooking it al dente and reserve about 1 cup of pasta water in case you need to loosen the sauce later.
Yes. Shells are my preference because the cheese sauce gets inside them, but elbow macaroni, cavatappi, or another short pasta that can hold a creamy sauce will work.
Yes. Broccoli and spinach were two additions I suggested when I originally made this recipe. Cook the vegetables first and fold them into the finished mac and cheese so they don't release excess water into the cheese sauce.
Too much heat can cause a cheese sauce to separate. Keep the heavy cream over low heat without boiling it, then add the grated cheese gradually and allow each addition to melt before adding more.
Gloves aren't required, but they're helpful if you have sensitive skin. Whether you wear them or not, wash your hands thoroughly with soap and water after handling jalapeños and avoid touching your eyes, nose, or face. I learned that lesson the hard way after touching my cheeks and lips after handling hot peppers.
More Pasta Recipes
Looking for other pasta recipe ideas? Try these:
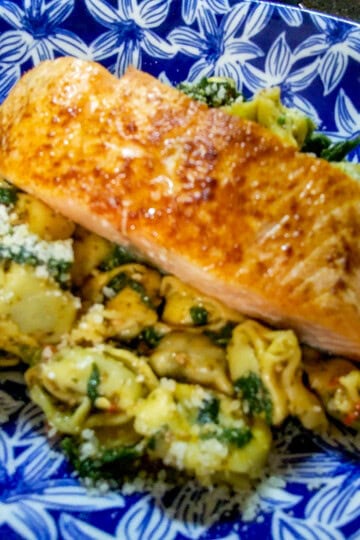
- Air Fryer Salmon with Spicy Pesto Spinach Tortellini
- Pasta and Lentil Soup Recipe (Italian Style)
- Creamy Haitian-Style Shrimp Mac and Cheese with Gouda Cheese
- 25+ Pasta Dishes You'll Want to Twirl, Slurp, and Scoop on Repeat

Cooking Tips and Tutorials
If you found this tutorial helpful, you'll love my Cook's Notebook collection. From knife skills and flavor bases to time-saving tricks and essential equipment guides, this section is packed with chef-tested lessons to help you cook with confidence.
- 2026 Fall Seasonal Produce Guide: Fruits and Vegetables to Enjoy This Season
- Indian Cooking Techniques That Changed How I Think About Food
- What Is Emulsification? A Simple Guide to Creamier Sauces and Dressings
- Homemade Baby Food: How to Prep, Freeze & Build Easy Meals
📖 Recipe
Bacon Jalapeño Mac and Cheese
Ingredients
- 1 pound shell pasta
- 6 slices thick-cut bacon chopped or cut into strips
- 2 fresh jalapeños halved lengthwise and thinly sliced
- 1 medium onion finely chopped
- ½ tablespoon garlic minced
- 1 pint heavy cream
- 3 to 4 cups freshly grated sharp cheddar cheese
- Kosher salt to taste
- Ground black pepper to taste
Equipment
- Pasta Pot or Large Pot
- Large Saute Pan or Heavy-Bottomed Pot
- Wooden Spoon or Silicone Spatula
Instructions
- Save Time in the Kitchen: Read the instructions thoroughly, then gather and prep all your ingredients before cooking! Learn Prepping Tips.
- Cook the pasta: Bring a large pot of salted water to a boil. Add 1 pound of shell pasta and cook according to the package directions until al dente. Before draining, reserve about 1 cup of pasta water. Drain the pasta but do not rinse.
- Prepare the jalapeños: For less heat, remove the pale inner ribs and seeds from 2 fresh jalapeños, then thinly slice them. For more heat, leave some of the inner membrane intact.
- Cook the bacon: Add 6 slices of chopped thick-cut bacon to a large sauté pan or heavy-bottomed pot over medium heat. Cook until the bacon browns and the fat renders.
- Sauté the vegetables: Add the 2 sliced jalapeños and 1 finely chopped medium onion directly to the rendered bacon fat. Cook over medium heat until softened. Add ½ tablespoon minced garlic and cook briefly until fragrant.
- Add the cream: Reduce the heat to low and slowly stir in 1 pint of heavy cream. Heat gently until hot, but do not allow the cream to boil.
- Add the cheese: Gradually stir in 3 cups freshly grated sharp cheddar cheese, adding a handful at a time and allowing each addition to melt before adding more.
- Adjust the cheese: Once the 3 cups of cheddar have completely melted, taste the sauce and check its consistency. Gradually add up to the remaining 1 cup of freshly grated sharp cheddar cheese for the rich, cheesy coating I prefer, or stop when the sauce reaches your preferred consistency.
- Add the pasta: Fold the 1 pound cooked shell pasta into the creamy cheese sauce until thoroughly coated. If the sauce is thicker than you prefer, gradually stir in some of the reserved 1 cup pasta water until it reaches your desired consistency.
- Season and serve: Taste the Bacon Jalapeño Mac and Cheese and season with kosher salt and ground black pepper to taste. Serve immediately while the sauce is creamy.
Notes
Storage and Reheating
Store cooled leftovers in an airtight container in the refrigerator for up to 3 to 4 days. To reheat, add a splash of milk or heavy cream and warm gently over low heat, stirring occasionally. For individual portions, microwave in short intervals, stirring between each interval and adding a splash of milk or cream as needed.Nutrition
What to Serve with Bacon Jalapeño Mac and Cheese
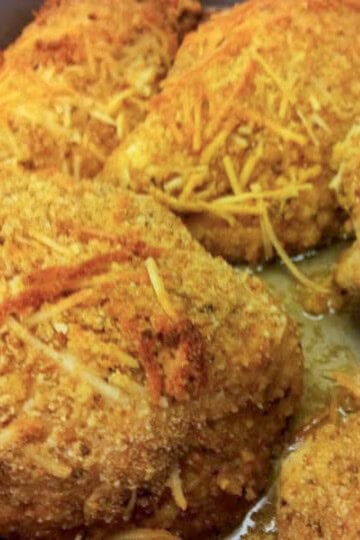
This recipe actually started as part of a complete dinner. When I originally published it on July 18, 2012, I served my Bacon Jalapeño Mac and Cheese alongside Garlic Parmesan Baked Chicken and steamed broccoli tossed simply with garlic butter, salt, and pepper.
That's still a great combination because the broccoli gives you something simple and green alongside a rich, cheesy side dish. You could also serve this mac and cheese with roasted chicken, grilled chicken, barbecue dishes, burgers, or other simple proteins.
If you're making it for a family meal or holiday dinner, remember this is a rich side dish. You don't need every other item on the table competing with it. Sometimes the mac and cheese gets loud!


Chef Maika Frederic-Liebman
Chef and Educator
Professionally trained Haitian-American chef Maika Frederic is the creator of Just Maika Cooking, where she shares globally inspired recipes, cooking techniques, ingredient guides, and food safety tips designed to help home cooks become more creative and confident in the kitchen. Combining years of professional culinary experience with a passion for teaching, she makes global flavors approachable through practical, accessible instruction for cooks of every skill level.
SUBSCRIBE: 👈To my YouTube Channel to Get Notifications of New Videos.
Have a Comment or Question?
If you have a question or comment about this post, please post it below. You will receive a prompt response. It also helps our other readers to stay informed. Now, would you make yours with fresh jalapeños or take my Pepper Jack shortcut? Let me know in the comments. Thanks!
Leave a Reply