

This rosemary garlic roasted chicken pairs a juicy whole chicken with garlic, fresh rosemary, butter, and simple seasonings, then roasts it until the skin is golden brown and crisp. The pan drippings and roasted vegetables then become a simple gravy, making this a comforting chicken recipe perfect for Sunday dinner or a special occasion.
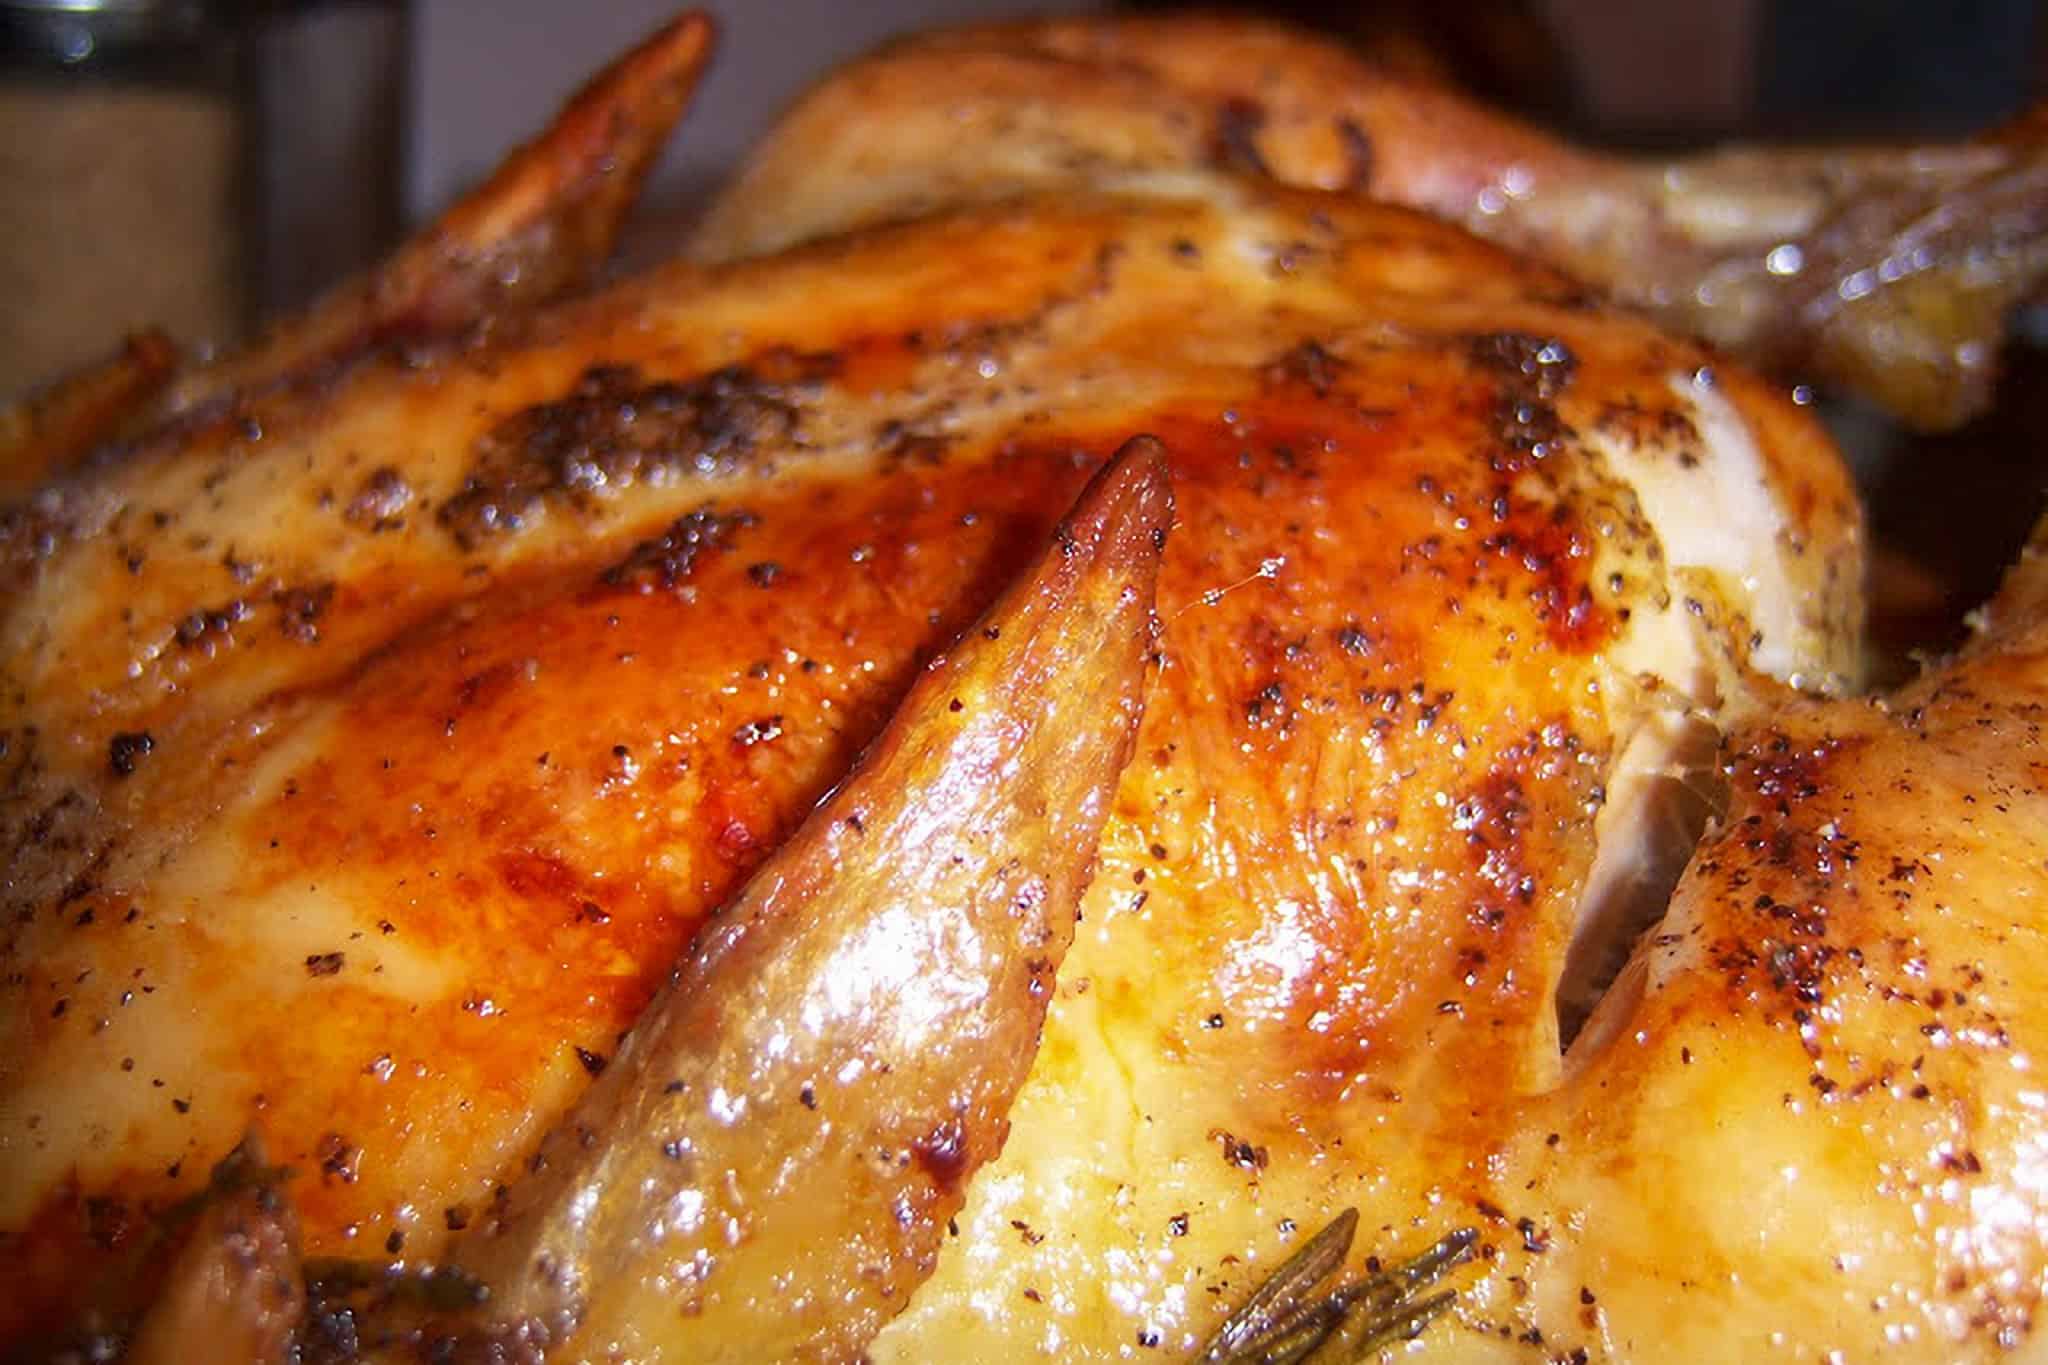
Table of Contents
Jump to:
- A Classic Whole Roasted Chicken Worth Learning
- From My Cooking Archives: Back to the Basics
- The Cookbooks That Sent Me Back to the Foundations
- Why You'll Love This Rosemary Garlic Roasted Chicken
- Note From Chef Maika: "Where There Is No Moisture…"
- What I Do Differently Today
- Ingredients with Steps
- Culinary Glossary
- Instructions with Pictures
- Equipment You'll Need (With Alternatives)
- Kitchen Tools I Use and Recommend
- Storage and Reheating
- Substitutions
- 5 Quick Cooking Tips
- Frequently Asked Questions
- Side Dish Recipes
- Cooking Tips and Tutorials
- 📖 Recipe
- What to Serve With Rosemary Garlic Roasted Chicken
- Have a Comment or Question?
A Classic Whole Roasted Chicken Worth Learning
Learning how to roast a whole chicken is one of those foundational cooking skills that can teach you much more than how to make dinner. For example, you learn how surface moisture affects browning, how to season an entire bird, why oven temperature matters, where to check the internal temperature with a meat thermometer, why meat needs to rest, and how flavorful pan juices can become the beginning of a sauce.
This easy recipe uses simple ingredients: whole chicken, garlic cloves, fresh rosemary, butter, salt, black pepper, and aromatic vegetables. But the techniques behind those ingredients are what make the biggest difference. And the result is juicy chicken with flavorful skin and a pan full of drippings ready to become gravy.
From My Cooking Archives: Back to the Basics
I originally wrote and published this recipe on my old cooking blog on July 9, 2007, at 9:34 PM while I was working as a cook and intentionally going back to what I called "the basics": the techniques I thought cooks should know how to do properly.

I wrote: "To me it's best to learn the foundation, then you can build up on that." And almost two decades later, I still believe that!
I wasn't trying to find the fastest possible way to get a whole chicken into the oven. I wanted to understand how to roast the whole bird correctly and why each step mattered. Looking back at the post now, I can also see the beginnings of how I eventually learned to teach cooking: understand the foundation first, then use that knowledge to experiment.
The Cookbooks That Sent Me Back to the Foundations
My inspiration then came from two books: Julia Child's Mastering the Art of French Cooking and The Escoffier Cookbook. I remember acknowledging even then that these were old books. But that's precisely what interested me.
I wasn't looking for fusion or shortcuts then. I wanted to go backward and study the foundations: to understand how cooks approached an ingredient before I started building something different from it. And that doesn't mean shortcuts or modern adaptations are bad. They absolutely have their place. But understanding the original technique first is valuable. Therefore, once you understand the why, you have much more freedom to decide what you want to change.
My Review: Mastering the Art of French Cooking was one of the books I would study when I wanted to better understand the foundations of French cuisine. What I appreciated was how structured the learning felt: French cooking teaches you a basic technique first, then shows you how to develop that foundation into different variations. Think of the classic mother sauces: once you understand the base sauce and the technique behind it, you can build an entire family of sauces from that foundation!
That's how I approached Julia Child's cookbook. I wasn't simply looking through it for something to make for dinner. I studied the techniques, paid attention to the basic preparations, and learned how one method could lead to another. That way of learning had a lasting influence on how I cook and teach today: learn the foundation, understand why it works, and then use that knowledge to explore and experiment.

My Review: Auguste Escoffier is one of the most influential figures in modern French cuisine, known for refining and organizing classical French cooking and helping systematize the professional kitchen through the brigade system. That's one of the things I've always found fascinating about him: this man was a problem solver. The brigade created organization by dividing kitchen responsibilities into defined stations and roles, a structure that continues to influence how professional kitchens operate today.
I loved studying The Escoffier Cookbook and Guide to the Fine Art of Cookery because it wasn't just a collection of nearly 3,000 recipes to me. It was a reference book. I could look at preparations, techniques, sauces, garnishes, and variations and begin to understand how classical French cuisine was organized and how one preparation could build upon another.
This book was also one of my cooking references before I really started using the internet to search for recipes. If I wanted to understand something, I pulled out books like this one and looked it up. I love having it as a companion to my other classical French cookbooks because it reminds me of how I learned to cook: study the foundation, understand the system, and then build from there.

A Little Culinary Nostalgia: Julie & Julia
If you love cooking stories, I also recommend checking out the film Julie & Julia. I was so excited when it came out in 2009, and I loved watching Julia Child's story unfold alongside Julie Powell as she cooked her way through Mastering the Art of French Cooking. It felt especially meaningful because it came out around the same time I was exploring these classic cookbooks myself.
It also takes me back to how different learning about food and cooking felt then. MySpace was a major social platform, and we didn't have the same instant access we have today to years of Julia Child cooking demonstrations, interviews, recipes, and videos with a quick search on our phones.

And then there was the library:
I would make trips to my local library to look through Larousse Gastronomique, this massive culinary reference book that I could only use in the reference section. I couldn't take it home, so if I wanted to learn from it, I had to sit there and read it.
Today, I can pull out my phone and find a cooking demonstration, look up a culinary term, research an ingredient, or watch an old Julia Child clip within seconds. Back then, learning sometimes meant finding the right cookbook, going to the library, taking notes, and then going home and actually trying the technique.
Thinking about Julie & Julia brings all of that back for me:
If you've never watched it, or haven't seen it in years, it's a fun film to revisit. For me, it also captures something nostalgic about an era when cookbooks played an enormous role in how many of us discovered cooks, techniques, and cuisines outside our own kitchens.
My Review: I loved Julie & Julia because it was so cool to discover a story about someone doing something similar to what I had been doing: cooking from Julia Child's Mastering the Art of French Cooking. Julie Powell took the idea much further by challenging herself to cook through the entire book and documenting the experience, which made the story especially fun for me to watch.
It also doesn't hurt that Meryl Streep stars as Julia Child and Stanley Tucci as her husband, Paul. I love their performances and how the movie gives its characters dimension. Julia isn't presented simply as this famous culinary icon who had everything figured out. We see her trying to find her place, facing obstacles, learning, working, and eventually creating something remarkable.
What I especially love about Julia's story is that she was different, and the qualities that made her stand out ultimately became part of what made her so memorable. She didn't have to fit the image of what everyone expected a television personality or culinary teacher to be. Her personality, enthusiasm, voice, humor, curiosity, and unmistakable presence became strengths.
For me, that's what makes Julie & Julia more than just a fun movie about cooking. It's a great story about learning, persistence, finding your own way of doing things, and realizing that being different can sometimes be exactly what allows you to create something special.

Recipe Inspiration and Attribution
This rosemary garlic roasted chicken was inspired by techniques I studied in Julia Child's Mastering the Art of French Cooking and The Escoffier Cookbook. The recipe shared here comes from the version I personally cooked and documented on my original blog in 2007, updated with what I've learned about roasting chicken since then.
Why You'll Love This Rosemary Garlic Roasted Chicken
- Crispy, flavorful skin: Drying the chicken and roasting it uncovered encourages beautiful golden-brown skin.
- Juicy chicken: A meat thermometer helps you determine doneness without relying solely on cooking time.
- Simple ingredients: Garlic, rosemary, butter, salt, and black pepper provide plenty of flavor without an overly complicated ingredient list.
- Two recipes in one: The pan juices and drippings left after roasting become the foundation for an easy pan gravy.
- A foundational technique: Once you understand how to roast a whole chicken, you can apply the same principles to countless other chicken recipes.
Note From Chef Maika: "Where There Is No Moisture…"
One of my favorite things about rediscovering this post was finding a lesson from my old chef instructors that apparently had been thoroughly engraved into my brain.
When explaining why I patted the chicken dry, I wrote:
"Where there is no moisture... browning will occur." Thanks, Chef Instructors. I remembered!
Today, I would explain the science a little differently. Excess surface moisture has to evaporate before the chicken's surface can efficiently reach the temperatures needed for browning. Using paper towels to dry the chicken skin removes some of that moisture from the beginning, giving you a better opportunity to develop crispy skin.
That's one of the things I love about foundational cooking techniques. A seemingly tiny step can make a huge difference once you understand why you're doing it.
Recommended Reads
What I Do Differently Today
Reading a recipe I wrote in 2007 gives me the unusual opportunity to critique my own cooking instructions. And yes, I've changed a few things.
I Don't Baste the Chicken Every 10 Minutes
My original instructions called for basting the chicken every 10 minutes with melted butter and oil. I wouldn't do that today. Repeatedly opening the oven door releases heat, and continually wetting the top of the chicken isn't necessary for juicy breast meat. Instead, I coat the chicken before roasting and let the heat do its job while keeping the oven door closed as much as possible.
I Use a Meat Thermometer
My original recipe relied heavily on cooking time. Today, an instant-read thermometer or oven-safe probe thermometer would be one of my most important tools for this recipe. Chicken size, starting temperature, roasting pan material, and individual ovens can all affect cooking time.
Checking the internal temperature at the thickest part of the chicken gives you much more useful information than relying on the clock alone.
I Let the Chicken Rest Longer
Originally, I suggested letting the chicken rest for 5 to 10 minutes. Uh no! Today, I'd let a whole roasted chicken rest about 15-20 minutes before carving. That also gives you a convenient window to make gravy from the pan drippings.
Ingredients with Steps
Pat the whole chicken dry with paper towels, then season the outside and the bird's cavity with salt and black pepper. Rub the chicken with cut garlic cloves, fresh rosemary, and softened butter, and place additional garlic and sprigs of rosemary inside the cavity. Arrange the chicken breast, breast-side up, in a roasting pan surrounded by carrots, celery, and onion, then roast in a preheated oven until golden brown and the internal temperature indicates doneness. Allow the chicken to rest while you use the shallot, chicken stock, pan juices, and a cornstarch slurry to make a simple gravy.
Culinary Glossary
This section provides concise definitions of key ingredients and techniques to enhance understanding and improve cooking skills related to this post. Find More Terms: Culinary Glossary.
Ingredients
- Whole Chicken: A chicken sold intact rather than divided into individual cuts such as thighs, breasts, or legs. Check out How to Cut Chicken: Prepping to Cooking Tutorials.
- Chicken Stock: A flavorful liquid used as the base for sauces, soups, gravies, and braises.
- Rosemary: A fragrant woody herb with a distinctive pine-like aroma that pairs especially well with poultry and roasted vegetables.
- Shallot: A member of the onion family with a relatively delicate, slightly sweet flavor.
Techniques
- Roasting: Cooking food with dry heat, typically uncovered in an oven.
- Trussing: Securing the legs and sometimes wings of poultry close to the body before roasting.
- Browning: Developing color and complex flavors on the surface of food through heat.
- Deglazing: Adding liquid to a hot pan to loosen and incorporate flavorful browned bits.
- Slurry: A mixture of starch and cold liquid used to thicken sauces and gravies.
- Resting: Allowing cooked meat to sit before carving.
Instructions with Pictures
Follow the instructions and cooking tips below using the step-by-step picture guide.
Next time I make this recipe, I will take process photos. Subscribe to get notified.
Equipment You'll Need (With Alternatives)
Here's what you'll need to be efficient, plus easy swaps if you don't have everything on hand.
- Roasting Pan: Holds the whole chicken and vegetables while collecting the flavorful pan juices and drippings needed for gravy.
- Instant-Read Thermometer or Oven-Safe Probe Thermometer: Helps determine when the chicken has reached the proper internal temperature without relying solely on cooking time.
- Paper Towels: Used to thoroughly dry the outside of the chicken before seasoning and roasting.
- Chef's Knife: Useful for preparing the garlic, carrots, celery, onion, shallot, and fresh herbs.
- Cutting Board: Provides a stable prep surface. Use proper food-safety practices after the board has touched raw chicken. Check out: How to Prevent Cross-Contamination in Your Kitchen.
- Kitchen Tongs: Help handle the vegetables and chicken without piercing the meat unnecessarily.
- Whisk: Helps incorporate the cornstarch slurry smoothly into the pan gravy.
- Serving Platter: Gives the whole roasted chicken room to rest before carving.
- Aluminum Foil: Can be loosely tented over the chicken during resting if needed.
Kitchen Tools I Use and Recommend
These are some of the kitchen tools I personally use that make cooking faster and easier. If you're building your kitchen setup or upgrading your tools, these are great places to start. More Kitchen Must-Haves - Find other tools I use here.
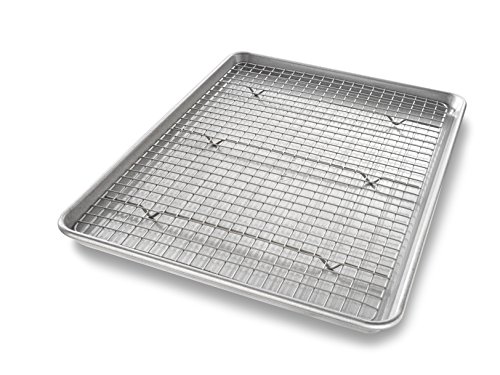
My Review: The USA Pan Bakeware Half Sheet Baking Pan and Nonstick Cooling Rack Set is such a smart buy, it’s incredibly convenient to have both the pan and rack come together as a set. You never know when you’ll need the rack for roasting, cooling, or glazing, and having it perfectly fitted to the pan saves so much time and hassle. The pan itself is super sturdy with excellent heat distribution, and the nonstick rack makes cleanup a breeze. I’ve used it for everything from baking cookies to roasting vegetables and even draining fried foods. It’s one of those kitchen upgrades that just makes life easier.
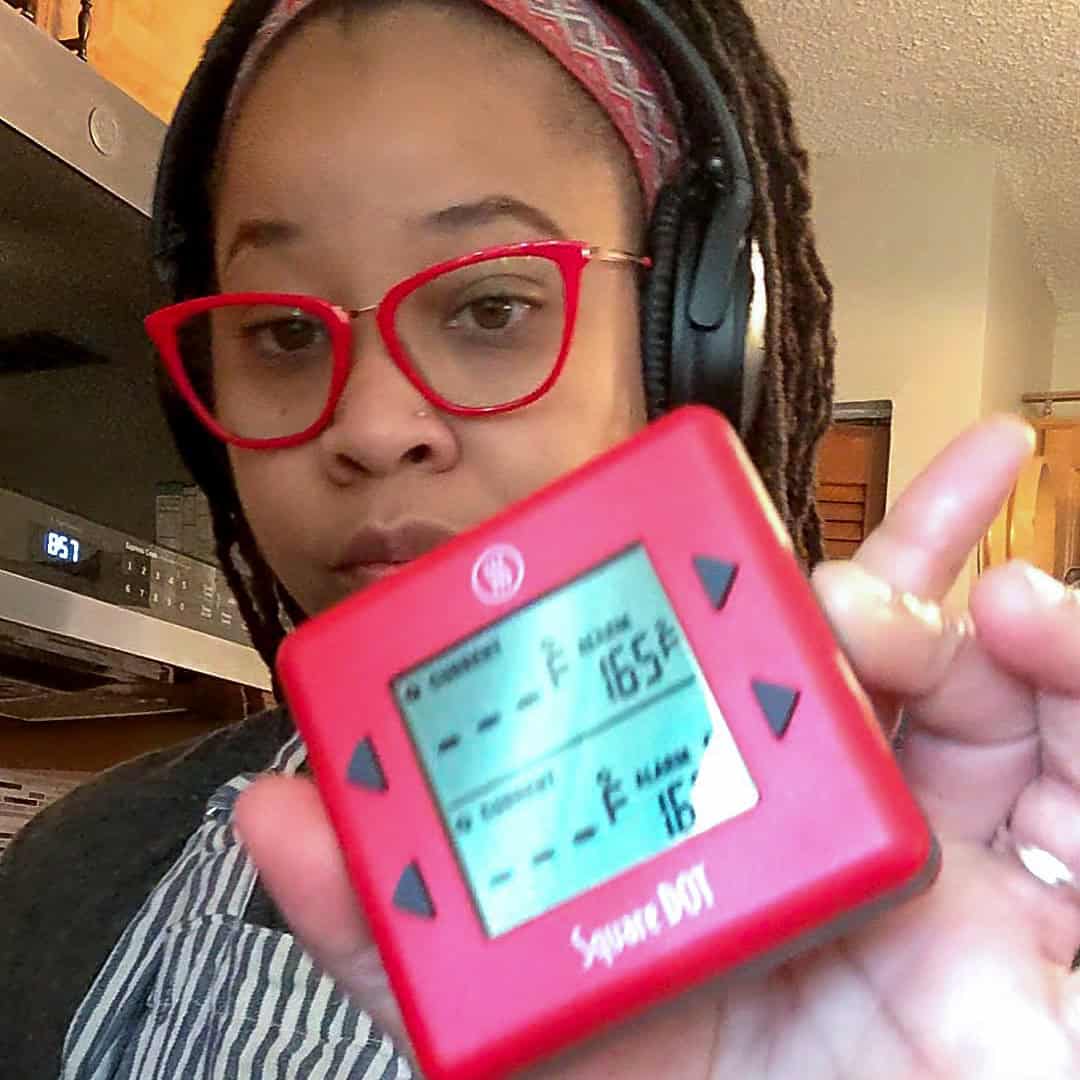
My Review: I finally used the ThermoWorks Square Dot®, and it's as great as my colleagues said. It's precise and easy to use, and America's Test Kitchen recommends it. ThermoWorks even provides helpful care and usage guides, so it earns a 5 out of 5 from me. The Square Dot® offers dual-temperature tracking and a clear display, making it easy to monitor both food and oven temperatures for accurate cooking.
My Review: The PAUDIN 8-inch Chef Knife is an absolute standout in both sharpness and craftsmanship. It stays incredibly sharp through regular use, making prep work effortless. The high-carbon stainless steel blade showcases PAUDIN’s attention to detail, while the ergonomic handle provides a comfortable grip for extended use. Despite its premium feel, this knife is impressively affordable, offering exceptional quality without the high price tag. That’s why I’ve recently switched all my knives to PAUDIN—they truly deliver on durability, beauty, and performance. If you want a reliable, well-crafted knife at a great value, this is the one to get!

Notable Mention
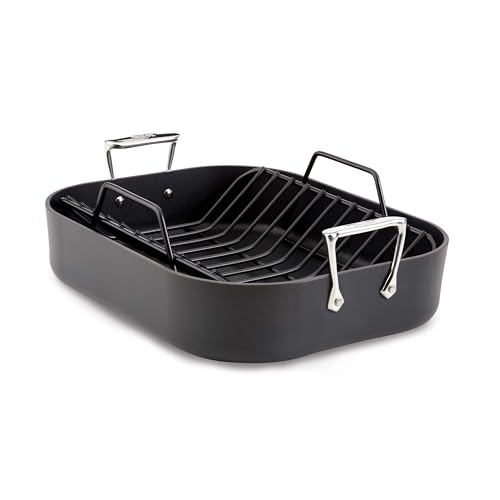
A quality roasting pan is a great tool to have when you want the flexibility to roast everything from a whole chicken or pork roast to a beef prime rib. I especially like the rack because it elevates the meat above the bottom of the pan, letting heat circulate while leaving space underneath to collect flavorful drippings for gravy or pan sauces.
This roaster is also made by All-Clad, a cookware company I've trusted and used for years. I appreciate durable kitchen equipment that can serve more than one purpose, and a sturdy non-stick stainless steel roasting pan is one of those pieces you can bring out for Sunday dinners, holiday meals, and special occasions year after year.
Storage and Reheating
Learn how to properly store leftovers and reheat them to keep them fresh and flavorful. Learn more about Understanding Food Temperature Safety Zones: Cook, Store & Serve Safely.
Refrigerator: Remove leftover chicken from the bones and store it in an airtight container in the refrigerator for 3 to 4 days. Trust me, your taste buds will be happy if you have sensitive ones like mine. I can instantly tell if leftover chicken was left on the bird. Store the gravy separately when possible.
Freezer: Portion cooled leftover chicken into freezer-safe containers and freeze for longer storage. Removing the meat from the whole bird first makes it easier to thaw and use later.
Reheating: Reheat leftover chicken gently so the breast meat doesn't dry out. Add a small amount of chicken stock or gravy when reheating if it needs extra moisture.
Leftover Ideas: Leftover chicken is great for chicken salad, sandwiches, wraps, soups, grain bowls, or another easy recipe the next day.
Substitutions
Find easy ingredient swaps to fit dietary needs or what you already have in your pantry.
Dairy-Free
- Butter: Replace the softened butter with olive oil. Rub it over the chicken skin before seasoning and roasting.
Gluten-Free
No substitutions are needed when you thicken the gravy with cornstarch. Confirm that your packaged chicken stock and other prepared ingredients are labeled gluten-free if necessary for your dietary needs.
Pantry Substitutions
- Fresh Rosemary: Substitute dried rosemary when fresh rosemary sprigs aren't available. Use less because dried rosemary is more concentrated.
- Chicken Stock: Use chicken broth or a reduced-sodium bouillon prepared according to package directions. Taste carefully before adding additional salt.
- Shallot: Substitute a small amount of finely minced yellow onion.
- Cornstarch: You can use another appropriate sauce thickener, though you may need to adjust quantities and technique.
- Carrots, Celery, and Onion: Use whatever combination of sturdy aromatic vegetables you have available for the roasting pan.
- Fresh Garlic: Garlic powder can provide garlic flavor in a pinch, although it won't provide quite the same flavor as rubbing and roasting fresh garlic cloves.
Change Heat Level - Modify the recipe's heat level to your liking and learn more about the Scoville Scale and Chili Pairings. Try Calabrian chili paste or red pepper flakes.
5 Quick Cooking Tips
Cook's Notebook is your Cooking Tips Resource Guide. Become a better home cook with tips to help you cook more efficiently.
- Dry the skin well: Use paper towels to remove excess surface moisture before seasoning. This simple step makes a huge difference when you're trying to develop crispy skin.
- Season the entire bird: Don't forget the chicken cavity, legs, wings, and underside when seasoning the whole chicken.
- Keep the oven door closed: Resist repeatedly opening the oven to baste or check the chicken. Maintaining a consistent oven temperature helps the chicken roast more efficiently.
- Trust your thermometer: Cooking time is a guideline. Use an instant-read thermometer to check when the thickest parts of the chicken reach a safe internal temperature. Check out the Internal Meat Temperature Chart (Printable Guide).
- Save the pan drippings: Those browned juices are packed with flavor and make a great gravy while the chicken rests.
Frequently Asked Questions
Here are common questions I have answered. If you have any questions, please write them in the comments below.
Use an instant-read thermometer rather than relying on cooking time alone. Check the internal temperature in the thickest portions of the chicken without touching bone.
Patting the chicken dry with paper towels helps the skin brown more effectively in the oven.
No. Although my original 2007 recipe called for frequent basting, I no longer find it necessary. Keeping the oven door closed helps maintain a more consistent roasting environment.
Start with dry skin, coat and season it well, roast uncovered, and avoid continually wetting the surface during cooking. Loosely tent the finished chicken rather than tightly wrapping it while it rests.
Absolutely. The pan drippings, roasted aromatics, and browned bits left in the roasting pan create a flavorful foundation for gravy. Add chicken stock, scrape up the browned bits, and thicken the liquid with a cornstarch slurry.
Use the leftover chicken for chicken salad, sandwiches, wraps, soups, or quick meals throughout the next few days.
Side Dish Recipes
Looking for side dish recipes? Try these:
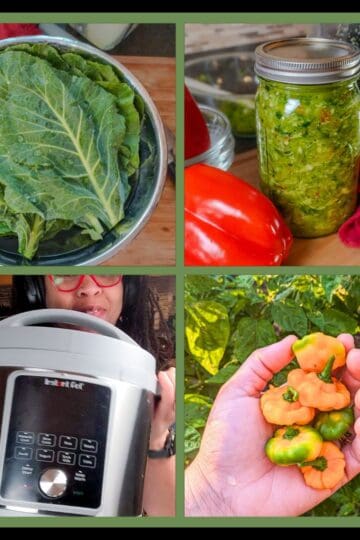
- Instant Pot Collard Greens with Smoked Turkey
- 5-Minute Chunky Dijon Lemon Mustard Remoulade Sauce Recipe
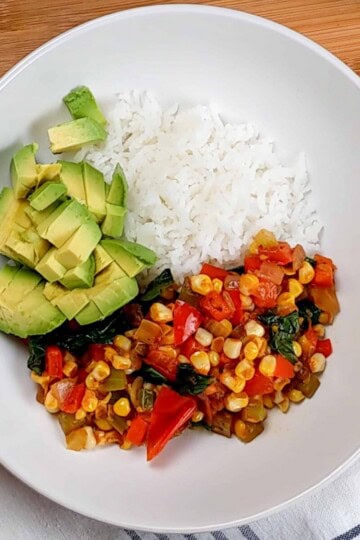
- How to Cook Perfect Jasmine Rice in a Rice Cooker
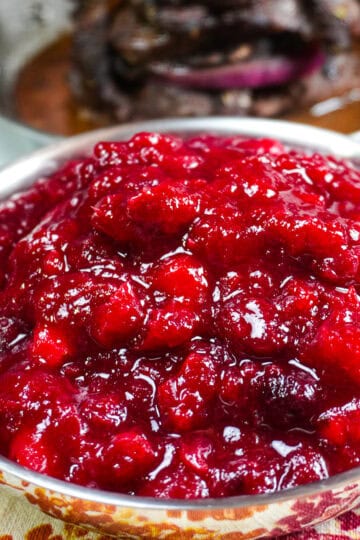
- Fresh Cranberry Ginger Chutney | Quick and Easy
Cooking Tips and Tutorials
If you found this tutorial helpful, you'll love my Cook's Notebook collection. From knife skills and flavor bases to time-saving tricks and essential equipment guides, this section is packed with chef-tested lessons to help you cook with confidence.
- Indian Cooking Techniques That Changed How I Think About Food
- What Is Emulsification? A Simple Guide to Creamier Sauces and Dressings
- Homemade Baby Food: How to Prep, Freeze & Build Easy Meals
- Summer Seasonal Produce: A Guide to Fruits and Vegetables in Season


📖 Recipe
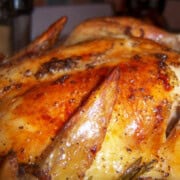
Rosemary Garlic Roasted Chicken with Pan Gravy
Ingredients
Rosemary Garlic Roasted Chicken
- 1 whole chicken 3 to 4 pounds
- 1 head garlic halved horizontally
- 4 fresh rosemary sprigs
- 2 tablespoons unsalted butter softened
- 1 teaspoon kosher salt plus more as needed
- ½ teaspoon freshly ground black pepper plus more as needed
- 2 medium carrots cut into 1½-inch pieces
- 2 celery stalks cut into 1½-inch pieces
- 1 medium onion cut into 1½-inch pieces
- 1 tablespoon olive oil
Pan Gravy
- 2 tablespoons reserved fat and pan drippings
- 1 small shallot minced
- 2 cups chicken stock preferably unsalted or reduced-sodium
- 2 tablespoons cornstarch
- 2 tablespoons cold water
- 1 teaspoon chopped fresh rosemary or thyme optional
- Kosher salt and black pepper to taste
Equipment
Instructions
- Save Time in the Kitchen: Read the instructions thoroughly, then gather and prep all your ingredients before cooking! Learn Prepping Tips.
Prepare the Chicken
- Preheat the oven: Heat the oven to 425 °F.
- Dry the chicken: Remove the chicken from its packaging and remove any giblets from the cavity. Pat the chicken thoroughly dry with paper towels.
- Add the garlic and rosemary: Rub the cut sides of the garlic over the outside of the chicken. Place the garlic halves and 2 rosemary sprigs inside the chicken cavity. Tuck the remaining rosemary around the chicken.
- Butter and season: Rub the softened butter over the entire outside of the chicken. Season the chicken, including the cavity, with salt and black pepper.
- Prepare the roasting pan: Place the chicken breast side up in the roasting pan. Arrange the carrots, celery, and onion around the chicken. Toss the vegetables lightly with olive oil and season as desired. Tuck the wing tips underneath the chicken to help prevent them from burning.
Roast the Chicken
- Start at high heat: Roast the chicken at 425 °F for 20 to 25 minutes to begin browning the skin.
- Reduce the temperature: Lower the oven temperature to 350°F and continue roasting for approximately 40 to 50 minutes, depending on the size of the chicken.
- Check for doneness: Insert an instant-read thermometer into the thickest part of the breast and the innermost portion of the thigh without touching bone. Continue cooking until the chicken reaches a safe internal temperature of 165 °F.
- Rest: Transfer the chicken to a serving platter and loosely tent with aluminum foil. Rest for 15 minutes before carving. Prepare the gravy while the chicken rests.
Make the Pan Gravy
- Reserve the drippings: Carefully skim excess fat from the roasting pan, leaving approximately 2 tablespoons of fat and the flavorful pan drippings.
- Cook the shallot: Place the roasting pan over appropriate stovetop heat, if your pan is stovetop-safe, or transfer the drippings to a medium saucepan. Add the minced shallot and cook until softened and aromatic.
- Add the stock: Pour in the chicken stock and scrape up any browned bits from the bottom of the pan. Bring to a gentle simmer.
- Make the slurry: Whisk the cornstarch and cold water together in a small bowl until smooth.
- Thicken the gravy: Gradually whisk the slurry into the simmering pan juices. Cook until the gravy reaches your desired consistency.
- Finish and serve: Remove from the heat. Stir in fresh rosemary or thyme, if using. Taste and adjust with salt and black pepper. Carve the rested chicken and serve with the roasted vegetables and pan gravy.
Notes
Nutrition
What to Serve With Rosemary Garlic Roasted Chicken
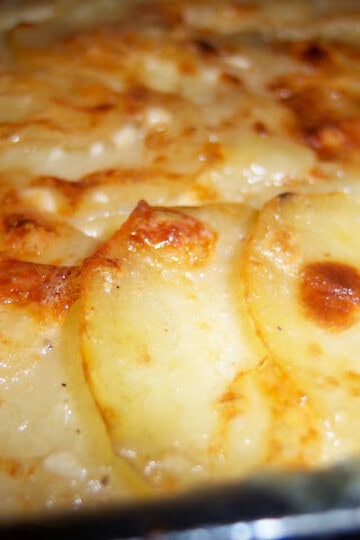
This is the chicken I originally served alongside my Cheesy Au Gratin Potatoes with Sharp Cheddar and Nutmeg, another recipe I've restored from my 2007 cooking archives. The creamy potatoes and garlic rosemary roasted chicken still make a natural pairing for Sunday dinner or a special occasion. For something lighter alongside them, add roasted vegetables such as Brussels sprouts, green beans, asparagus, or a simple salad.


Chef Maika Frederic-Liebman
Chef and Educator
Professionally trained Haitian-American chef Maika Frederic is the creator of Just Maika Cooking, where she shares globally inspired recipes, cooking techniques, ingredient guides, and food safety tips designed to help home cooks become more creative and confident in the kitchen. Combining years of professional culinary experience with a passion for teaching, she makes global flavors approachable through practical, accessible instruction for cooks of every skill level.
SUBSCRIBE: 👈To my YouTube Channel to Get Notifications of New Videos.
Have a Comment or Question?
If you have a question or comment about this post, please post it below. You will receive a prompt response. It also helps our other readers to stay informed. Thanks!
Leave a Reply