

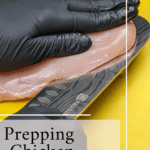
Learn the essential chicken cutting methods with my comprehensive guide hub, featuring step-by-step tutorials on breaking down a whole chicken, slicing breasts, and preparing thighs and drumsticks. Updated frequently, this section offers the latest tips and tricks to enhance your cooking skills.

Get more chicken prepping tips in the How to Cut Chicken: Prepping to Cooking Tutorials.
Table of Contents
Jump to:
- 1. Perfect Slices Every Time
- 2. Dimond Slit Chicken Breast
- 3. Butterfly Chicken Breast
- 4. Chicken Cutlets
- 5. Panko Breaded
- 6. Pounding Out
- 7. Shredding
- 8. Large Chunks vs Small Dice
- 9. Spatchcock AKA Butterflying
- 10. Searing
- 11. Marinating
- 12. How to Cut Up a Whole Chicken
- Chicken Recipes
- Cooking Tips and Tutorials
- Comment or Question?
1. Perfect Slices Every Time
Half-thawed chicken breasts are much easier to slice into even pieces. You can achieve this by letting a frozen chicken breast thaw in the refrigerator overnight. Even pieces are essential to ensure equal cooking time and portion control. Butterfly the tip of the chicken breast by slicing it only halfway. Read More: Get Perfect Slices Every Time.

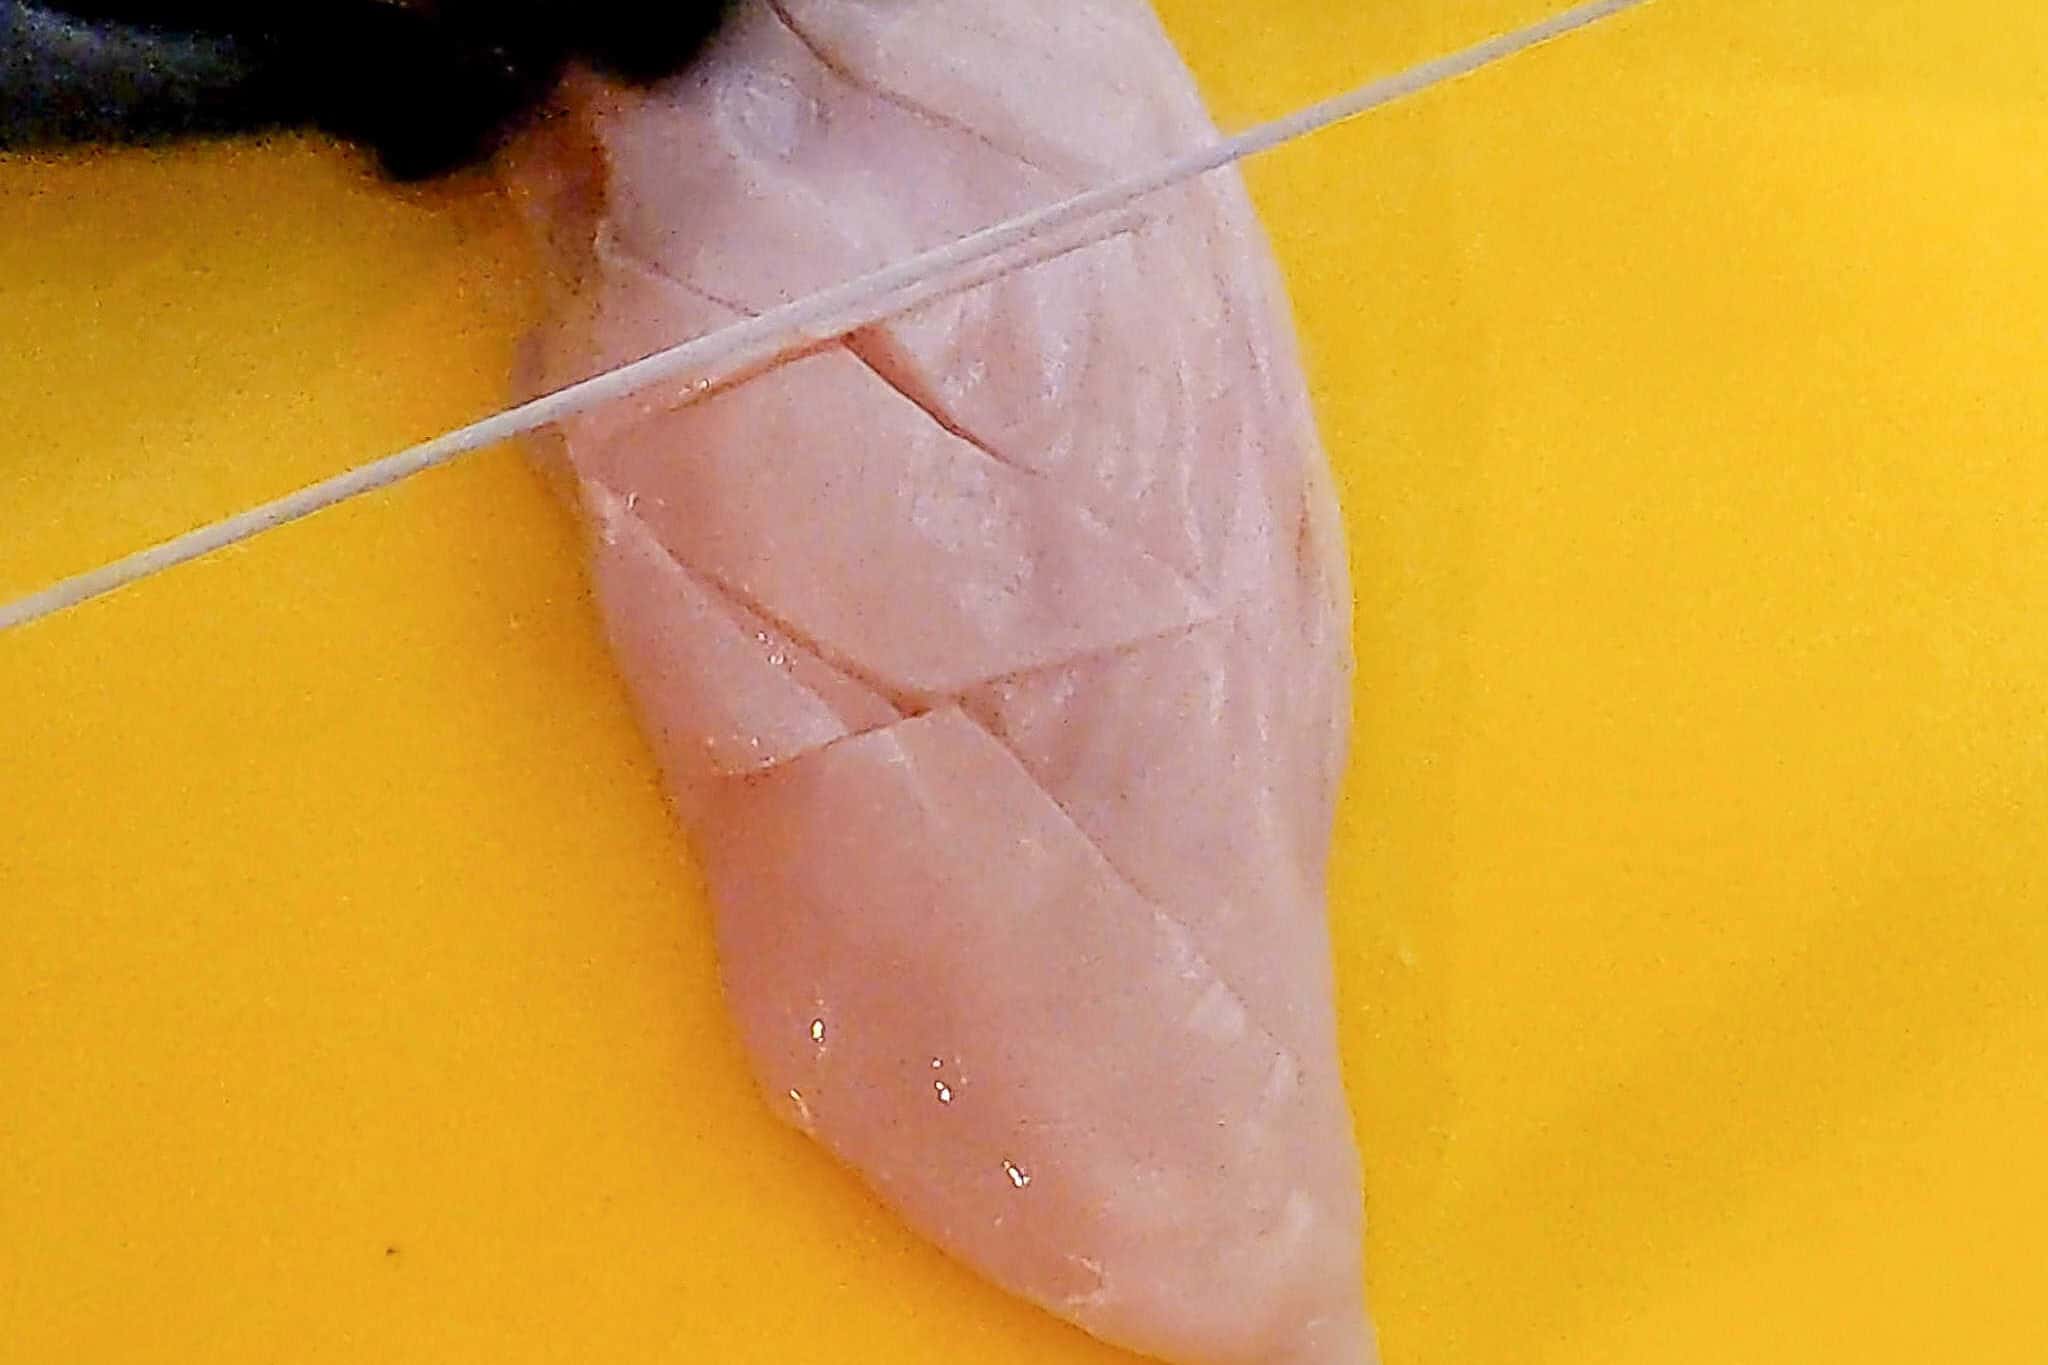
2. Dimond Slit Chicken Breast
Diamond slitting is a simple technique where shallow diagonal cuts form a crisscross pattern on a chicken breast, creating diamond-shaped slits. This increases surface area, allowing marinades to absorb better, the meat to cook faster and more evenly, and helps prevent dryness.
It also enhances browning, giving the chicken a tender texture, deeper flavor, and a beautiful, restaurant-style presentation. Read More: How to Diamond Slit Chicken Breast.
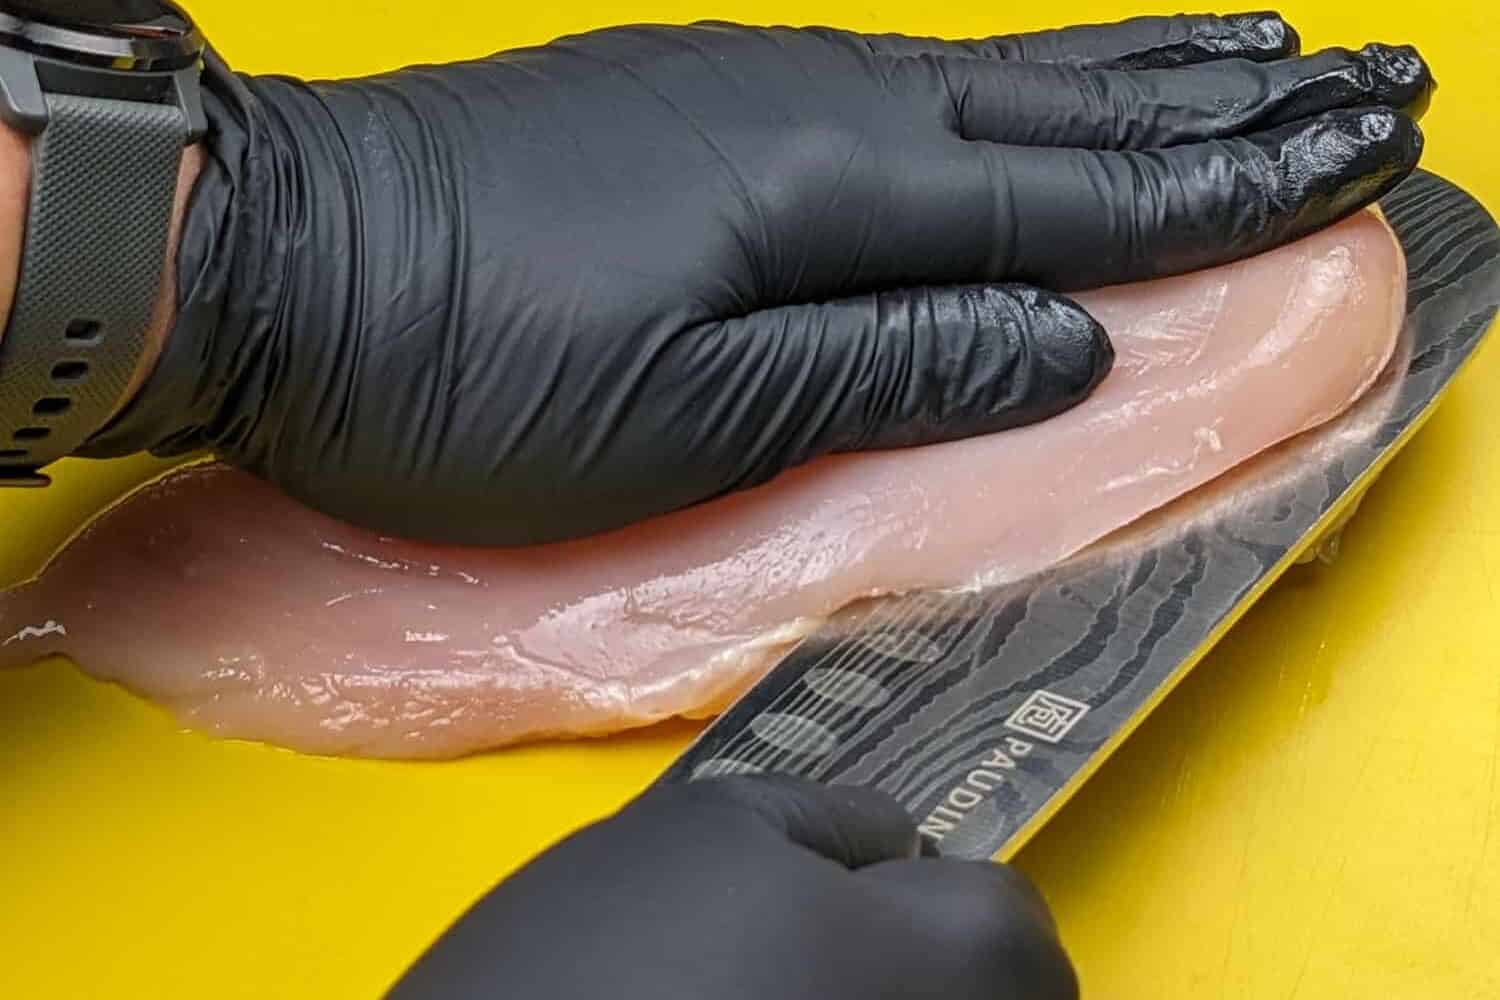
3. Butterfly Chicken Breast
A butterflied chicken breast is sliced open and flattened, making it perfect for quick, even cooking and a wide variety of dishes. Its thin shape is ideal for grilling, stuffing with flavorful fillings, breading for crispy cutlets, or slicing into strips for stir-fries and sautés.
By reducing thickness, the butterflying method shortens cooking time, allows for high-heat searing, and locks in juiciness so your chicken is golden brown and perfectly cooked without needing extra oven time. Read More: How to Butterfly Chicken Breasts | Step-by-Step Guide.
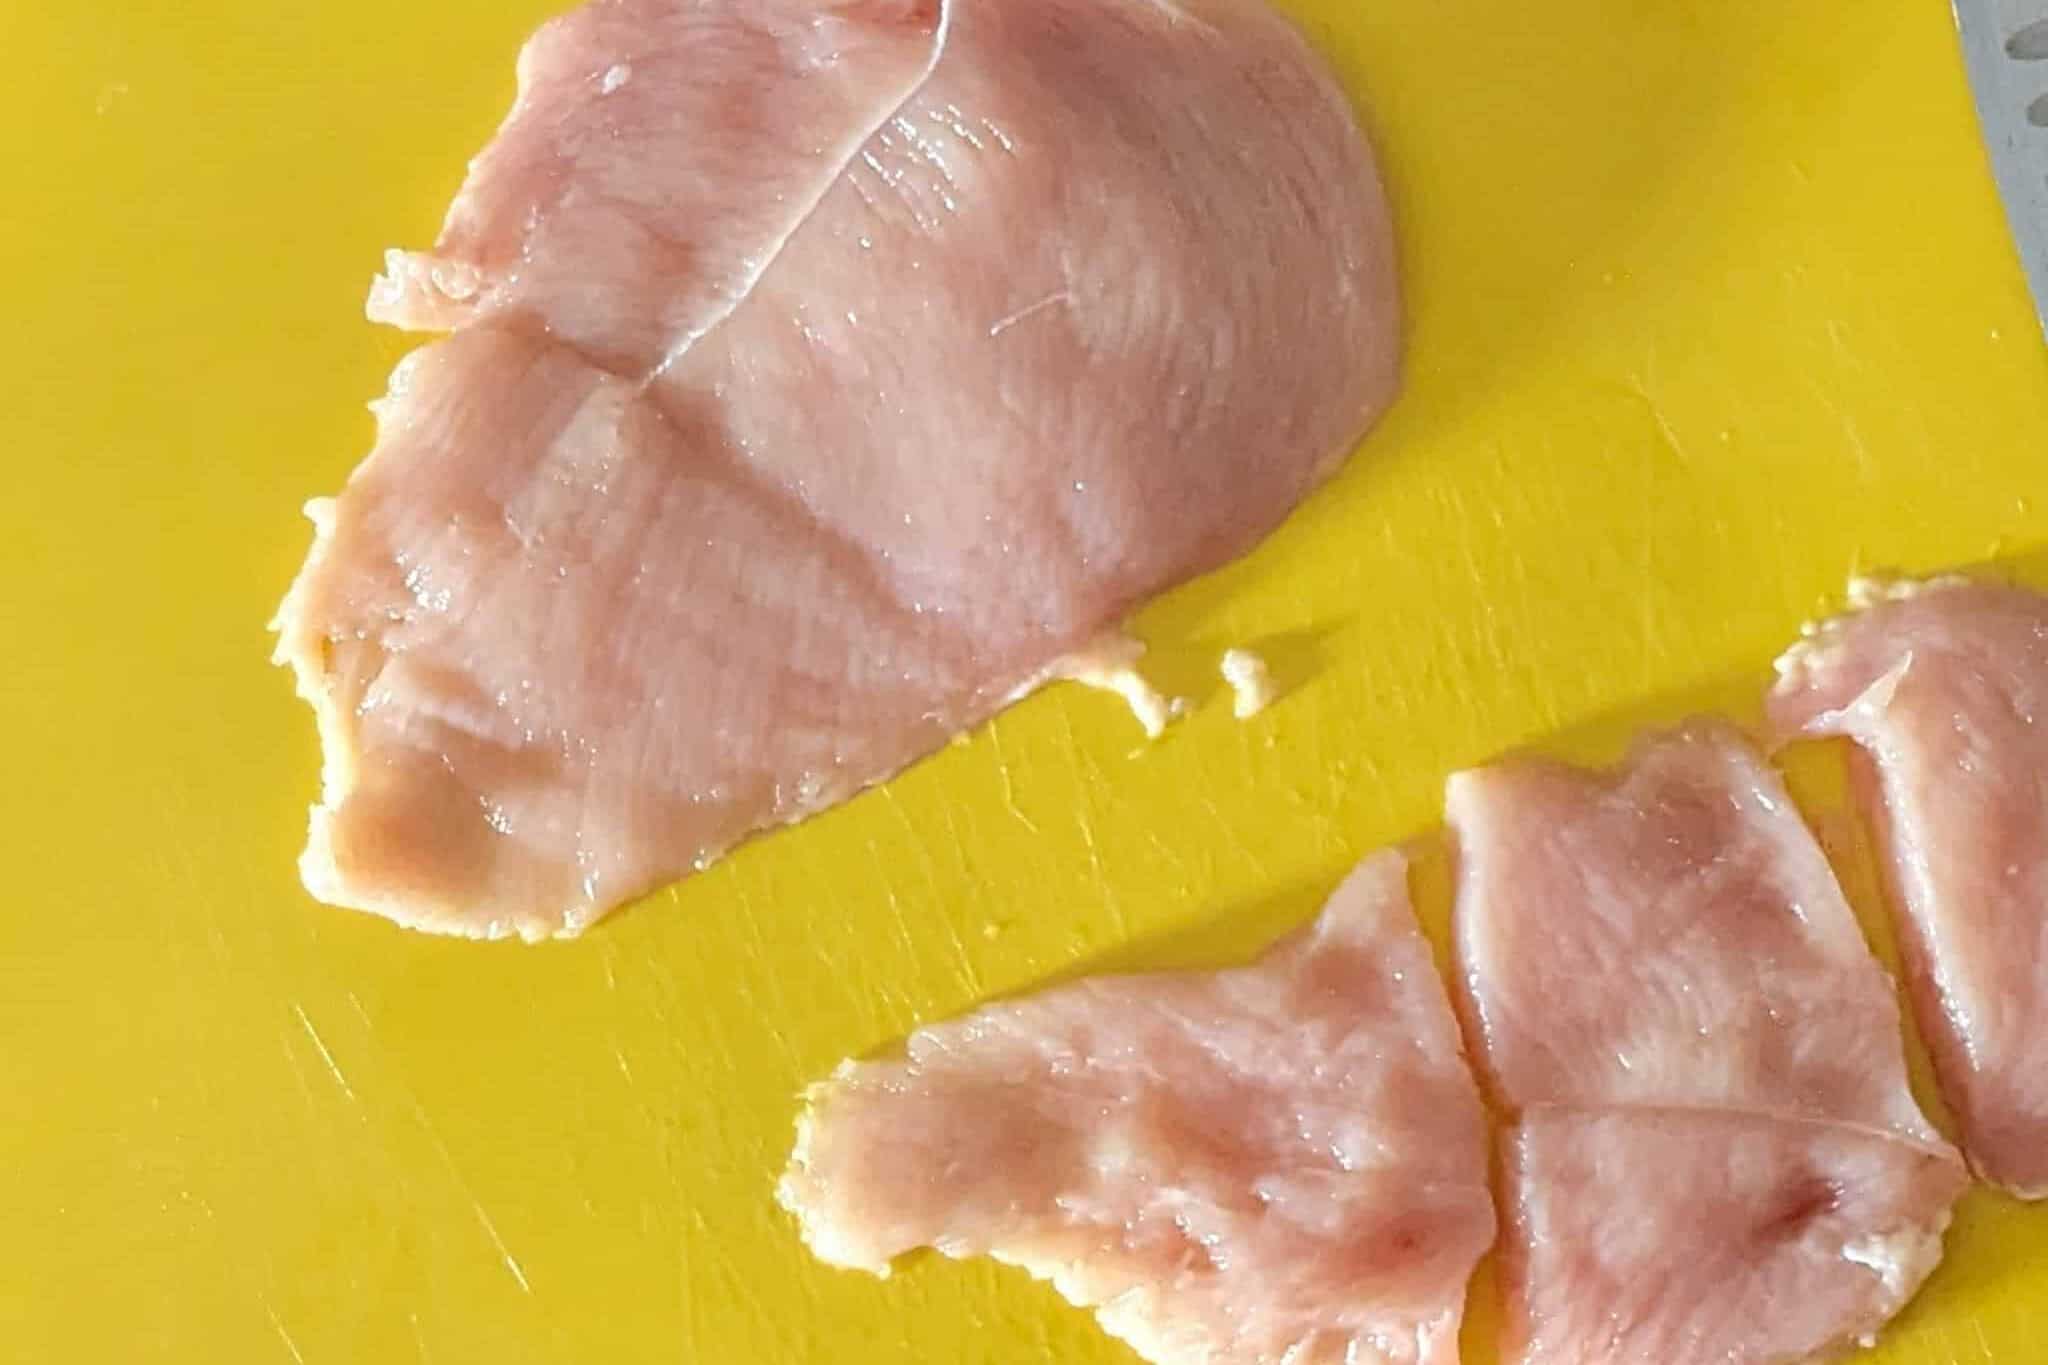
4. Chicken Cutlets
Small chicken cutlets are thin, even slices of chicken that cook quickly, making them ideal for weeknight dinners, sandwiches, wraps, or breaded appetizers like tenders and nuggets. They can also be diced or sliced to top salads, pasta, or stir-fries, adding flavor and protein with minimal effort.
Because they're evenly cut, cutlets cook faster and more consistently, saving time while delivering tender, perfectly cooked chicken every time. Read More: How to Prep Chicken Cutlets for Quick, Delicious Meals.
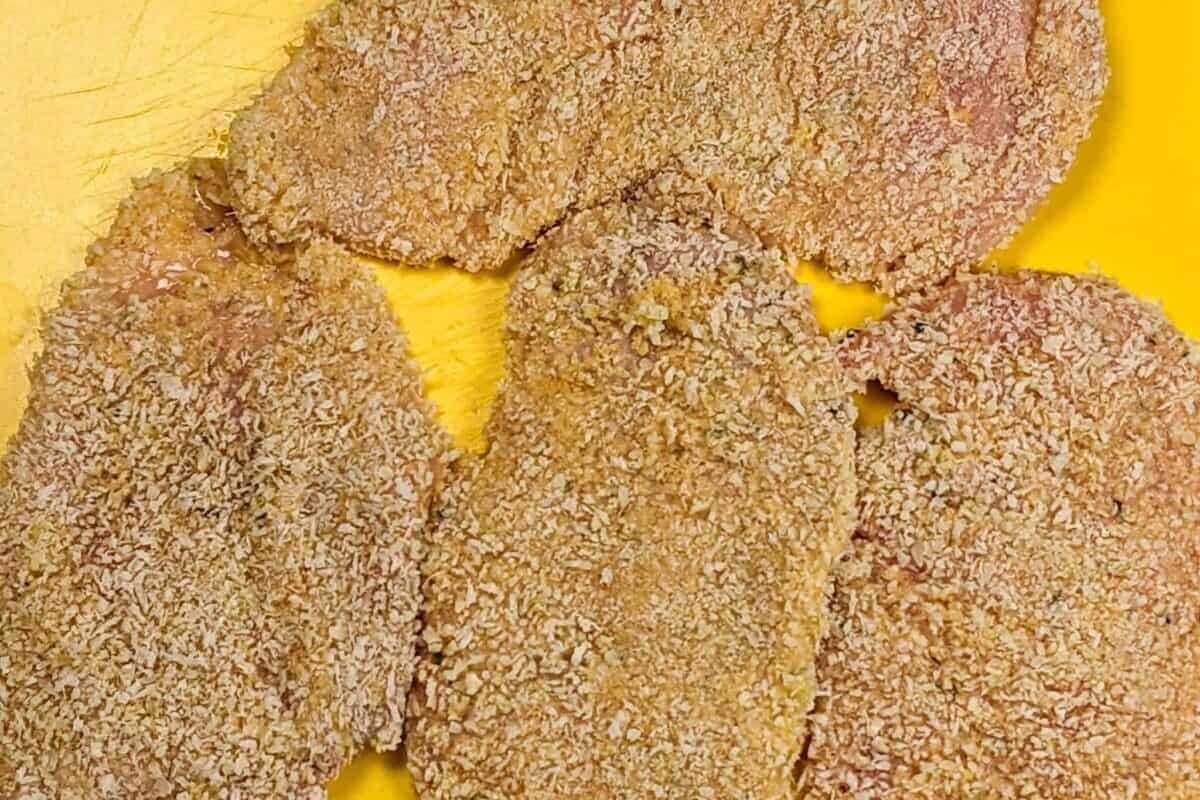
5. Panko Breaded
Panko breading is the secret to chicken that's crispy on the outside yet tender and juicy inside. In this step-by-step guide, you'll learn how to set up a clean breading station, season every layer for maximum flavor, and use panko breadcrumbs to achieve that light, golden crunch.
If you are frying, baking, or air frying, this method guarantees a restaurant-worthy crust right at home. Read More: How to Bread Chicken the Easy Way (Step-by-Step Guide).
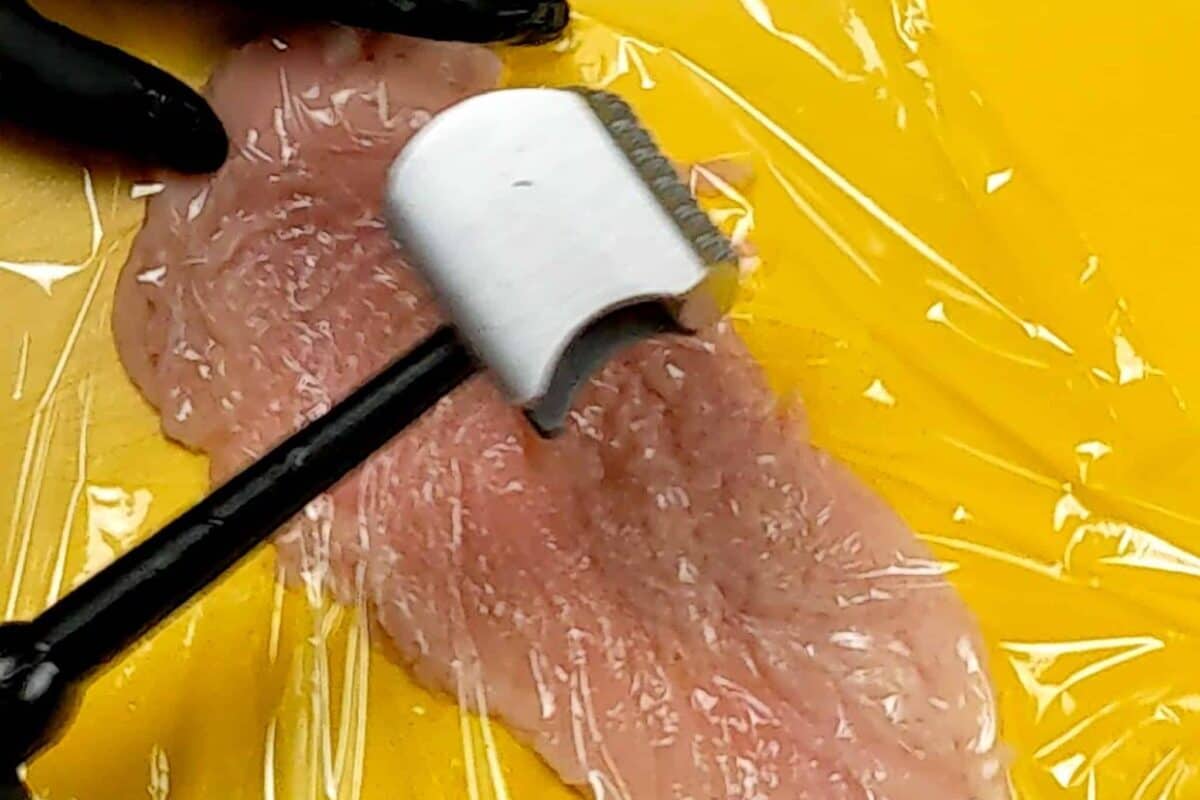
6. Pounding Out
Pounding out chicken breasts is a quick prep step that transforms uneven cuts into perfectly uniform pieces. By gently flattening the thick side to match the thin, you'll get juicy chicken that cooks evenly, looks professional, and is ready for cutlets, grilling, or stuffing.
This simple technique also shortens cook times and makes your weeknight meals more reliable. Read More: How to Pound Out Chicken Breasts Evenly | Step-by-Step Guide.
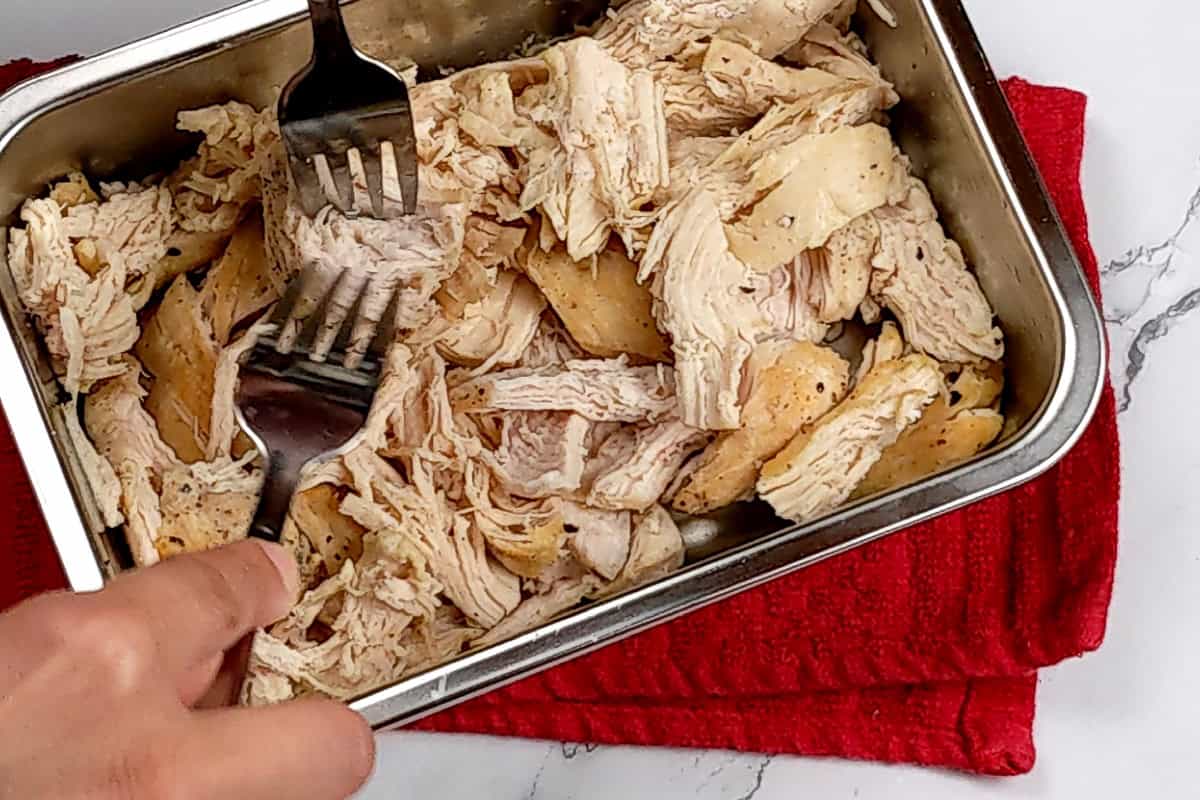
7. Shredding
In this practical cooking tutorial video, I'll show two efficient methods for quickly shredding chicken, making meal prep a breeze. I'll demonstrate these techniques to help you effortlessly transform tender, cooked chicken into versatile, shredded goodness for a variety of recipes: Read More: How to Shred Chicken | Easy Methods for Meal Prep.
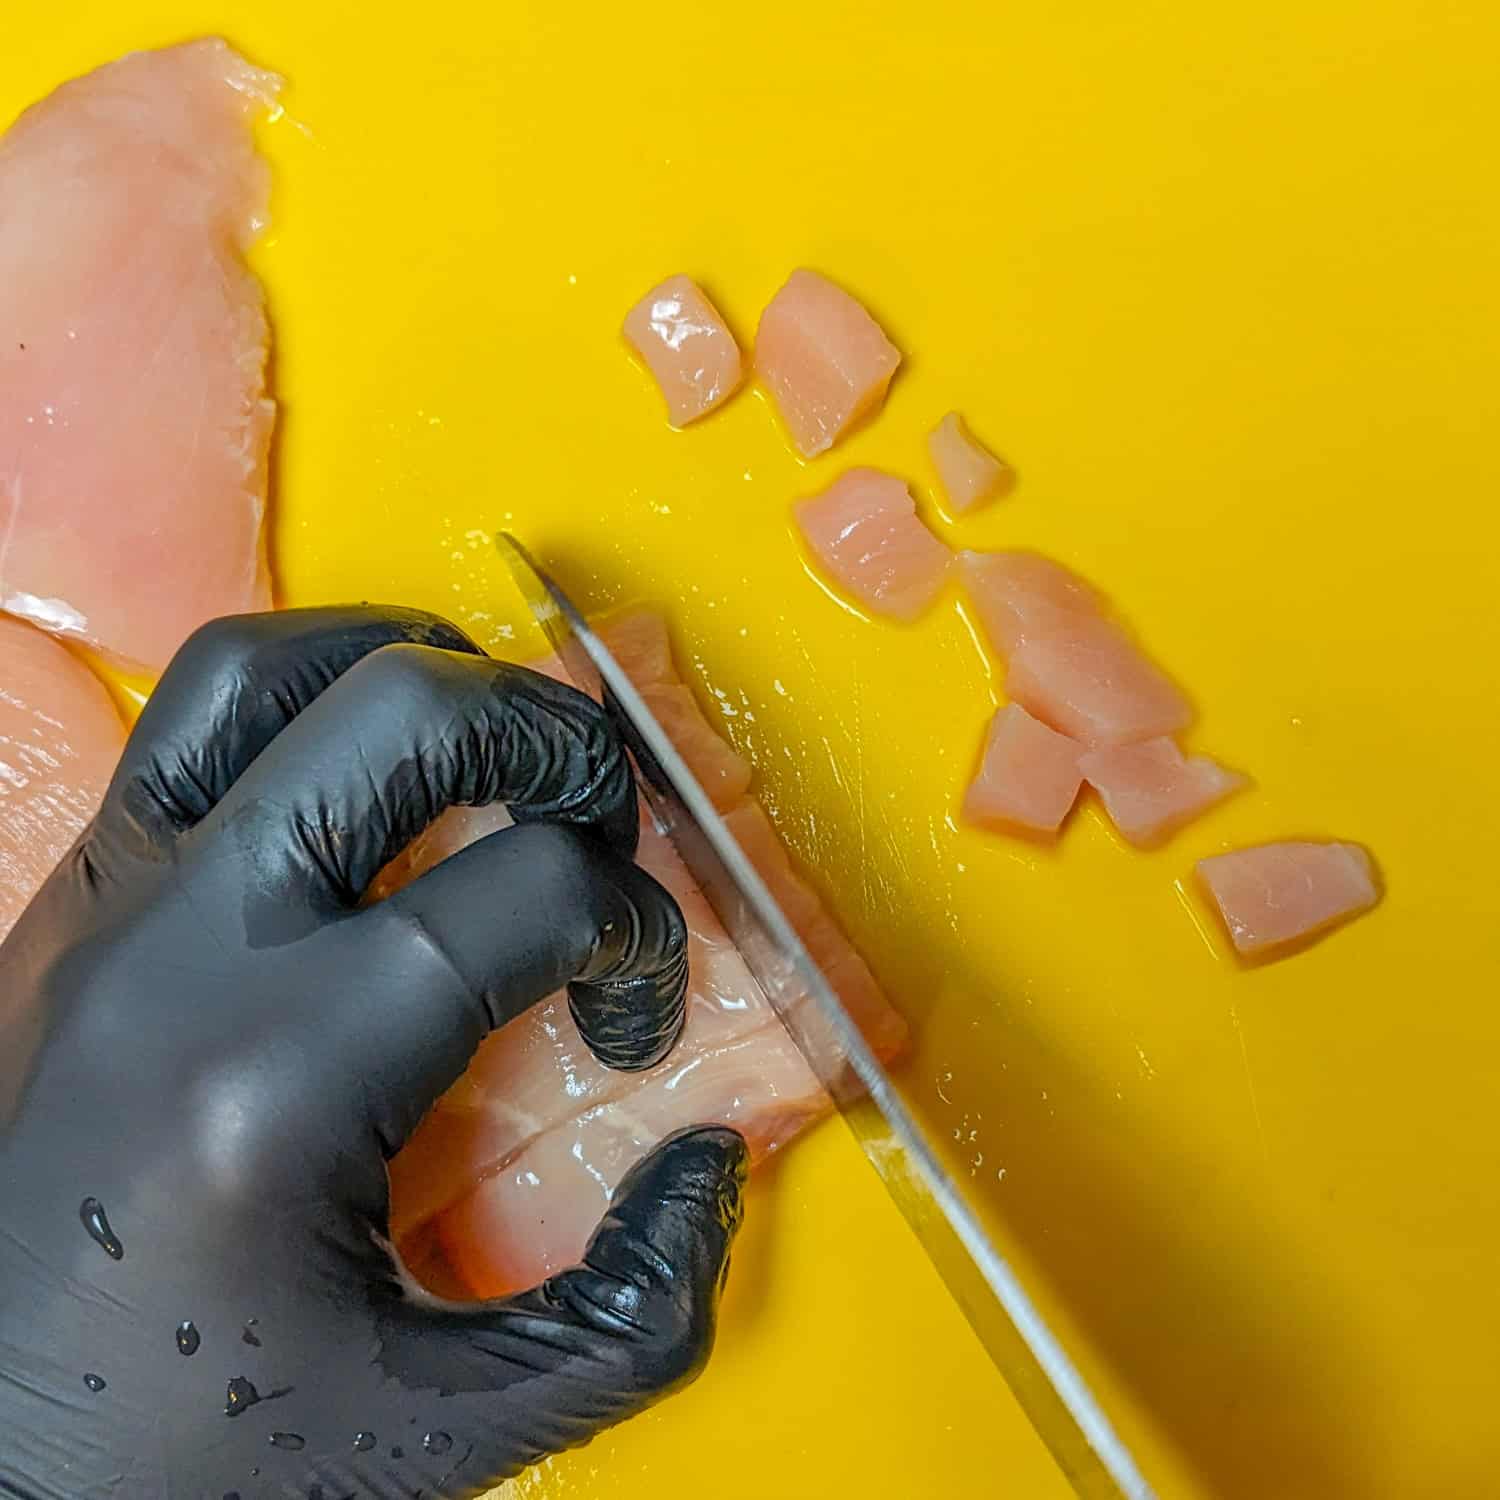
8. Large Chunks vs Small Dice
Cutting chicken may seem simple, but the size of each piece can completely change how your dish turns out. Whether you're making a quick stir-fry or a slow-simmered stew, knowing when to use large chunks versus small dice can help you achieve the perfect texture, flavor, and cook time every time.
In this tutorial, you'll learn the differences between the two cuts, how to prepare each safely and efficiently, and which tools make the job easier. Keep reading to discover practical tips and visuals that'll help you handle your knife with confidence and cook chicken like a chef. Read More: How to Cut Chicken: Large Chunks vs Small Dice.
Large Chunks
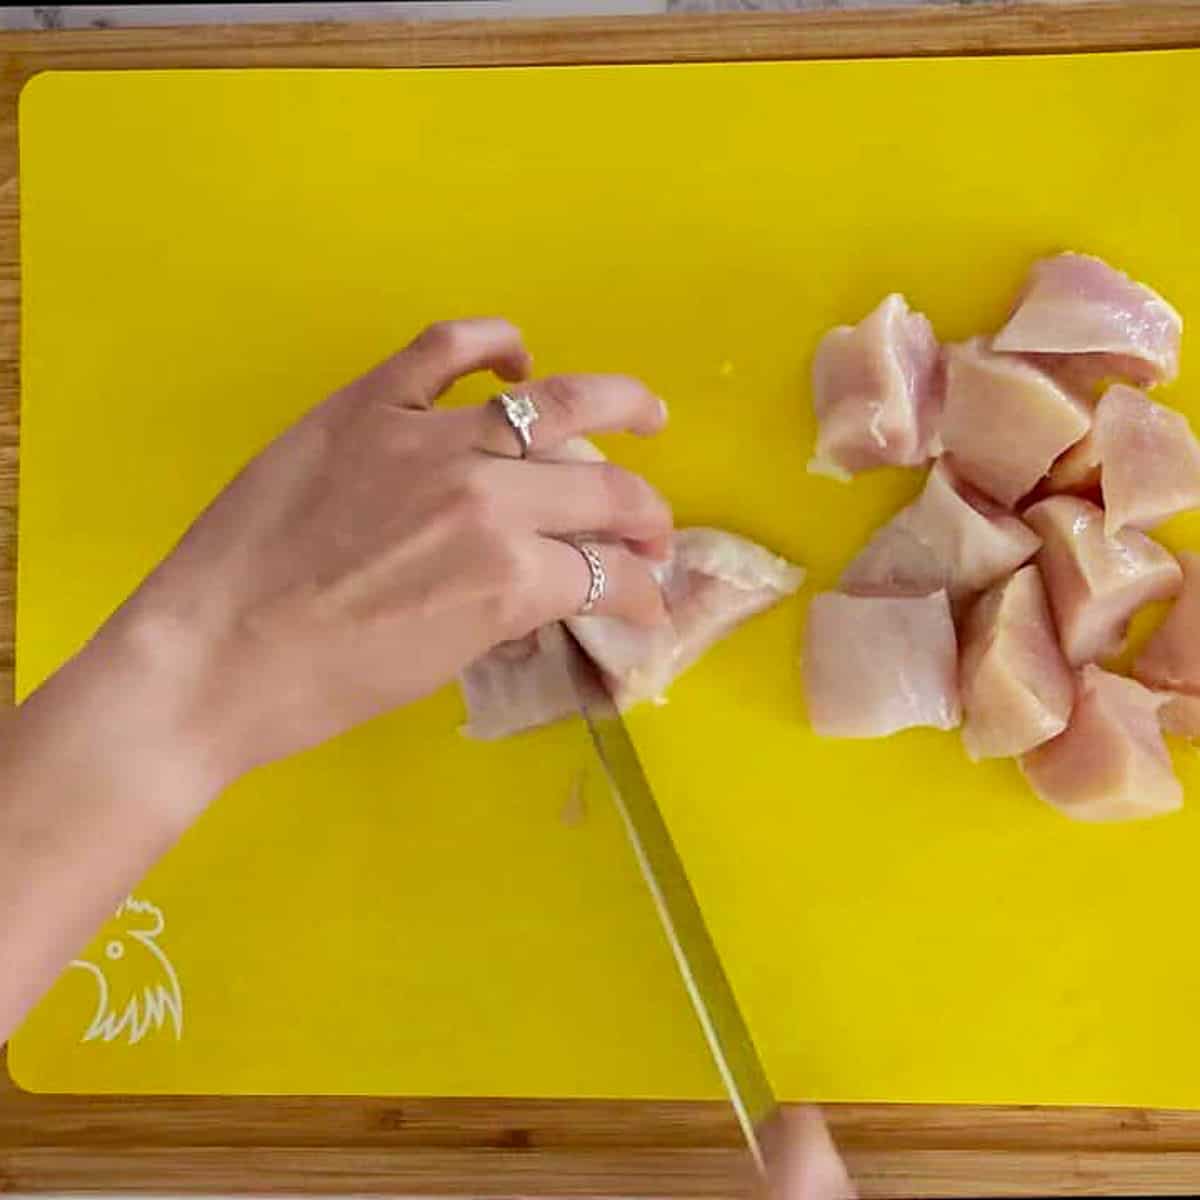
VS

Small Dice
9. Spatchcock AKA Butterflying
Spatchcocking, or butterflying, is a technique where the backbone of a whole chicken is removed and the bird is flattened for quicker, more even cooking. This method not only reduces roasting time but also ensures crispy skin and juicy meat throughout.
By preparing a clean workspace, checking the chicken for giblets, and laying it breast-side down to begin, you'll set yourself up for success with this efficient and flavorful cooking method. Read More: How to Spatchcock a Chicken: Easy Step-by-Step Guide for Juicy, Even Cooking.
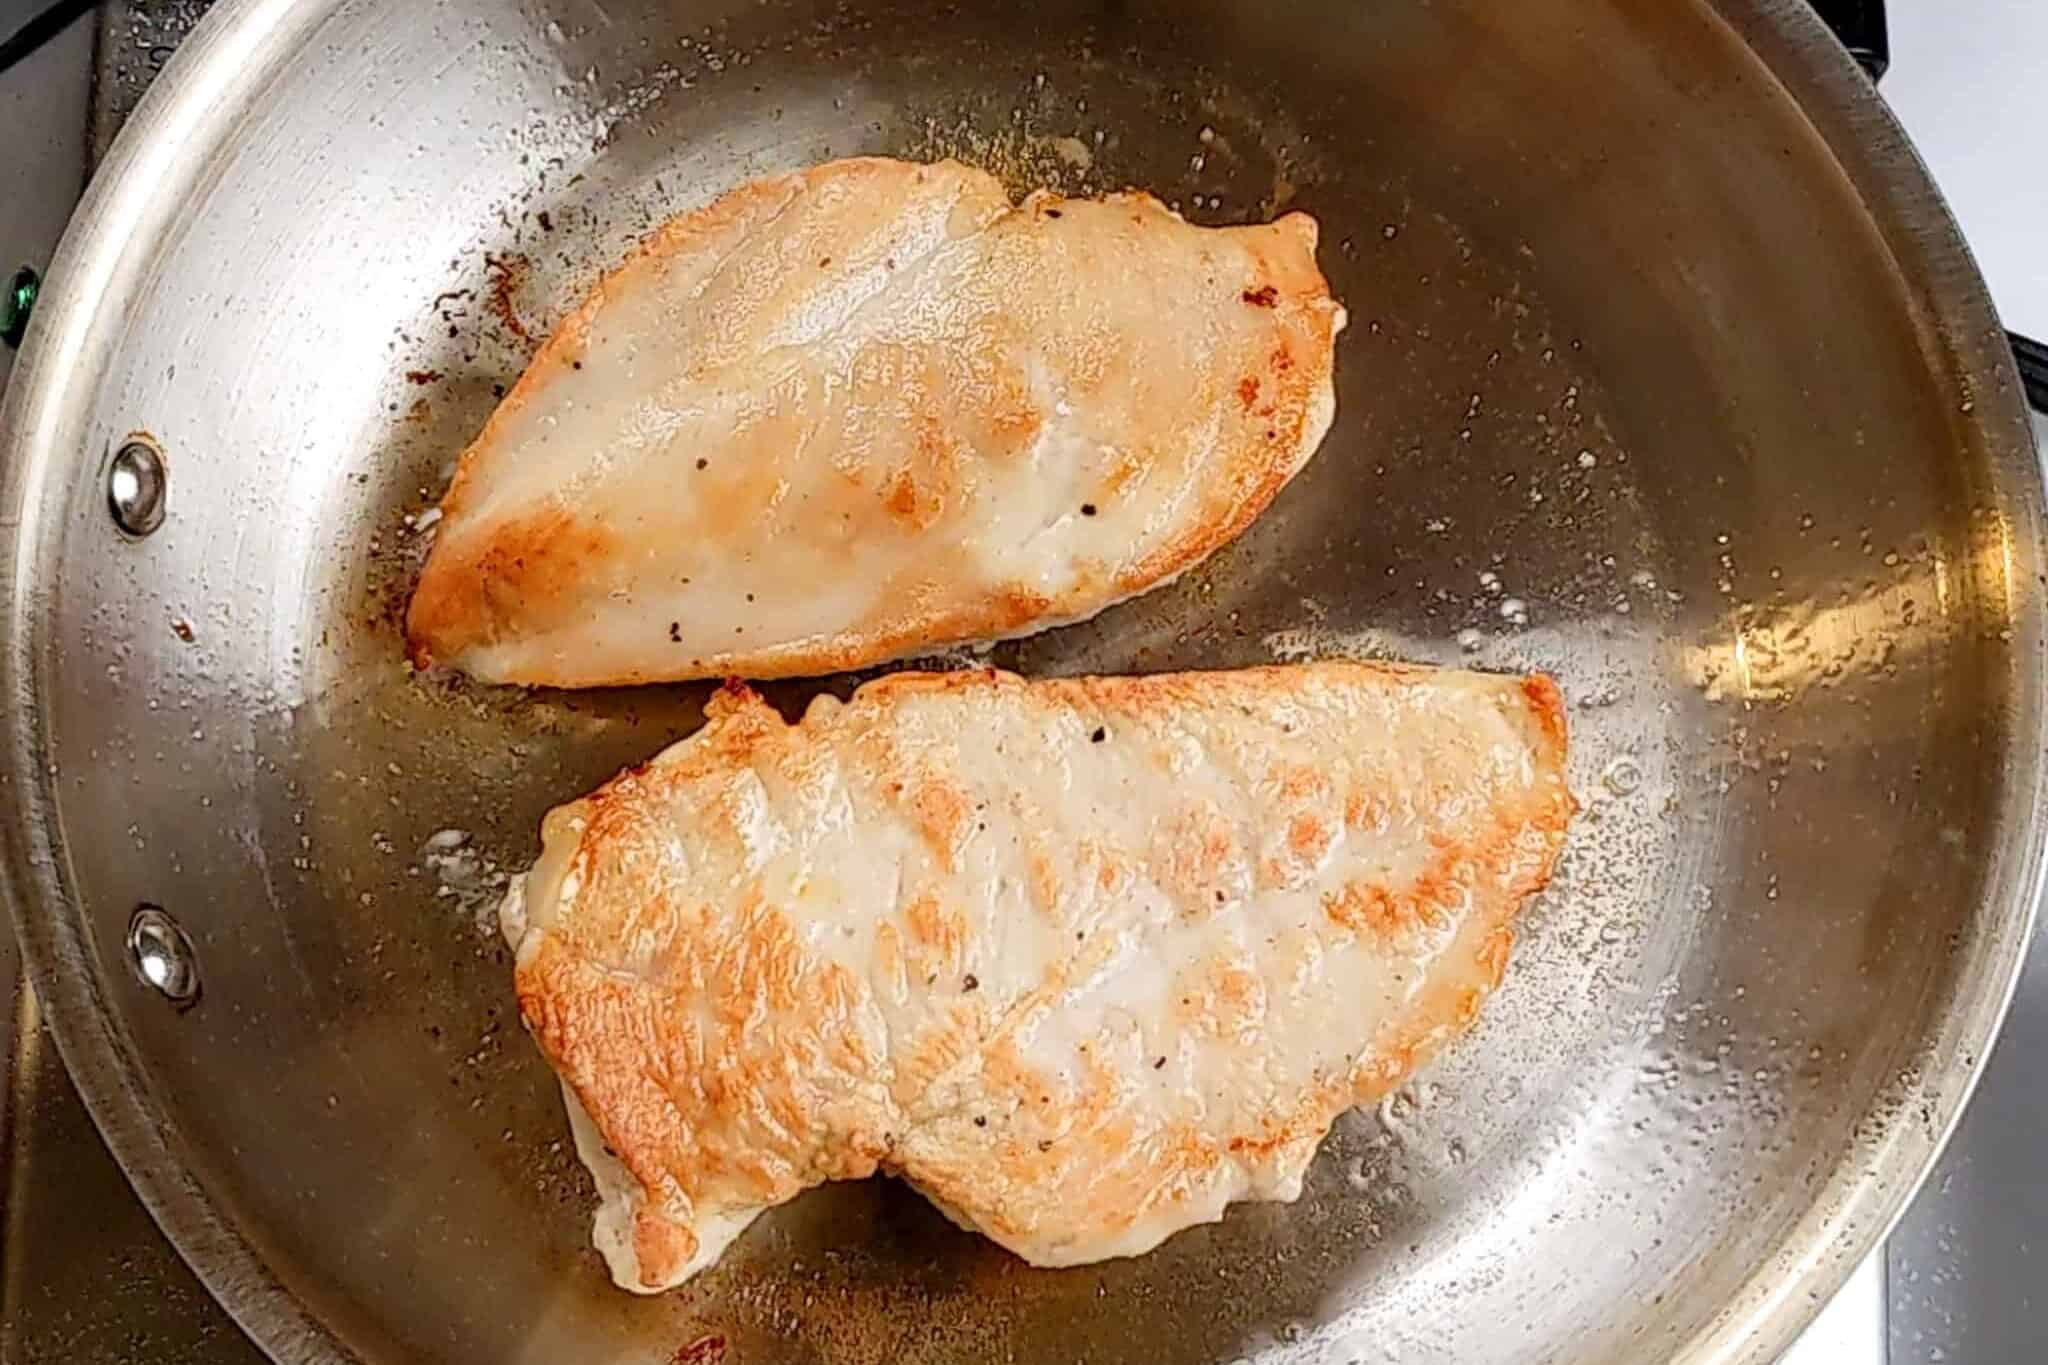
10. Searing
Learn how to achieve that irresistible golden crust with my How to Sear Chicken guide, where I break down the steps, timing, and temperature control you need for perfectly crisp, juicy chicken. You'll discover why pan heat, oil choice, and patience matter most, along with practical tips to avoid common mistakes like sticking, steaming, or overcooking.
Are you trying to prep chicken for a quick weeknight meal or building layers of flavor for a global-inspired dish? This tutorial will help you sear with confidence and bring out your chicken's best flavor and texture. Read More: Cooking Tips for Searing Chicken.
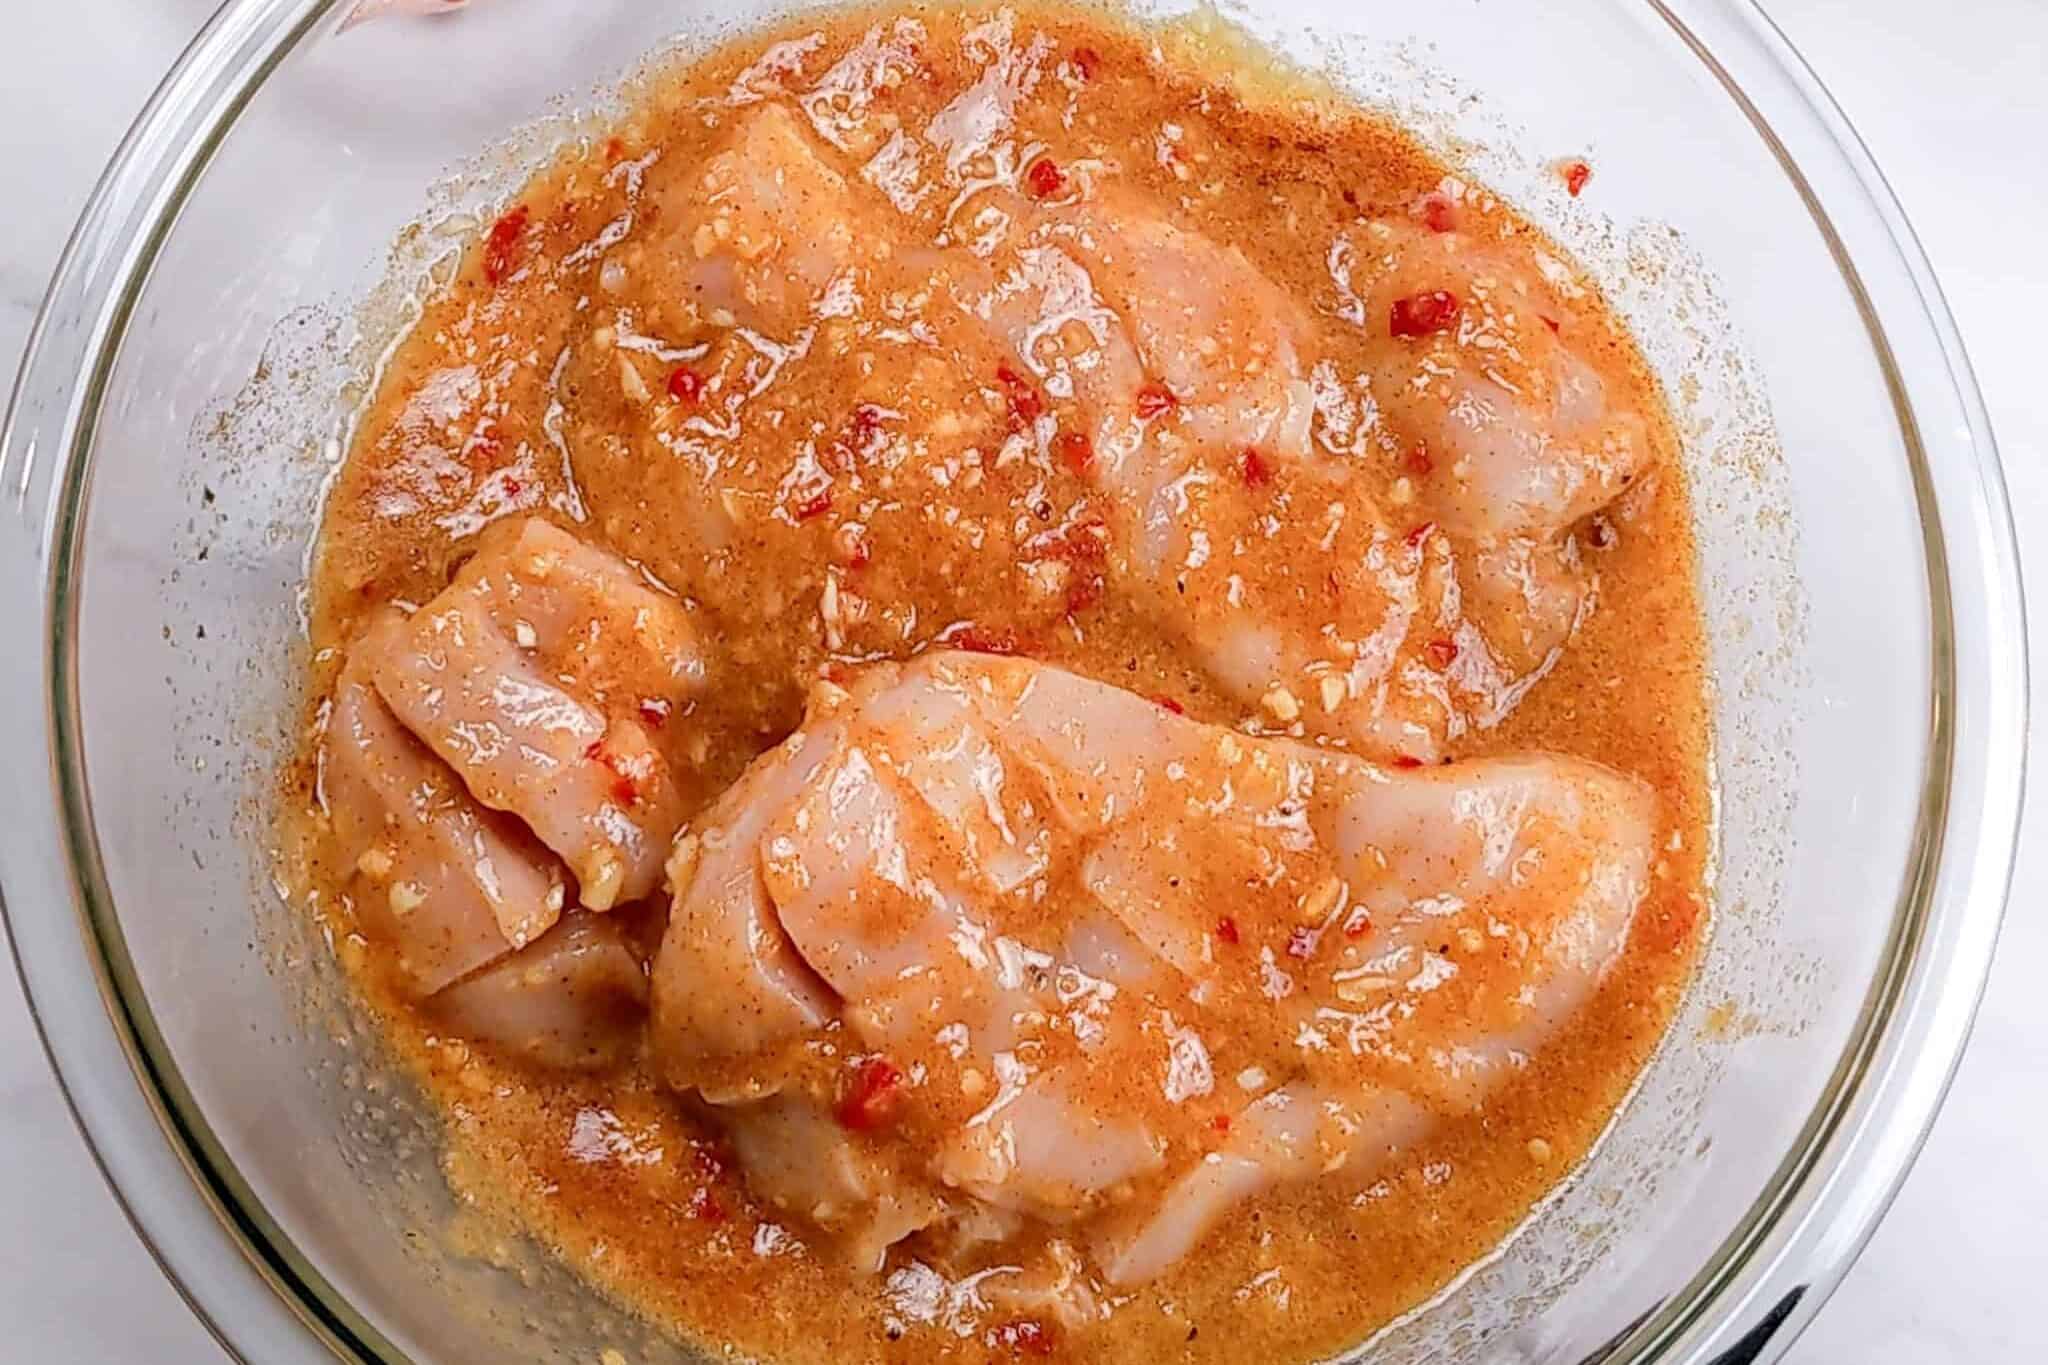
11. Marinating
Learn how to marinate chicken with simple, time-saving techniques that boost flavor and tenderness. This guide covers everything from the science behind marinades and the best tools to use to safe storage, quick-thawing methods, and meal prep tips that make your chicken dishes more flavorful and efficient. Read More: How to Marinate Chicken: Tips, Quick Methods & Flavorful Shortcuts.
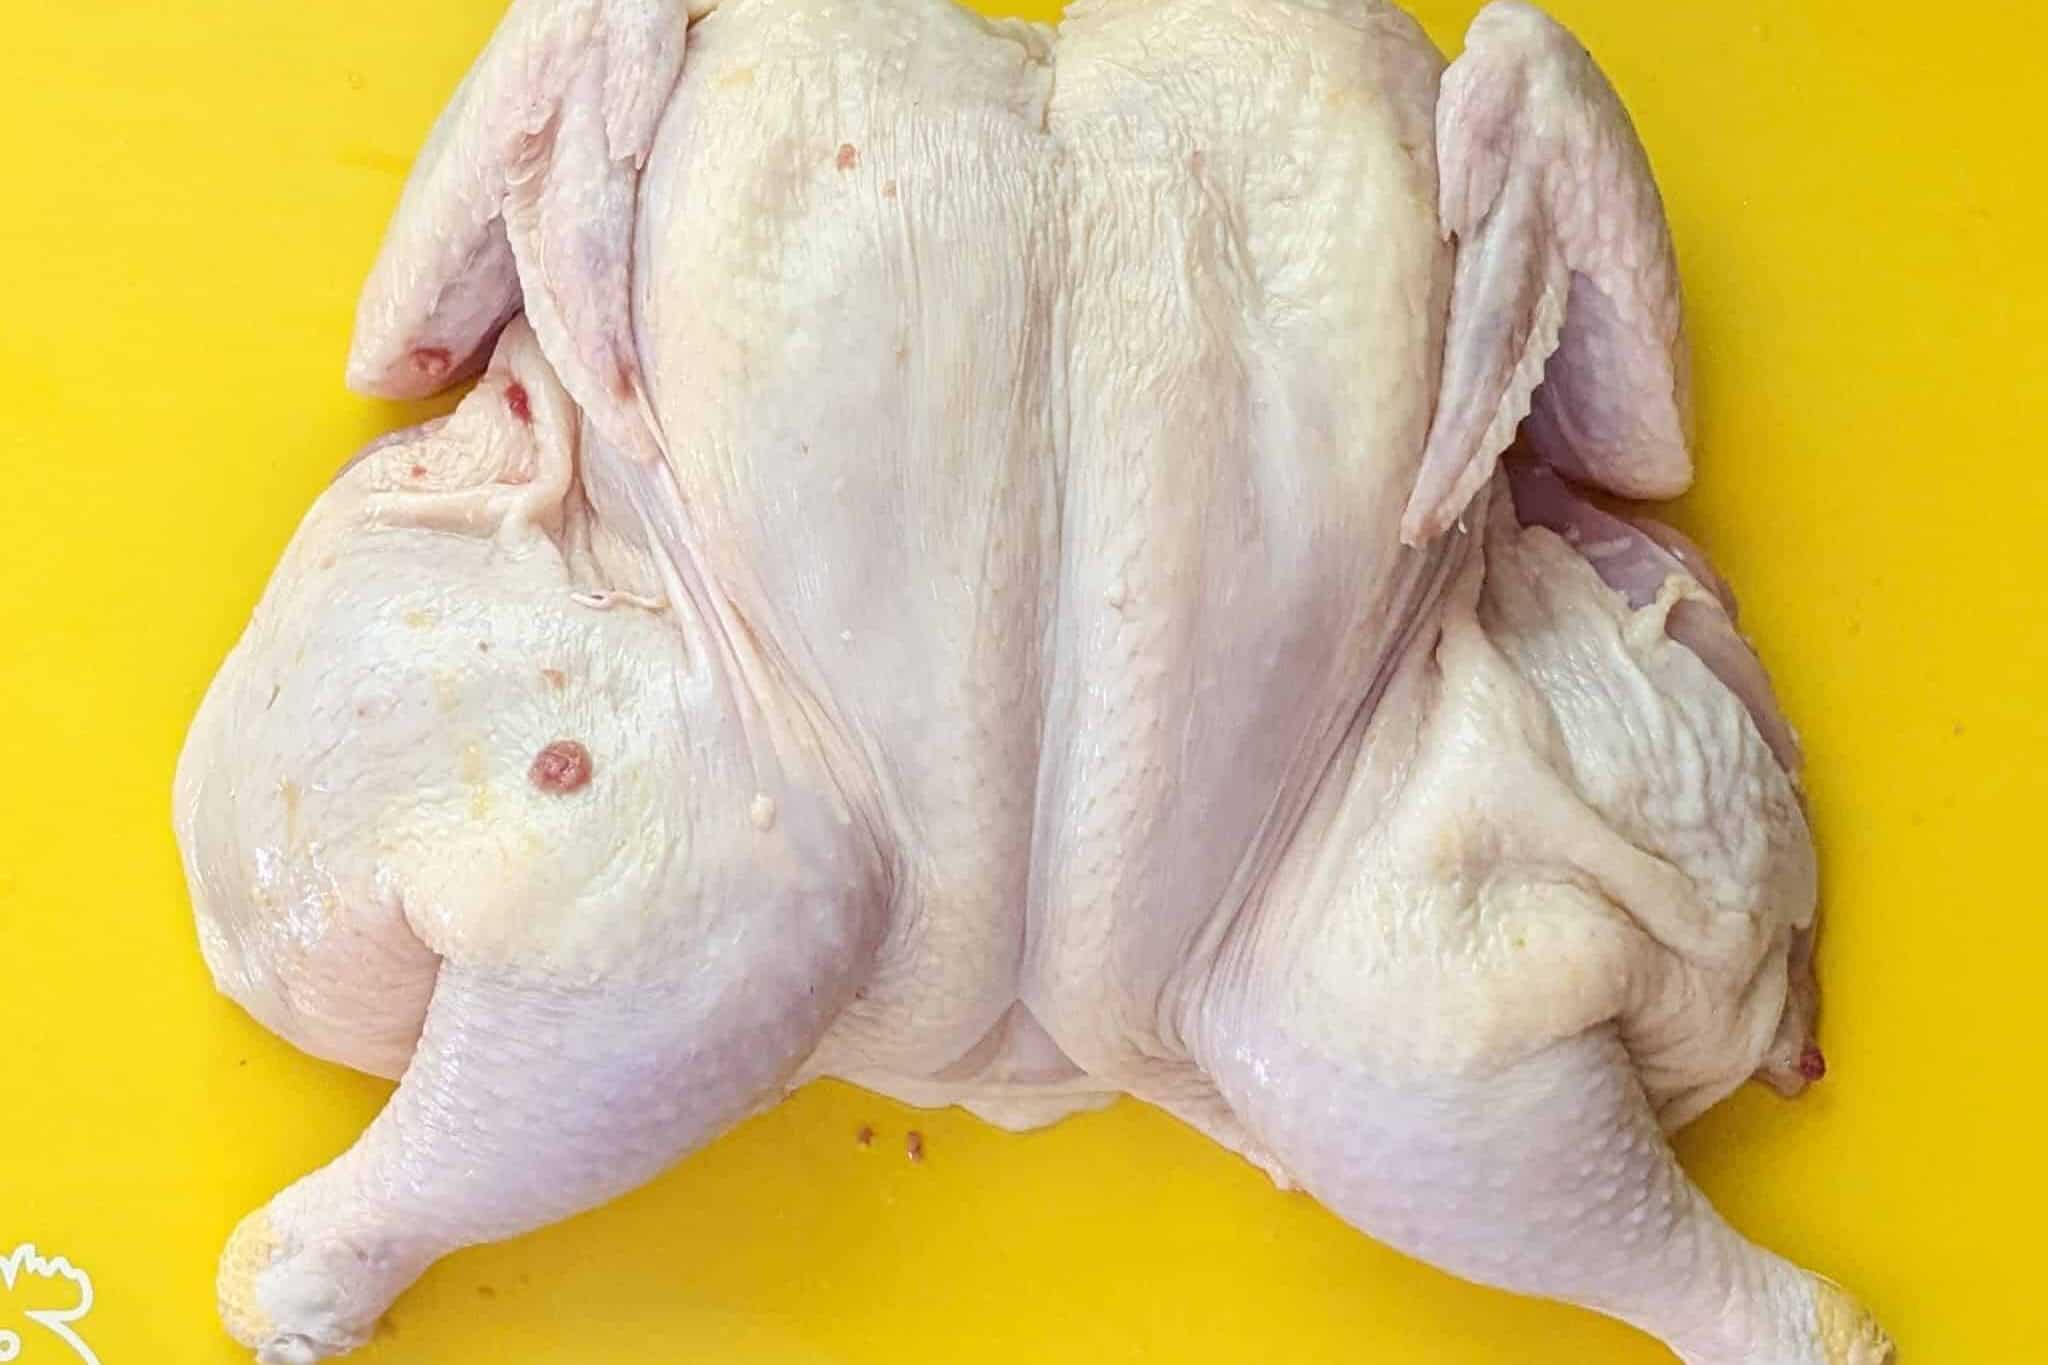
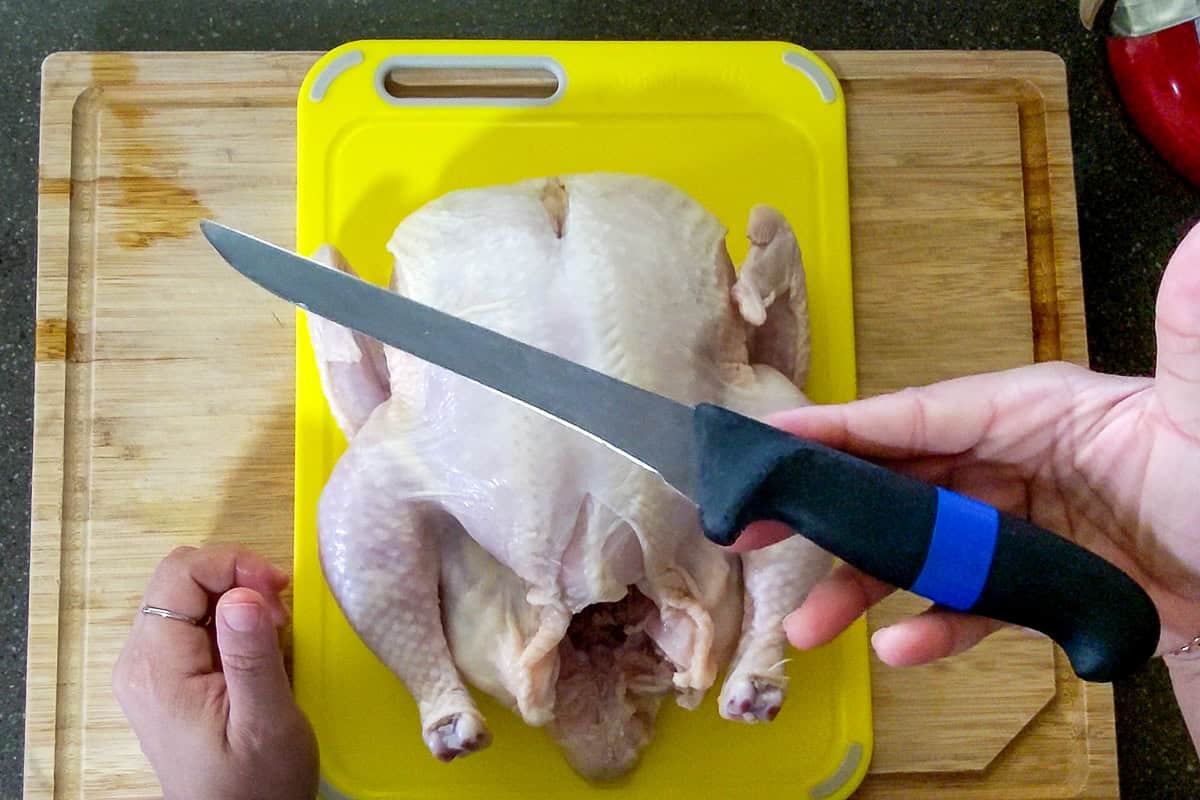
12. How to Cut Up a Whole Chicken
Learn the easiest way to cut up a whole chicken with clear, chef-taught steps that make butchering simple for home cooks. This detailed guide shows you how to locate joints, separate each piece cleanly, and save the carcass for stock, turning one whole bird into multiple meals with confidence and skill. Read More: How to Cut Up a Whole Chicken | Step-by-Step Guide.
Chicken Recipes
Choose a quick and easy recipe to get started.
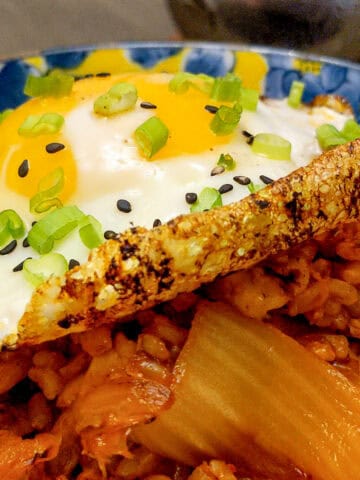
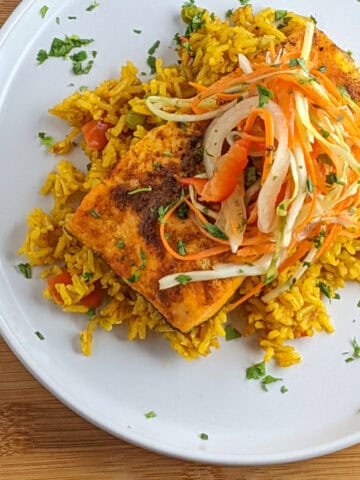
- Kimchi Fried Rice Recipe - Simple Base You Can Build On
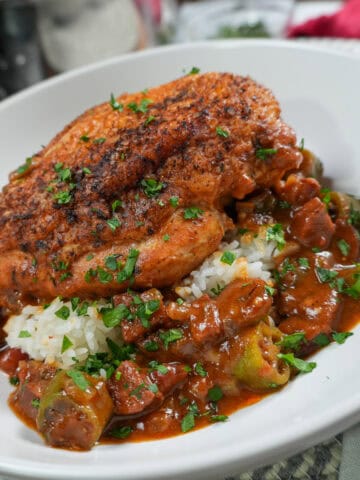
- Pan-Roasted Chicken and Andouille Sausage Gumbo
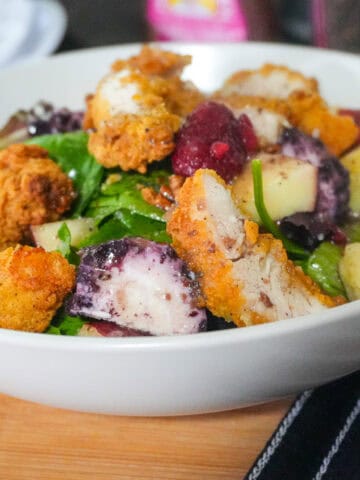
- Fresh Berry Apple Pecan Chicken Salad with Goat Cheese
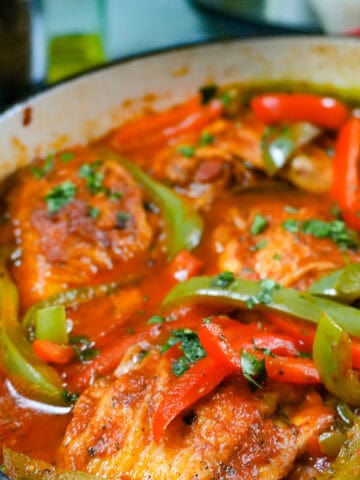
- Braised Chicken | Mexican-Style with Roasted Tomato Sauce
Cooking Tips and Tutorials
If you found this tutorial helpful, you'll love my Cook's Notebook collection. From knife skills and flavor bases to time-saving tricks and essential equipment guides, this section is packed with chef-tested lessons to help you cook with confidence.
- How to Trim Chicken: The Best Way to Prep Chicken Before Cooking
- How the Maillard Reaction Makes Food Taste Better
- How to Store Fresh Berries So They Last Longer (Without Getting Mushy)
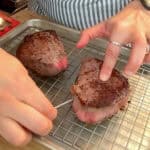
- Internal Meat Temperature Chart (Printable Guide)


Chef Maika Frederic-Liebman
Chef and Educator
Professionally trained Haitian-American chef Maika Frederic is the creator of Just Maika Cooking, where she shares globally inspired recipes, cooking techniques, ingredient guides, and food safety tips designed to help home cooks become more creative and confident in the kitchen. Combining years of professional culinary experience with a passion for teaching, she makes global flavors approachable through practical, accessible instruction for cooks of every skill level.
Comment or Question?
I'd love to hear your thoughts, questions, or experiences with prepping chicken. Leave a comment or question and get a response from a professionally trained chef!
Leave a Reply