


Learn how to achieve a golden, crispy sear on your chicken every time with these expert-approved tips for temperature, timing, and pan technique. Perfect for home cooks who want juicy, flavorful chicken with that restaurant-style crust.

Get more chicken prepping tips in the How to Cut Chicken: Prepping to Cooking Tutorials.
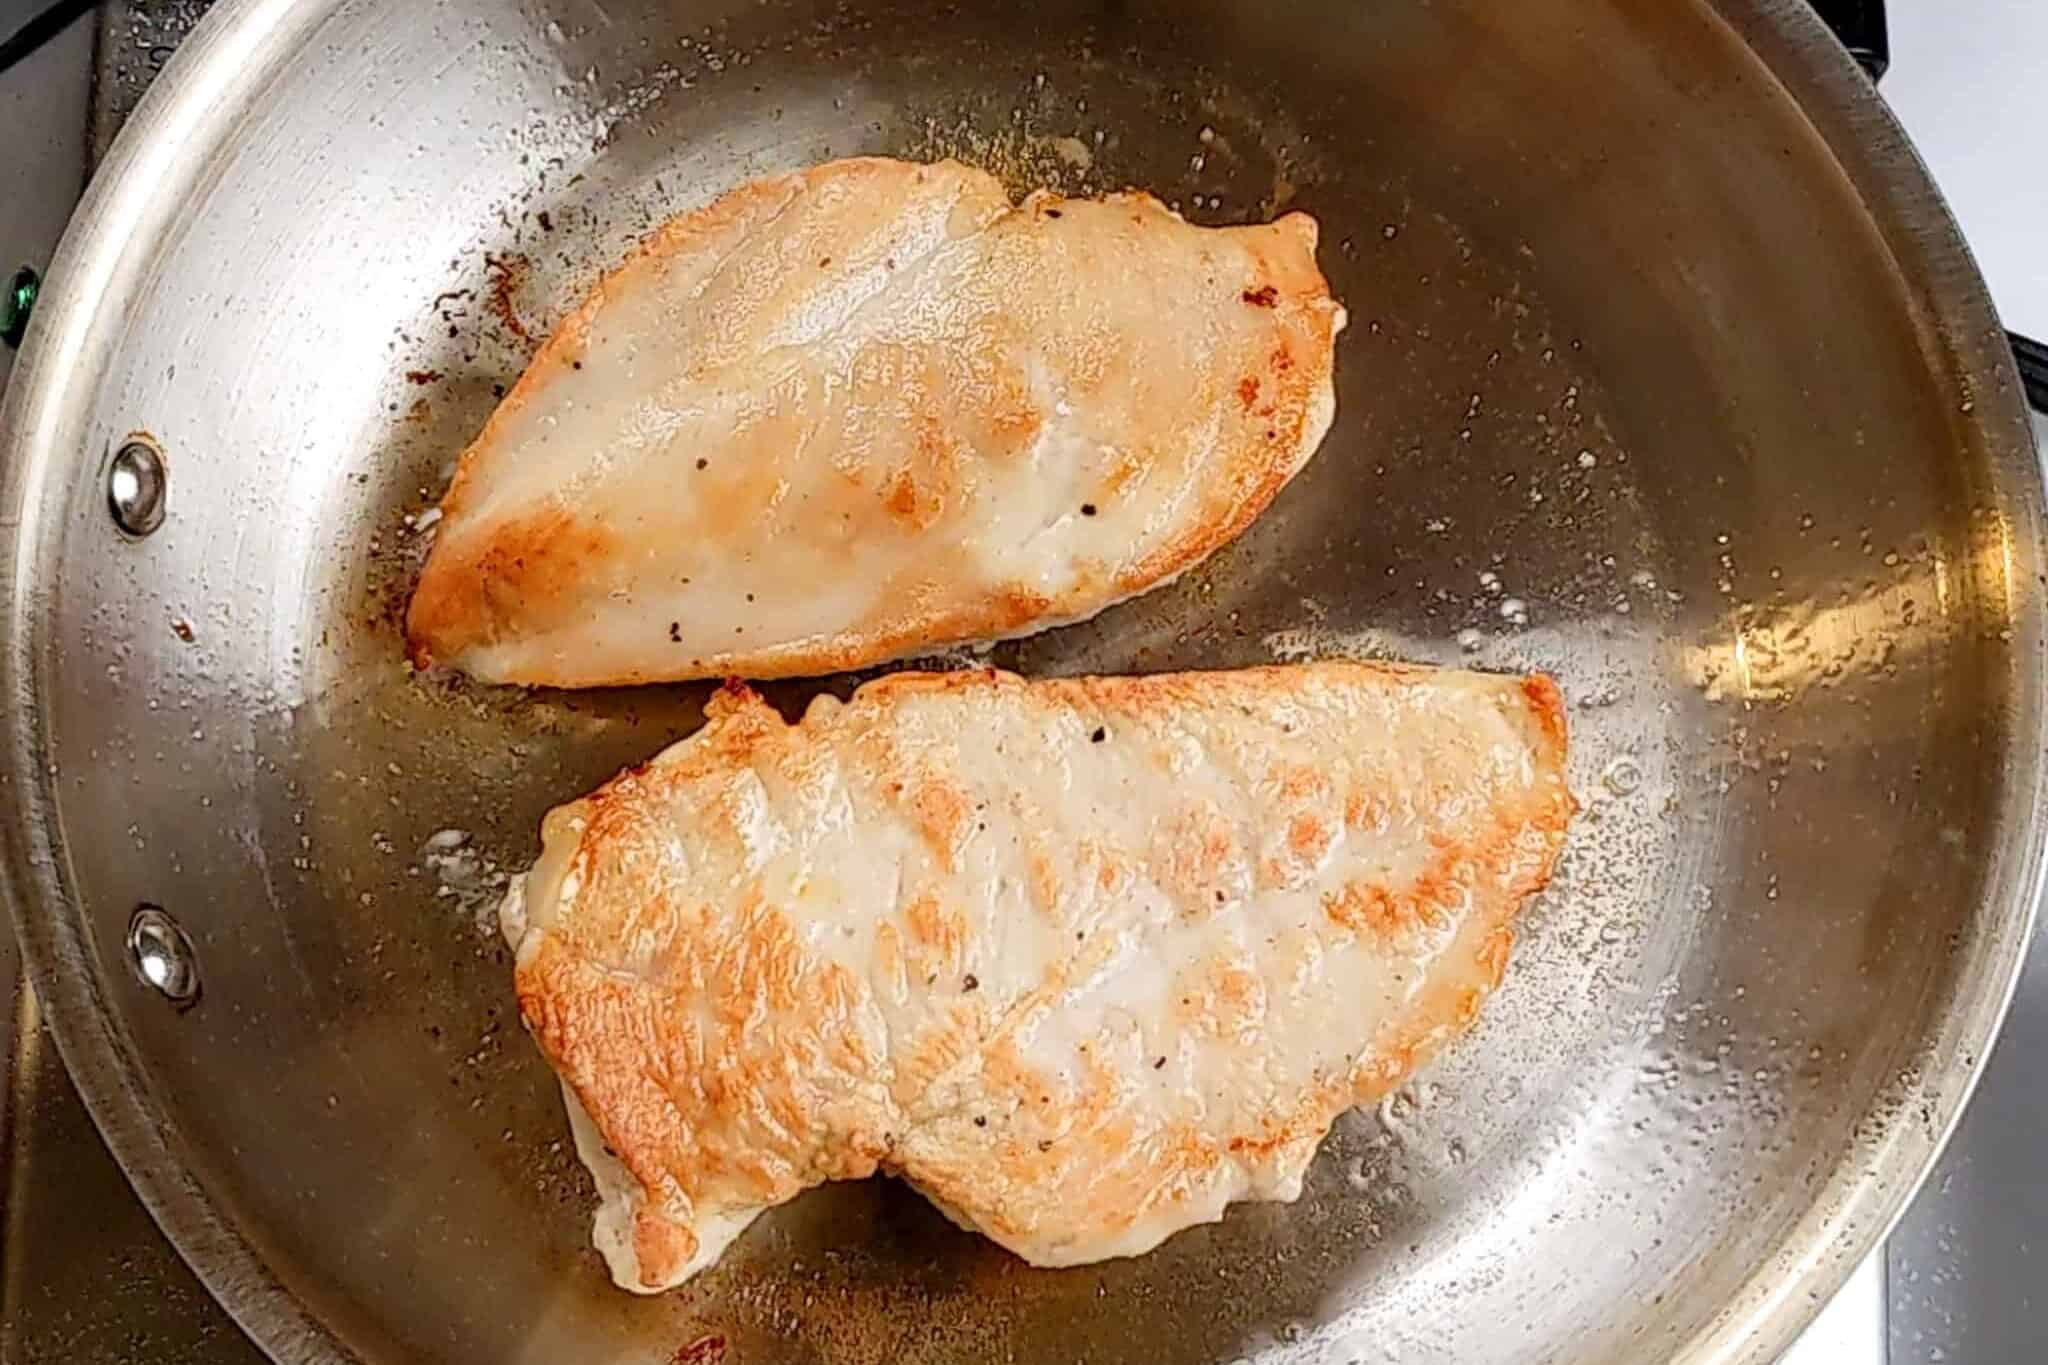
Table of Contents
Jump to:
- Perfect Seared Chicken
- Video Overview: Prevent Chicken from Sticking
- Searing vs. Browning
- Before You Begin: Safety & Setup
- Equipment List
- Kitchen Must-Haves Reviews
- 101: Prepping the Chicken
- 102: Heating the Oil
- 103: Step-by-Step: How to Sear Chicken
- 5 Quick Tips for a Perfect Sear
- Common Mistakes Recap
- Frequently Asked Questions
- Cooking Tips and Tutorials
- Chicken Recipes
- Have a Comment or Question?
Perfect Seared Chicken
There's something deeply satisfying about hearing that first sizzle when chicken hits a hot pan. But sometimes that sound turns into a sputter, a stick, or a smoky mess. Searing can look simple, yet it's one of those foundational cooking techniques that reveals a lot about a cook's confidence behind the stove.
I've seen (and made) all the common searing mistakes myself:
- Cold Pan! Starting with a cold pan or cold chicken, which kills that beautiful browning.
- Oily Disaster! Using too much oil or the wrong type can cause splatter and smoke.
- Too Much! Overcrowding the pan leads to steamed, pale chicken instead of golden crispiness.
- Not Enough Time! Flipping too early, tearing the crust before it's had time to form.
- Wet = Steam! Forgetting to pat the chicken dry is the number one reason your sear goes soggy.
Video Overview: Prevent Chicken from Sticking
Learning how to sear properly changes everything from the flavor of your food to the way you approach cooking itself. When that caramelized crust forms, it's not just pretty, it's flavor science in action.
The heat triggers the Maillard reaction (my favorite freaking word by the way), a chain of chemical transformations where proteins and sugars on the chicken's surface create deep, complex, savory notes that you simply can't get any other way.
A Basic Useful Skill
From my chef's perspective, searing is a universal skill that connects cuisines around the world. It can be from its French pan-seared chicken breast finished with butter, Japanese-style teriyaki chicken caramelized to glossy perfection, or Haitian and Caribbean dishes where searing locks in bold seasoning before braising; it's all rooted in the same technique.

"It always amazes me how every culture has its own approach, from how the oil is heated to the timing of the flip."
Pan Searing Chicken Know How
That's why in this post, we're focusing specifically on how to sear chicken, the steps, tips, and small adjustments that make a big difference. Once you understand this, you can take that same technique and apply it to beef, fish, tofu, or vegetables. But first, let's get your chicken sizzling the right way.
Searing vs. Browning
It's easy to mix up the terms "browning" and "searing," but they're not quite the same thing.
- Browning refers to any gentle color change on the surface of food during cooking, often over moderate heat.
- Searing, on the other hand, is a deliberate, high-heat technique that quickly caramelizes the surface of meat to develop a deep golden crust and bold flavor.
When you sear chicken, you're not just adding color; you're layering in flavor that forms the foundation for sauces, pan gravies, and even the next step in global dishes like stews, stir-fries, and curries. It's a small but powerful difference that transforms everyday cooking into restaurant-quality results.
Before You Begin: Safety & Setup
Searing chicken means working with high heat and hot oil, so setup is everything. Start by choosing a stable surface with good ventilation, turn on your range hood, or crack a window if you need to. Always use long-handled tongs to avoid grease splatter, and never drop wet chicken into hot oil. Read More: Smart Storage and Kitchen Safety Tools I Can't Live Without.
To prevent cross-contamination, dedicate one cutting board for raw poultry, and wash your hands thoroughly after handling it, especially if you wear rings. A quick wipe-down with a food-safe disinfectant or a spray of diluted Pine-Sol keeps your counters and sink safe and sanitary. Read More: How to Prevent Cross-Contamination in Your Kitchen.
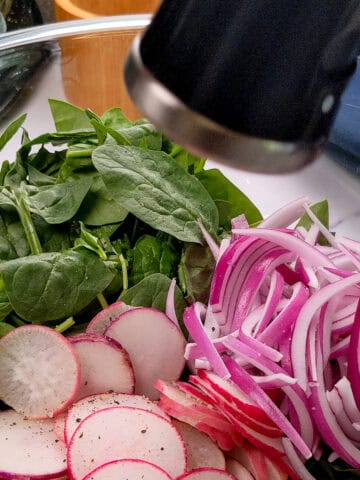
Most importantly, have your ingredients prepped and within reach before heating the pan. Once the oil is shimmering, there's no time to dig through your spice drawer. This simple mise en place step sets you up for a clean, confident sear every time. Read More: Mise en Place 101: The Home Cook's Guide to Prepping Smarter, Not Harder.
Equipment List
Here's what you'll need to do it right with ease:
- Heavy-Bottomed Skillet or Cast Iron Pan: These retain heat evenly and prevent hot spots. Stainless steel and cast iron are ideal for consistent browning.
- Tongs: A must for flipping chicken safely without piercing the meat or losing juices.
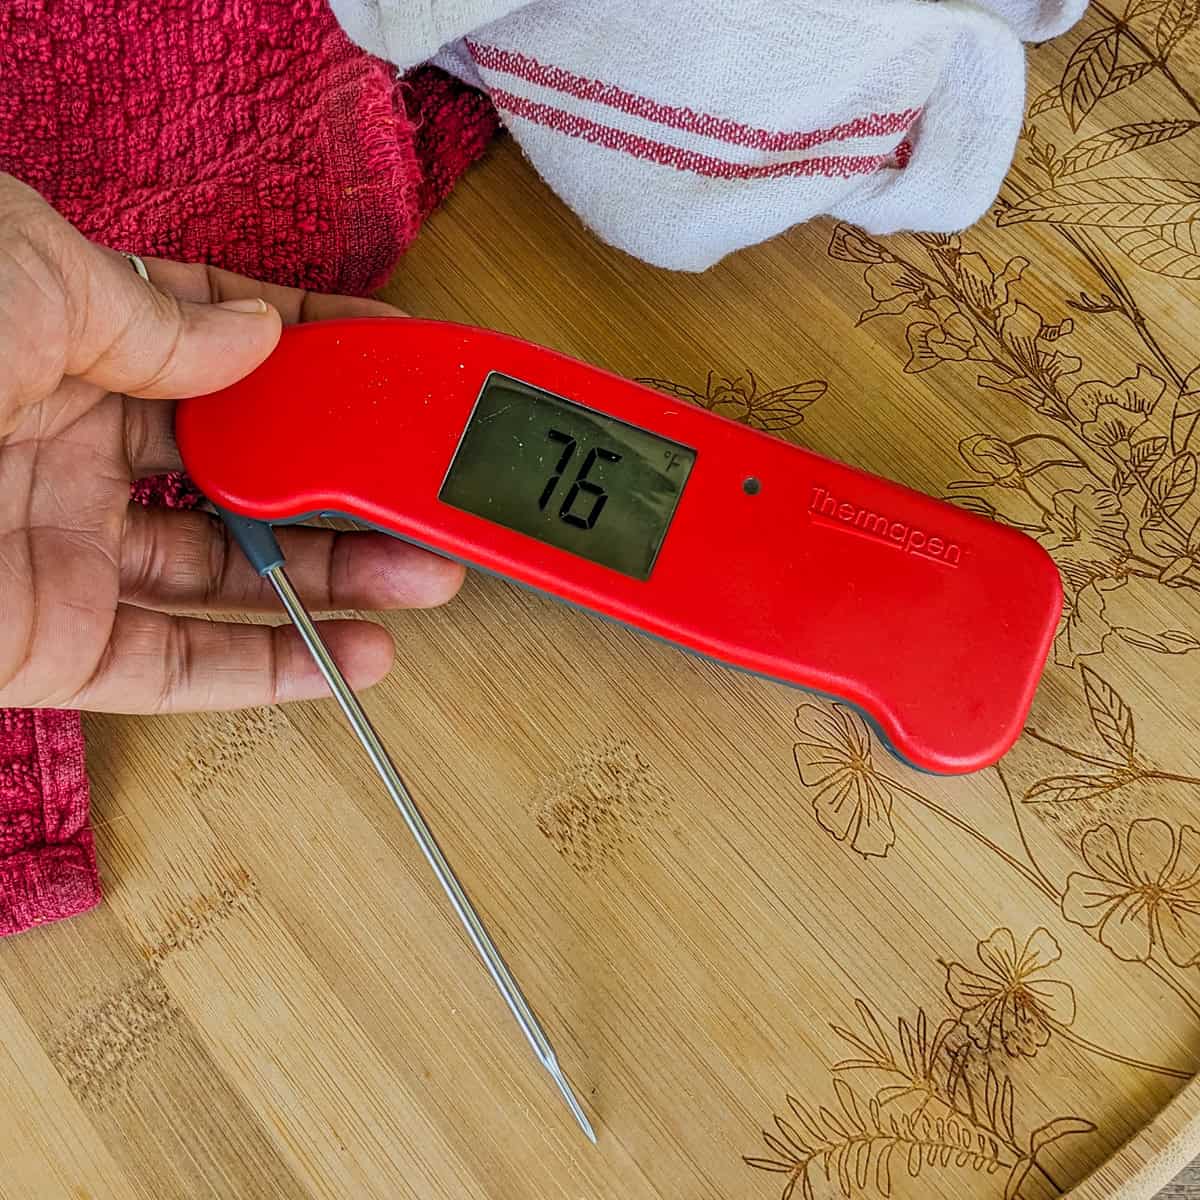
- Instant-Read Thermometer: Confirms your chicken hits 165°F without overcooking.
- Paper Towels: Always pat the chicken dry before it hits the pan; moisture kills a good sear.
- High Smoke Point Oil: Use avocado, grapeseed, or light olive oil. These oils handle high heat without burning or smoking too early. Learn More: Heart Healthy, High Smoke Point Oils for Cooking.
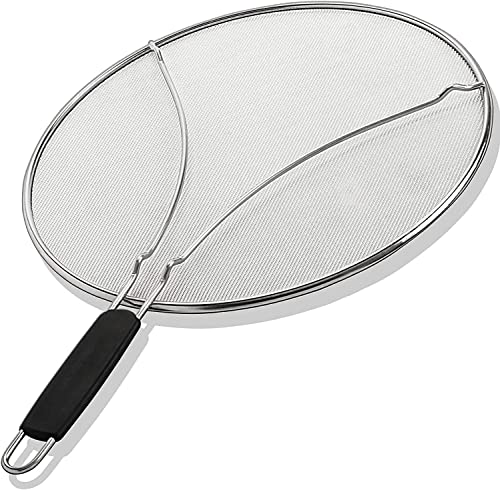
- Splatter Screen (Optional): Especially useful for shallow pans or smaller kitchens.
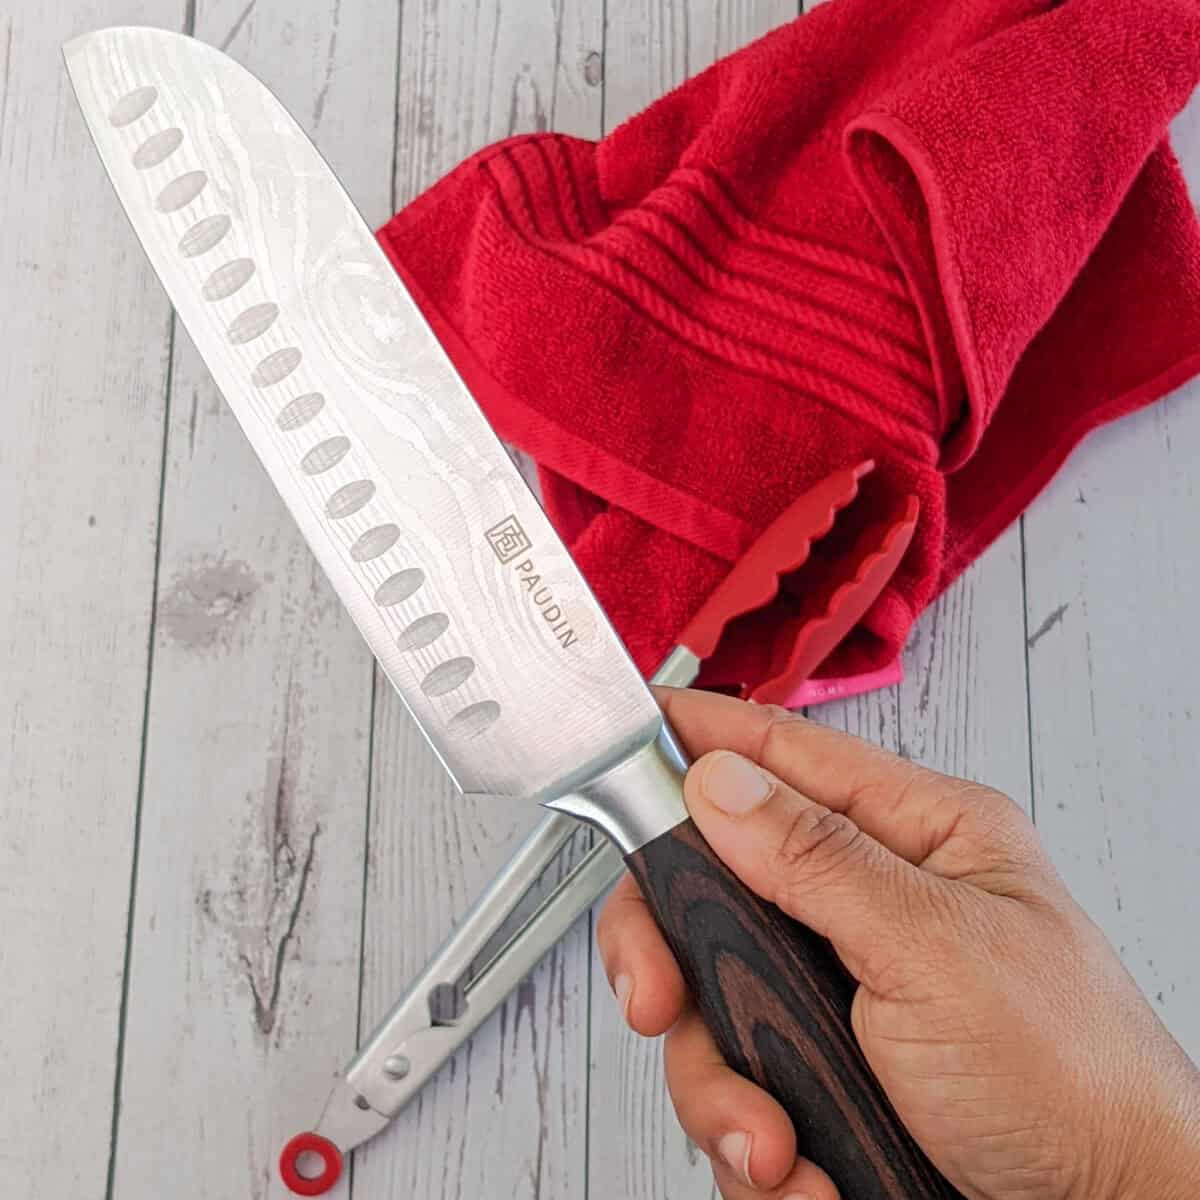
- Sharp Knife (Optional): If raw chicken tends to cling to your blade while prepping, try using a Santoku knife. Its grooved sides create tiny air pockets that keep meat from sticking, making it easier to portion your chicken evenly before searing.
Kitchen Must-Haves Reviews
Find a collection of my reviews of kitchen equipment that I have purchased or recommend. Kitchen Must-Haves - Find other tools I use here.
My Review: The Lodge Blacklock 10.25" Triple Seasoned Cast Iron Skillet has quickly become one of my favorite pieces of cookware. I’m especially impressed by how lightweight it feels compared to traditional cast iron, making it easy to maneuver while cooking and serving. The clean, smooth finish not only looks sleek but also delivers reliable nonstick performance, making cleanup simple. It’s a premium skillet that combines classic durability with a modern design upgrade I truly appreciate.
My Review: These tongs have been indispensable kitchen tools. Their sturdy build and heat-resistant silicone tips make them dependable for various cooking tasks, from flipping delicate fish fillets to pulling a hot oven rack, ensuring they're a valuable addition to my kitchen. The only problem I've had is grasping items with the tip. Silicone tongs are flexible and are not sturdy enough to pick heavy things with their tips. So I gave it a 4 out of 5. Hence, the reason why I still keep my metal tongs.
America's Test Kitchen - Winner
My Review: The Thermapen ONE by ThermoWorks is my go-to kitchen thermometer - simple, fast, and incredibly precise. It delivers accurate readings in just one second, making it perfect for everything from meats to baked goods. I love that it's waterproof, has a rotating backlit display, and turns on automatically when you unfold the probe. It's been voted America's Test Kitchen's top thermometer. It comes with a 5-year warranty and a NIST-traceable calibration certificate, ensuring its reliability is a must-have tool for any cook.
My Review: Oh yes! One of my biggest helpers in the kitchen is the splatter screen. You’ve probably seen in one of my videos where I have two round red spots on my hand. That was thanks to good old kitchen oil that popped from a hot pan. It was the day I didn’t use my splatter guard. Silly me. And that’s why it has become one of my must-haves. I got the 13-inch one to fit most of my pots and pans. Watch me use it in action while making my Butternut Squash Chicken Chili recipe. I gave this a four since I still get oil splatters, but in smaller droplets, and it prevents the big poppers! If you have a better solution, reply in the next newsletter.
My Review: This knife is well-made. Super solid and multi-functional. It is made with high-carbon steel, so it will not rust. Slicing meat like fish is easier with the grooves. It doesn’t stick to the knife. The handle has an excellent grip, and it's not heavy. For some background, a Santoku is a versatile Japanese kitchen knife characterized by its straight edge and "sheepsfoot" blade, designed for precise slicing, dicing, and chopping. Its name means "three virtues," referring to its ability to handle meat, fish, and vegetables efficiently, making it a staple in both professional and home kitchens.
My Review: The boning knife is a solid, affordable option that performs exactly how you need it to. I bought it specifically for breaking down a whole chicken, and I love how sharp and lightweight it is. It makes trimming and deboning feel much more controlled and efficient. The German high-carbon stainless steel holds its edge well, and the pakkawood handle feels comfortable in the hand. I already own other PAUDIN knives, so I knew what to expect, and once again, they delivered great quality at a very reasonable price.

Recommended Reads
- Easy Spicy Creamy Coconut Mushroom Chicken with Rum
- Pan-Seared Sirloin Steak with Spicy Baharat Sauce
- Sesame Seed-Crusted Ahi Tuna with Spicy Sesame-Soy Sauce
- Jerk Steak Fajitas | Super Easy 30 Minute Meal
- Indoor Grilling Essentials: Best Tools for Smokeless Grilling at Home
101: Prepping the Chicken
A successful sear starts long before the pan ever heats up. How you prep your chicken makes all the difference between golden-brown and pale.
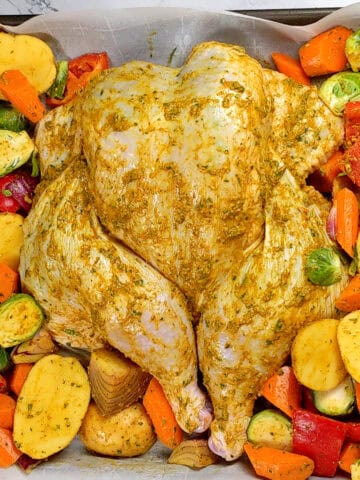
- Pat Dry: Use paper towels to remove any surface moisture. This is non-negotiable. Wet chicken will steam, not sear.
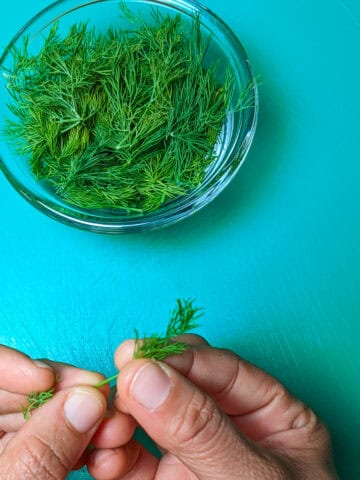
- Season Generously: Salt, pepper, and your favorite spices draw out just enough moisture to help with browning. Avoid sugar-heavy marinades until after searing to prevent burning.
- Bring to Room Temperature: Take the chill off by letting the chicken rest for 10-15 minutes. Cold chicken can lower the temperature of your pan, sabotaging your crust.
- Trim Wisely: Remove excess fat or loose skin that could cause flare-ups in the pan.
- Plan for Uniformity: Cut large breasts in half or pound them to even thickness so they cook consistently.
Important: (See Before You Begin: Safety & Setup) Before moving on, double-check that your mise en place includes tongs, oil, and a thermometer within reach. Once the oil is hot, you'll need to move fast and confidently.
102: Heating the Oil
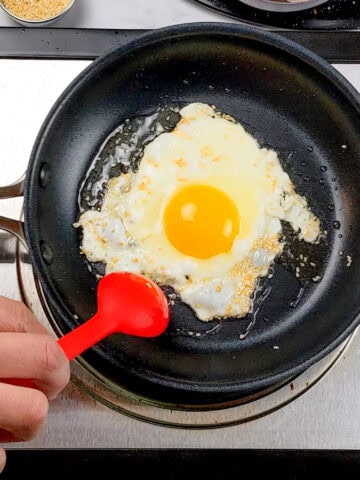
To test if your oil is hot enough for searing, skip the thermometer and use your senses. I like to touch the edge of a chicken piece to the pan first; if it gives a sharp, steady sizzle, it's ready. If it barely bubbles or pops violently, adjust your heat. You can also flick in a single drop of water; it should sizzle and evaporate almost instantly.
And remember the oil's consistency/viscosity when it's ready. This way you will be able to know by eye. It should flow with ease when you swirl the pan.
Too Hot! If the oil starts smoking heavily, it's too hot. Remove the pan from the heat for a moment, wipe out any burnt residue, and start fresh. Clean oil and the right temperature are key to achieving that deep golden crust without burning.
103: Step-by-Step: How to Sear Chicken
Once your chicken is prepped and your pan is hot, everything moves quickly. Here's how to achieve that golden, crisp exterior with juicy, flavorful meat inside.
- Preheat the Pan: Set your skillet over medium-high heat and let it warm up for 2-3 minutes. You'll know it's ready when a drop of water sizzles and evaporates almost instantly. Just a droplet, please!! Don't cause a splatter attack.
- Add the Oil: Pour in just enough oil to lightly coat the surface, about 1 to 2 tablespoons, depending on the pan size. Swirl to create an even layer.
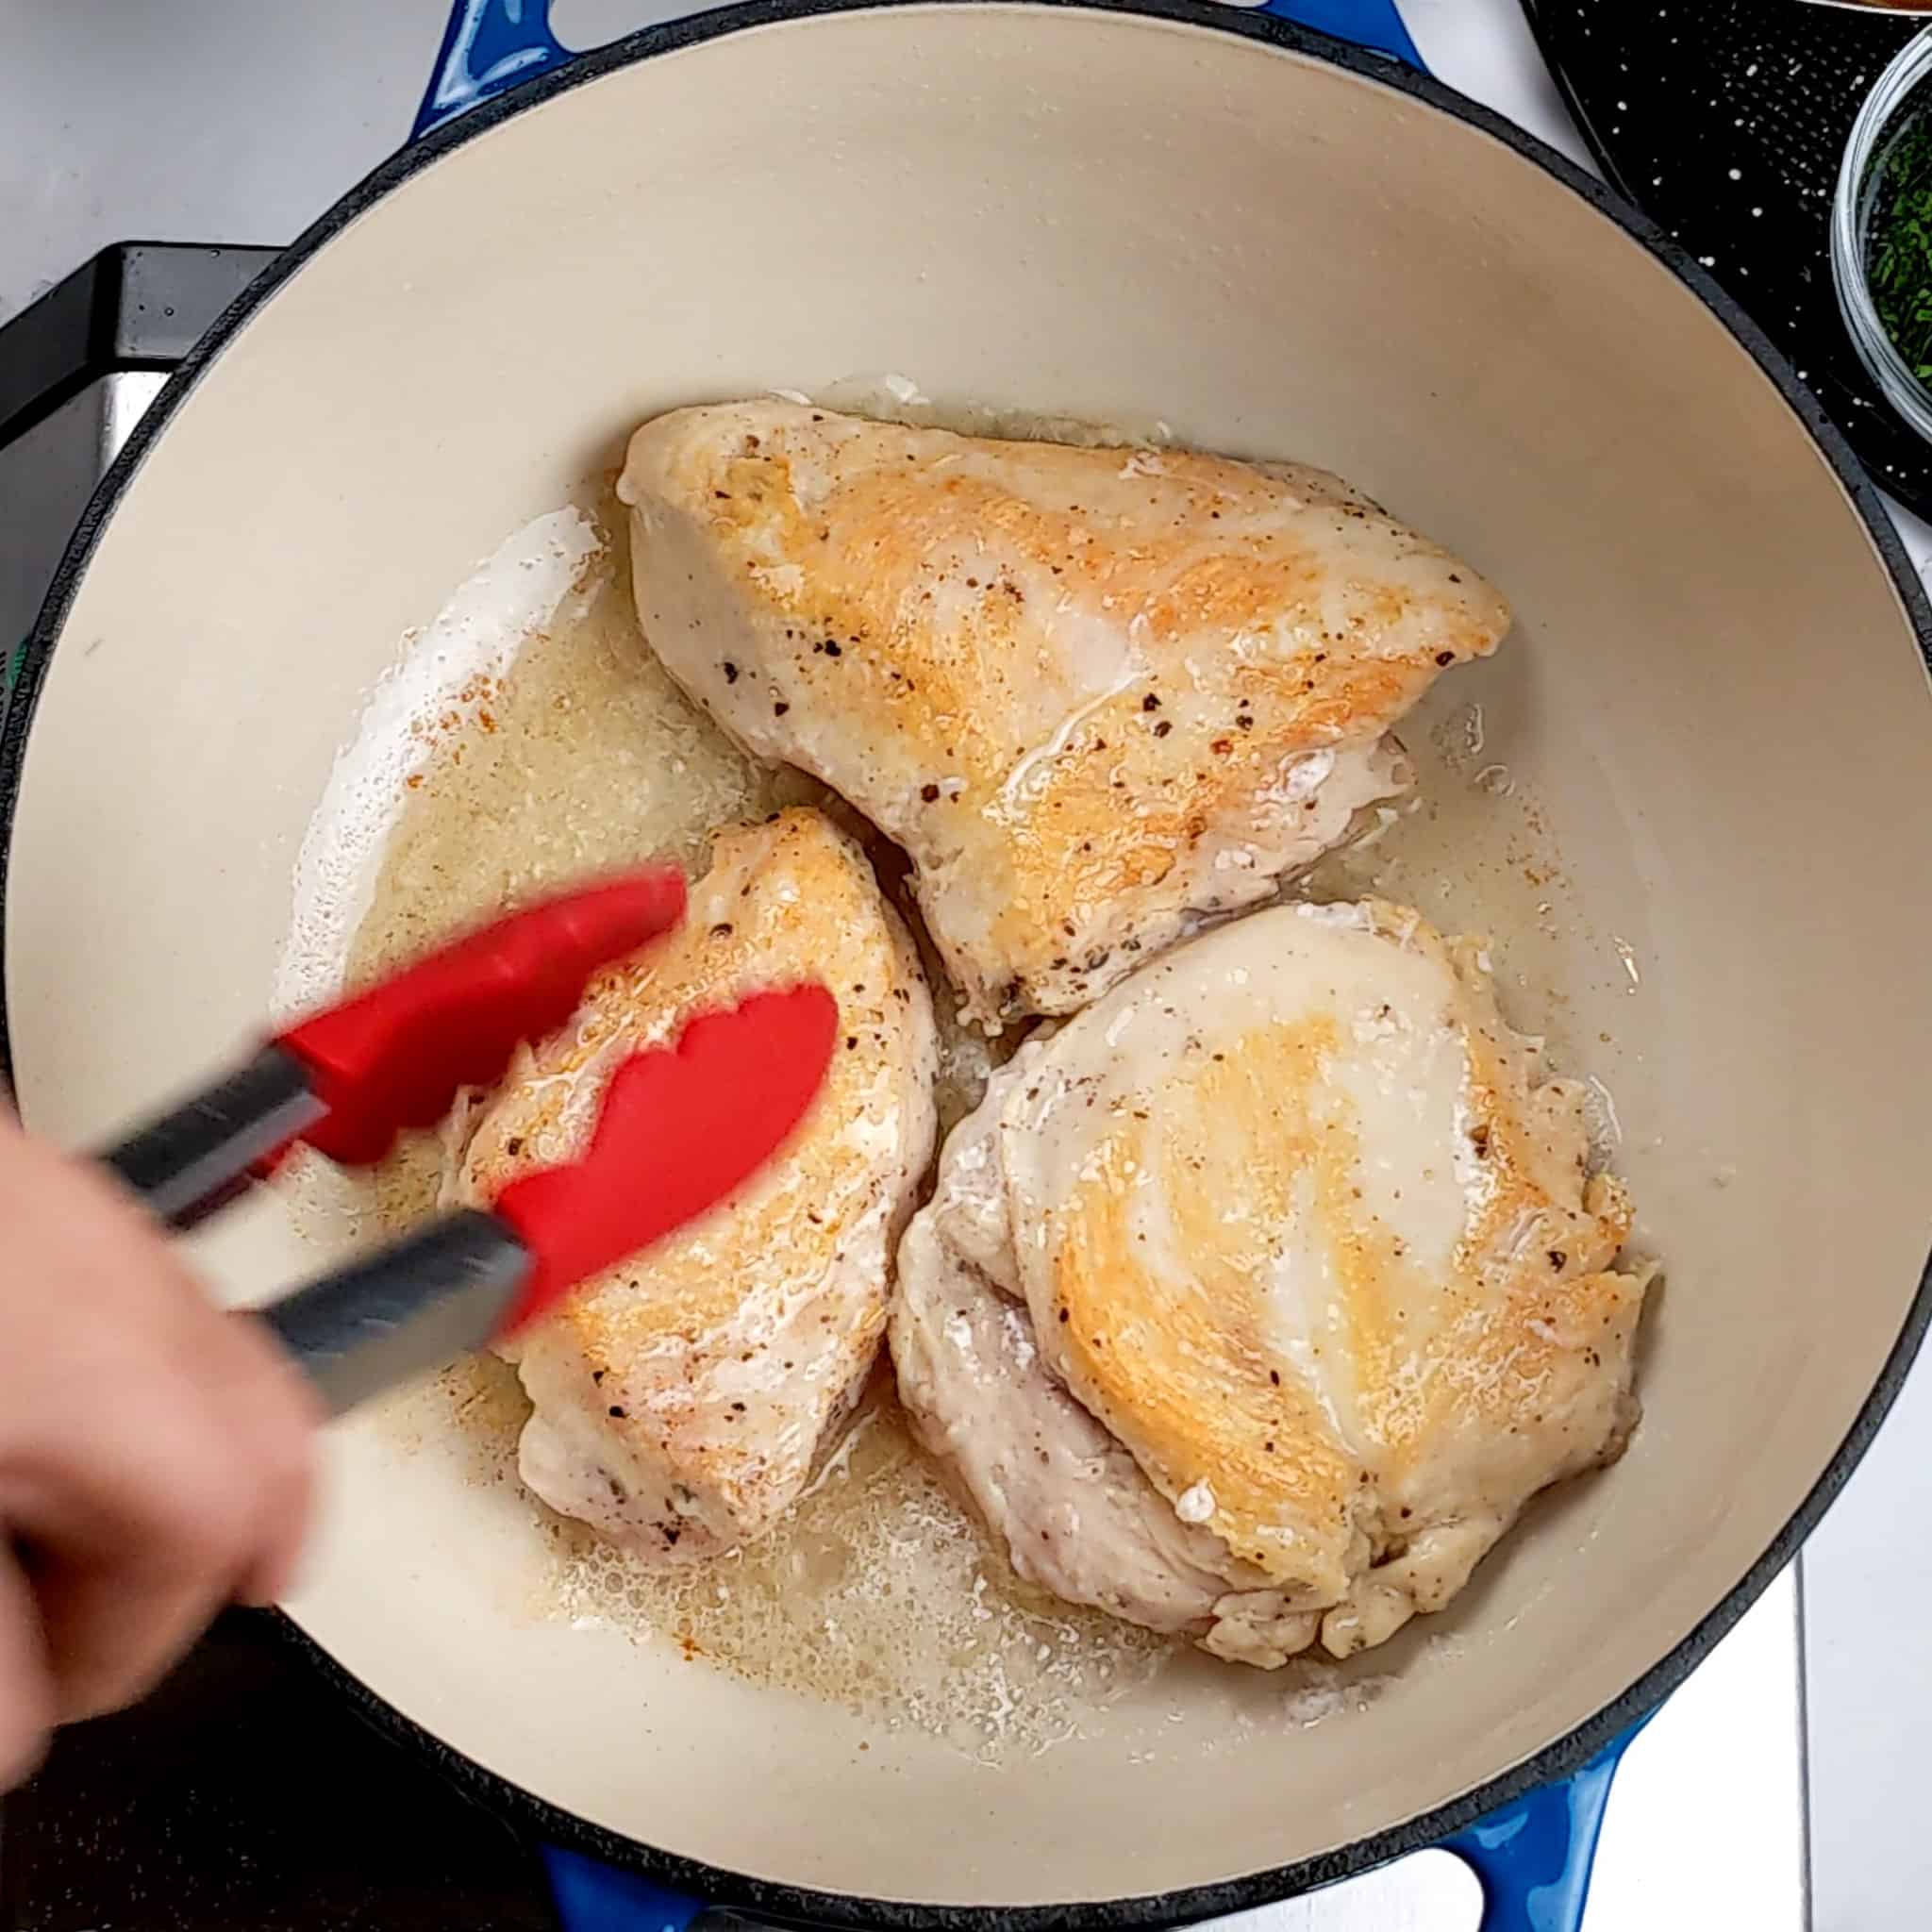
- Lay Down the Chicken: Place the chicken in the pan presentation-side down (the smooth side). You should hear a strong, steady sizzle, not a violent crackle or silence. That sound means your oil is at the right temperature.
- Leave It Alone: Resist the urge to move or flip it too soon. Let it sear undisturbed for 3-5 minutes, depending on thickness, until golden edges form. This is when the Maillard reaction works its magic.
- Flip Once: Turn the chicken over with tongs. If it's sticking, give it another 30 seconds; it'll release naturally once the crust has formed.
- Lower the Heat: Once flipped, reduce the heat to medium to prevent over-browning. Continue cooking until the internal temperature reaches 165°F.
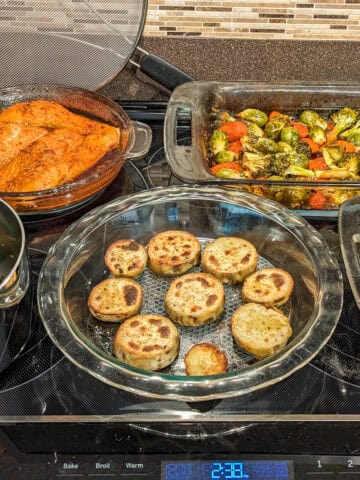
- Optional Finish for Thick Cuts: For thicker chicken breasts or bone-in pieces, sear both sides for color, then transfer the pan to a 375°F oven for 8-12 minutes until fully cooked. Cast iron and stainless steel pans transition beautifully from stovetop to oven.
- Rest Before Serving: Let the chicken rest on a plate for about 5 minutes before slicing. This helps the juices redistribute, resulting in a tender, juicy outcome.
Don't Be Discouraged: If your first few tries aren't picture-perfect, searing is one of those techniques that gets better with practice. The more you cook, listen, and observe, the more instinctive it becomes, and soon you'll recognize that perfect sizzle and golden crust consistently.
5 Quick Tips for a Perfect Sear
Your Cooking Tips Resource Guide - Become a better home cook with tips to help you cook more efficiently on the Cook's Notebook tab.
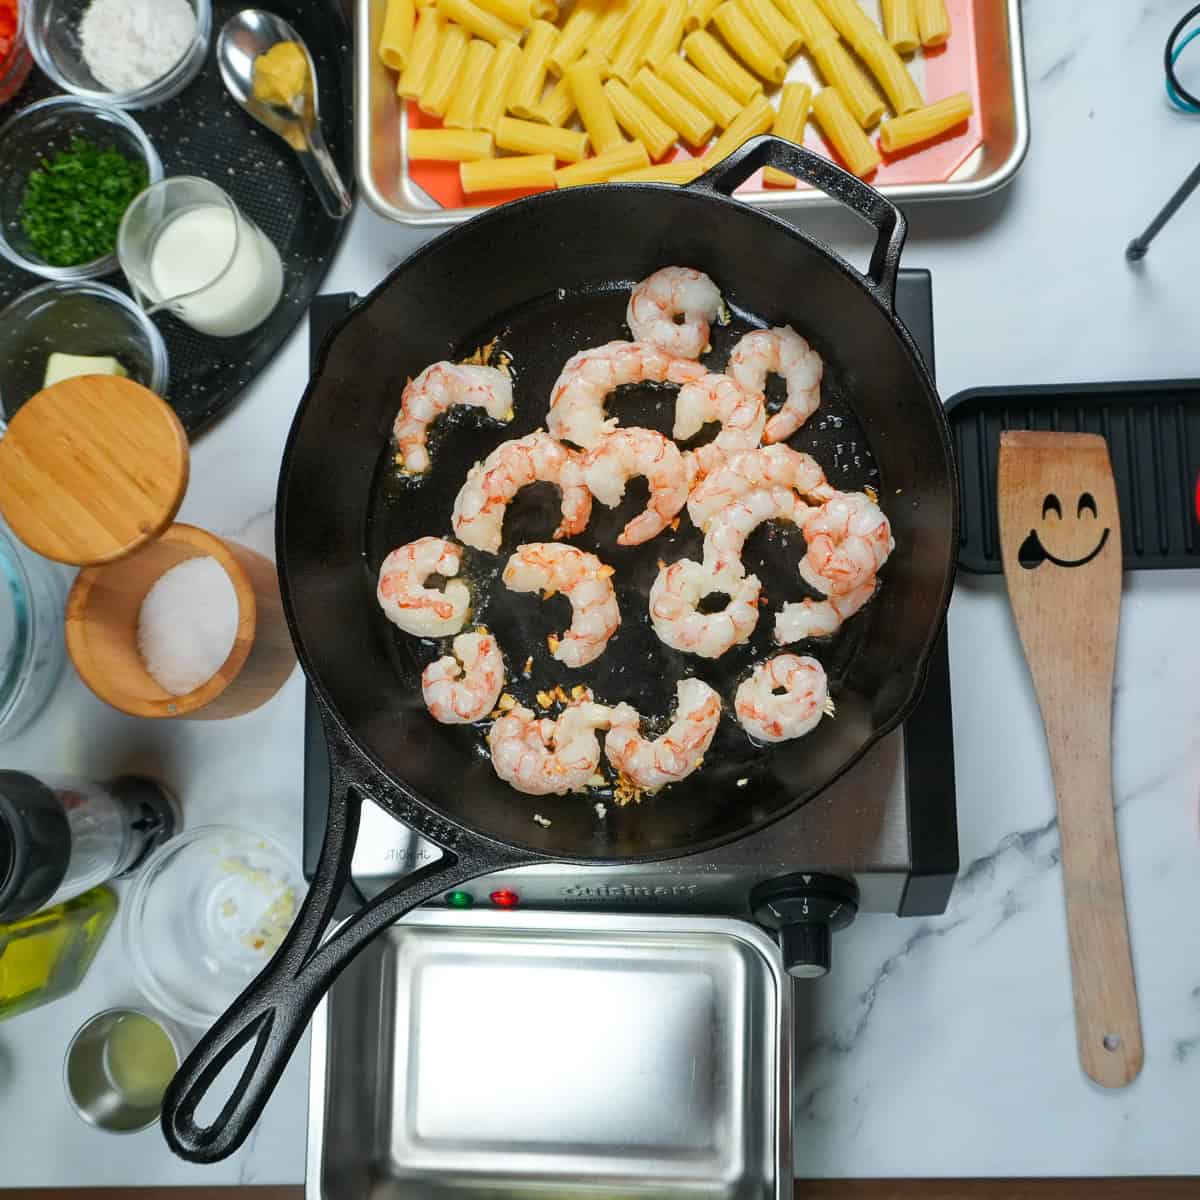
- Don't Overcrowd the Pan: Too many pieces lower the heat and cause steaming. Work in batches if needed.
- Use Medium-High Heat: High enough to brown, but not so high as to burn.
- Deglaze for Flavor: After searing, splash in broth or wine to lift the browned bits (fond) for a quick pan sauce.
- Butter Baste for Extra Richness: Add a tablespoon of butter and herbs in the final minute for aroma and shine.
- Rest Before Slicing: Let chicken rest 5 minutes, so juices redistribute.
Common Mistakes Recap
Even experienced cooks can slip up when searing chicken. Here's a quick refresher on what to avoid and how to fix it fast.
- Wet Chicken or Overcrowded Pan: Moisture and crowding create steam instead of a crust. Pat the chicken dry and cook in batches for even browning.
- Constantly Flipping or Poking: Moving the chicken too soon tears the crust. Let it sear undisturbed until it naturally releases from the pan.
- Cold Pan or Cold Oil: Starting without proper heat leads to pale chicken. Preheat the pan first, then add oil and listen for that steady sizzle.
- Nonstick Pan on High Heat: Nonstick coatings help prevent browning but can degrade at high temperatures. Use stainless steel, cast iron, or enameled cast iron for the best sear.
Keep these in mind every time you sear, and your chicken will consistently come out crisp, juicy, and full of flavor.
Frequently Asked Questions
Here is a list of common questions I have answered. If you have any questions, please write them in the comments below.
The simplest test is the water droplet trick: flick a drop onto the pan. If it sizzles sharply and evaporates instantly, it's ready. You can also hover your hand a few inches above the surface; you should feel steady, radiant heat. Starting with a properly heated pan ensures your chicken sears rather than steams.
Absolutely, but be sure to pat off the excess marinade first. Too much liquid or sugar in the marinade can cause the chicken to burn before it browns. For best results, sear lightly, then finish cooking in the oven or reduce the marinade separately into a glaze.
Choose an oil with a high smoke point, such as avocado, grapeseed, or canola oil. These oils hold up well at high heat and let the natural flavors of your seasoning shine. Save butter for finishing; adding it near the end gives flavor without burning.
Yes, and it's one of my favorite methods for thick cuts. Once both sides are golden brown, transfer the pan to a preheated 375°F oven and cook until the internal temperature reaches 165°F. This combo method gives you the best of both worlds: crisp crust, juicy center.
Chicken sticks when it hasn't formed a proper crust or the pan isn't hot enough. Let it cook another 30-60 seconds before trying again. When it's ready, it will naturally release from the pan with minimal effort. If you're still having issues, check that your pan is clean and your oil layer is even.
Let the pan cool slightly, then deglaze it with warm water while it's still warm (not hot). Use a wooden spoon to lift up any browned bits. This creates a quick pan sauce or makes cleaning easier. For cast iron, wipe it clean and re-oil lightly to maintain the seasoning.
What Does Deglaze Mean? It's when you loosen and dissolve the browned bits (fond) stuck to the bottom of a hot pan by adding liquid such as broth, wine, or water, to create a flavorful base for sauces. But here we use it to clean the pan.
Cooking Tips and Tutorials
If you found this tutorial helpful, you'll love my Cook's Notebook collection. From knife skills and flavor bases to time-saving tricks and essential equipment guides, this section is packed with chef-tested lessons to help you cook with confidence.
- How to Tell When Fish Is Done Cooking - Home Cooks Guide
- How to Store Fresh Herbs Properly to Last Longer
- Spring Seasonal Produce Guide: What to Cook Fresh This Season
- Best Food Audiobooks for Chefs & Home Cooks


Chicken Recipes
Looking for chicken recipe ideas? Try these:
- Kimchi Fried Rice Recipe - Simple Base You Can Build On
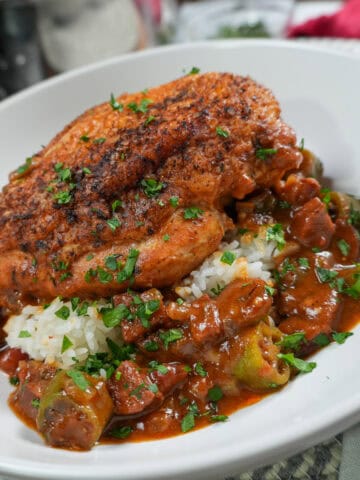
- Pan-Roasted Chicken and Andouille Sausage Gumbo
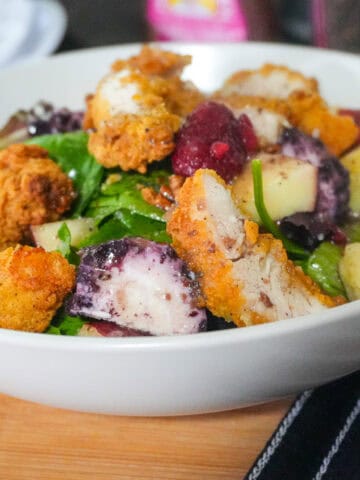
- Fresh Berry Apple Pecan Chicken Salad with Goat Cheese
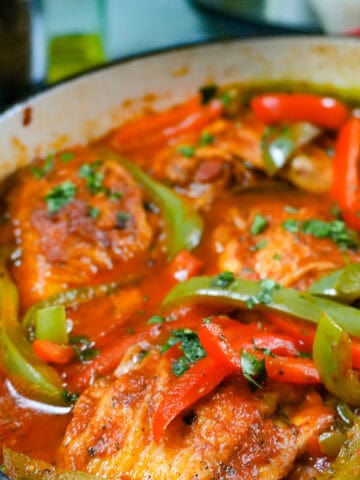
- Braised Chicken | Mexican-Style with Roasted Tomato Sauce

Subscribe to my YouTube Channel
SUBSCRIBE: 👈To my YouTube Channel to Get Notifications of New Videos.


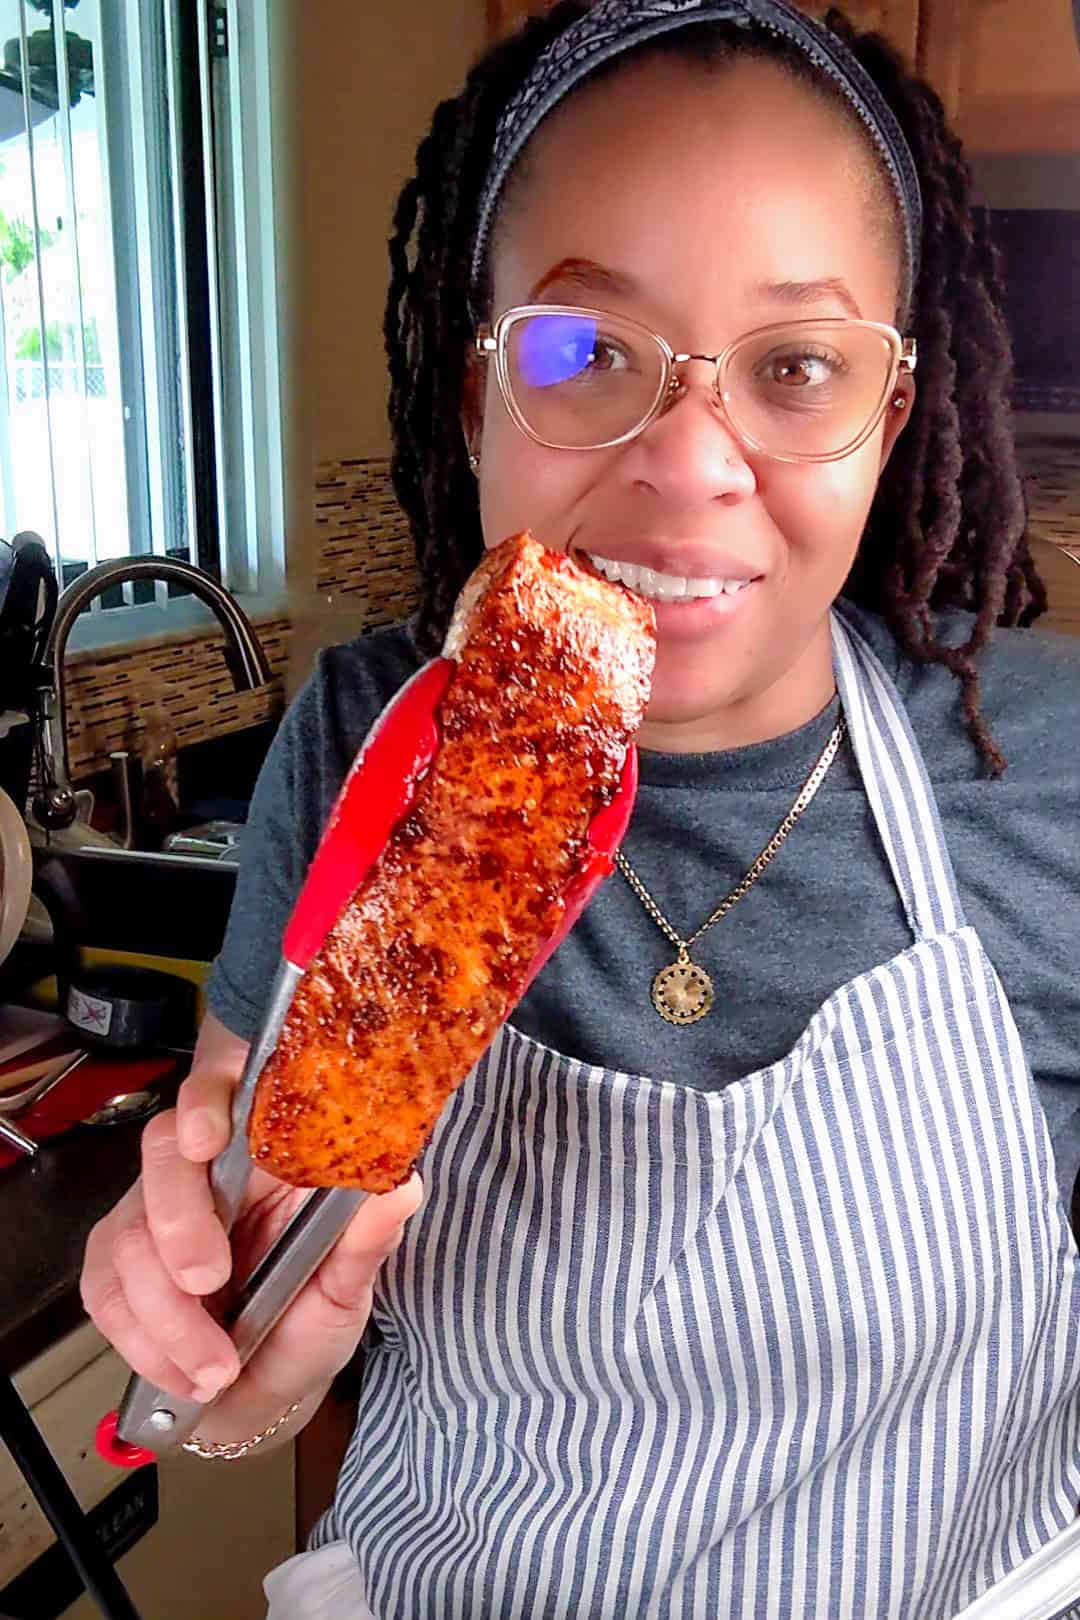
Chef Maika Frederic-Liebman
Chef and Educator
Haitian-American chef and educator Maika Frederic blends bold flavors with approachable recipes. With a background in professional kitchens, classrooms, and children's therapy, she brings a thoughtful, inclusive touch to every dish as a trained chef, former teacher, and technician. Through her platform, Just Maika Cooking, she shares diverse meals and practical tips to empower home cooks of all ages and levels.
Have a Comment or Question?
If you have a question or comment about this post, please post it below. You will definitely get a quick response. It also helps our other readers to stay informed. Thanks!

Leave a Reply