

This indulgent no-churn ice cream layers creamy peanut butter, rich chocolate, and gooey caramel with chunks of candy bars for the ultimate frozen treat, no ice cream maker required. Developed by Chef Maika using her tested method for smooth, scoopable ice cream, this recipe is easy enough for beginners yet decadent enough to impress.

Table of Contents
Jump to:
A Homemade Cold Sweet Treat
There's something magical about turning just a handful of pantry staples into a decadent, scoop-worthy dessert without the fuss of churning. This Easy Peanut Chocolate Caramel Candy Bar No-Churn Ice Cream is my go-to when I want a creamy, candy-laden treat that tastes like it came from a gourmet shop.
As a professional chef who's tested countless frozen dessert methods, I've fine-tuned this recipe so it freezes smoothly, cuts cleanly into scoops, and delivers balanced flavor in every bite. Whether you're making it for a weekend gathering or just to treat yourself, this is the kind of dessert that disappears fast.
Three Customization Tips:
- Add Crunch or Texture - Fold in crushed pretzels, toffee bits, or roasted nuts just before freezing for a sweet-salty twist.
- Swap the Candy Bars - Try different favorites like Snickers, Milky Way, Twix, or even dark chocolate-coated almonds for a new flavor profile.
- Play with the Swirls - Substitute the caramel with dulce de leche, peanut butter, or chocolate fudge sauce to change up the sweetness and texture.

Egg-Free Ice cream! This means you are at less risk of Salmonella when making homemade ice cream. Read Enjoying Homemade Ice Cream without the Risk of Salmonella Infection by the U.S. Food & Drug Administration.
Recommended Reads
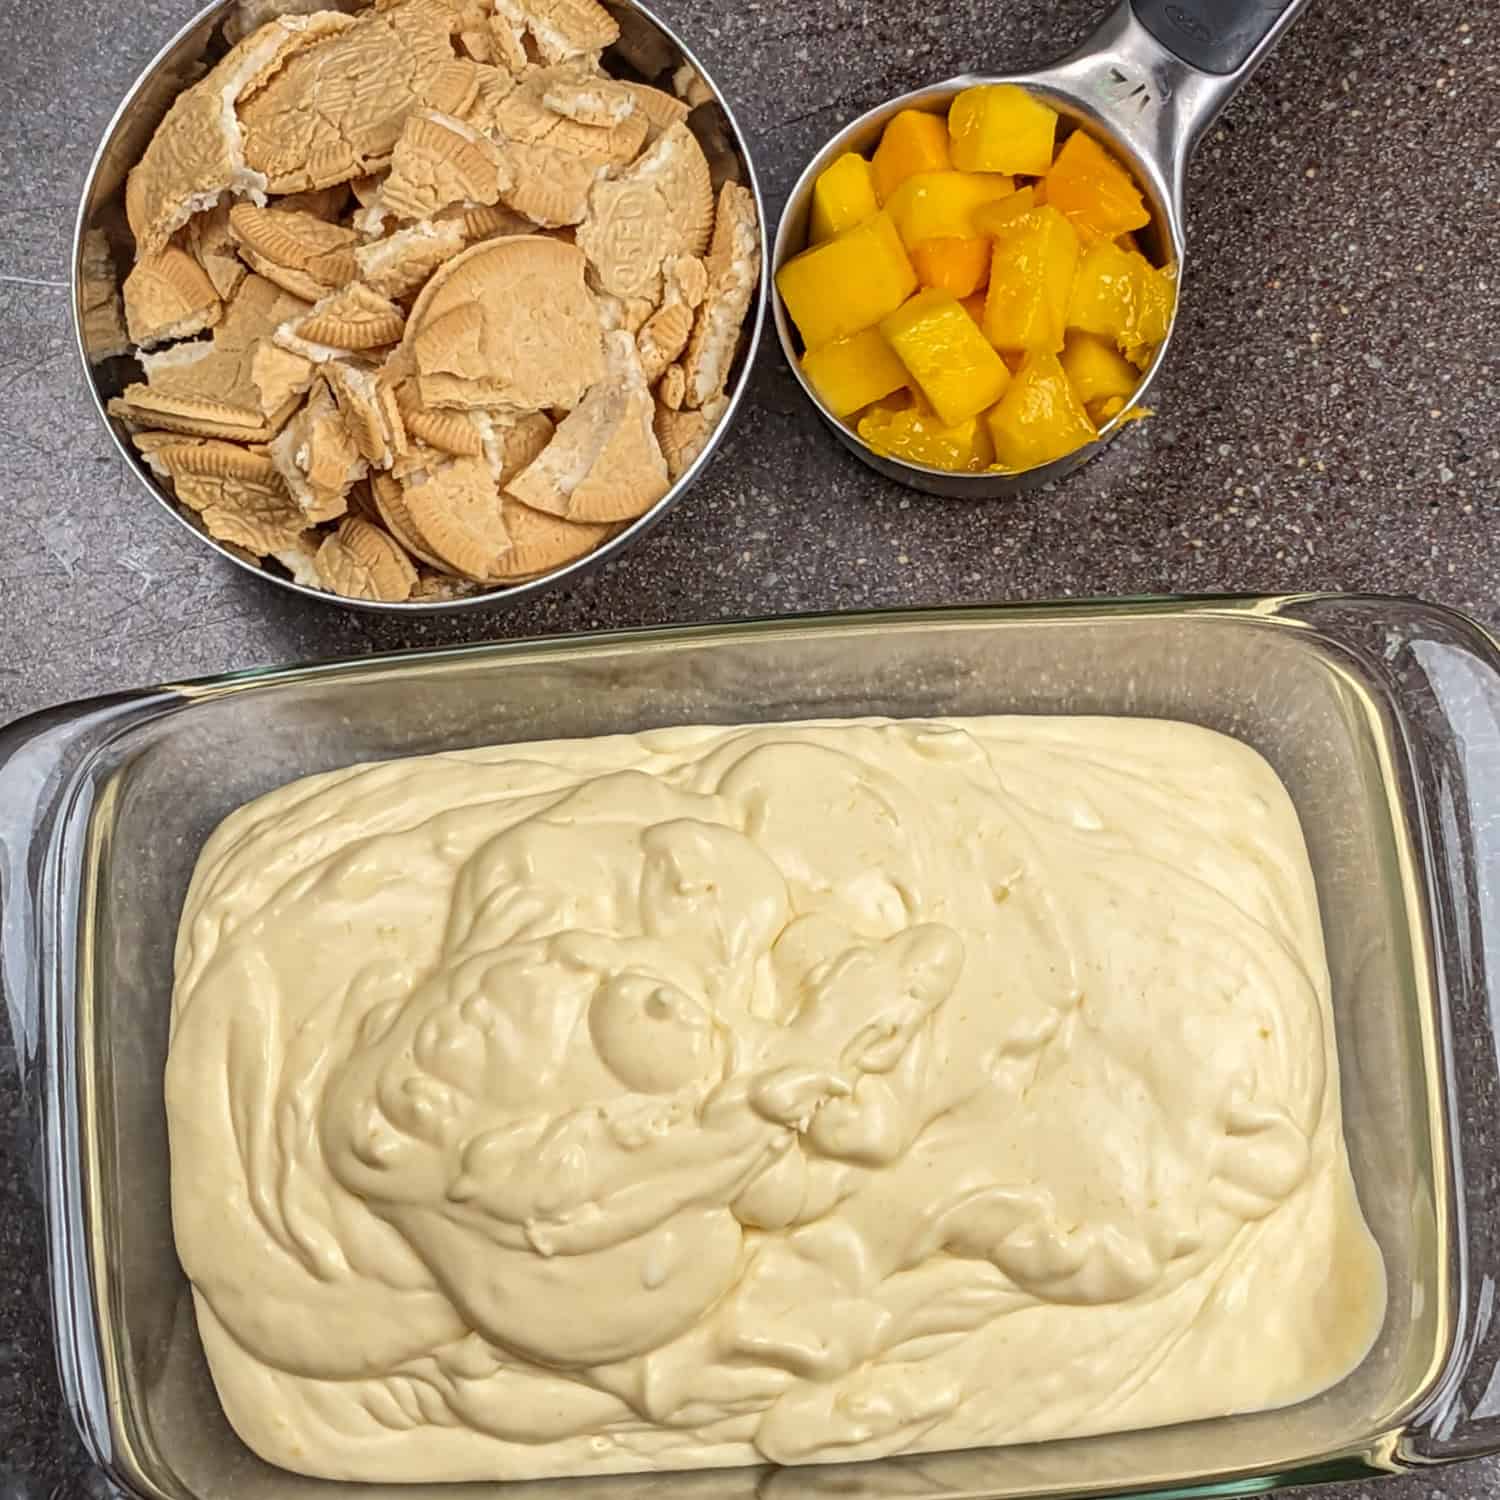
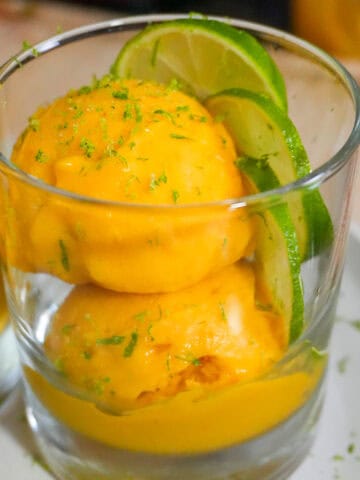
- Mango Cookies and Cream No‑Churn Ice Cream
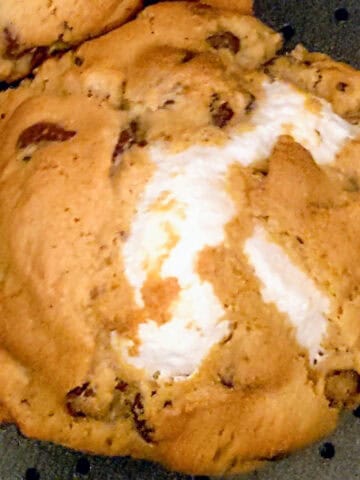
- Easy Air Fryer S'mores Chocolate Chip Cookies
- Papaya Rum Coconut Ninja CREAMi
- Mango Coconut Felato | Ninja Creami Gelato-Style Treat
- Irresistible Frozen Treat Recipes for Any Time of Year
Ingredients with Steps
For success, chill your heavy cream, then use your blender to whip it. Next, add the sweetened condensed milk, cocoa powder, vanilla extract, and sea salt to the whipped cream and blend again. Then, you will place the blended ice cream base into a loaf pan.
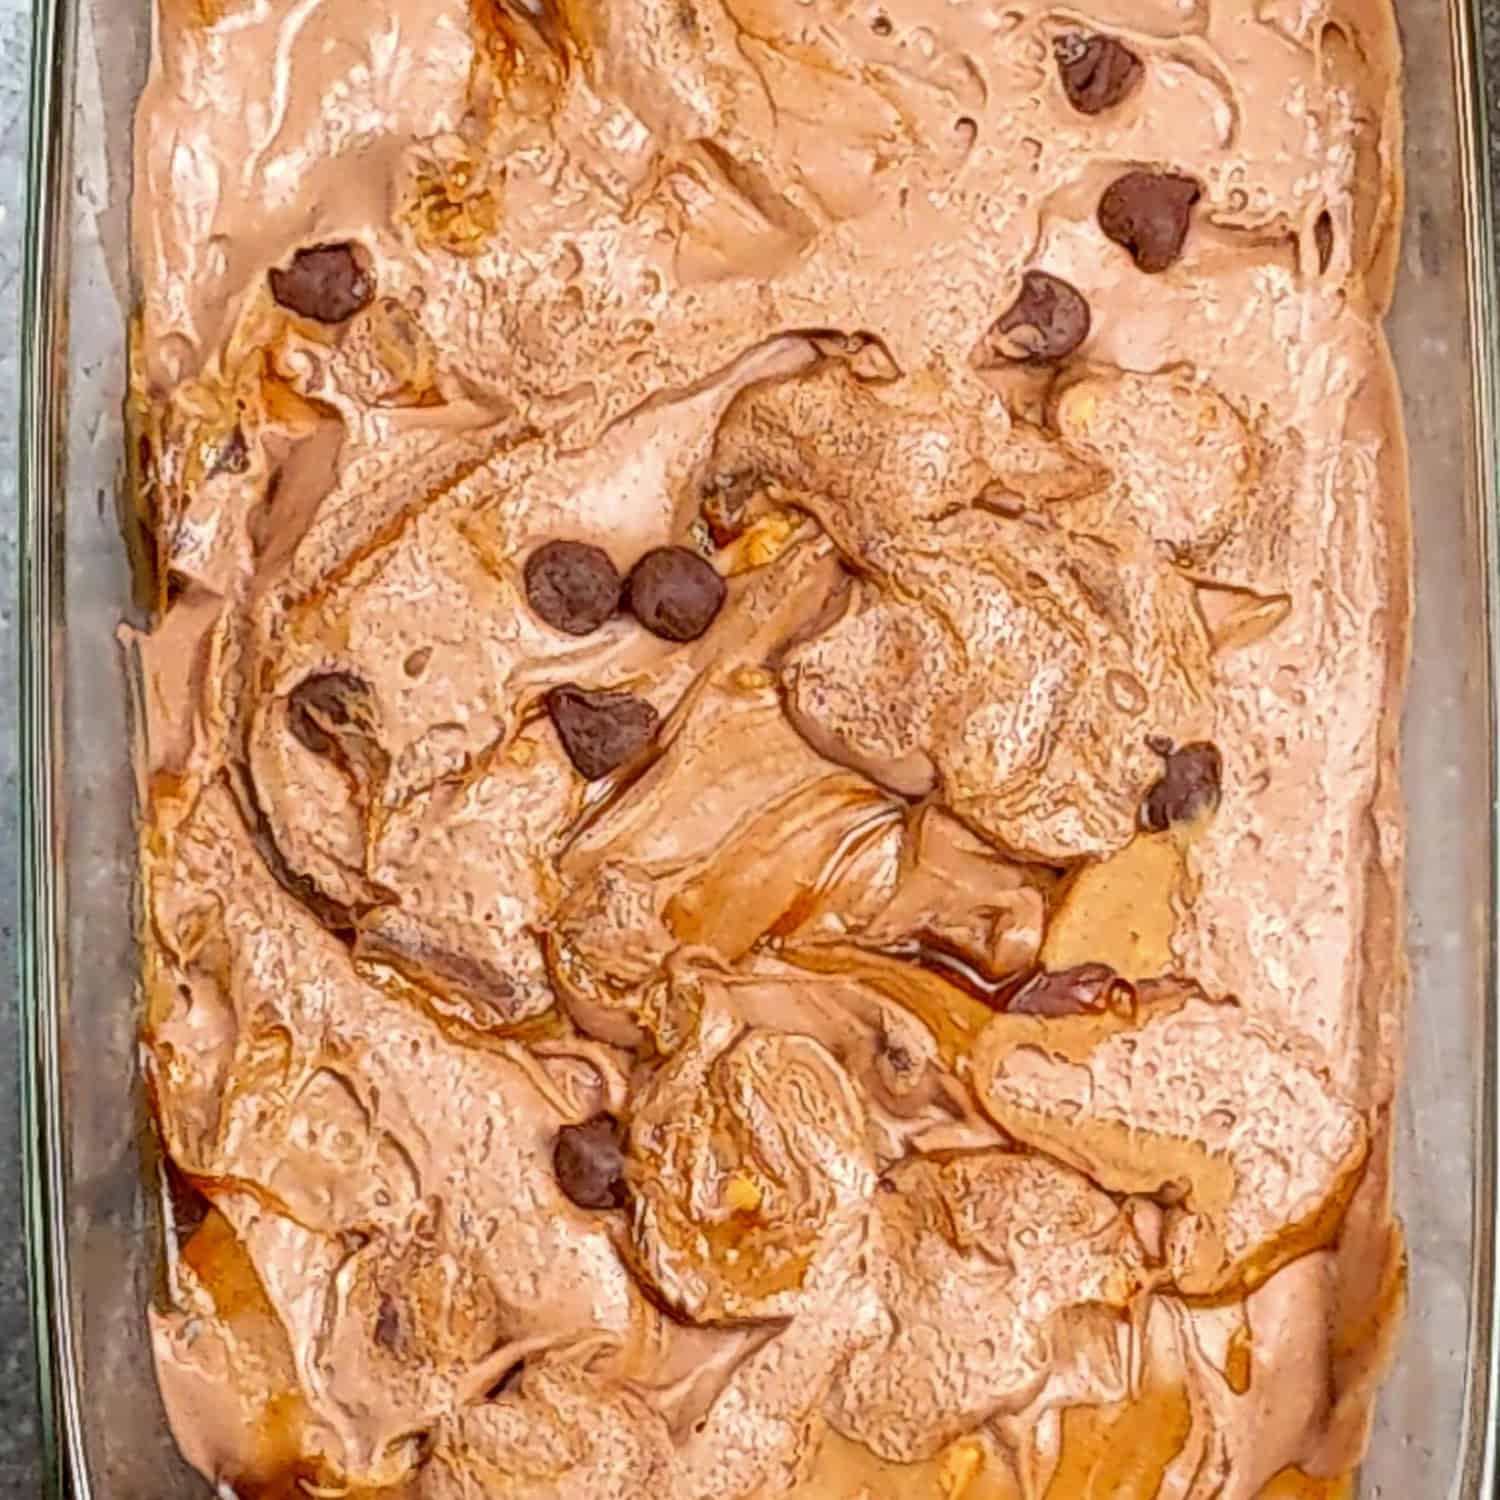
Pour the chunky peanut butter and caramel sauce straight down the middle of the ice cream base. Sprinkle on the chocolate chips to evenly cover the top, then gently fold the toppings with a spatula, creating swirls. Place plastic wrap on top, gently press against the ice cream, and freeze for 6 hours.
But what's the difference? Read more about Evaporated Milk vs Condensed Milk: What's the Difference? here.
Culinary Glossary
This section provides concise definitions of key ingredients and techniques to enhance understanding and improve cooking skills related to this recipe.
- No-Churn Ice Cream - A homemade ice cream made without an ice cream machine, usually using whipped cream and sweetened condensed milk as the base.
- Soft Peaks - A stage of whipped cream where the cream holds its shape but the peaks gently fold over when the whisk is lifted.
- Fold - A gentle mixing technique used to combine light and airy ingredients, such as whipped cream, with heavier mixtures without deflating the air.
- Drizzle - To lightly pour a thin stream of liquid, like caramel or chocolate sauce, over the surface of food for flavor or decoration.
- Chunks - Small, irregular pieces of an ingredient, such as chopped candy bars, that add texture to a dish.
- Swirl - A marbling effect created by gently mixing two ingredients together so they remain distinct rather than fully blended.
- Whipping Cream - A dairy product with a high fat content (at least 30-36%) that can be whipped to incorporate air, making it light and fluffy.
Instructions with Pictures
Follow the instructions and cooking tips below using the step-by-step picture guide.
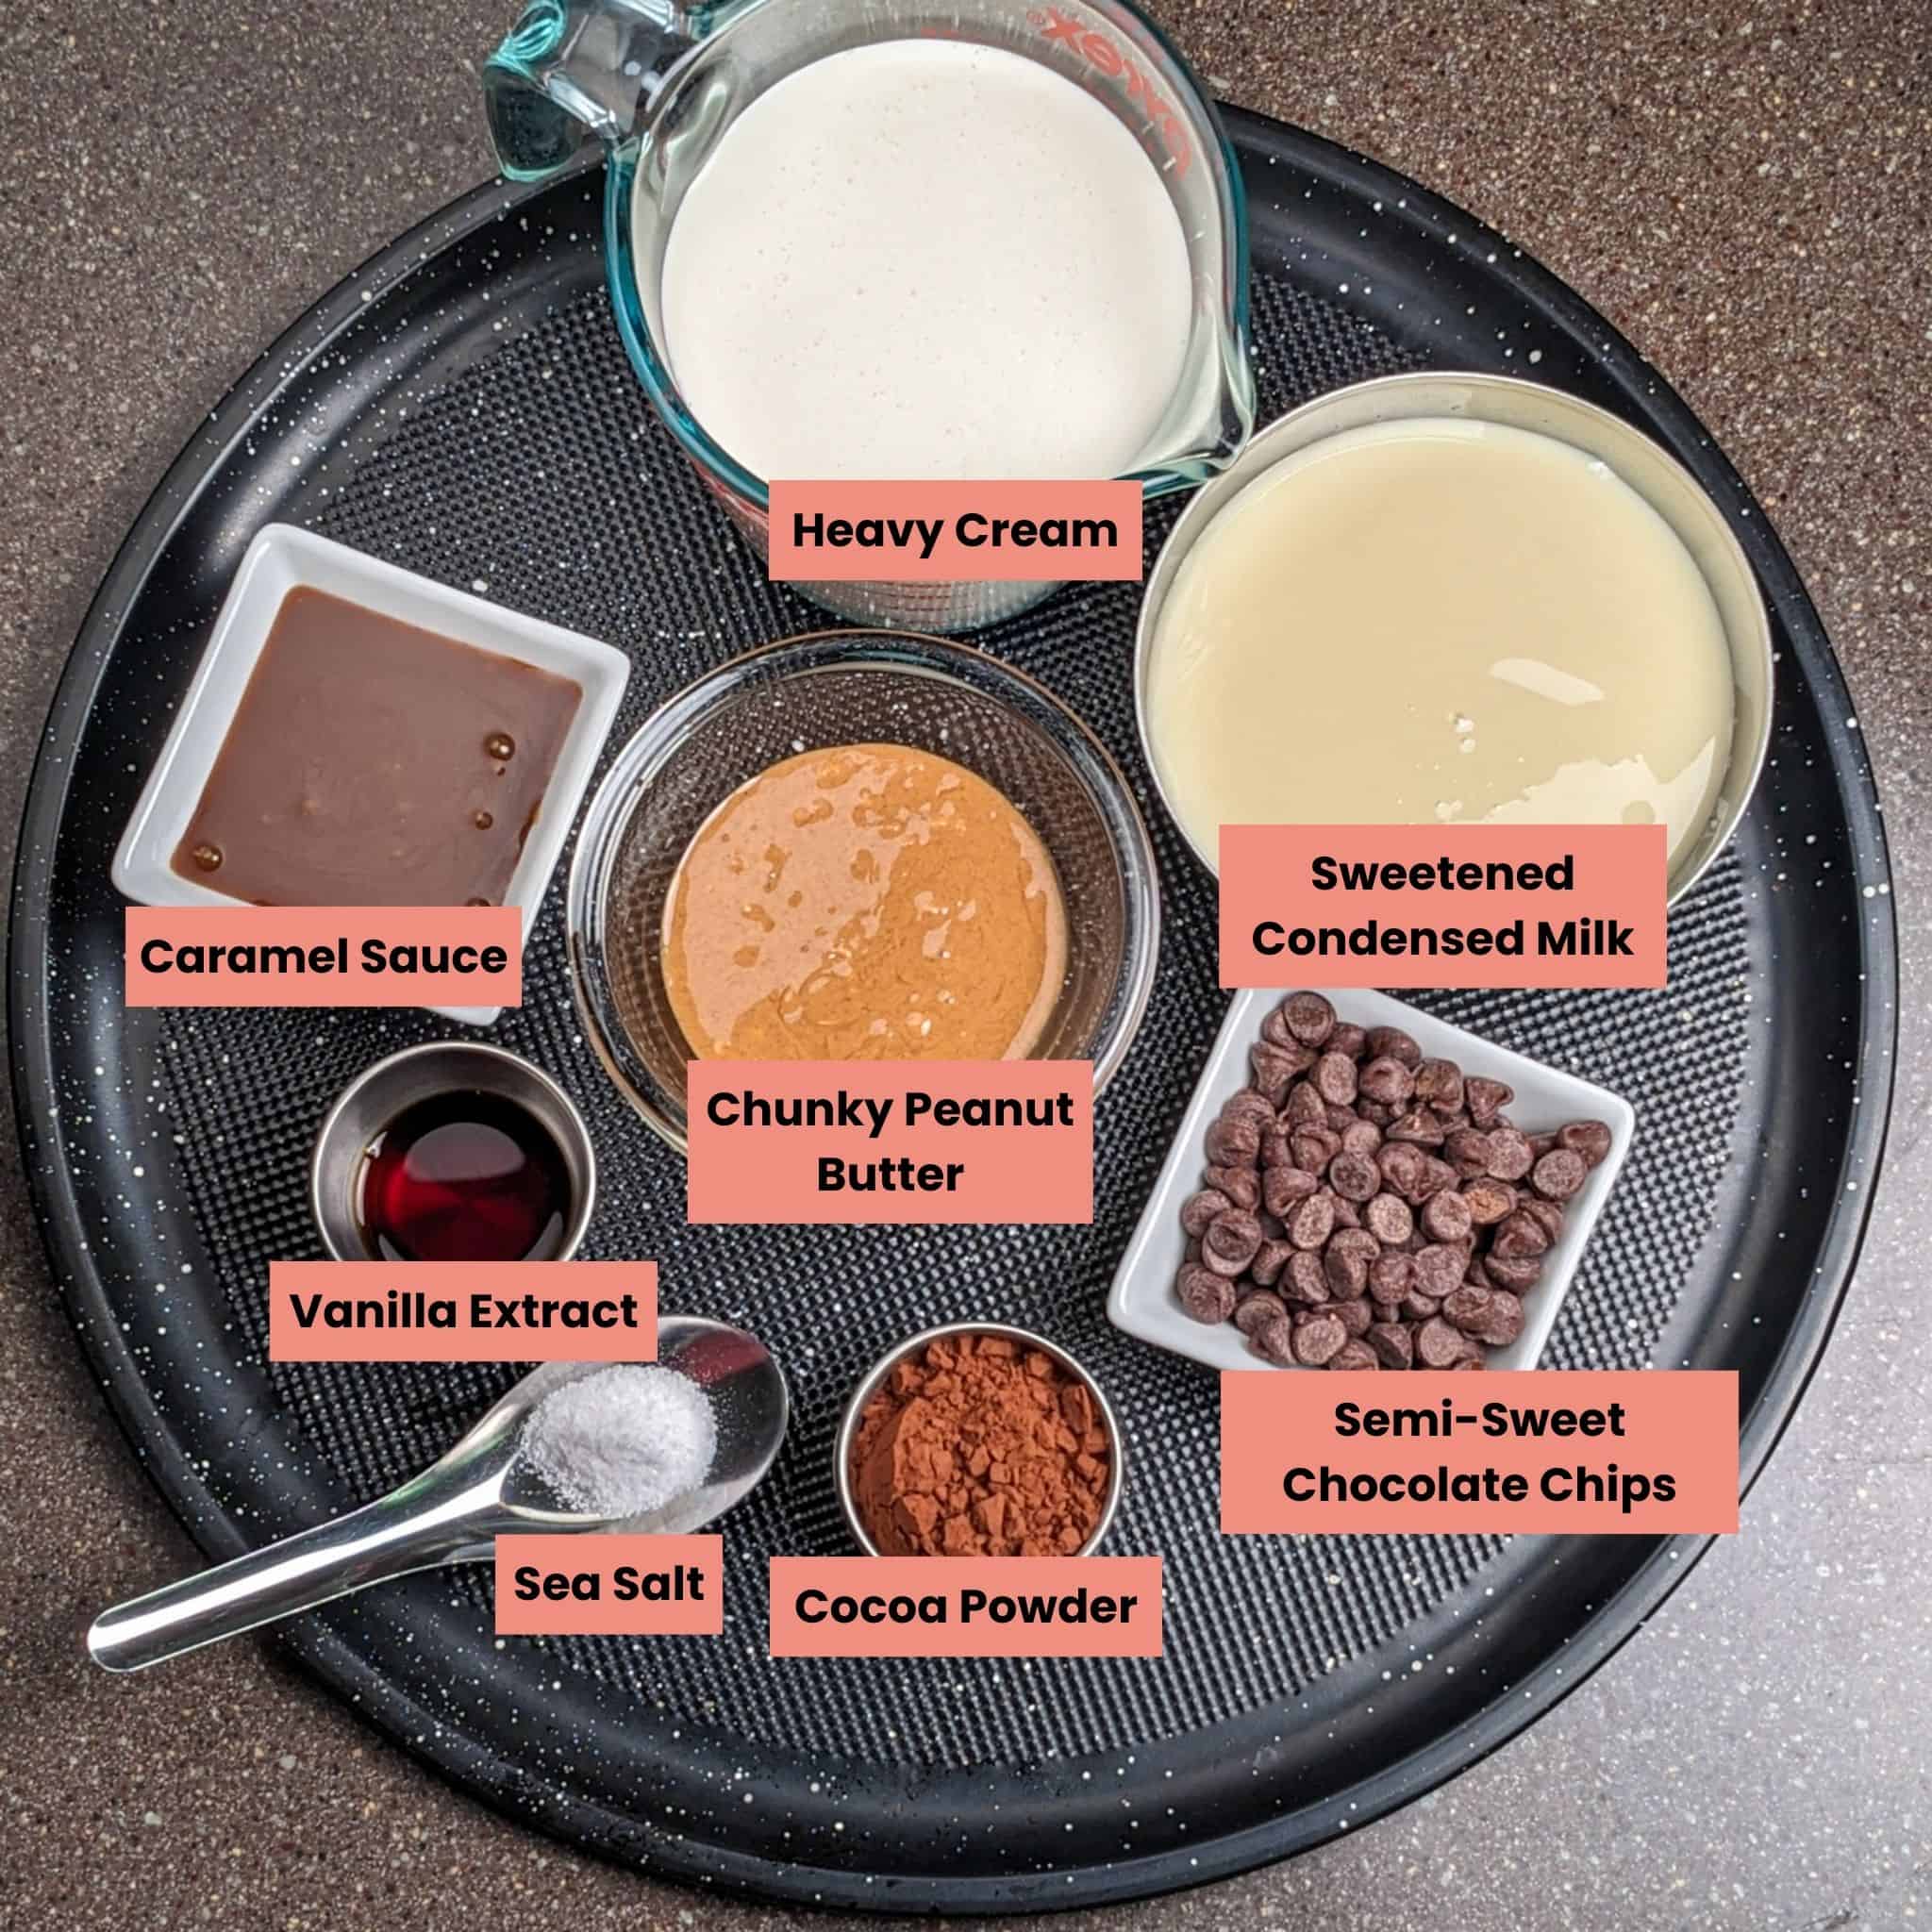
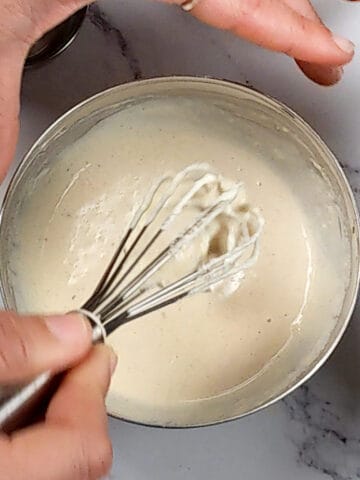
Use chilled heavy cream to whip in the blender.
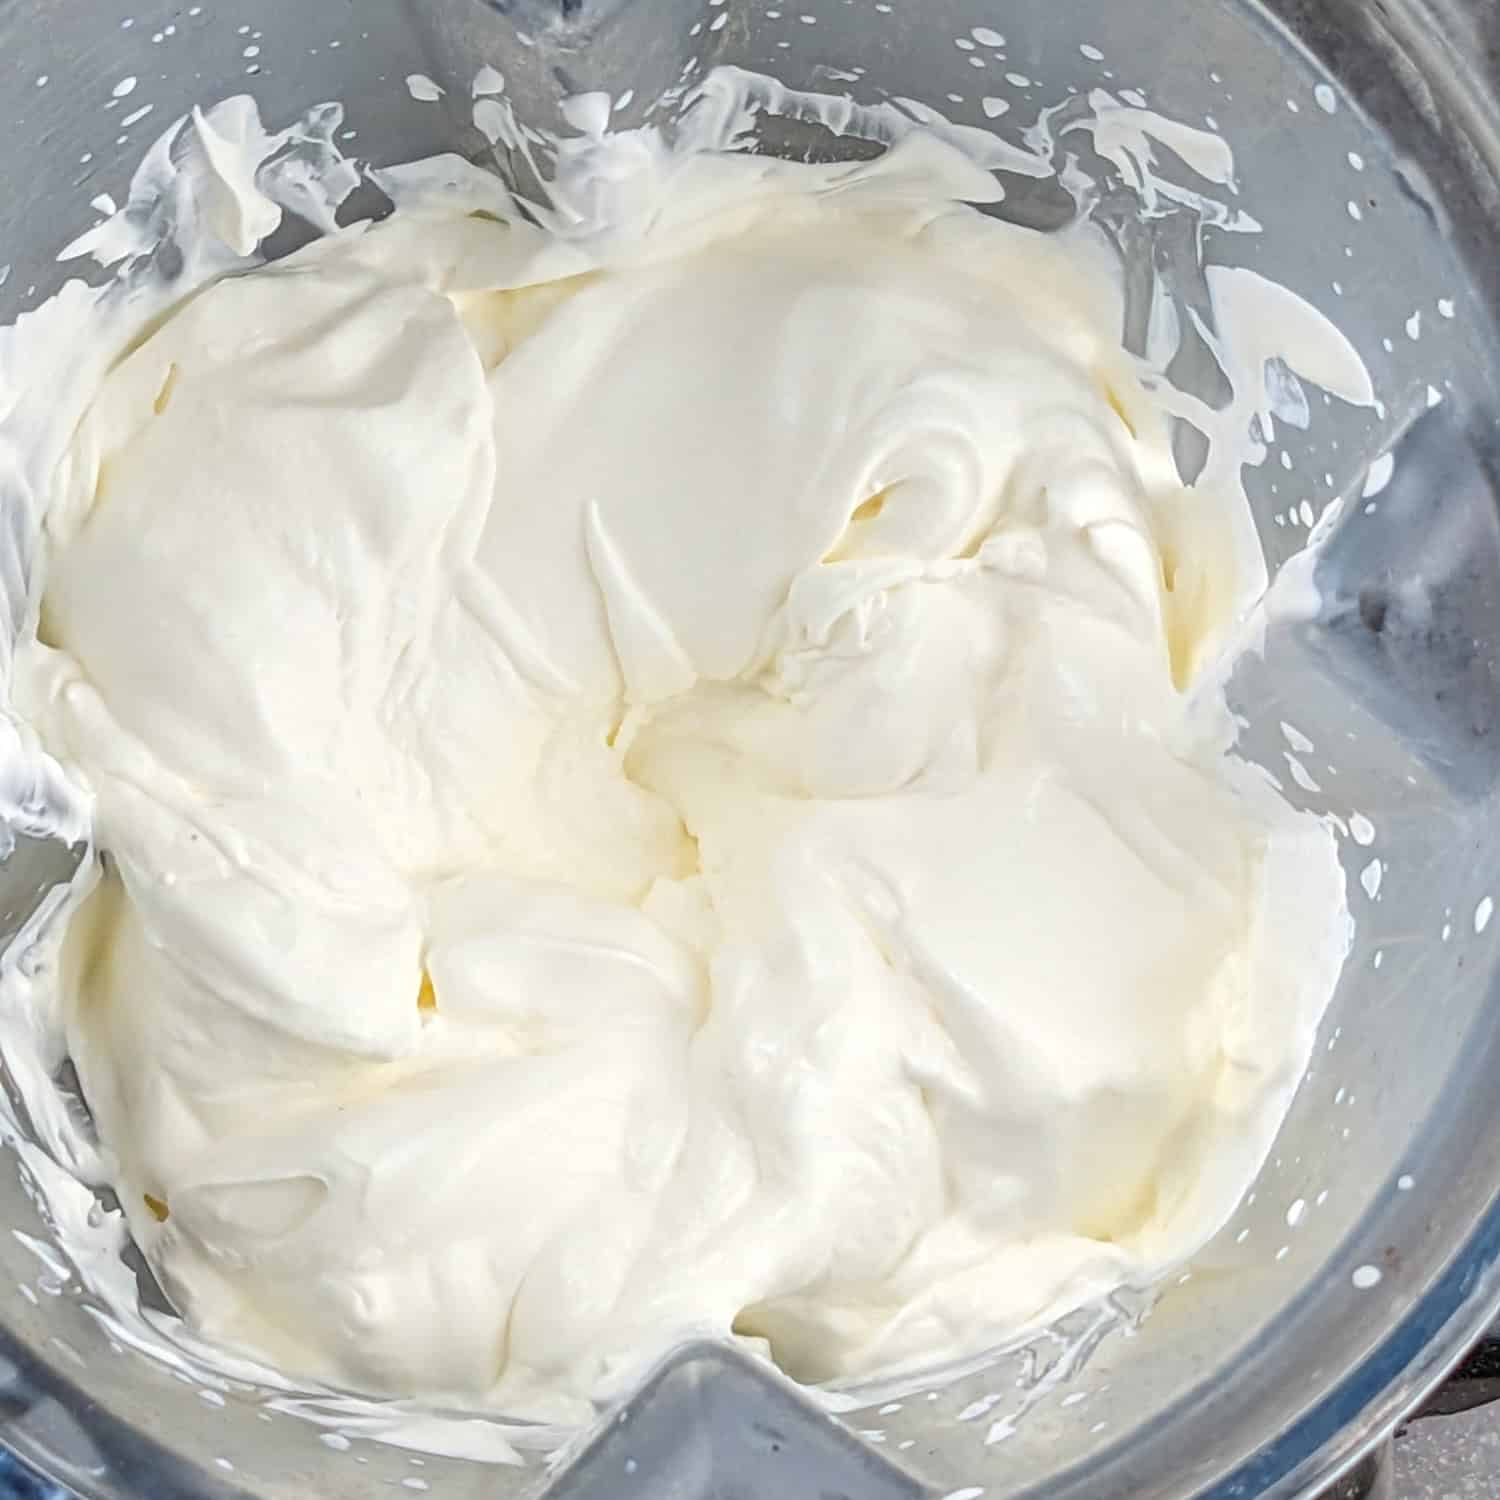
Blend the cream until you get stiff peaks.
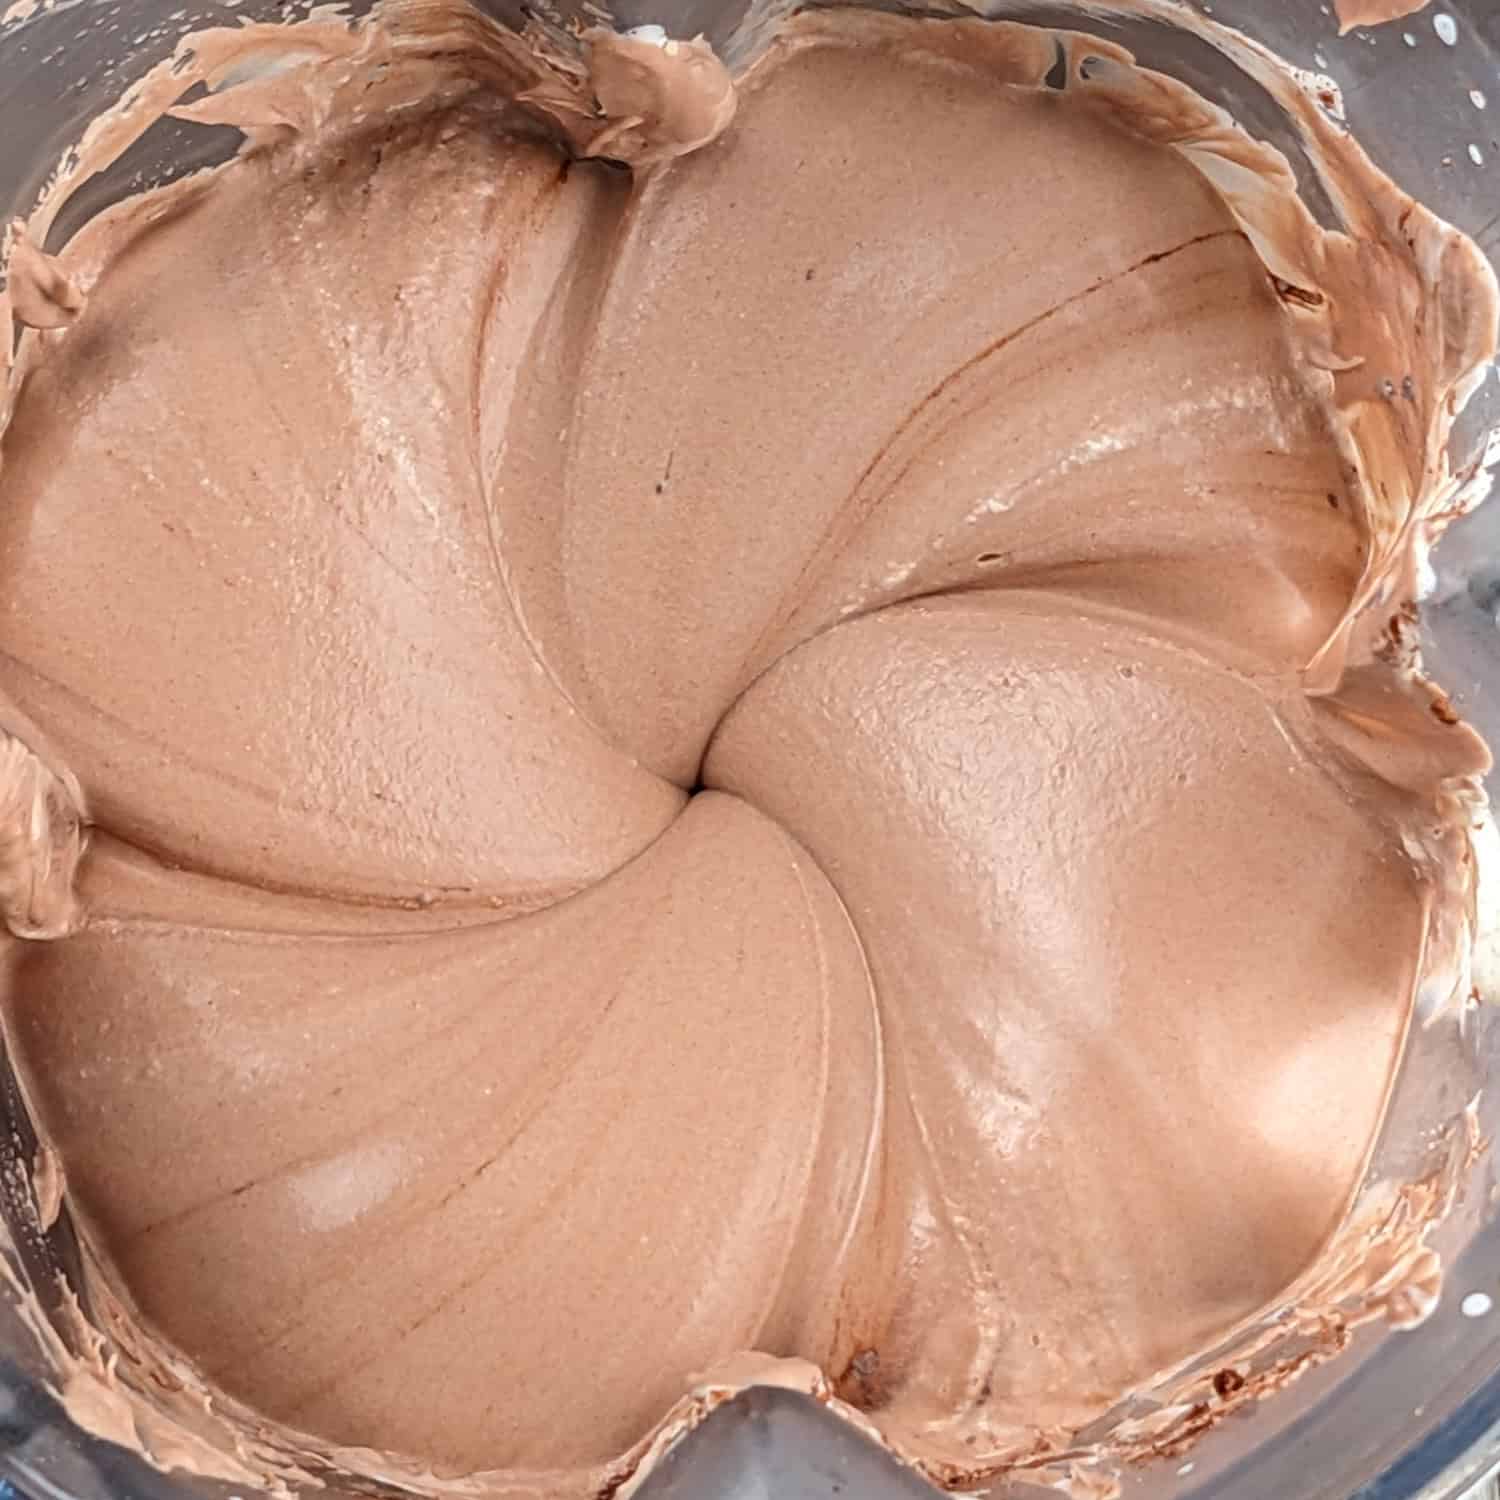
Fold in the sweetened condensed milk, cocoa powder, vanilla extract, and sea salt and blend again.
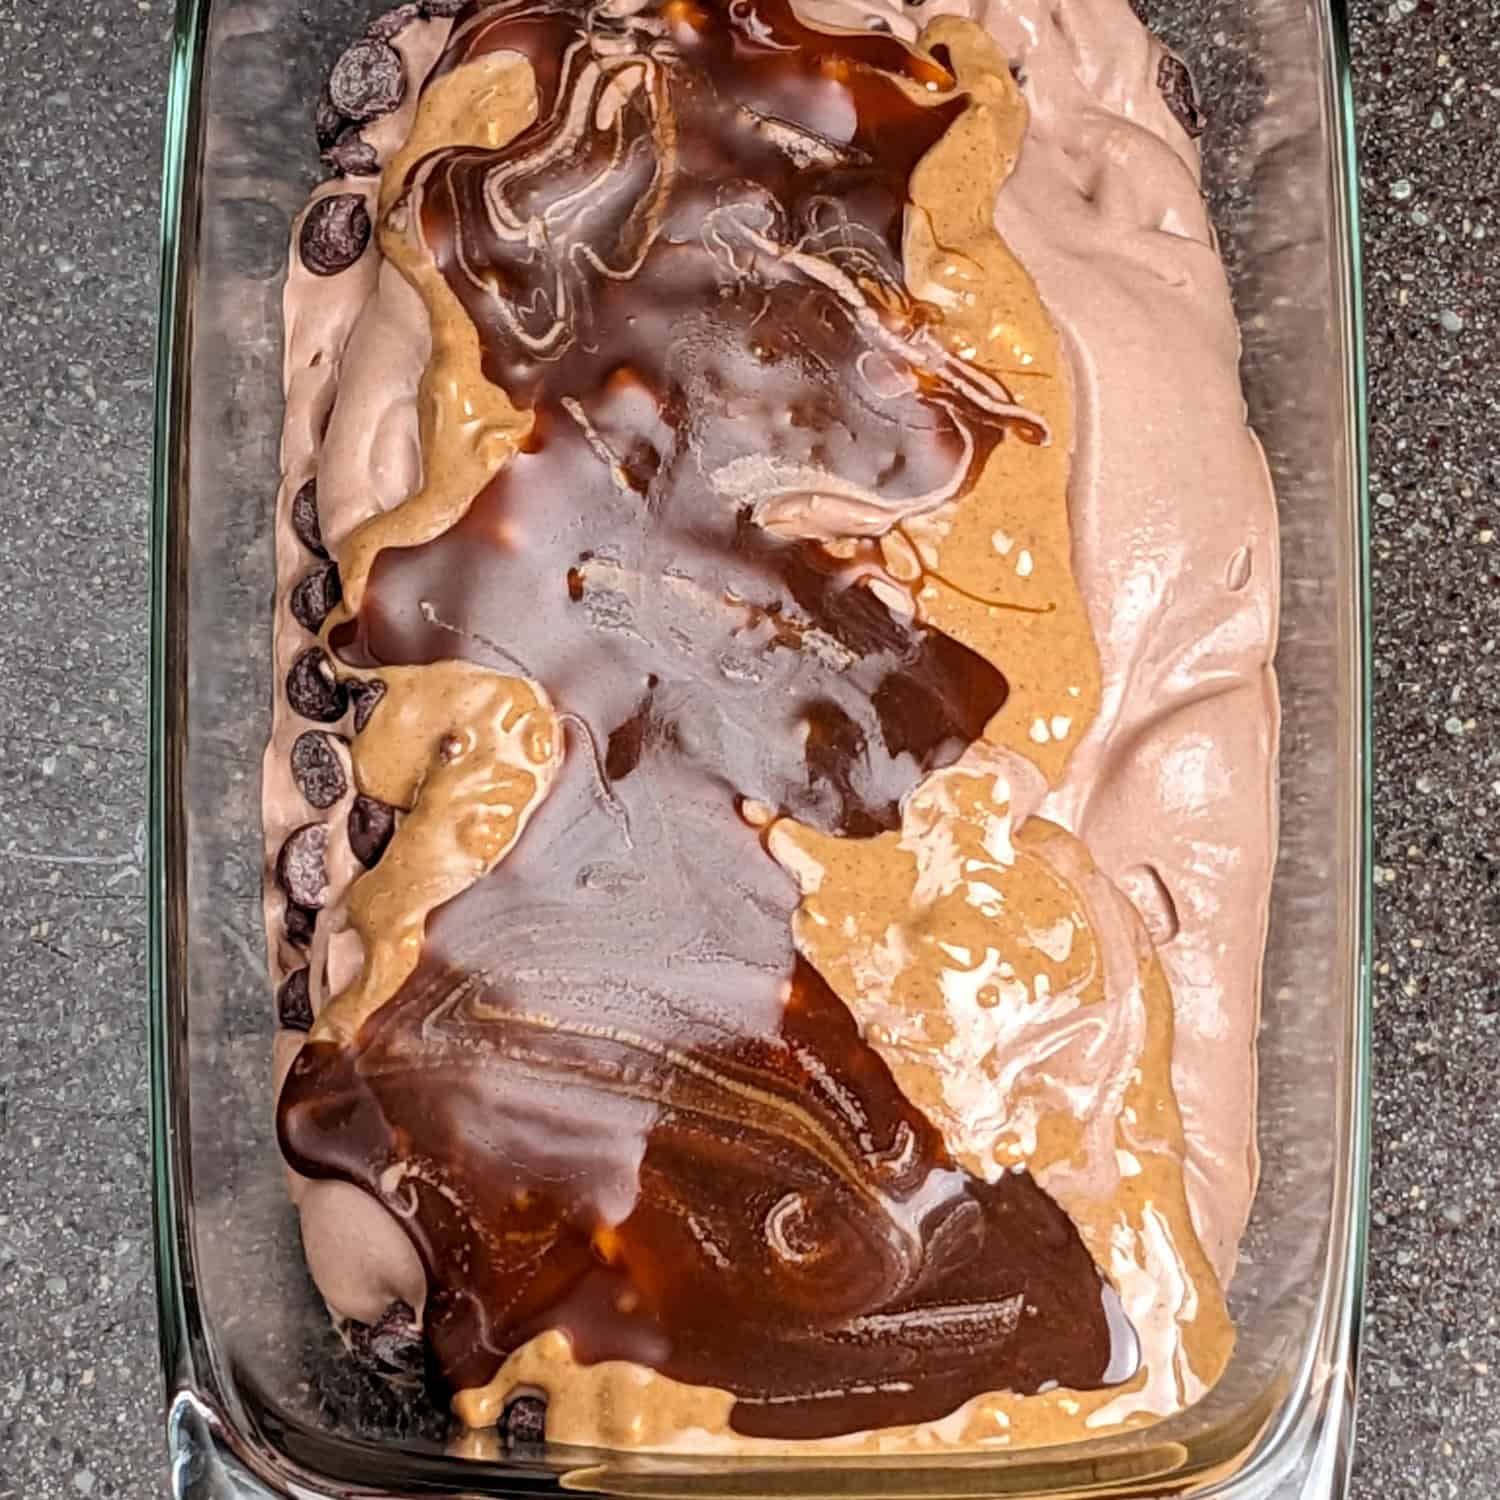
Pour into a loaf pan and add toppings.
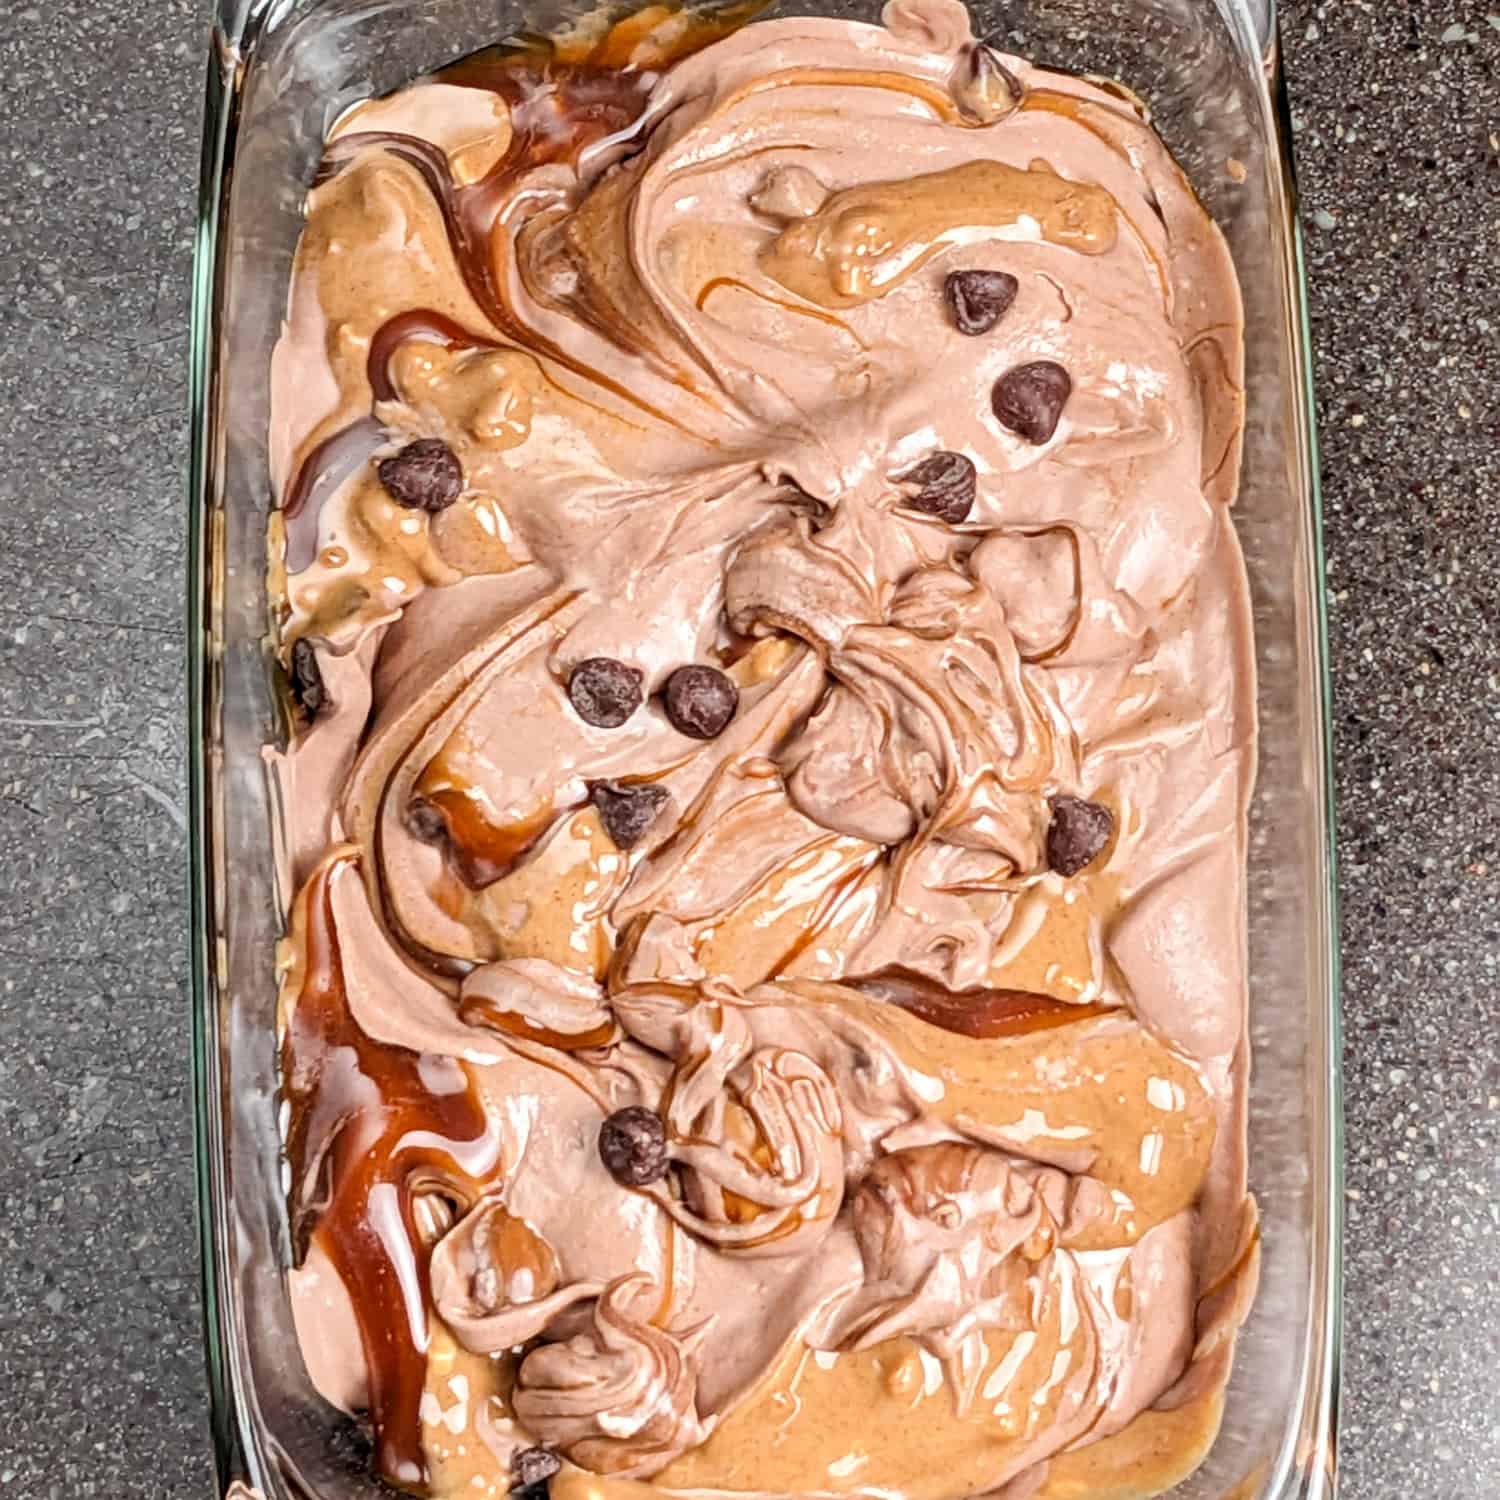
Gently and briefly fold in the toppings enough to create swirls.
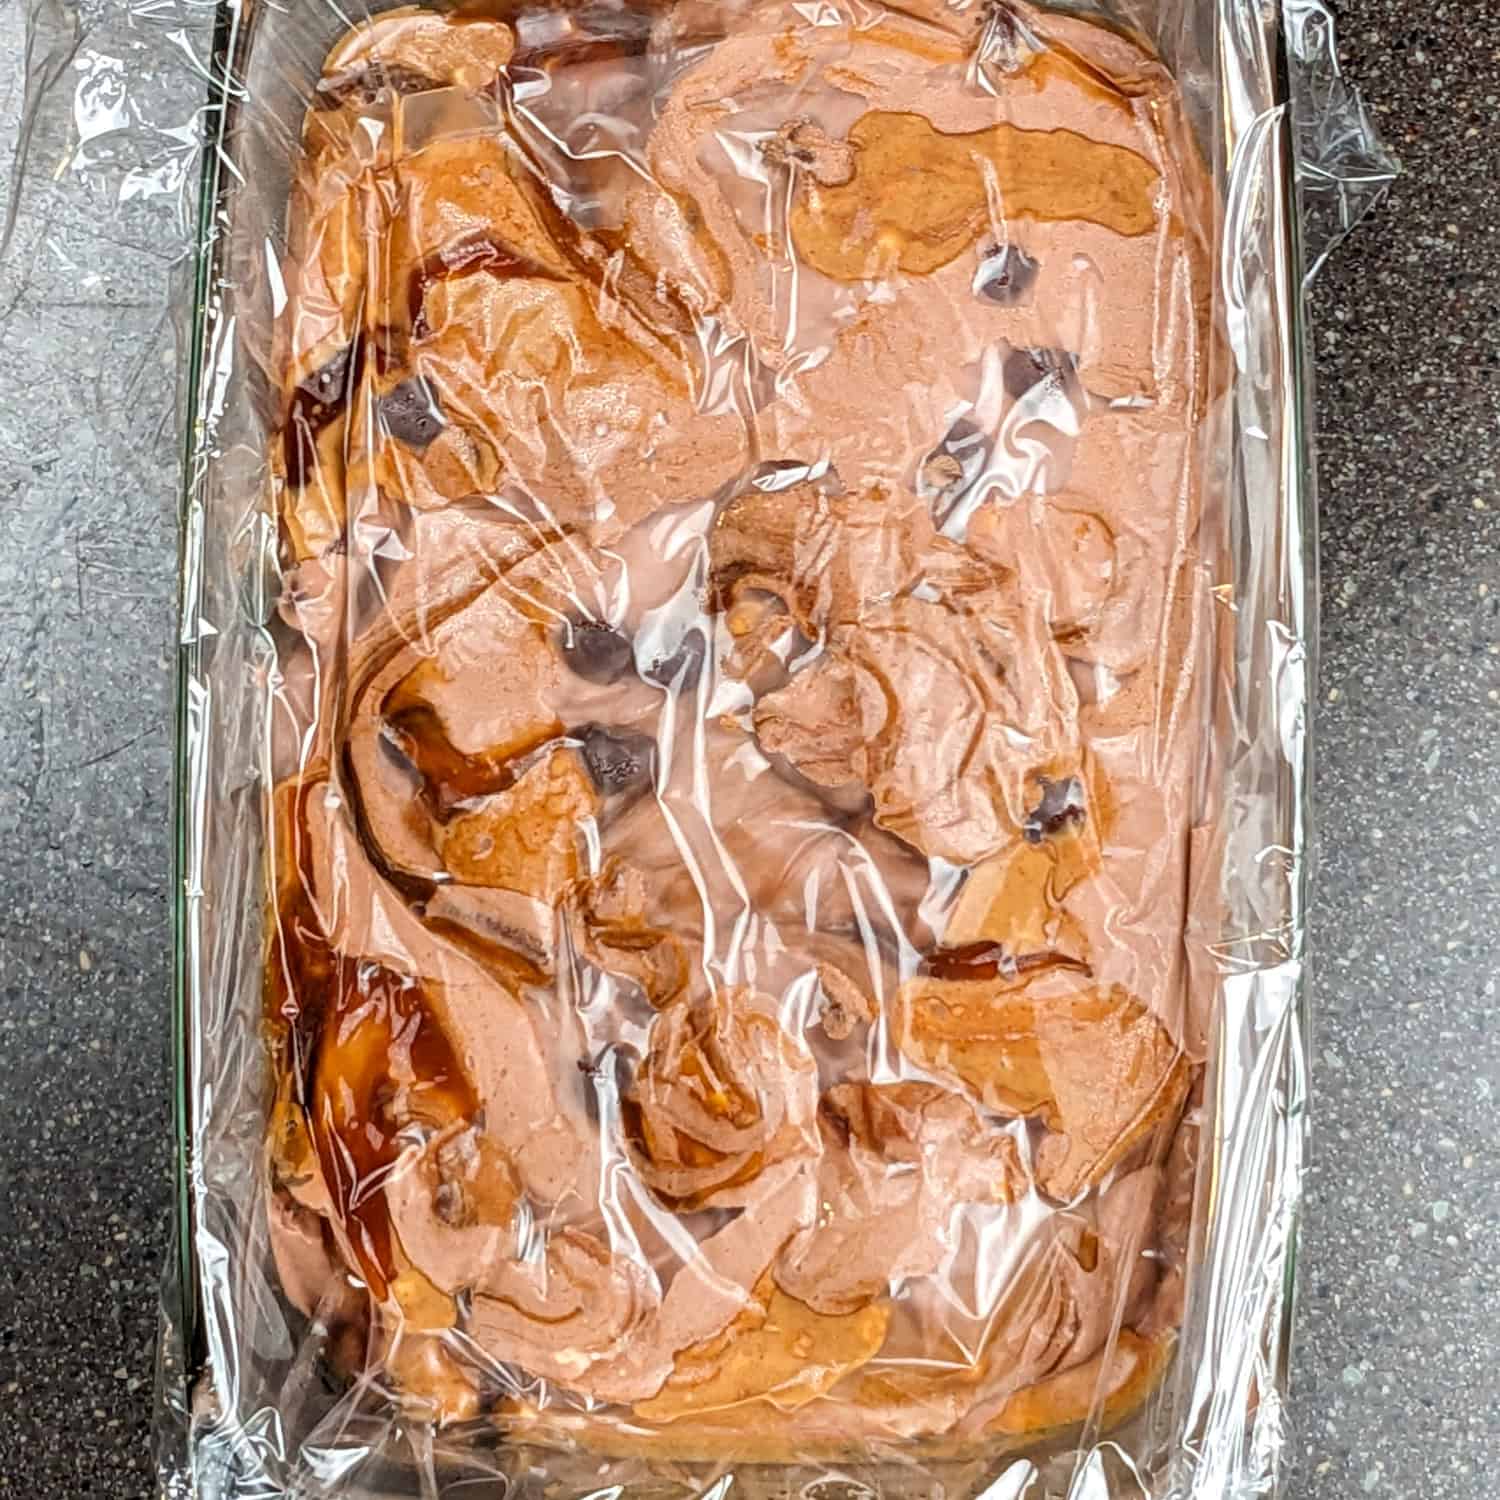
Gently place plastic wrap on top, removing any air bubbles, and freeze for 6 hours.
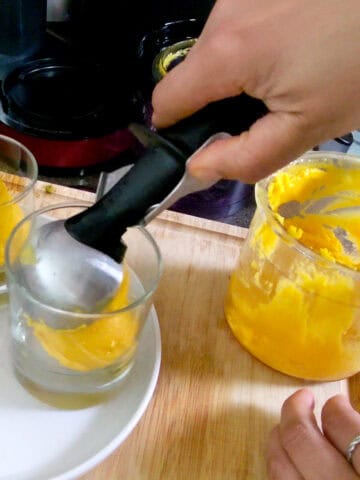
Do not thaw to serve; you can scoop immediately.
Equipment
Here's what you'll need to make this recipe with ease:
- Blender - I have used Vitamix blenders since I relied on them in the professional kitchen. At home, I have the Vitamix Propel Series Professional Grade 750 Blender. I used a cheaper model in the professional kitchen, the Vitamix Explorian Blender.
- Don't have a blender? You can use a stand mixer with the whisk attachment. Just make sure to chill the bowl before whipping the cream. Or you can use a hand mixer with the whisk attachment and a chilled large mixing bowl.
- Rubber Spatula - It is used to scrape down the sides efficiently.
- Loaf Pan - It stores the ice cream, freezing it evenly. I use the OXO Good Grips Glass Loaf Pan with Lid to keep the ice cream for later servings. You can also use a metal loaf pan or a plastic freezer-safe container with similar dimensions.
- Plastic Wrap - This will prevent freezer burn and ice crystals.
Kitchen Must-Haves Reviews
Find a collection of my reviews of kitchen equipment that I have purchased or recommend. Kitchen Must-Haves - Find other tools I use here.
My Review: We've been using the Vitamix Professional Series 750 Blender for over 5 years, and it continues to perform flawlessly, just as powerful and reliable as day one. This blender is a commercial kitchen favorite for good reason: it blends everything from smooth mango purees to nut butters and soups with ease, and the self-cleaning feature makes cleanup a breeze. It's 64 oz. Low-profile container fits perfectly under most cabinets, and if you're serious about quality, this is the blender to invest in.

My Review: I've currently switched to the ThermoWorks Hi-Temp Silicone Spatula, and it's been great. The fact that it's all silicone makes it easy to throw in the dishwasher and ensures it will last a long time. It is well-made, and the tip is super thin, which is great for scraping; at first, I was afraid it would crack, but it has not yet. Just be careful with it around blades. I made this mistake and have a small snip on mine, but it hasn't cracked around it. So it's still holding well. Plus, get another color besides white, if you care about a continual clean look; my white one is slightly stained.
My Review: I love the OXO Good Grips Glass Loaf Pan with Lid, especially because it comes with a secure lid (really secure! very tight) and the transparency makes it easy to see what’s inside. It’s the perfect loaf pan for making frozen desserts like no-churn ice cream, and just as handy for keeping baked dishes fresh and conveniently stored in an airtight container. Durable, functional, and well-designed!
Substitutions
Dairy Free
- Whipping Cream - Replace with full-fat canned coconut milk (chilled, cream scooped from the top) or coconut cream for a rich, smooth texture.
- Sweetened Condensed Milk - Use sweetened condensed coconut milk or make your own by simmering coconut milk with sugar until thickened.
- Chocolate & Caramel Sauce - Look for dairy-free brands or make your own using plant-based milk alternatives.
- Candy Bars - Choose vegan or dairy-free chocolate bars, such as Enjoy Life or Hu Kitchen, for a similar flavor experience.
Gluten-Free
- Yay! This recipe is already gluten-free.
Vegetarian
- Bonus! This recipe is also vegetarian.
Convenience
- Candy Bars - Swap with whatever you have on hand: chocolate chips, leftover holiday chocolates, or even crushed cookies.
- Caramel Sauce - Use jarred ice cream topping, dulce de leche, or melt down soft caramel candies with a splash of milk.
- Whipping Cream - Substitute with shelf-stable heavy cream (often sold in cartons) if fresh cream isn't available.
- Chocolate Sauce - Use chocolate syrup from the pantry or melt semi-sweet chocolate chips with a bit of butter or cream.
Variations
- Candy Bars - Add actual candy bar pieces like Snickers or peanut butter cups; make sure to chop the pieces to the same size as a chocolate chip; this makes it easier to scoop the ice cream
- Triple Chocolate Chip - Top the chocolate ice cream base with chocolate sauce and chocolate chips, then gently fold them in.
- Instead of Semi-Sweet Chocolate Chips - Try dark chocolate, peanut butter, or chocolate chunks.
- Salted Caramel - You can omit the cocoa powder and top the vanilla ice cream base with caramel sauce and sea salt flakes.
- Peanut Butter - Omit the cocoa powder and add the peanut butter to the condensed milk step in the recipe to make creamy peanut butter ice cream.
Storage Instructions
Transfer the ice cream to a freezer-safe, airtight container, smoothing the top with a spatula and pressing a piece of parchment paper or plastic wrap directly against the surface to help prevent ice crystals.
Store in the coldest part of your freezer for up to 2-3 weeks for the best texture and flavor. When ready to serve, let the container sit at room temperature for 5-10 minutes to soften slightly, making it easier to scoop.
5 Quick Prepping Tips
Your Cooking Tips Resource Guide - Become a better home cook with tips to help you cook more efficiently on the Cook's Notebook tab.
- Chill the Bowl and Whisk - For faster, fluffier whipped cream, place your mixing bowl and whisk attachment in the freezer for 10-15 minutes before starting.
- Don't Overwhip - Stop at soft peaks to avoid turning the cream grainy, which can affect the smoothness of the ice cream.
- Layer for Even Flavor - Alternate layers of ice cream base, candy bar pieces, and sauces so every scoop has a balanced mix.
- Gently Fold, Don't Stir - Use a spatula to fold the whipped cream into the condensed milk base to keep the mixture light and airy.
- Cover Well to Prevent Ice Crystals - Press parchment or plastic wrap directly onto the surface before sealing the container to keep the texture creamy.
Frequently Asked Questions
No-churn ice cream is made without an ice cream machine. Instead, whipped cream is folded into a sweetened condensed milk base to create a light, scoopable texture.
Yes. Swap the heavy cream for full-fat canned coconut milk or coconut cream, and use sweetened condensed coconut milk. Choose dairy-free caramel sauce, chocolate, and candy bars for a completely dairy-free version.
For the best flavor and texture, enjoy it within 2-3 weeks. Always store it in a freezer-safe, airtight container with parchment or plastic wrap pressed against the surface to reduce ice crystals.
Ice crystals form when the mixture isn't airtight or when it freezes too slowly. Make sure to cover the surface well, store it in the coldest part of your freezer, and avoid opening the container repeatedly.
Absolutely. Both work well, just keep an eye on the cream and stop at soft peaks to avoid overwhipping.
More Dessert Recipes
Looking for other dessert recipes like this? Try these:
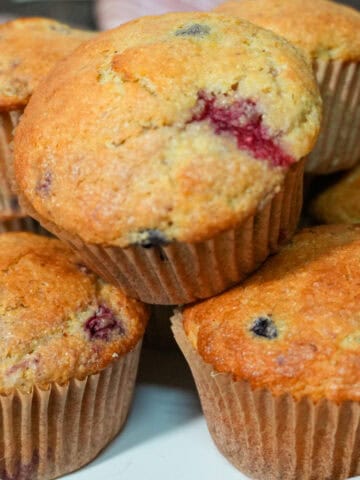
- Banana Berry Corn Muffins with Greek Yogurt
- Irresistible Frozen Treat Recipes for Any Time of Year
- Mango Coconut Felato | Ninja Creami Gelato-Style Treat
- Easy Air Fryer S'mores Chocolate Chip Cookies
Pair with Spicy Foods
Looking for spicy recipes? Try these:
- Spicy Garlic Chili Coconut Curry Sauce for Pasta and More
- Spicy Jalapeño Chimichurri Sauce Recipe
- Spicy Nuoc Cham Sauce (Vietnamese Fish Dipping Sauce)
- Kimchi Fried Rice Recipe - Simple Base You Can Build On
📖 Recipe
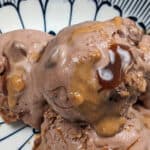
Easy Peanut Chocolate Caramel Candy Bar No-Churn Ice Cream
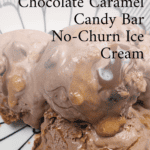
Ingredients
- 2 cups heavy cream
- 1 cup sweetened condensed milk
- 3 tablespoons cocoa powder
- 2 teaspoons vanilla extract
- ½ teaspoon sea salt grinded
- ¼ cup semi-sweet chocolate chips
- ½ cup natural chunky peanut butter
- ⅓ cup caramel sauce
Equipment
- Plastic Wrap
Instructions
- Save time in the kitchen: Read the instructions thoroughly, then gather and prep all your ingredients before cooking! Learn Prepping Tips.
- Using a Blender: Blend heavy cream to a stiff peak while scraping down the sides every 10 to 20 seconds with a rubber spatula. Add and stir the condensed milk, cocoa powder, vanilla extract, and sea salt, and blend while scraping down the sides every 10 to 20 seconds.
- Setting In Loaf Pan: Pour the ice cream base into a loaf pan.
- Toppings: Pour the chocolate chips, peanut butter, and caramel sauce lengthwise across the ice cream base. Gently fold in the toppings with a spatula to create visibly thick swirls.
- Wrap: Cover with ice cream with plastic wrap gently pressed against the ice cream.
- Freeze: Place in the freezer to chill for at least 6 hours.
- Serve: When ready, serve immediately. Don't thaw like regular ice cream before scooping.
Video
Notes
- Do not let the ice cream melt in the container. This will cause crystals in the ice cream when refrozen.
- Place a piece of plastic wrap on top to keep it from forming crystals.
- If it seems hard after being refrozen, you can leave it out to thaw.
Nutrition
Have a Comment or Question?
If you have a question or comment about this peanut caramel candy bar no-churn ice cream recipe, please post it below. You will definitely get a quick response. It also helps our other readers to stay informed. Thanks!
Leave a Reply