


Learn which pans deliver the best golden crust and why. From stainless steel to cast iron and nonstick options, this guide breaks down how pan materials, side heights, and heat distribution affect your sear and how to choose the right one for your kitchen.
Table of Contents
Jump to:
- Get Consistent Results
- Quick Look: Top Searing Questions
- Chicken is the Focus
- Why the Right Pan Matters
- Best to Least
- 1. Stainless Steel Skillets
- 2. Cast Iron Skillets
- 3. Enameled Cast Iron
- 4. Nonstick Pans
- 5. Carbon Steel Pans
- Pan Shape Affects the Sear
- Kitchen Must-Haves Reviews
- Frequently Asked Questions
- Cooking Tips and Tutorials
- Chicken Recipes
- Have a Comment or Question?
Get Consistent Results
A perfect sear starts long before you season your chicken; it actually begins with the pan itself. Every pan material behaves differently under heat, and that's what separates a crispy, golden crust from a pale, steamed surface.
As a chef who's seared everything from chicken to fish across stainless steel, cast iron, and even enameled cookware, I've learned that no two pans perform the same. Understanding how each one holds and transfers heat will help you get consistent results every cooking session.

If you've already read my Cooking Tips for Searing Chicken post, this guide will take you a step further into the science behind your tools so you can match your technique to your cookware and master the art of the sear. Now let's get started:
Quick Look: Top Searing Questions
Here are quick, straightforward answers to some of the most common questions home cooks ask about choosing the right pan and technique for searing chicken.
- What is the best pan for searing chicken?
Cast iron and stainless steel skillets are the top choices because they retain heat evenly and create a golden, flavorful crust without sticking. - Why does my food stick to stainless steel when searing?
Food sticks when the pan or oil isn't hot enough. Always preheat the pan first, then add oil and wait until it shimmers before adding your chicken. - Can you sear in a nonstick pan, and what are the limitations?
You can sear lightly in a nonstick pan over medium heat, but it won't develop the same deep crust and should never be used over high heat, which can damage the coating. Plus, always check with the manufacturers for instructions and details on high heat tolerance.
Remember: A perfect sear starts long before you season your chicken; it begins with the pan itself. Every pan material behaves differently under heat, and that's what separates a crispy, golden crust from a pale, steamed surface.
Chicken is the Focus
As a chef who's seared everything from chicken to beef, tofu, and fish, I can tell you that while the fundamentals of searing are the same, each ingredient reacts differently to heat and surface texture. Chicken, however, is one of the trickiest and most rewarding proteins to master. It's lean, cooks quickly, and shows every mistake on its surface.
That's why this post focuses entirely on the best pans for searing chicken, helping you understand how each material performs and how to use it to achieve that rich, even crust without overcooking.
If you've already read my Cooking Tips for Searing Chicken post, this guide will take you a step further into the science behind your tools so you can match your technique to your cookware. The more you know, the more creative and innovative you can become.
Knowing Flexibility: From Caribbean marinades to Mediterranean pan sauces, understanding how your pan behaves doesn't just improve technique; it gives you the confidence to explore global flavors with the right foundation for every dish.
Why the Right Pan Matters
Searing is all about heat retention, even distribution, and space to breathe.
When the surface of your chicken touches a hot pan, the proteins begin to caramelize through the Maillard reaction, forming that rich, flavorful crust. But if your pan doesn't hold steady heat or the sides trap moisture, you'll end up with soggy, uneven browning.
Choosing the right pan ensures you're not fighting your cookware; it's working with you to deliver a clean, even sear every time. So remember: Heat retention, even distribution, and space to breathe.
Maillard Reaction? A chemical process that occurs when proteins and sugars in food are exposed to high heat, creating the rich brown color and deep, savory flavor that define a perfect sear. Learn more about the Maillard Reaction on good ol'Wikipedia.
Best to Least
Below is my list of pans ranked from best to least for searing chicken, based on how reliably they deliver heat, color, and flavor. Each one has its pros and cons, but understanding how they perform under high heat will help you choose the pan that fits your cooking style best.
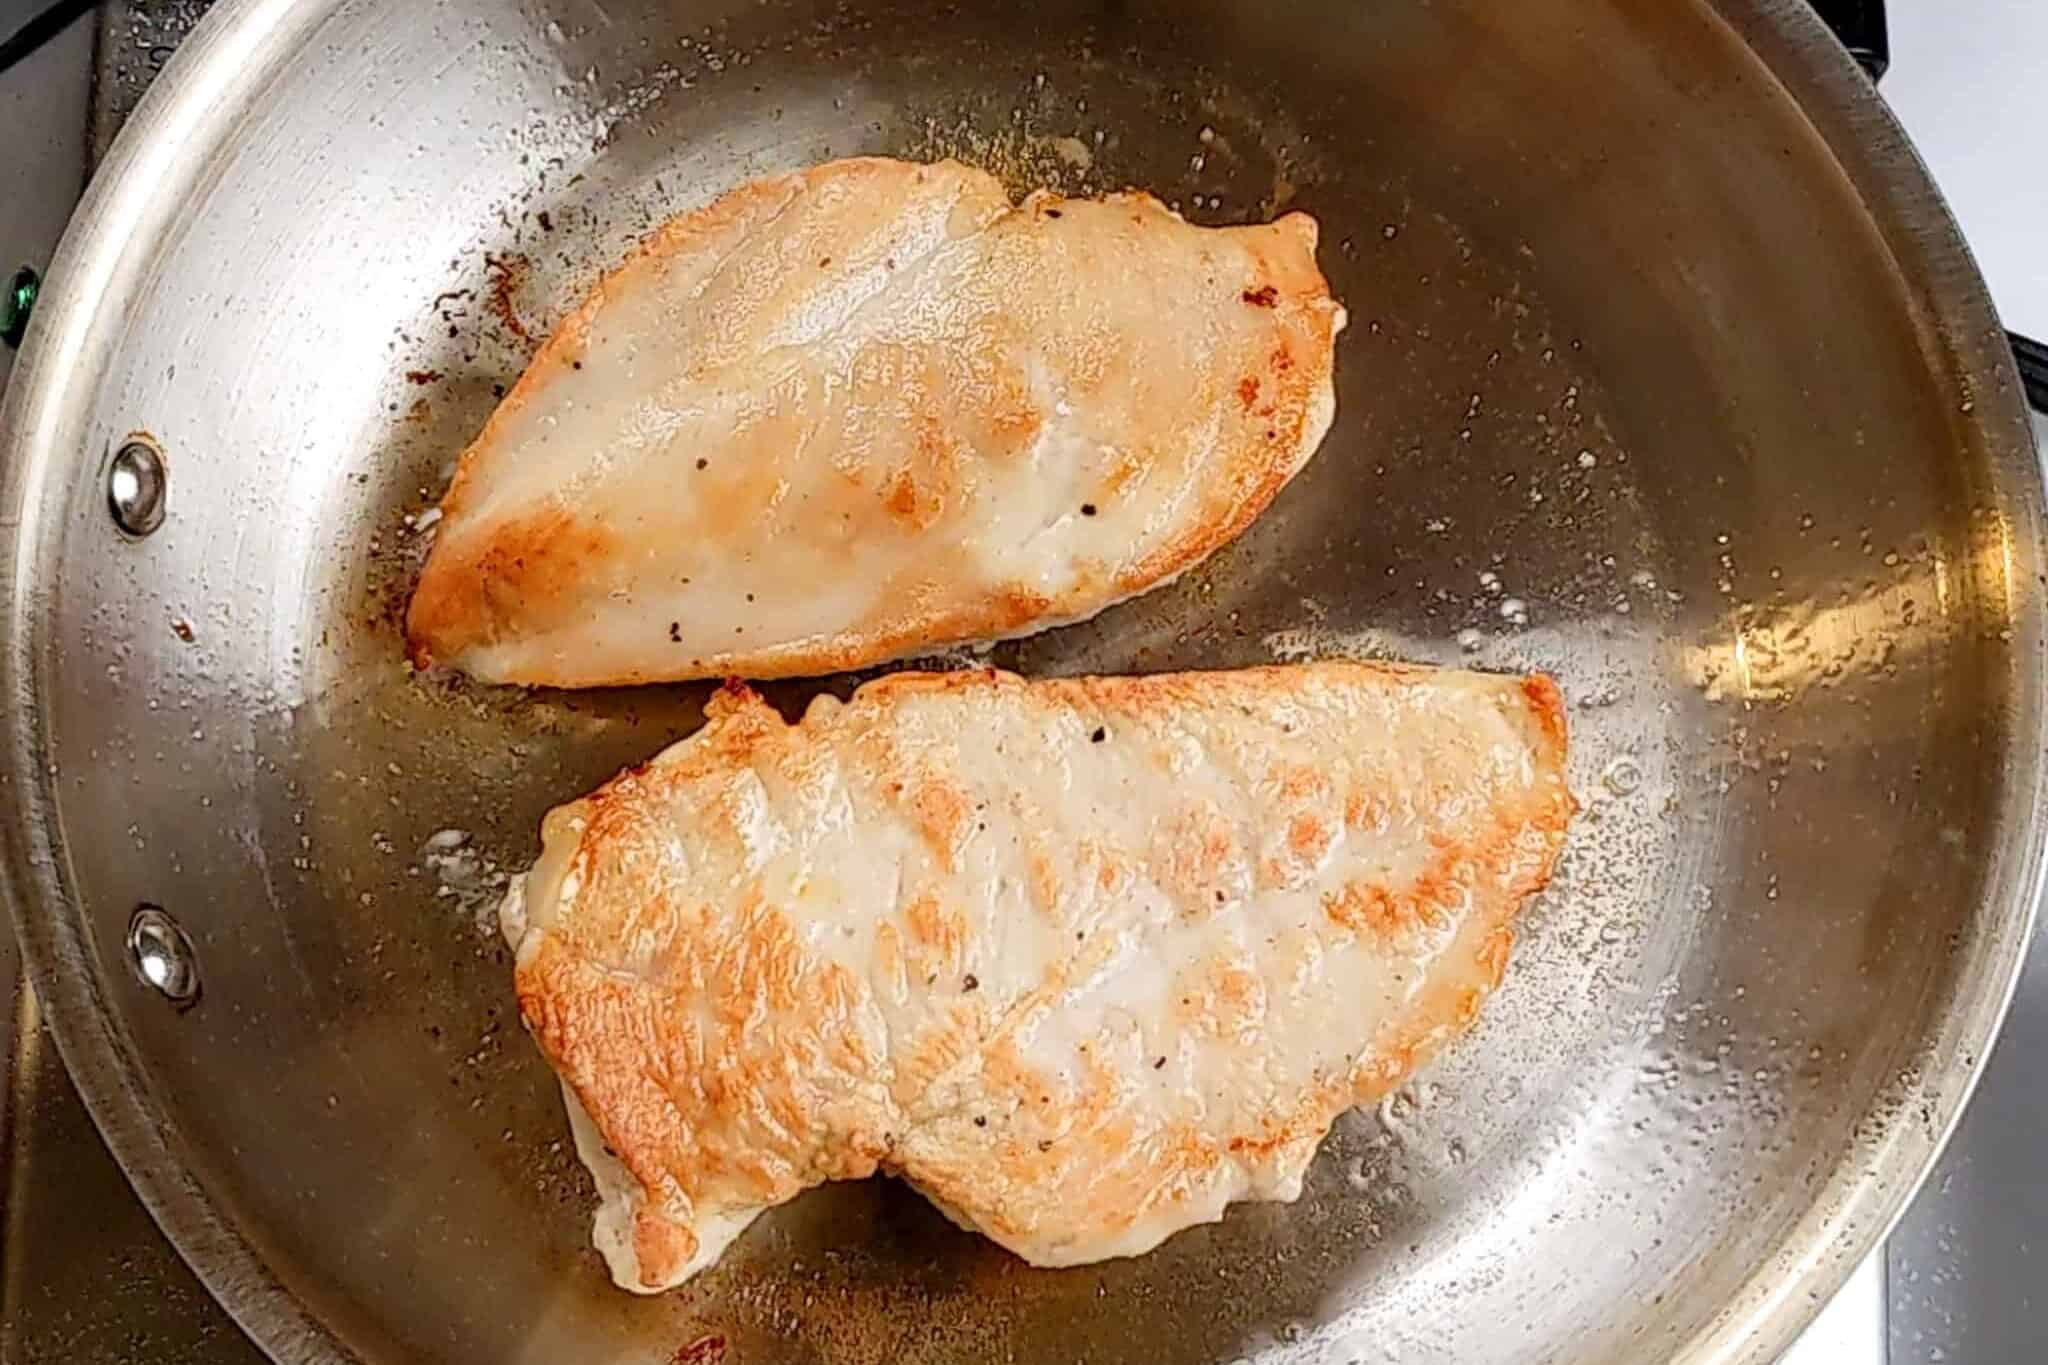
1. Stainless Steel Skillets
Best For? Every day, searing and pan sauces
Stainless steel is my go-to for precise, responsive searing. It heats up quickly, creates beautiful fond (the browned bits that form after searing), and transitions easily to oven finishing.
Pros:
- Excellent for building flavor and deglazing
- Safe for high heat and oven use
- Durable and easy to clean with a quick soak or stainless cleaner
Cons:
- Requires preheating and oil management to prevent sticking
- Uneven results with thin, low-quality steel
Chef's Tip: Always preheat your stainless steel pan before adding oil. Once the oil shimmers, add the chicken. This prevents sticking and ensures an even crust. Fond? The caramelized bits left on the pan after searing meat are used to build flavor in sauces and gravies.
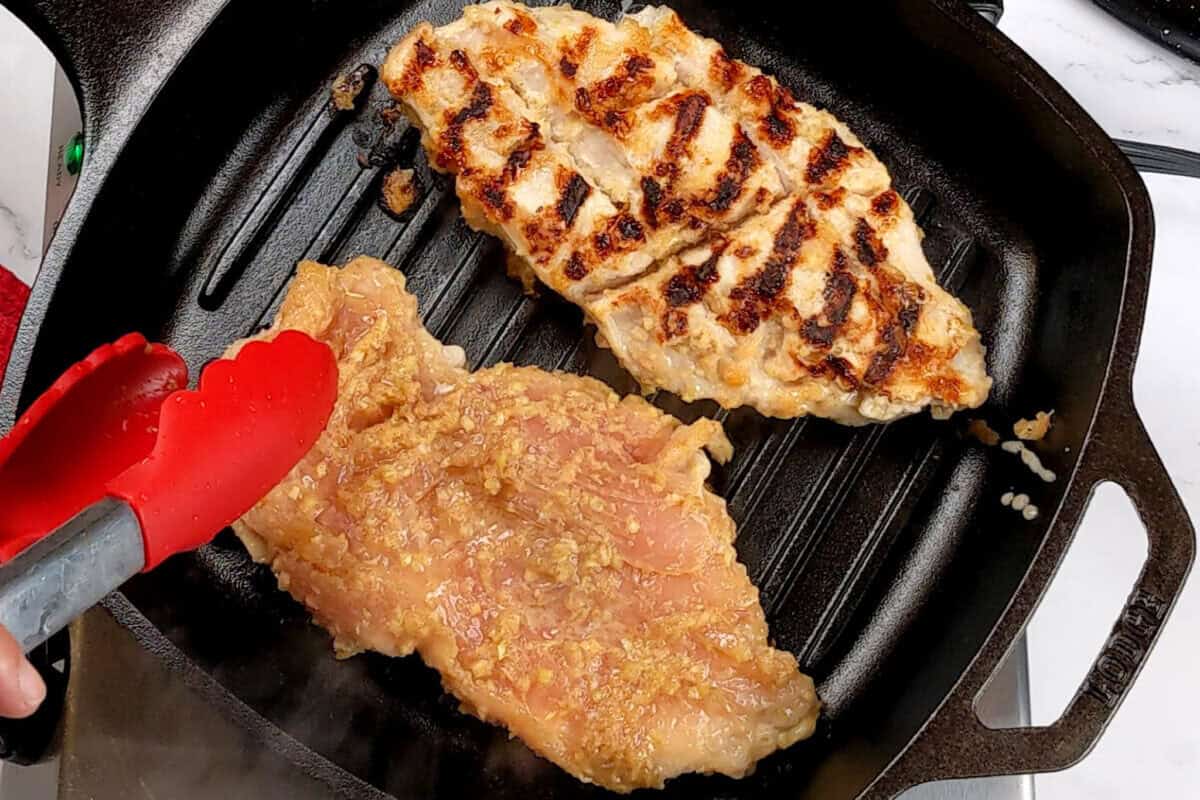
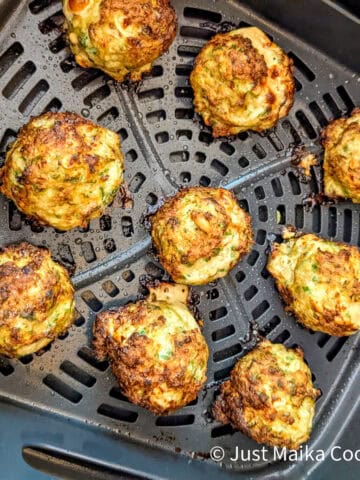
2. Cast Iron Skillets
Best For? Deep color and maximum heat retention
When it comes to searing chicken, cast iron reigns supreme for its ability to hold heat and develop a dark, flavorful crust. Once it's hot, it stays hot, even when you add cold chicken to the pan.
Pros:
- Incredible heat retention for even browning
- Perfect for oven finishing
- Naturally nonstick when well-seasoned
Cons:
- Takes longer to heat up
- Heavier and requires maintenance (seasoning and drying)
Chef's Tip: Cast iron's weight gives you control, not inconvenience. Let it heat gradually. A slow preheat avoids hotspots and helps you achieve that rich golden crust every time.
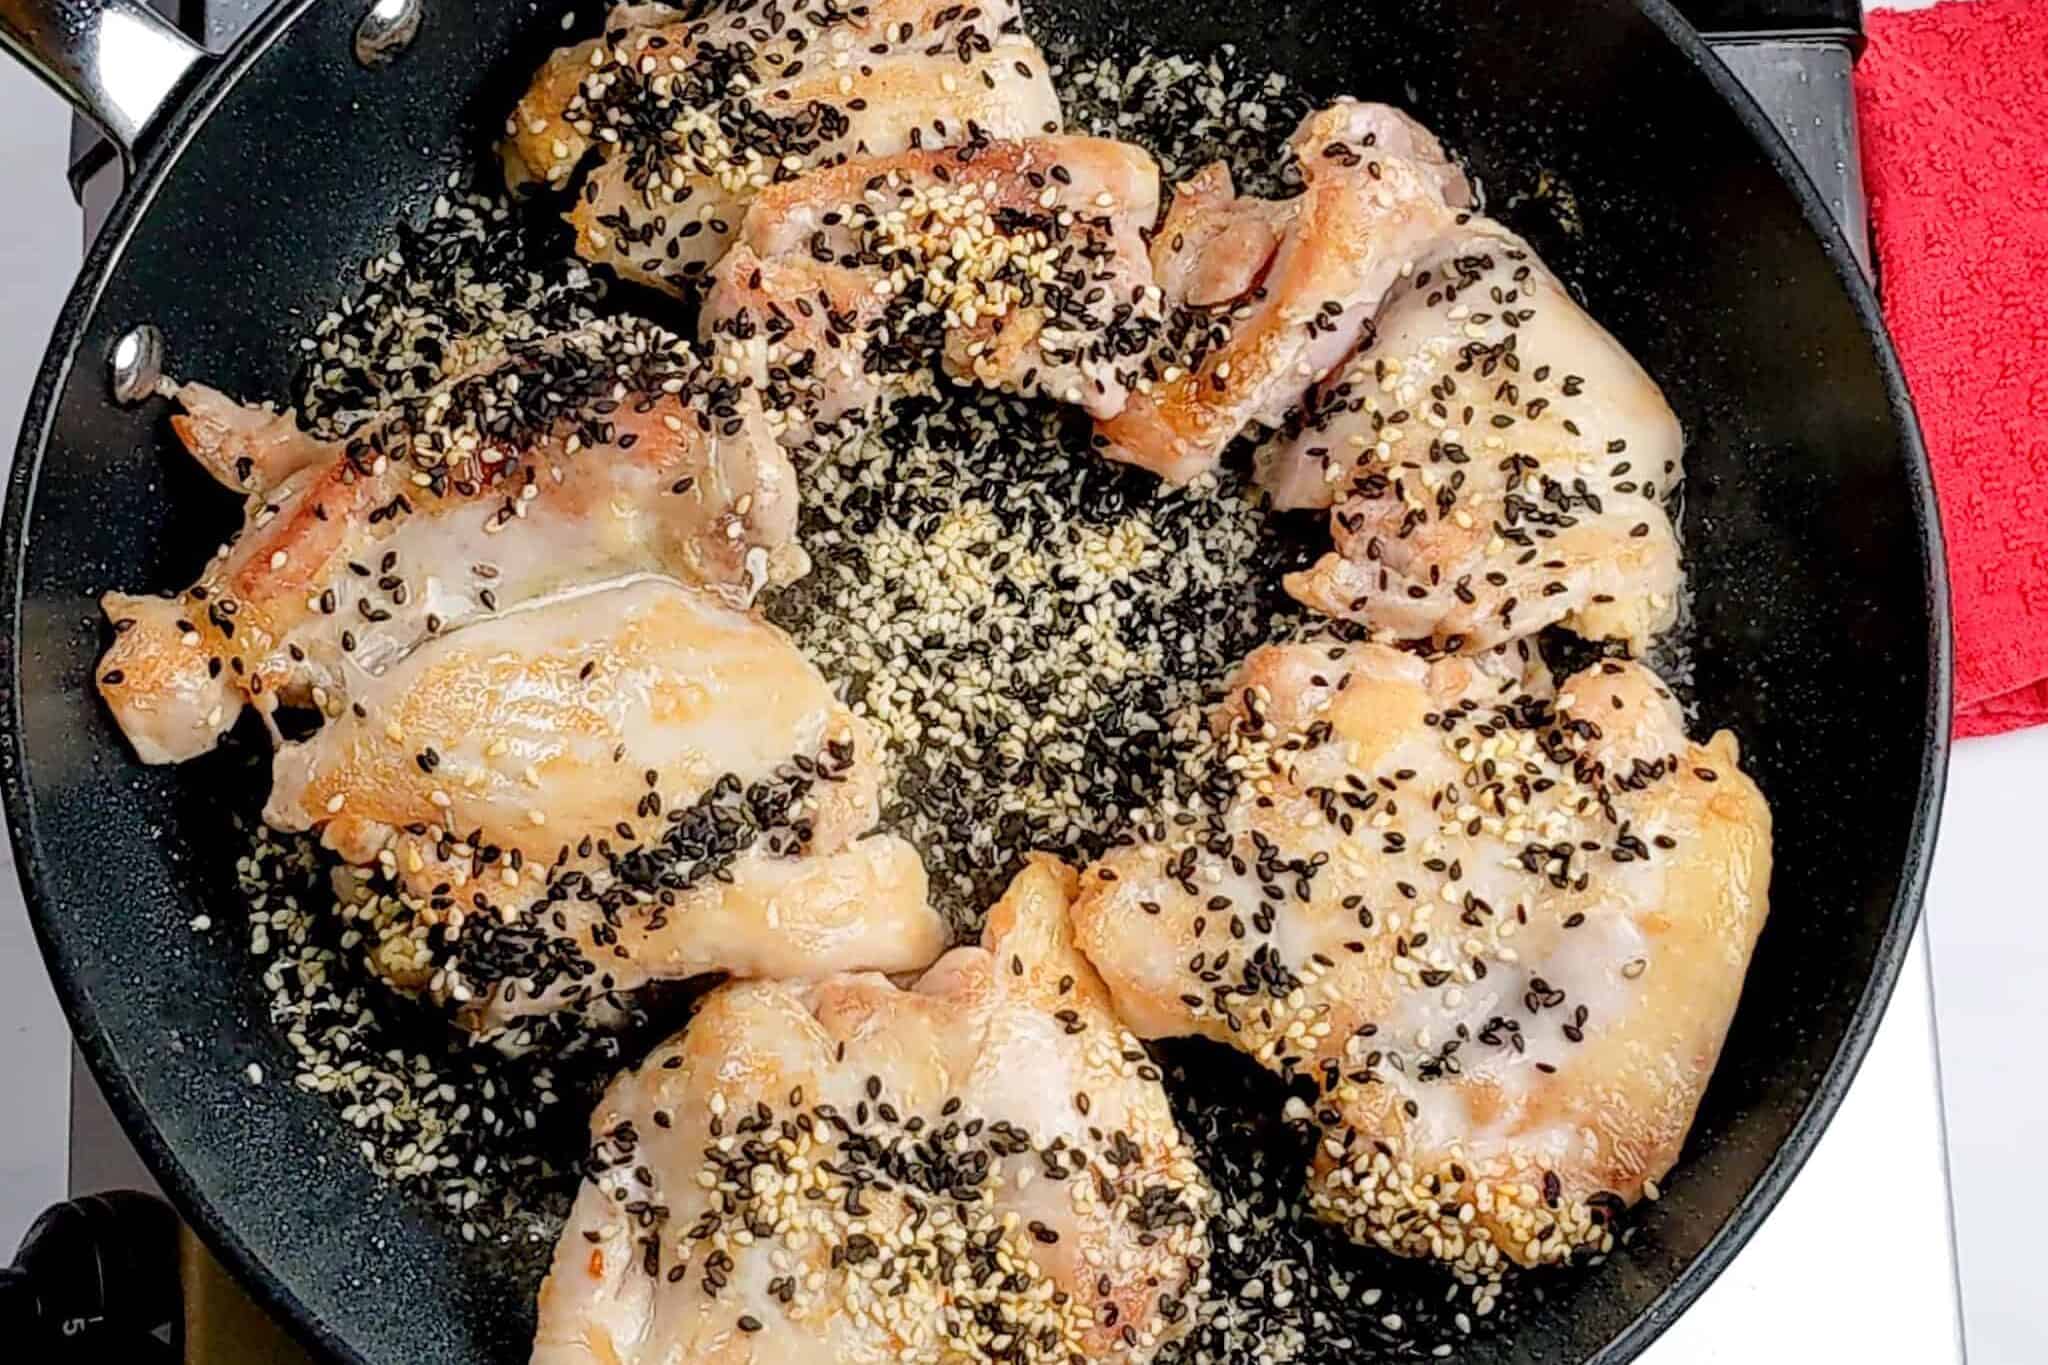
3. Enameled Cast Iron
Best For? Multi-step cooking, like sear-and-braise recipes
Enameled cast iron gives you the same heat stability as traditional cast iron but with an easy-clean, non-reactive surface. It's perfect for dishes where you sear first, then build sauces or braises directly in the pan.
Pros:
- Retains heat evenly
- No seasoning required
- Great for acidic ingredients like tomatoes or wine
Cons:
- Slightly less nonstick than seasoned cast iron
- Enamel can discolor at very high heat
Chef's Tip: Use medium to medium-high heat when searing with enamel. Pushing it too hot can dull the enamel finish over time. Patience here pays off in color and pan longevity. Also, never heat it up without oil.

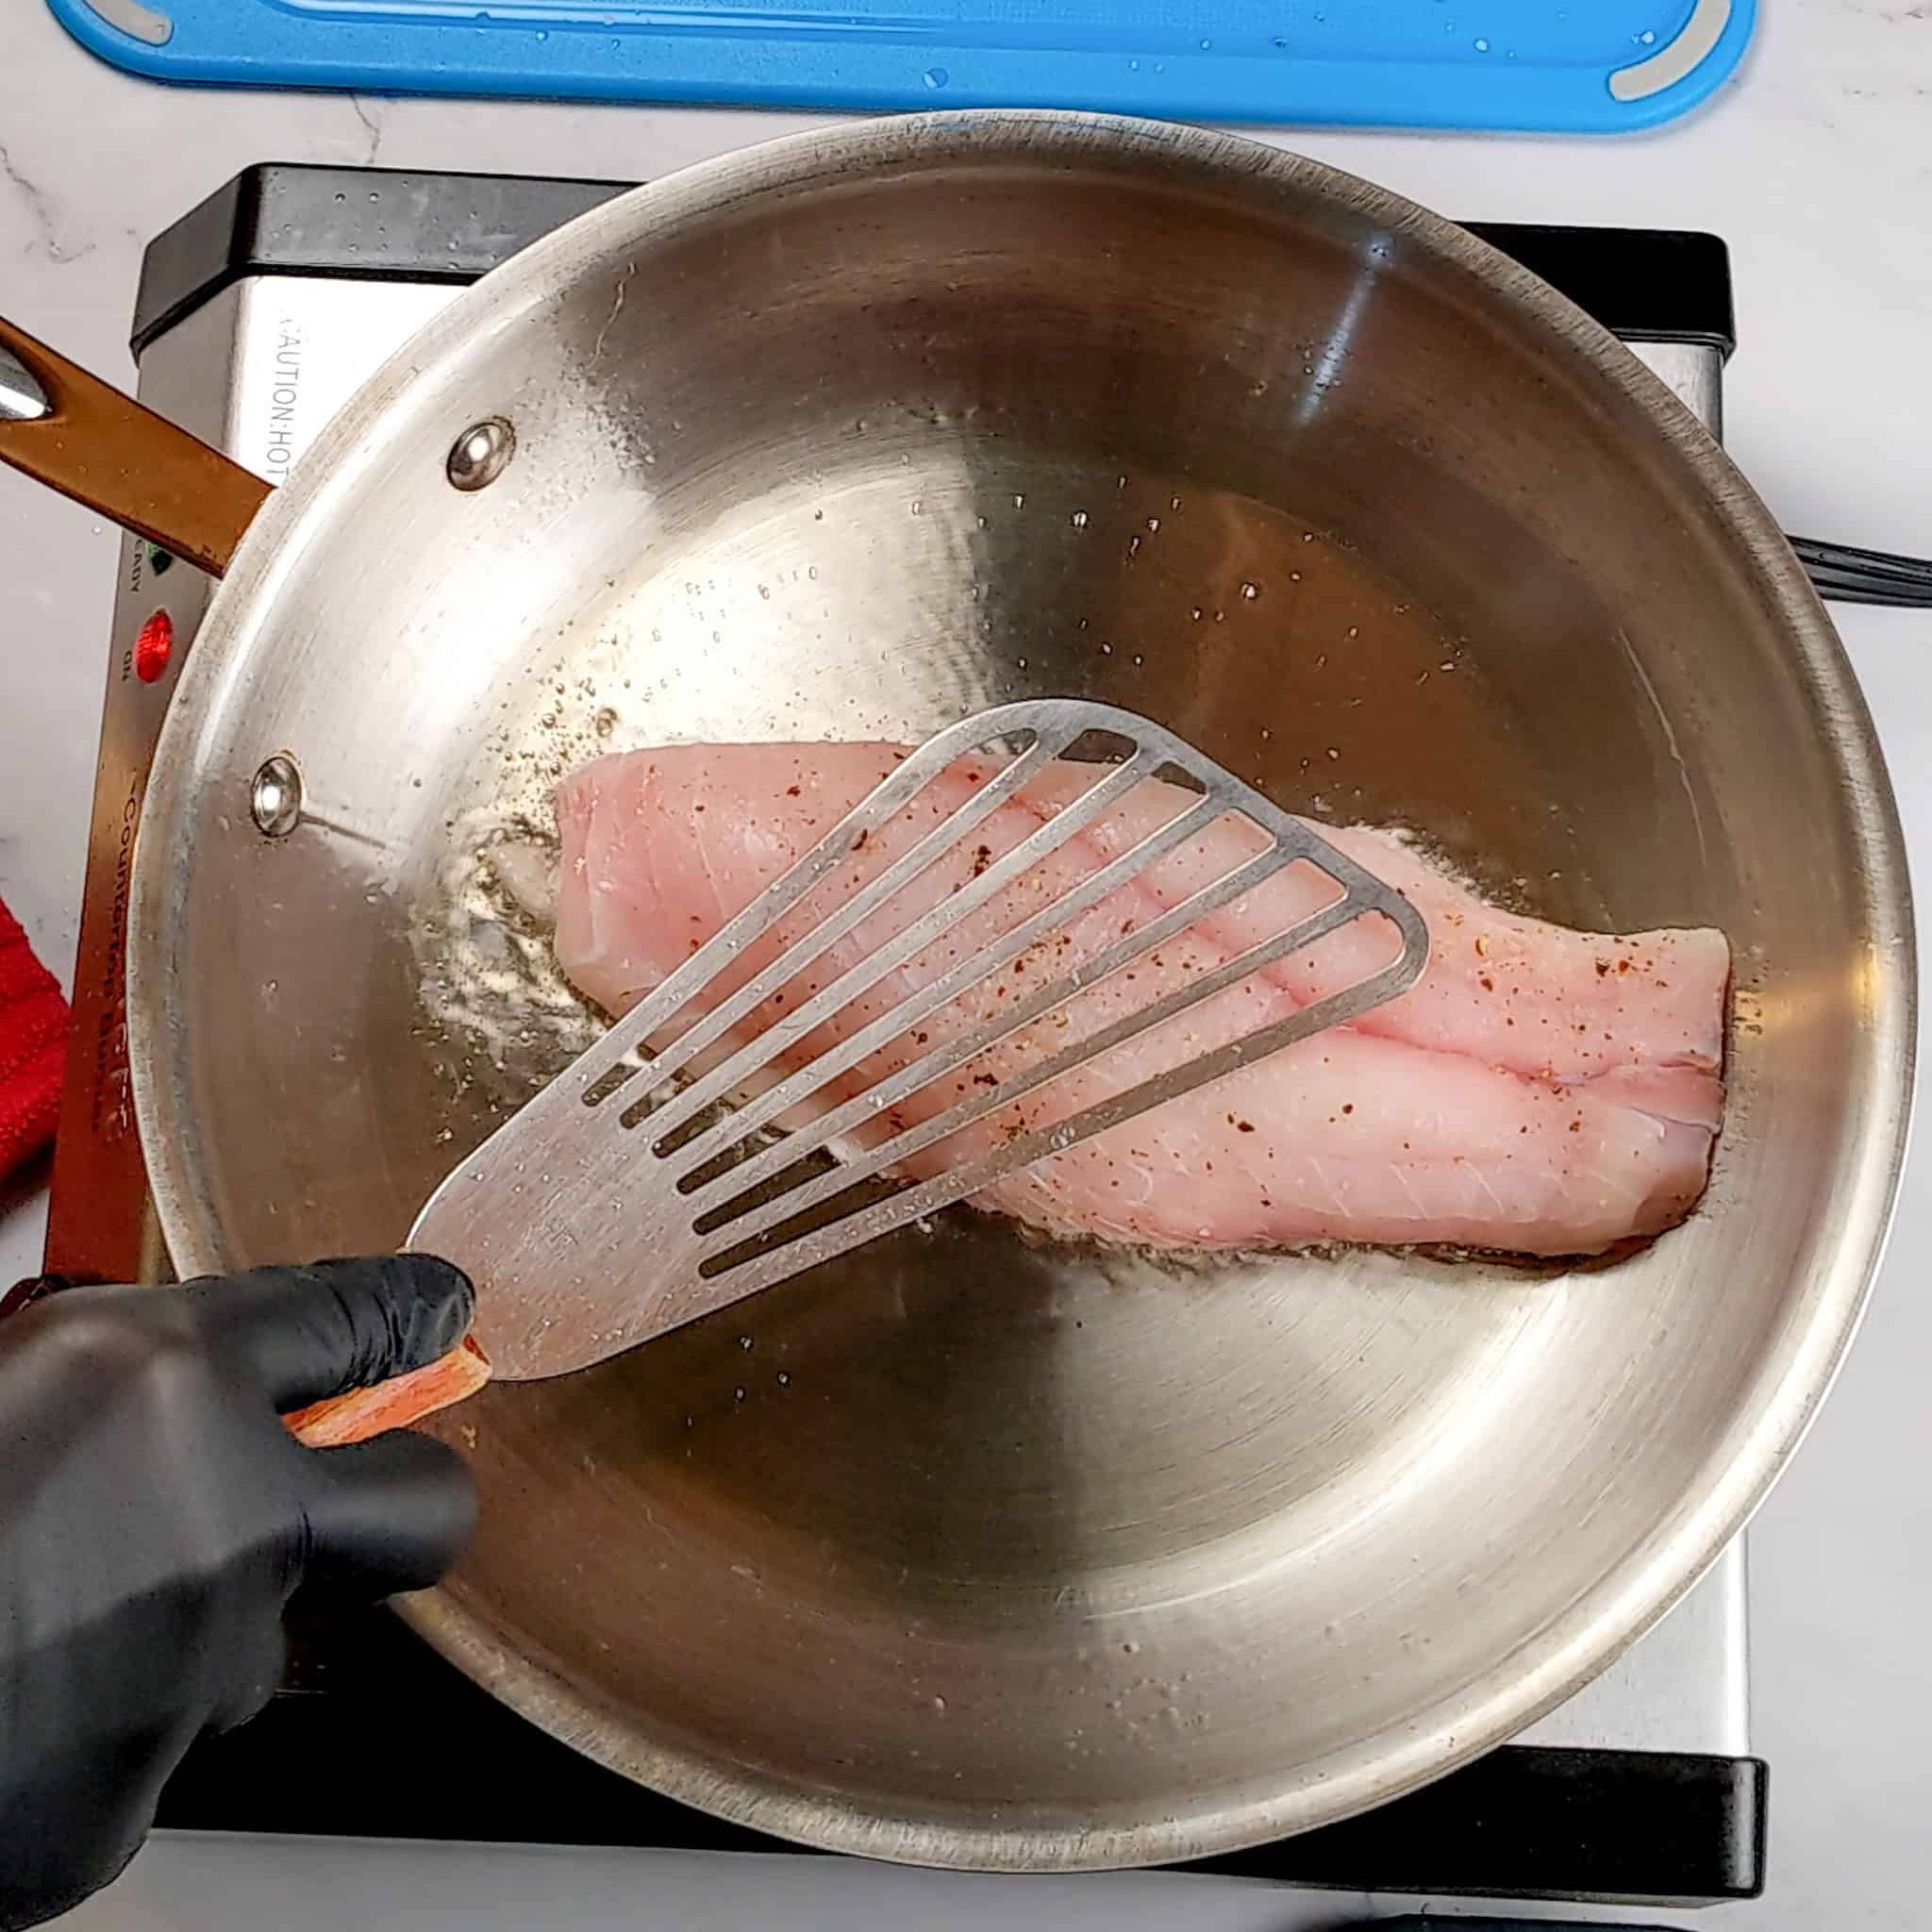
4. Nonstick Pans
Best For? Quick, low-fat sears or delicate proteins
Nonstick pans can handle light searing, especially for thinner cuts of chicken, but they aren't built for long, high-heat cooking. Their coating limits browning and can degrade if overheated.
Pros:
- Great for lean cooking or thinner chicken cutlets
- Easy cleanup and low oil usage
Cons:
- Not safe for high heat or oven use
- Poor browning compared to other pans
Chef's Tip: If using nonstick, sear over medium heat, not high. You'll still get gentle caramelization without damaging the coating.
5. Carbon Steel Pans
Best For? Lightweight heat control similar to cast iron
Carbon steel is the bridge between stainless and cast iron. It heats fast, browns beautifully, and becomes naturally nonstick over time. Ideal for cooks who love precision and control.
Pros:
- Develops a natural patina for nonstick performance
- Lighter than cast iron, but retains heat well
- Perfect for quick sears and high-heat cooking
Cons:
- Can rust if not dried and oiled properly
- Requires seasoning and maintenance like cast iron
Chef's Tip: After cleaning, always dry and rub a thin layer of oil to prevent rusting. Over time, carbon steel rewards you with the same easy-release surface as a seasoned cast-iron pan. Patina? A thin, seasoned layer that forms on cast iron or carbon steel over time, making the pan more nonstick.
Pan Shape Affects the Sear
The shape of your pan is just as important as its material:
- Shallow-sided skillets encourage airflow and evaporation, ideal for searing.
- Deep or high-sided pans trap steam, which can soften your crust.
- Wide pans allow space between chicken pieces, preventing overcrowding and steaming.
Chef's Takeaway: If you cook for two, a 10-inch skillet works perfectly. For family meals or meal prep, use a 12-inch or larger pan to give every piece enough room to breathe.
Recommended Reads
- Cooking Tips for Searing Chicken
- My Favorite Everyday Cookware | Durable Pans & Pots I Actually Use
- Best Cast Iron Skillet Care | Cooking, Cleaning to Seasoning
- Jerk Steak Fajitas | Super Easy 30 Minute Meal
- Caribbean Thanksgiving Meal Prep Plan Ideas
Kitchen Must-Haves Reviews
Find a collection of my reviews of kitchen equipment that I have purchased or recommend. Kitchen Must-Haves - Find other tools I use here.
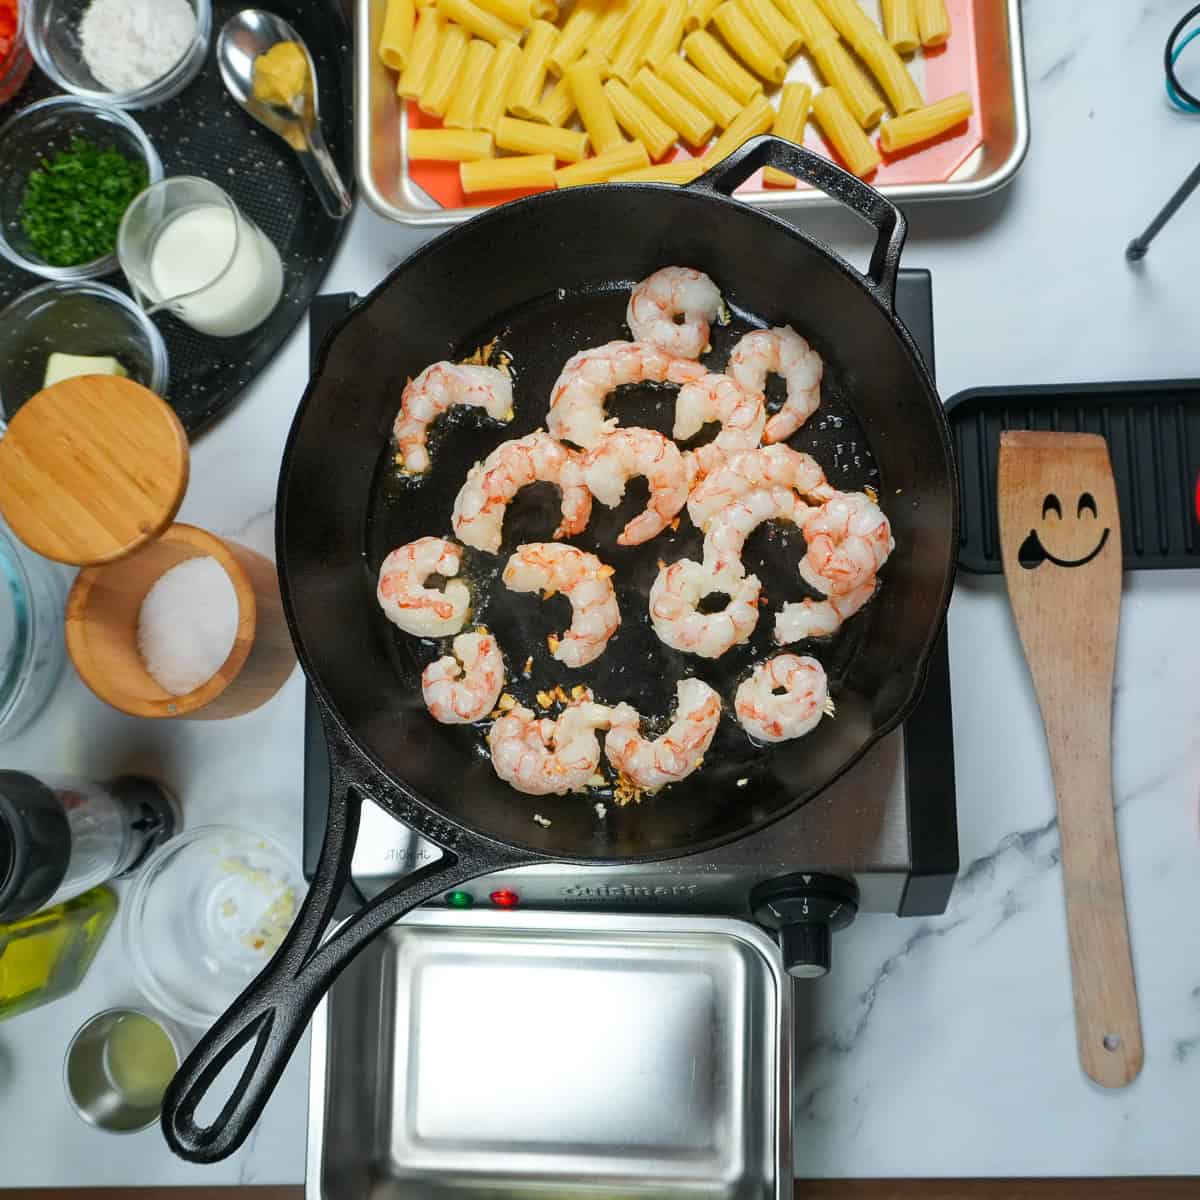
My Review: I love and trust All-Clad for their high-quality pans that truly last a lifetime, and this D3 10-Inch Stainless Steel Fry Pan with a lid is no exception. It delivers fast, even heat and comes out looking impeccable from the dishwasher every time, which makes cleanup effortless. It’s super easy to use, whether you're searing, sautéing, or finishing a dish in the oven, plus it's oven and broiler-safe up to 600°F. One tip for getting that perfect nonstick surface: always let the pan heat up first on its own, then add your oil and wait until it’s hot before adding delicate foods like fish. This pan is a staple in my kitchen and earns its keep every single day.
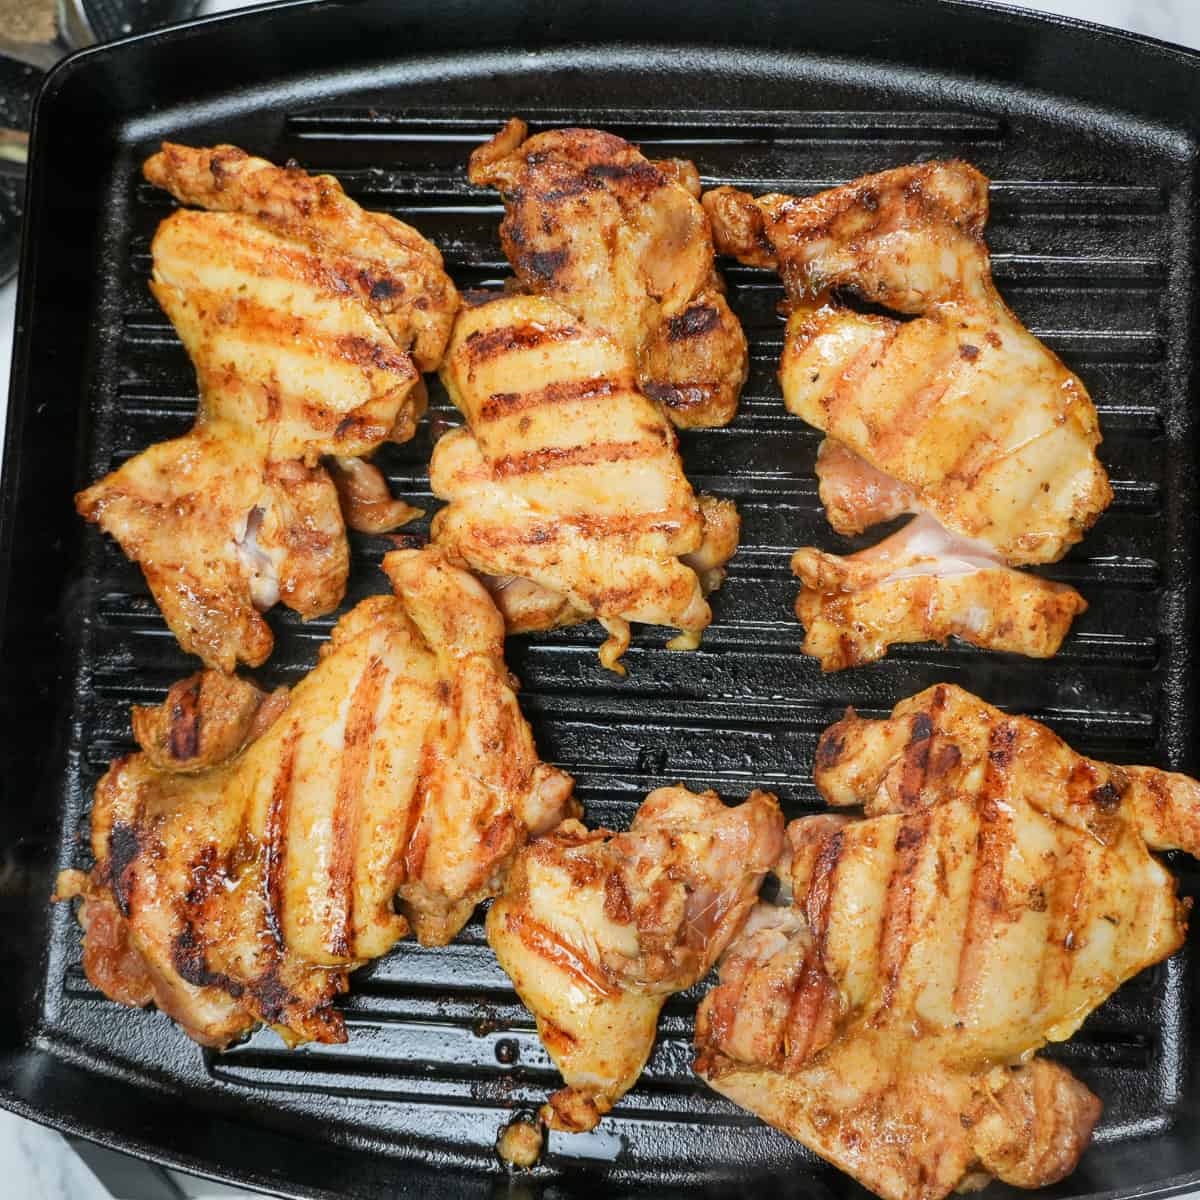
My Review: I was thrilled when Lodge introduced their Blacklock 12 Inch Triple Seasoned Cast Iron Grill Pan it combines the durability I’ve always trusted from the brand with a much lighter design that makes handling a breeze. The larger square surface was a welcome upgrade, easily fitting about 1 ¾ pounds of boneless, skinless chicken thighs with room to spare, and the triple seasoning provided a naturally nonstick finish right from the start. I’ve been cooking with Lodge cast iron for years, and once again, they didn’t disappoint. This pan is built to last a lifetime while still making everyday cooking feel effortless.
My Review: The Lodge Blacklock 10.25" Triple Seasoned Cast Iron Skillet has quickly become one of my favorite pieces of cookware. I’m especially impressed by how lightweight it feels compared to traditional cast iron, making it easy to maneuver while cooking and serving. The clean, smooth finish not only looks sleek but also delivers reliable nonstick performance, making cleanup simple. It’s a premium skillet that combines classic durability with a modern design upgrade I truly appreciate.
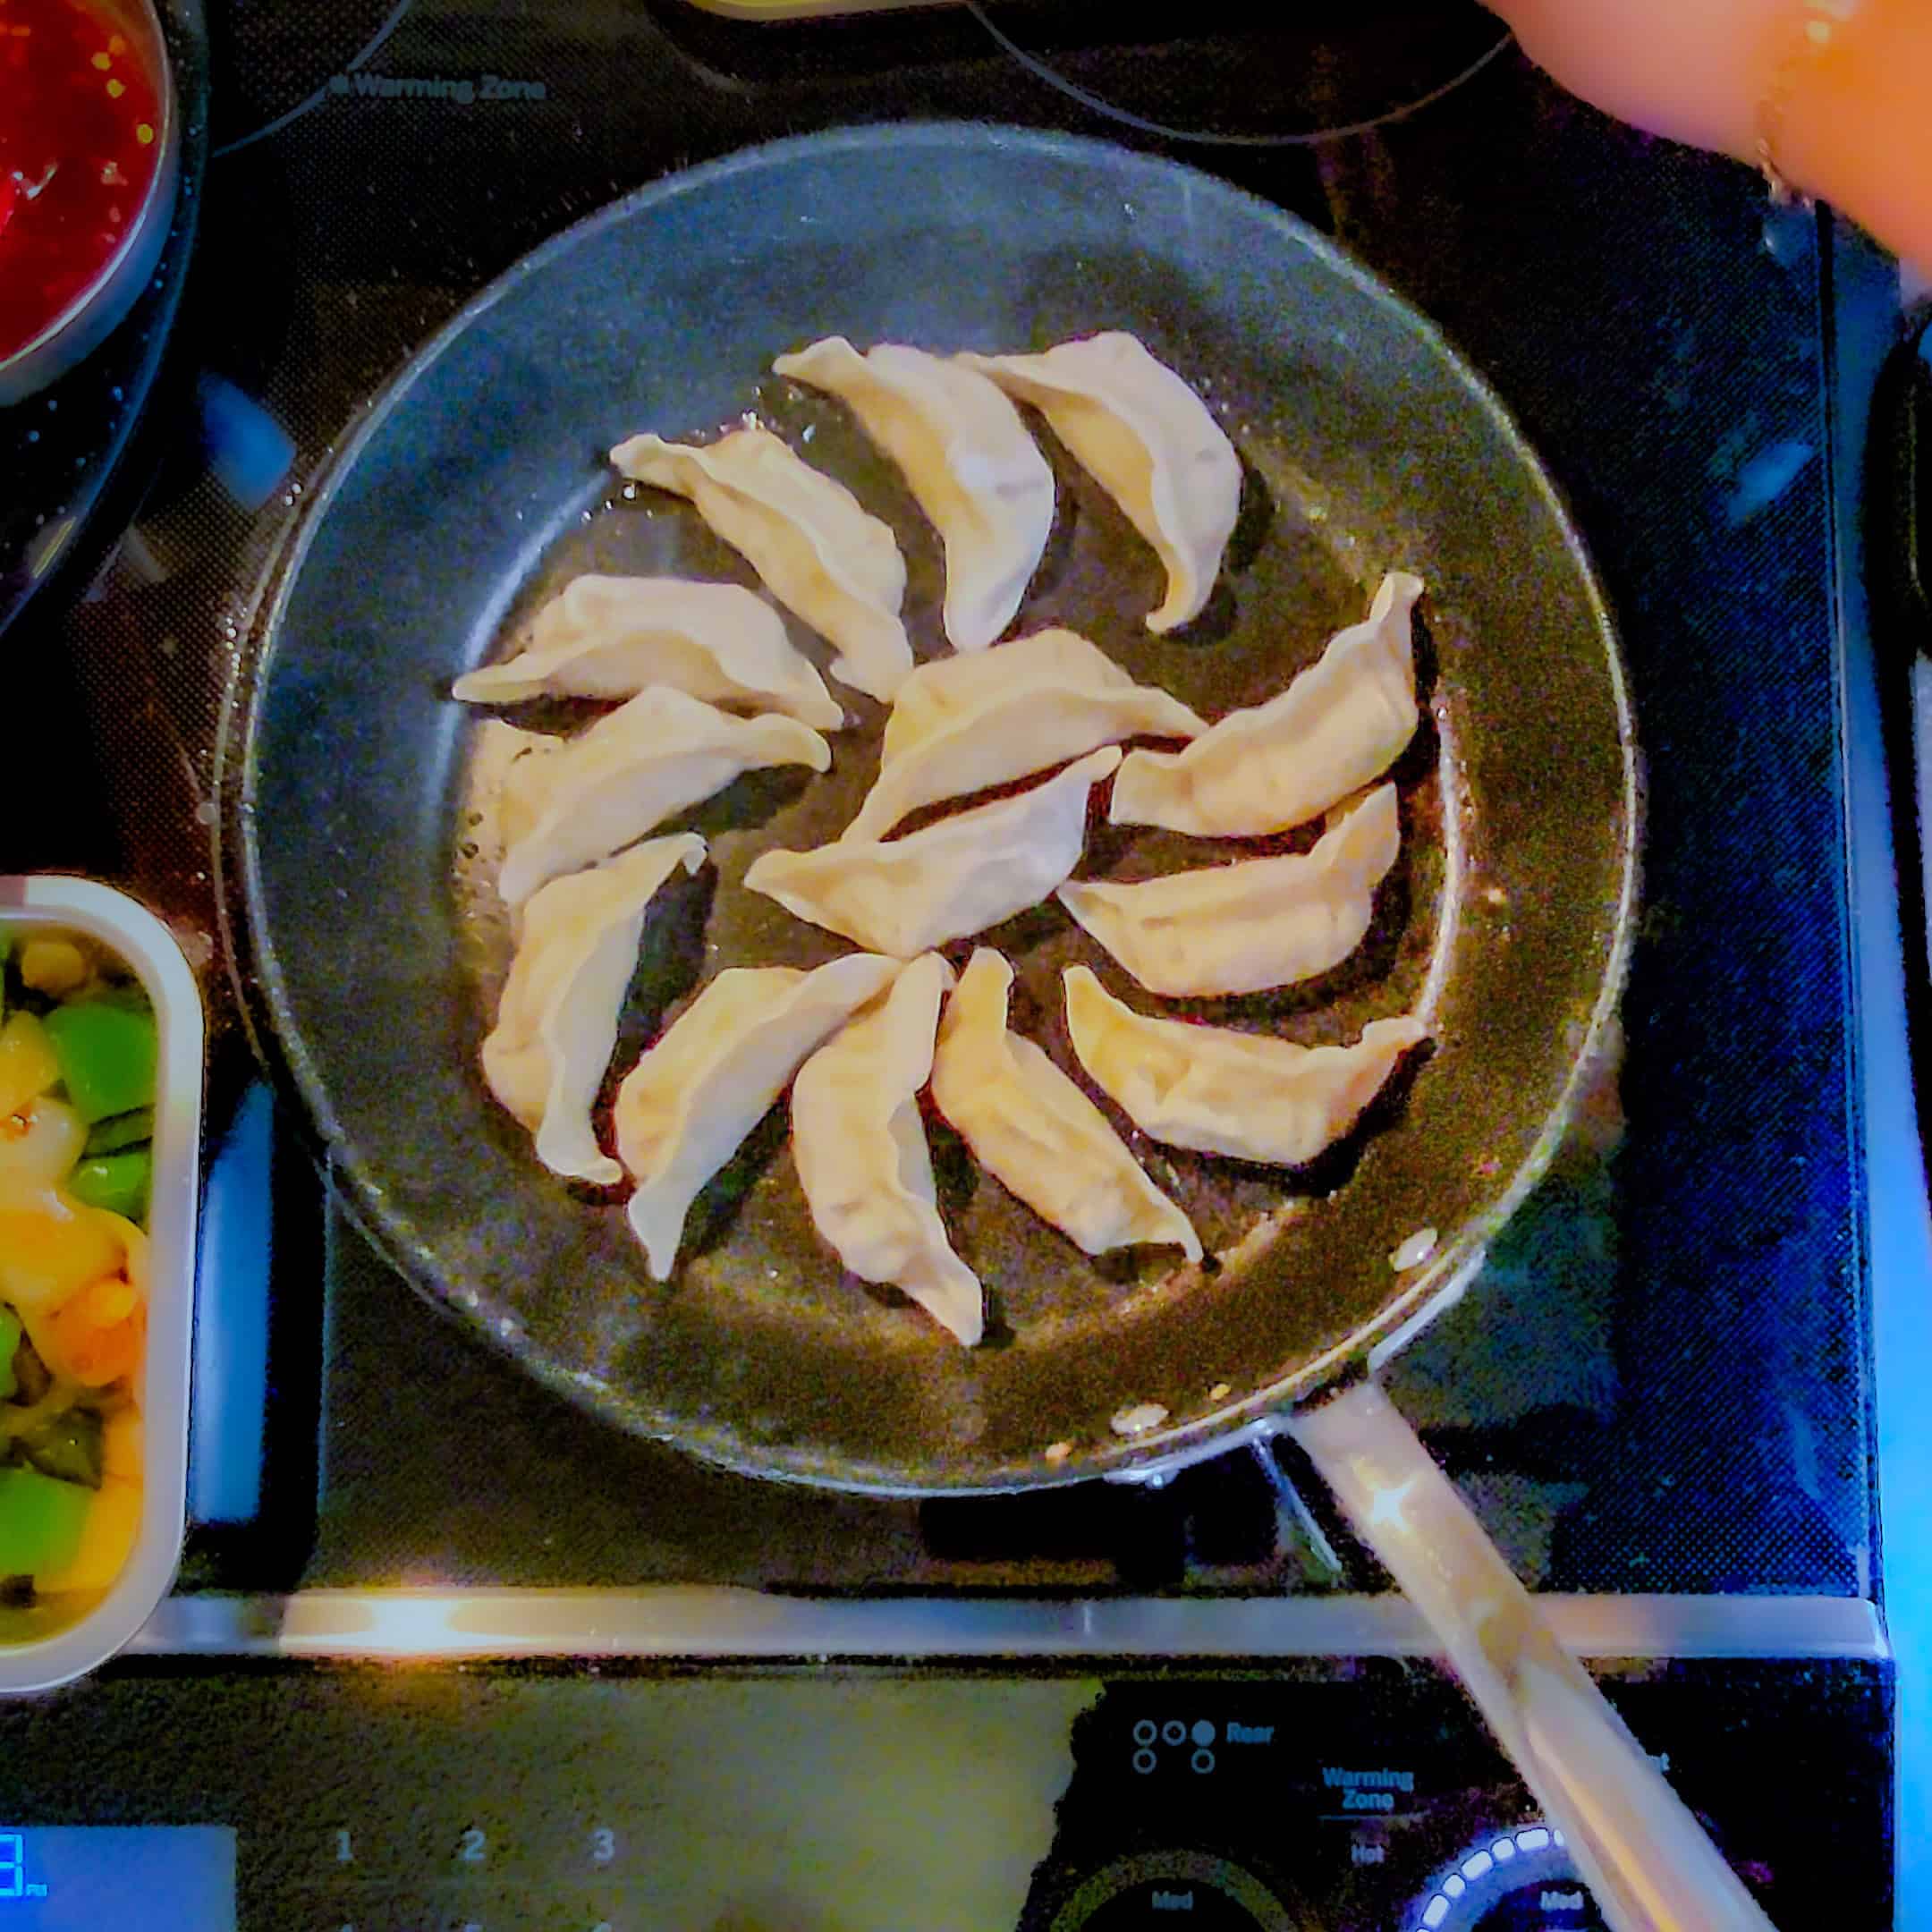
My Review: I absolutely love my All-Clad HA1 Hard Anodized Nonstick Fry Pans! I have two essential sizes, and they make cooking so much easier. The larger pan is perfect for dishes like chicken cutlets or stir-fries, while the smaller one is ideal for delicate tasks like making sauces, frying potstickers, or whipping up egg dishes. I’ve been a loyal All-Clad fan for years. They’ve been my go-to brand since my time working in commercial kitchens. Their durability and performance are unmatched, and I love that they’re USA-made and have been around for such a long time. These pans are no exception; they heat evenly, clean up effortlessly, and are incredibly reliable.
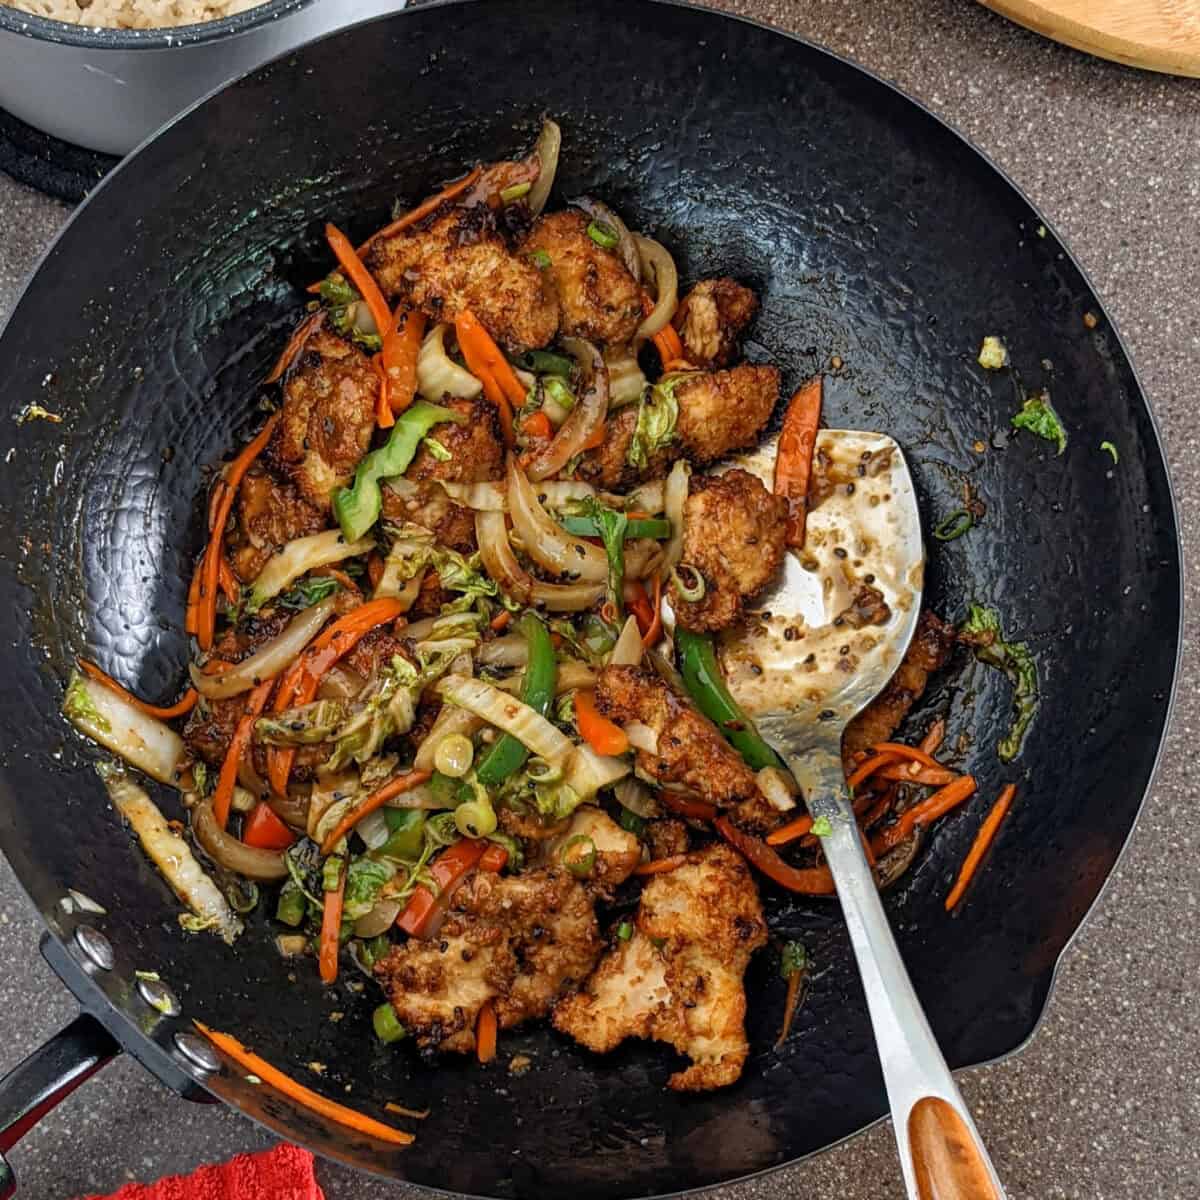
My Review: The wok is hands down my favorite for cooking. The size is perfect, not too big, not too small, and the flat bottom makes it super easy to use on any stovetop, especially for stir-fries and high-heat cooking. I was also impressed by the thoughtful design and the sleek packaging, which honestly makes it a great gift for anyone who loves to cook. What really stood out was the thorough set of instructions included on how to season and care for the wok, perfect for novice wok users who might feel intimidated. It’s a beautiful, functional piece that’s earned its permanent spot in my kitchen. Read my article on using a wok here.
Frequently Asked Questions
Here, you will find a list of common questions that I have answered. If you have questions, please write them in the comment section below.
For most home cooks, cast iron or stainless steel pans offer the most reliable results. Cast iron delivers deep color, while stainless gives more control and quick cleanup.
Yes, just make sure your pan is oven-safe. Cast iron, stainless steel, and enameled cast iron all transition seamlessly from stovetop to oven.
First, preheat the pan, then add oil, and finally the chicken. If it sticks, it's not ready. Wait a few seconds, and it will release naturally once seared.
While still warm, add a little water and use a spatula or brush to remove residue. Dry completely and rub with a thin layer of oil to maintain seasoning.
Cooking Tips and Tutorials
If you found this tutorial helpful, you'll love my Cook's Notebook collection. From knife skills and flavor bases to time-saving tricks and essential equipment guides, this section is packed with chef-tested lessons to help you cook with confidence.
- Best Food Audiobooks for Chefs & Home Cooks
- Winter Seasonal Produce Guide: What's In Season
- What Is HACCP and Why Every Home Cook Should Care About It
- Holiday Kitchen Safety Tips: How to Cook, Serve, and Store
Chicken Recipes
Looking for chicken recipe ideas? Try these:
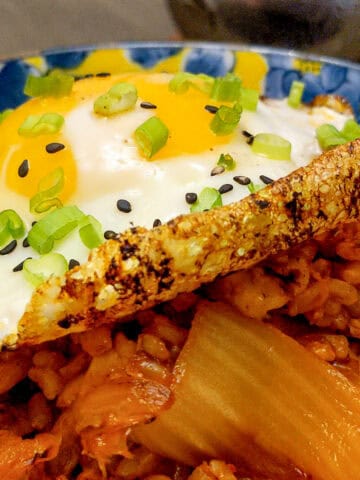
- Kimchi Fried Rice Recipe - Simple Base You Can Build On
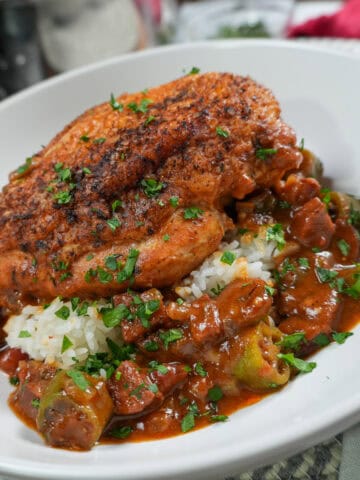
- Pan-Roasted Chicken and Andouille Sausage Gumbo
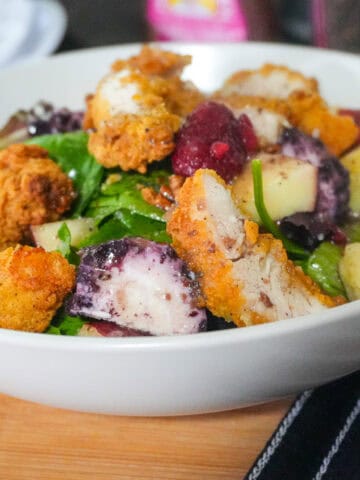
- Fresh Berry Apple Pecan Chicken Salad with Goat Cheese
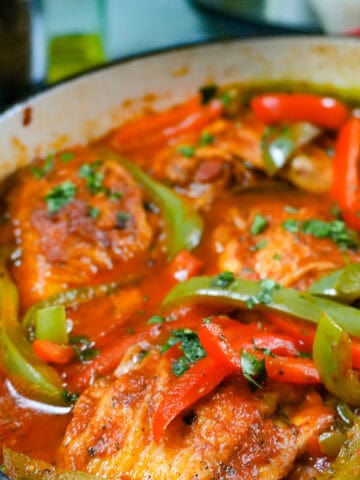
- Braised Chicken | Mexican-Style with Roasted Tomato Sauce
Subscribe to the YouTube Channel
SUBSCRIBE: 👈To my YouTube Channel to Get Notifications of New Videos.


Chef Maika Frederic-Liebman
Chef and Educator
Haitian-American chef and educator Maika Frederic blends bold flavors with approachable recipes. With a background in professional kitchens, classrooms, and children's therapy, she brings a thoughtful, inclusive touch to every dish as a trained chef, former teacher, and technician. Through her platform, Just Maika Cooking, she shares diverse meals and practical tips to empower home cooks of all ages and levels.
Have a Comment or Question?
If you have a question or comment about this post, please post it below. You will definitely get a quick response. It also helps our other readers to stay informed. Thanks!
Leave a Reply