


Master the steak grilling times chart like a pro with this no-fuss guide that shows you how long to grill steak, includes a steak internal temperature chart, and throws in plenty of grilling steak tips so you never serve hockey pucks again.
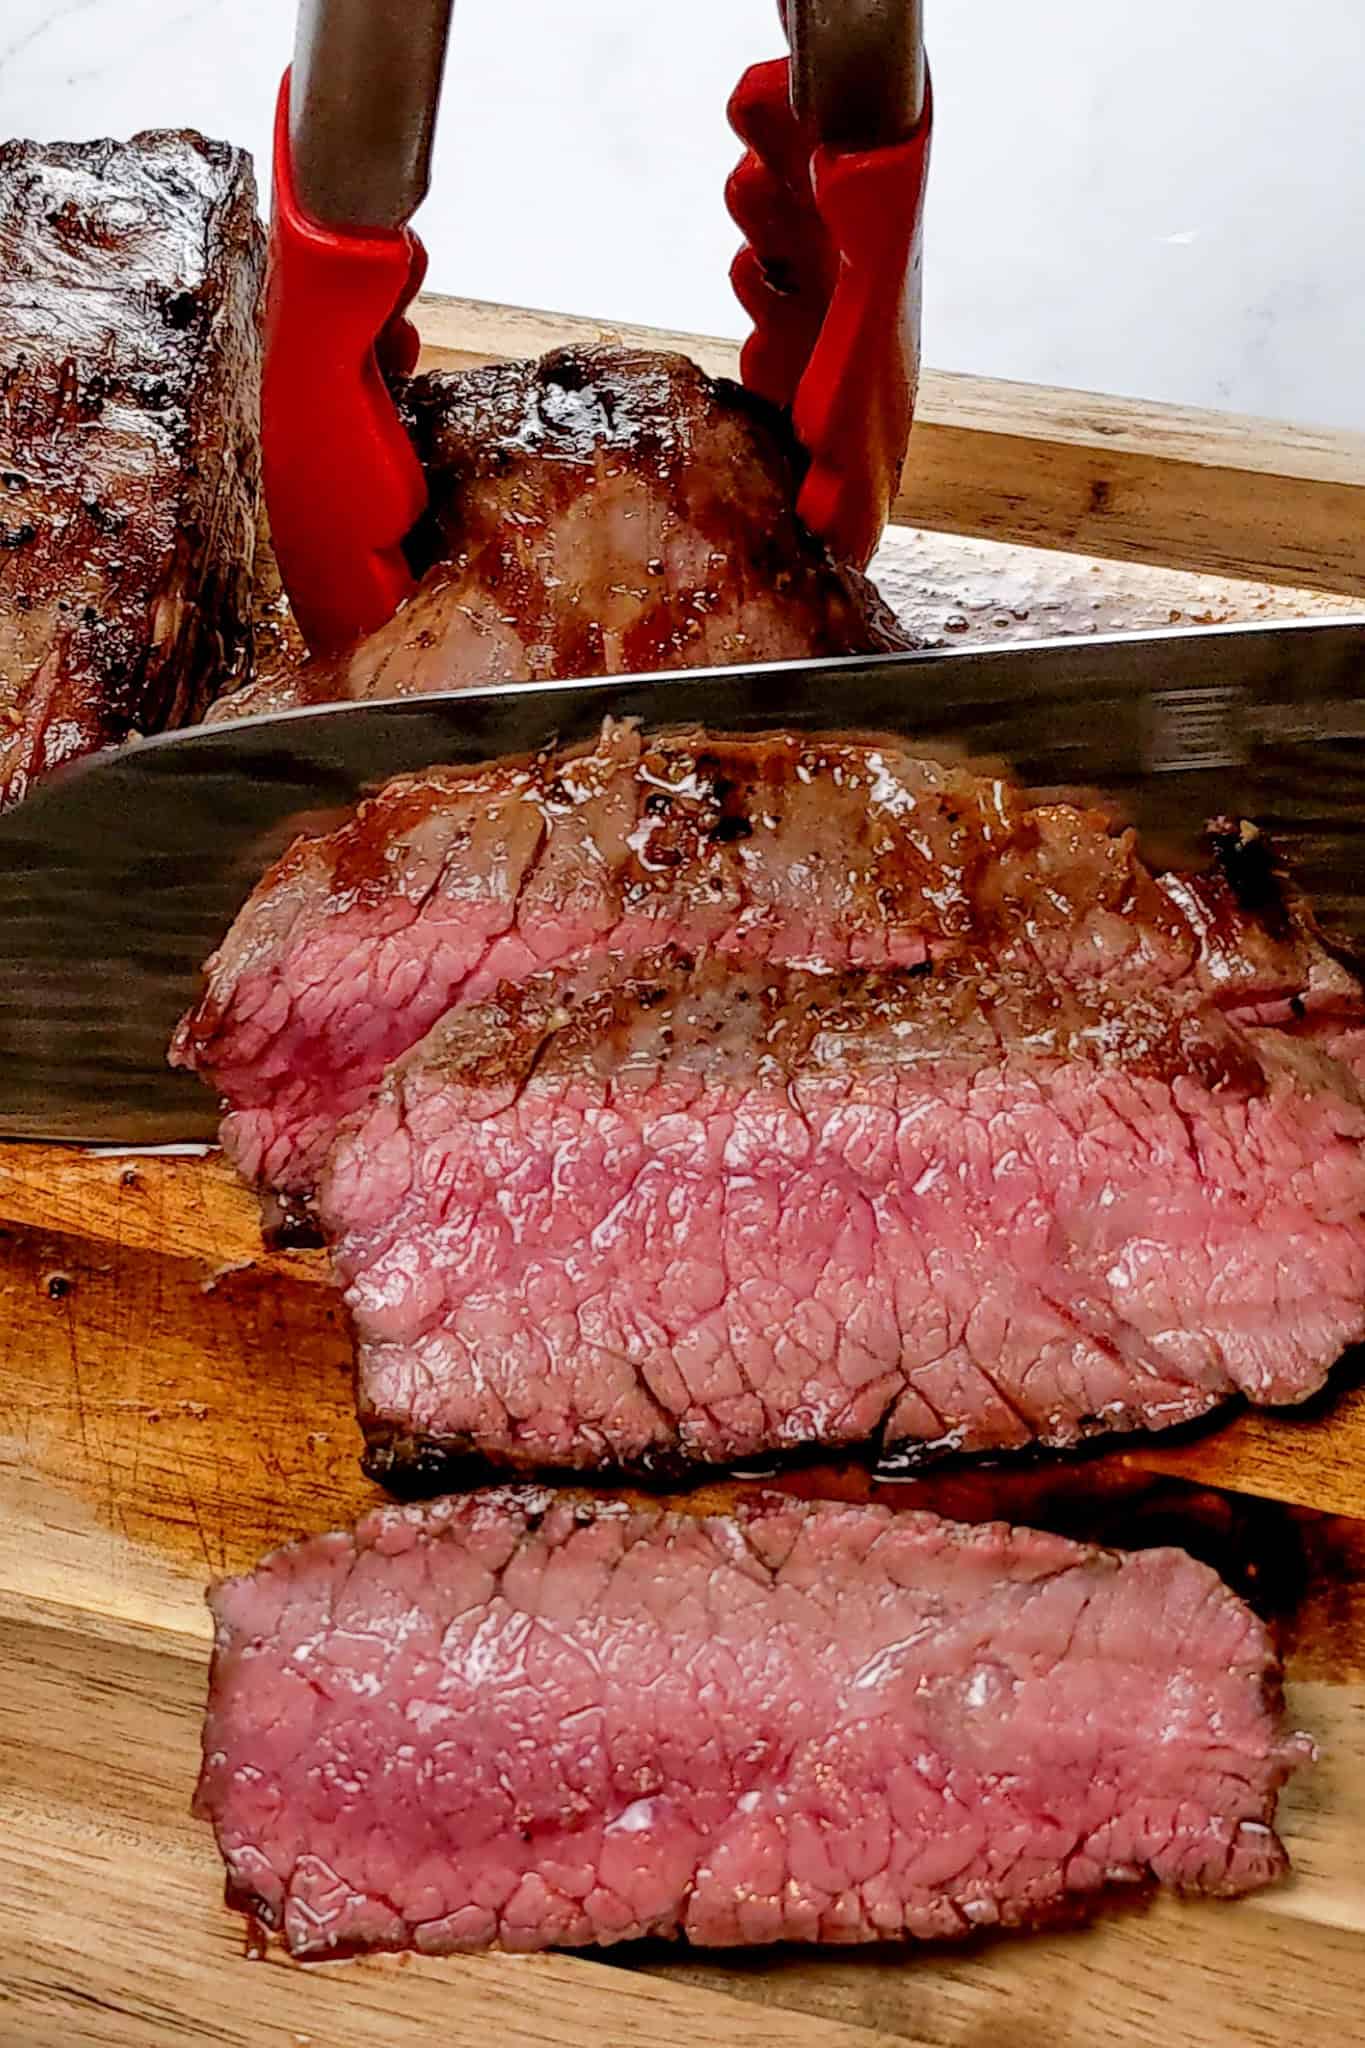
Table of Contents
Jump to:
- Quick Answer: Steak Grilling Times Chart
- Why a Steak Grilling Times Chart is So Important
- Understanding Steak Doneness and Internal Temperatures
- Steak Internal Temperature Chart
- How Long to Grill Steak: The Key Factors That Affect Time
- Steak Thickness Grilling Chart
- Best Grill Temperatures for Steak
- Reverse Sear Steak Method
- Common Steak Grilling Mistakes
- Gas Grill vs Charcoal Grill for Steak
- Steak Resting Time Guide
- Grilling Steak Tips for Beginners
- My Story: From Commercial Kitchens to Perfectly Grilled Steaks
- Culinary Glossary
- Frequently Asked Questions
- Steak Grilling Chart | Time & Temperatures
- Delicious Steak Recipes
- More Cooking Tips and Tutorials
- Kitchen Tools I Use and Recommend
- Equipment Guides
- Have a Comment or Question?
Quick Answer: Steak Grilling Times Chart
For a 1-inch steak grilled over medium-high heat (450-500°F):
- Rare: 3-4 minutes per side
- Medium-Rare: 4-5 minutes per side
- Medium: 5-6 minutes per side
- Medium-Well: 6-7 minutes per side
- Well-Done: 8-9 minutes per side

Always confirm doneness with an instant-read thermometer.
Why a Steak Grilling Times Chart is So Important
If you've ever hovered nervously over a hot grill, wondering if your steak's about to become a charcoal briquette, you're not alone. That's exactly why a steak grilling times chart is such an essential tool for home cooks. Whether you're grilling on a gas or charcoal grill, knowing your grilling time helps you avoid overcooked regrets and undercooked apologies.
The steak cooking chart takes the guesswork out, showing exactly how long to grill each cut of steak, whether it's a New York strip, flat iron, or the ever-fancy filet mignon, for that perfect, juicy finish. It's not just about cooking; it's about cooking with confidence and consistency.
Understanding Steak Doneness and Internal Temperatures
Before you throw your steak on a hot grill, let's talk steak doneness. The level of doneness you aim for, from medium-rare steak to a classic well-done steak, depends on your personal preference, but hitting that safe internal temperature matters for both flavor and safety.
That's where your meat thermometer or instant-read thermometer comes in handy, the best way to nail the final temperature of the center of your steak. Think of it as your cheat code to the perfect steak, helping you avoid slicing in early or second-guessing your cook.
Plus, when you're working with thicker cuts, carryover cooking (that post-grill temp rise) is real. Don't skip the steak rest time.
Why Internal Temperature Matters More Than Time
One of the biggest mistakes beginner grillers make is relying only on cook time. While a steak grilling times chart is helpful, actual cooking time can vary depending on steak thickness, grill temperature, weather, and even the meat's starting temperature.
That's why professional chefs rely on internal temperature instead of guessing.
Using an instant-read thermometer helps you avoid overcooking expensive cuts like ribeye, filet mignon, or porterhouse steaks. It also gives you more consistent results every time you grill.
Here's a quick breakdown of common steak doneness temperatures:
- Rare: 120-125°F
- Medium-Rare: 130-135°F
- Medium: 140-145°F
- Medium-Well: 150-155°F
- Well-Done: 160°F and above
Keep in mind that the steak continues cooking after it leaves the grill due to carryover cooking. For best results, remove your steak about 5 degrees before your target temperature and allow it to rest before slicing.
Steak Internal Temperature Chart
| Level of Doneness | Remove From Grill | Final Temperature After Resting | Center Appearance |
|---|---|---|---|
| Rare | 120-125°F | 125-130°F | Cool red center |
| Medium-Rare | 130-135°F | 135-140°F | Warm red center |
| Medium | 140-145°F | 145-150°F | Warm pink center |
| Medium-Well | 150-155°F | 155-160°F | Slight pink center |
| Well-Done | 160°F+ | 165°F+ | Little to no pink |
Chef's Tip: Pulling steak off the grill a few degrees early helps prevent overcooking from carryover cooking. This is especially important for thick steaks like ribeye, porterhouse, and filet mignon.
How Long to Grill Steak: The Key Factors That Affect Time
So, how long to grill a steak? Well, that depends on more than just flipping it after a few minutes. The thickness of your steak, the type of grill, and even your cooking method (hello, reverse sear fans!) all affect steak cooking time.
A 1-inch-thick steak will take about 5-6 minutes per side over medium heat for a medium steak, but a much thicker steak with more fat content and connective tissue, like a porterhouse or top sirloin, will need more total time and maybe even a mix of high heat and indirect heat to cook evenly.
Then there's the desired doneness, which changes the degree of doneness and internal temperature targets. In other words: don't wing it, use that handy chart.
Steak Thickness Grilling Chart
One of the biggest factors that affects steak grilling time is thickness. A thin flat-iron steak cooks much faster than a thick ribeye or porterhouse, even at the same grill temperature.
Use this steak thickness grilling chart as a general guide for steaks cooked over medium-high heat on a preheated grill.
| Steak Thickness | Medium-Rare | Medium |
|---|---|---|
| ½ inch | 3-4 min per side | 4-5 min per side |
| 1 inch | 4-5 min per side | 5-6 min per side |
| 1½ inches | 6-7 min per side | 7-8 min per side |
| 2 inches | Reverse sear recommended | Reverse sear recommended |
Cooking times may vary depending on grill temperature, steak cut, weather conditions, and starting meat temperature. Always confirm doneness with an instant-read thermometer.
Best Grill Temperatures for Steak
The temperature of your grill affects how quickly your steak cooks, how well it develops a crust, and whether the inside cooks evenly without drying out.
Most steaks cook best over medium-high to high heat, especially when you want a flavorful sear and visible grill marks.
| Heat Level | Grill Temperature | Best For |
|---|---|---|
| High Heat | 450-550°F | Searing steaks quickly |
| Medium-High Heat | 400-450°F | Most steak grilling |
| Medium Heat | 350-400°F | Thick steaks and controlled cooking |
| Indirect Heat | 250-325°F | Reverse searing and finishing thick cuts |
For thinner steaks like flank or flat iron, high heat helps create a quick sear before the inside overcooks. For thicker steaks like ribeye, porterhouse, or filet mignon, combining direct and indirect heat provides better control and more even doneness.
Chef's Tip: Always preheat your grill before adding steak. A properly heated grill grate helps prevent sticking and creates better browning through the Maillard reaction.
Reverse Sear Steak Method
The reverse sear method is one of the best ways to cook thick steaks evenly without burning the outside before the center finishes cooking.
Instead of starting over high heat, the steak is first cooked slowly over indirect heat until it approaches the target internal temperature. Then it's finished over high heat to create a flavorful crust.
This method works especially well for:
- Ribeye steaks
- Porterhouse steaks
- Thick-cut New York strips
- Filet mignon
- Bone-in steaks
Why Reverse Searing Works
Reverse searing gives you:
- More even doneness from edge to center
- Better temperature control
- Less risk of overcooking
- A crisp, flavorful crust
- Juicier steaks after resting
Basic Reverse Sear Steps
- Preheat one side of the grill for indirect heat cooking.
- Place the steak away from direct flames and cook slowly until it reaches about 10°F below your target internal temperature.
- Move the steak over high direct heat.
- Sear both sides until a flavorful crust forms and grill marks develop.
- Remove the steak from the grill and let it rest before slicing.
For very thick steaks, reverse searing often produces better results than cooking entirely over direct heat because it allows the inside of the steak to cook gently before the final sear develops flavor and texture on the outside.
Common Steak Grilling Mistakes
Even with a steak grilling times chart, a few small mistakes can turn a juicy steak into a dry or unevenly cooked disappointment. Here are some of the most common steak-grilling mistakes beginner cooks make, along with how to avoid them.
Cooking Steak Straight from the Refrigerator
Cold steak cooks unevenly because the outside heats much faster than the center. Let the steak sit at room temperature for about 20-30 minutes before grilling for more even cooking.
Skipping the Meat Thermometer
Cooking steak by time alone can be unreliable since grill temperatures and steak thickness vary. An instant-read thermometer gives the most accurate results and helps prevent overcooking.
Not Preheating the Grill
Adding steak to a grill that is not fully heated can cause sticking and poor browning. Always preheat the grill grate before cooking to help create a flavorful crust.
Flipping the Steak Too Often
Constant flipping prevents proper searing. Allow the steak enough time to develop grill marks and a crust before turning it.
Skipping the Resting Time
Cutting into the steak immediately after grilling causes the juices to run out onto the cutting board rather than staying inside the meat. Let the steak rest for at least 5-10 minutes before slicing.
Using Only High Heat for Thick Steaks
Very thick steaks can burn outside before the inside finishes cooking. Using indirect heat or the reverse sear method helps thicker cuts cook more evenly.
Pressing Down on the Steak
Pressing steak with a spatula squeezes out flavorful juices and can dry out the meat. Let the grill do the work by flattening the steak as it cooks.
Gas Grill vs Charcoal Grill for Steak
Both gas grills and charcoal grills can produce delicious steaks, but they cook differently and create slightly different flavors and textures.
Gas Grill
Gas grills are easier to control because you can adjust the heat quickly and maintain steady temperatures throughout cooking. This makes them beginner-friendly and especially helpful when cooking thicker steaks that require both direct heat and indirect heat.
Benefits of Gas Grills
- Faster preheating
- Easier temperature control
- Convenient for weeknight cooking
- Better for consistent cooking times
- Easier to create cooking zones
Challenges of Gas Grills
- Less smoky flavor
- Some models may not get as hot as charcoal grills
Charcoal Grill
Charcoal grills produce a stronger smoky flavor and can reach extremely high temperatures for searing steaks. Many steak lovers prefer charcoal for its added flavor from burning charcoal and wood smoke.
Benefits of Charcoal Grills
- Strong smoky flavor
- Excellent high-heat searing
- Great crust development
- Traditional grilling experience
Challenges of Charcoal Grills
- Longer preheating time
- Harder temperature control
- Requires more attention during cooking
- Flare-ups can happen more easily
Chef's Tip: If you're new to grilling steak, a gas grill is often easier to learn on because temperature adjustments are more predictable. Once you become comfortable managing heat zones, charcoal grilling becomes much easier to control.
Steak Resting Time Guide
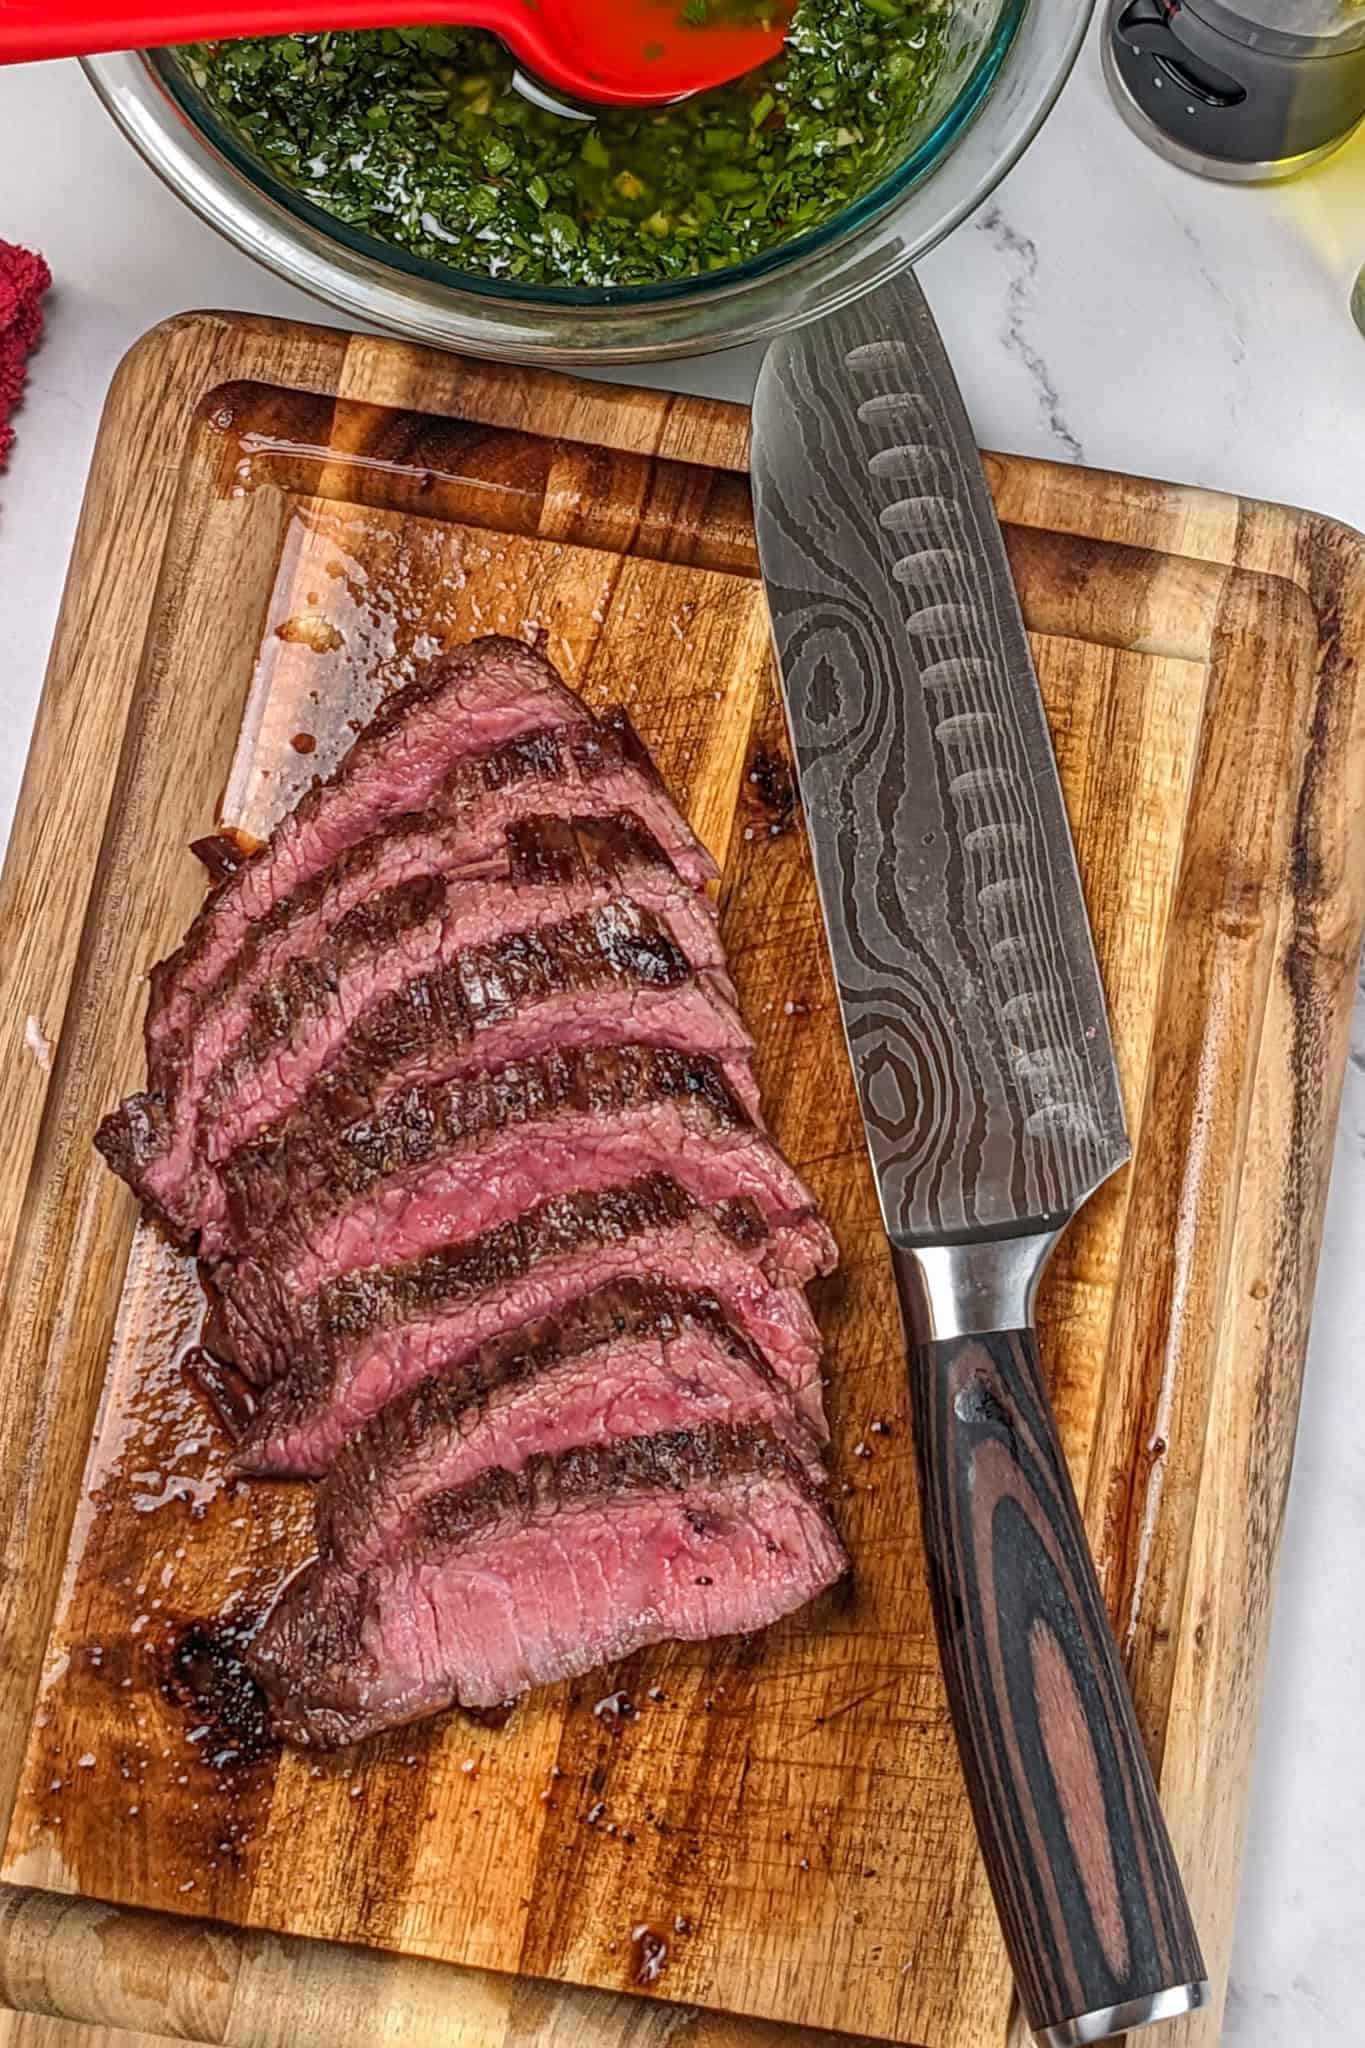
Resting the steak after grilling is one of the most important steps for keeping it juicy and flavorful. As the steak cooks, its juices move toward the center. Resting gives those juices time to redistribute throughout the steak, preventing them from spilling onto the cutting board when the steak is sliced too early.
Recommended Steak Resting Times
| Steak Thickness | Rest Time |
|---|---|
| Thin steaks (½ inch) | 5 minutes |
| 1-inch steaks | 5–7 minutes |
| 1½-inch steaks | 7–10 minutes |
| Thick steaks (2 inches or more) | 10–15 minutes |
During the resting period, carryover cooking continues to raise the internal temperature slightly. This is why many chefs remove steak from the grill a few degrees before the final target temperature.
Chef's Tip: Rest the steak loosely, tented with foil, rather than tightly wrapped. This helps keep the steak warm without trapping steam that can soften the crust.
Grilling Steak Tips for Beginners
Grilling steak can feel intimidating at first, but once you understand heat, timing, and temperature, it becomes much easier to cook steak with confidence. These beginner steak grilling tips will help you build better habits and improve your results every time you grill.
Start with the Right Cut of Steak
Thicker cuts like ribeye, New York strip, top sirloin, and filet mignon are usually easier for beginners because they are more forgiving on the grill than very thin steaks.
Pat the Steak Dry Before Grilling
Moisture on the steak's surface creates steam rather than browning. Use paper towels to pat the steak dry before seasoning and grilling to help develop a flavorful crust.
Season Generously
Steak benefits from simple seasoning. Salt and black pepper are often enough, but dry rubs and steak seasonings can add extra flavor depending on the cut and cooking style.
Oil the Steak Instead of the Grill
Brushing a small amount of high-smoke-point oil directly onto the steak helps reduce sticking and promotes better browning.
Use Two Heat Zones
Creating a hot direct-heat side and a cooler indirect-heat side gives you better control while grilling. This is especially helpful for thicker steaks that need more cooking time.
Avoid Constant Flipping
Let the steak cook long enough to naturally release from the grill grate before flipping. Moving it too early can tear the surface and prevent proper grill marks from forming.
Use an Instant-Read Thermometer
The best way to avoid overcooking steak is to check the internal temperature rather than relying solely on grilling time.
Let the Steak Rest Before Slicing
Resting helps keep juices inside the steak and improves texture. Even a perfectly grilled steak can lose moisture quickly if sliced too soon.
Learning how to grill steak takes practice, but understanding temperature, heat control, and resting time will help you cook more confidently and consistently over time.
My Story: From Commercial Kitchens to Perfectly Grilled Steaks
Let's rewind a bit. My steak obsession started in my teen years when I worked in commercial kitchens. I freaking loved the heat, the fire, the sizzling steaks slapping down on the grill grate. Nothing felt more satisfying than flipping a prime steak at the perfect time and watching it develop a gorgeous crust.
To this day, I'm a medium-rare doneness kind of girl. If you catch me at a sports bar, I'm ordering either an NY steak, fried shrimp, or wings as asked. My love for steak runs deep, and that's exactly why I created this guide to help you grill with more joy and less stress.
Because honestly? The best steak isn't just about the cut, it's about the love (and the proper temperature).
Recommended Reads
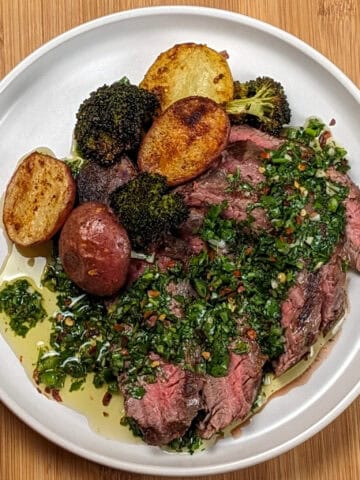
- Grilled Steak Spicy Chimichurri Baby Potatoes and Broccoli
- Pan-Seared Sirloin Steak with Spicy Baharat Sauce
- Bold and Spicy Caribbean Beef Noodle Soup Recipe Twist
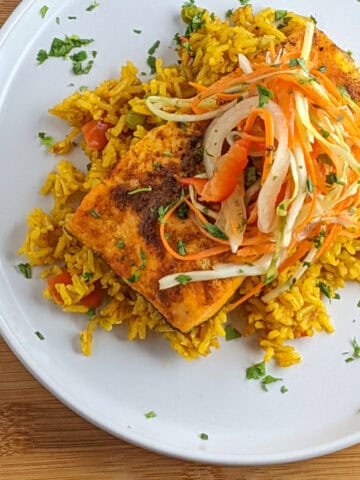
- Baked Cajun Honey Mustard Salmon Cauliflower Steaks & Potatoes
- Quick and Easy Lean Baharat Spiced Bean and Lamb Stew
- Grilled Pork Chops with Tamarind Habanero Glaze and Coleslaw
Culinary Glossary
This section concisely defines key ingredients and techniques related to this post to enhance understanding and improve cooking skills.
- Meat Thermometer - Your ride-or-die for steak success. This essential tool tells you the exact temp of the center of your steak, not your guess, not your finger. Use it. Trust it.
- Grill Grate - The hot metal surface where your steak meets the flame. Preheat it well to get those beautiful grill marks and proper sear.
- Indirect Heat - When you place your steak off to the side of the heat source (especially helpful on a gas grill or charcoal grill), it cooks through gently without burning. Think of it as a steak's spa day.
- Carryover Cooking - After the steak comes off the grill, it keeps cooking from residual heat. That's why we pull it a few degrees before its final temperature-for perfectly grilled steak without going overboard.
- Steak Rest - Let your steak chill for 5-10 minutes after grilling. This helps the muscle fibers relax, and juices redistribute instead of leaking all over your cutting board.
- Thickness of the Steak - This changes everything. A 1-inch-thick steak cooks much faster than a much thicker steak, so your cooking time and temp need to adjust accordingly.
- Level of Doneness - This refers to how well the steak is cooked on the inside, such as medium-rare, medium, or well-done. It's a personal preference, but it should always match your internal temperature goals.
- Instant-Read Thermometer - Fast and accurate. Pop this into the center of your steak for the most accurate results without having to hover like a hawk.
- High Heat vs. Medium Heat - Searing steaks calls for high heat to brown the surface, then finish them gently over medium or even low heat for thick cuts.
- Reverse Sear - Start your steak on indirect heat or in the oven, then sear it over high heat at the end. Great for thicker cuts like porterhouse steaks and filet mignon.
Frequently Asked Questions
Here is a list of common questions I have answered. If you have any questions, please write them in the comments below.
Use the finger test: compare the feel of the meat to pressing your thumb to different fingers (thumb + index = rare, thumb + ring = medium). That said, a meat thermometer is still the most accurate option.
Use the steak grilling times chart! For a 1-inch-thick steak, aim for 4-5 minutes per side over medium-high heat, until it reaches an internal temperature of 130-135°F.
A gas grill offers precise temperature controls, while a charcoal grill gives a smoky finish. Both work great; it just depends on the meat's flavor and your comfort level.
Yes, if you're using indirect heat or working with thicker cuts, keep the lid closed to trap heat. But when searing, the lid open is fine to avoid steaming.
According to USDA guidelines, it's 145°F for medium. But most steak lovers go for medium-rare at 130-135°F, and that's okay. Know your audience and always rest your meat. Learn more with my simple Understanding Food Temperature Safety Zones: Cook, Store & Serve Safely.
Grilling time depends on steak thickness, grill temperature, and desired doneness. For a 1-inch steak cooked over medium-high heat, medium-rare usually takes about 4-5 minutes per side, while medium takes about 5-6 minutes per side. Always confirm doneness with a meat thermometer.
Most steaks cook best between 400-550°F, depending on thickness and cooking method. High heat works best for quick searing, while medium heat and indirect heat help thicker steaks cook more evenly.
Thin steaks can be grilled with the lid open because they cook quickly over direct heat. Thicker steaks benefit from closing the lid to help heat circulate more evenly, especially when using indirect heat.
The best way to check steak doneness is with an instant-read thermometer. You can also use the finger test to compare firmness, but a thermometer provides more accurate and consistent results.
Steak can become tough from overcooking, cooking over extremely high heat for too long, or slicing it incorrectly. Resting the steak before slicing and cutting against the grain can help improve tenderness.
Ribeye, New York strip, and top sirloin are great beginner-friendly steaks because they are flavorful, easier to cook evenly, and more forgiving than thinner or leaner cuts.
Yes, but frozen steak takes longer to cook and may not develop the same crust as a thawed steak. For best results, thaw the steak in the refrigerator first and pat it dry before grilling.
Steak Grilling Chart | Time & Temperatures
Use this complete steak grilling chart reference to compare cook times, internal temperatures, grill heat levels, and resting guidelines for different steak thicknesses and doneness preferences. Whether you're cooking ribeye, sirloin, filet mignon, or strip steak, these charts help simplify grilling and improve consistency for better results every time.
Steak Cuts and Average Thickness
| Cut of Steak | Average Thickness |
|---|---|
| New York Strip | 1 – 1.25 inches |
| Filet Mignon | 1.5 – 2 inches |
| Ribeye | 1.25 – 1.5 inches |
| Top Sirloin | 1 inch |
| Flat Iron | 0.75 – 1 inch |
| T-Bone / Porterhouse | 1.25 – 2 inches |
| Flank Steak | 0.75 – 1 inch |
Steak Doneness Levels, Internal Temperature & Cook Time
| Level of Doneness | Internal Temp | Cook Time per Side* |
|---|---|---|
| Medium-Rare | 130–135°F | 4–5 min (1" thick) |
| Medium | 140–145°F | 5–6 min (1" thick) |
| Medium-Well | 150–155°F | 6–7 min (1" thick) |
| Well-Done | 160°F+ | 8–9 min (1" thick) |
*Times are based on steaks grilled over medium-high heat and may vary depending on thickness of your steak, heat source, and cooking method. Always use a meat thermometer for the most accurate results.
Delicious Steak Recipes
Put your steak-grilling skills to the test with these flavorful steak recipes featuring bold marinades, global-inspired seasonings, and beginner-friendly cooking techniques. From grilled steaks and skillet-seared cuts to comforting steak dinners, these recipes help you build confidence as you explore different flavors and cooking styles.
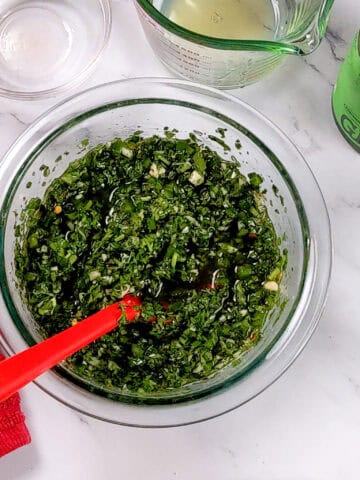
- Spicy Jalapeño Chimichurri Sauce Recipe
- Steak Shawarma Recipe with Fall Holiday Flavors | Easy Lebanese Style
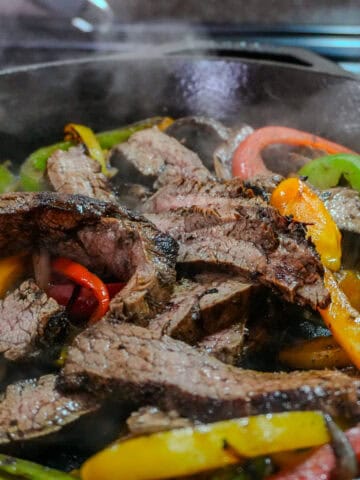
- Jerk Steak Fajitas | Super Easy 30 Minute Meal
- Grilled Steak Spicy Chimichurri Baby Potatoes and Broccoli

More Cooking Tips and Tutorials
If you found this tutorial helpful, you'll love my Cook's Notebook collection. From knife skills and flavor bases to time-saving tricks and essential equipment guides, this section is packed with chef-tested lessons to help you cook with confidence.
- How to Tell When Fish Is Done Cooking - Home Cooks Guide
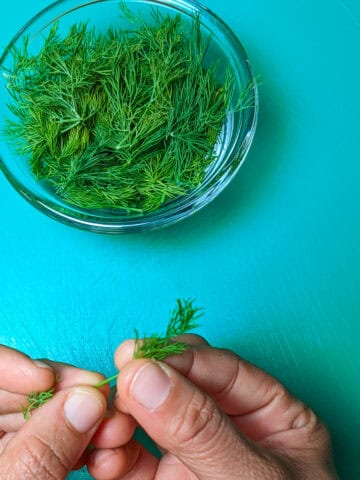
- How to Store Fresh Herbs Properly to Last Longer
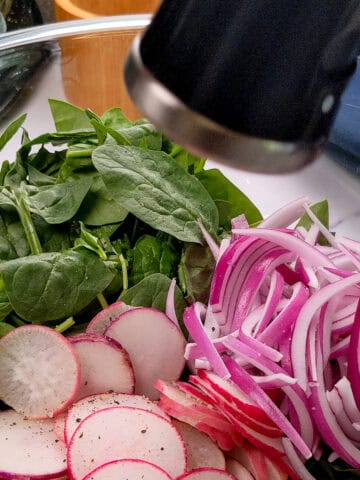
- Spring Seasonal Produce Guide: What to Cook Fresh This Season
- Best Food Audiobooks for Chefs & Home Cooks

Kitchen Tools I Use and Recommend
These are some of the kitchen tools I use that make recipes like this faster and easier to prepare. If you're building your kitchen setup or upgrading your tools, these are great places to start. More Kitchen Must-Haves - Find other tools I use here.
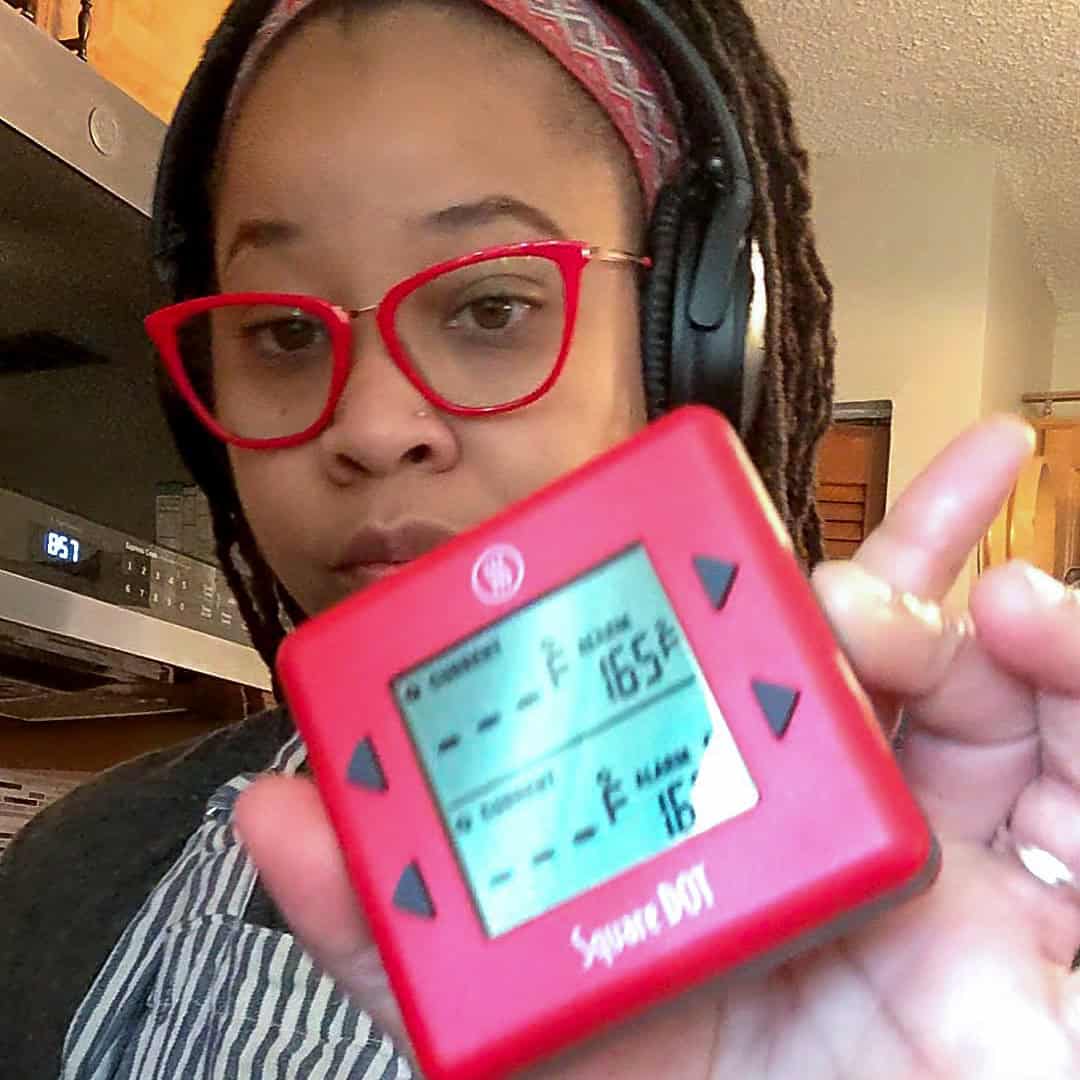
My Review: I finally used the ThermoWorks Square Dot®, and it's as great as my colleagues said. It's precise and easy to use, and America's Test Kitchen recommends it. ThermoWorks even provides helpful care and usage guides, so it earns a 5 out of 5 from me. The Square Dot® is perfect with dual temperature tracking and a clear display, making it easy to monitor both food and oven temperatures for accurate cooking.
America's Test Kitchen - Winner
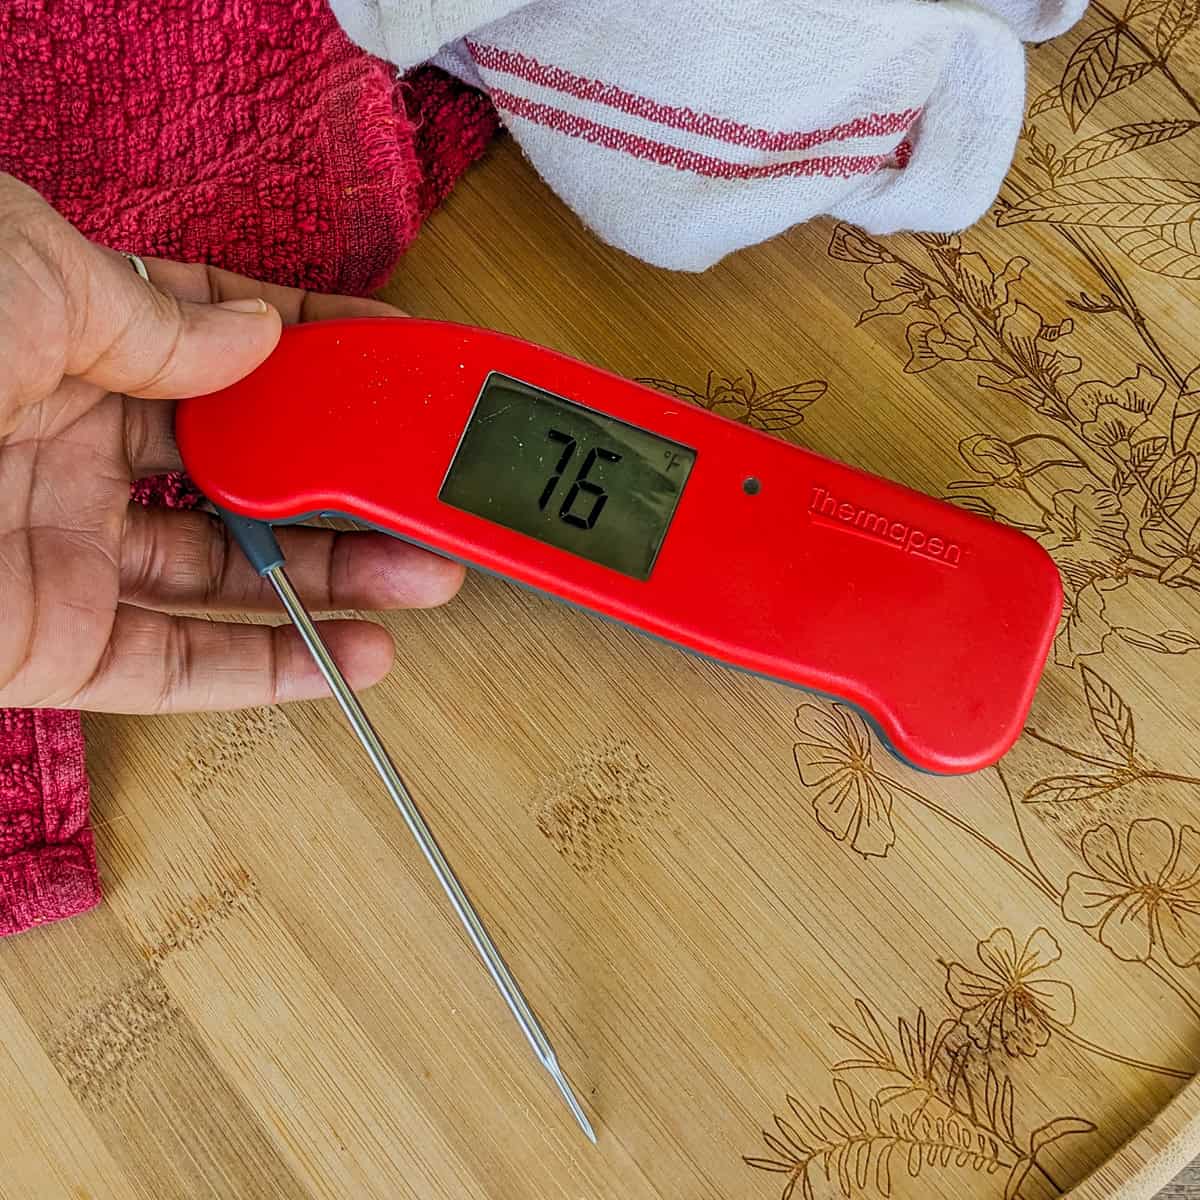
My Review: The Thermapen ONE by ThermoWorks is my go-to kitchen thermometer - simple, fast, and incredibly precise. It delivers accurate readings in just one second, making it perfect for everything from meats to baked goods. I love that it's waterproof, has a rotating backlit display, and turns on automatically when you unfold the probe. It's been voted America's Test Kitchen's top thermometer. It comes with a 5-year warranty and a NIST-traceable calibration certificate, ensuring its reliability is a must-have tool for any cook.
My Review: As a professional chef, I rely on quality knives. After loving the PAUDIN Santoku Knife, I invested in the 7-Piece Chef Knife Set, and I'm thrilled! These lightweight, sharp knives make prep work effortless, for when I'm dicing or chopping. The high-carbon stainless steel blades maintain their edge, and the Pakkawood handles provide a comfortable grip. I've used this set in my classes and home kitchen, and it consistently delivers precision. If you want a reliable, professional-quality knife set without overspending, PAUDIN is a fantastic choice! Highly recommended for both home cooks and professionals!

My Review: The OXO Good Grips Grilling 3-Piece Set is one of those simple grilling upgrades that makes a big difference. I love the clean, sleek design, which looks great and feels solid in the hand. The tongs are sturdy and just the right length to keep your hands safely away from the heat of a hot grill, which is a must for me. The silicone resting mat was an unexpected bonus and keeps everything tidy between flips. It's functional, stylish, and definitely worth having in your grilling setup.

My Review: The OXO Good Grips Grilling Prep and Carry System is an absolute lifesaver when it comes to outdoor cooking and grilling. I don’t have to stress about running in and out of the house anymore. This set keeps everything organized and right where I need it. I use the small lidded containers for marinating meats or prepping sauces ahead of time, and the large tub is perfect for carrying cooked meats straight from the grill. The cutting board doubles as both a prep surface and serving tray, which is a huge time-saver. It’s one of those systems that just makes grilling smoother, cleaner, and way more enjoyable.

My Review: I recently decided to change up my outdoor cooking setup and ditched my old, low-quality grill for something more practical, a Cuisinart wok station with a tabletop. That led me to the Cuisinart Portable Charcoal Grill, and I couldn't be happier with the switch. Don’t be fooled by its small size. If you know how to work a charcoal grill properly, you can turn out some seriously delicious meals on this thing. I actually love that it’s compact, easier to clean, simple to store, and I can tuck it away to prevent rusting. One of my favorite things now is sitting next to it like it’s a little fire pit, grilling and eating right there on the spot. It's a game-changer for small-space outdoor cooking.

Equipment Guides
Explore my collection of kitchen essentials and grilling equipment guides designed to help home cooks choose the right tools with confidence. From meat thermometers and grill pans to knives, prep tools, and outdoor cooking gear, these reviews and tutorials break down what's worth buying, how to use it, and what actually works in a real kitchen.
- Indoor Grill Pan vs Outdoor Grill: Which One Should You Use?
- Best Pans for Searing Chicken (and How Each One Behaves)
- Your Kitchen Assistants: Appliances That Do the Work for You
- Best Stir Fry Cooking Tools for Home Cooks (What I Actually Use)


Chef Maika Frederic-Liebman
Chef and Educator
Haitian-American chef and educator Maika Frederic blends bold flavors with approachable recipes. With a background in professional kitchens, classrooms, and children's therapy, she brings a thoughtful, inclusive touch to every dish as a trained chef, former teacher, and technician. Through her platform, Just Maika Cooking, she shares diverse meals and practical tips to empower home cooks of all ages and levels.

Subscribe to my YouTube Channel
SUBSCRIBE: 👈To my YouTube Channel to Get Notifications of New Videos.
Have a Comment or Question?
If you have a question or comment about this post, please post it below. You will definitely get a quick response. It also helps our other readers to stay informed. Thanks!
Leave a Reply