


Let's talk chicken cutlets. If you've ever stared down a thick chicken breast and thought, "There's no way this is cooking evenly," you're not wrong. That's where cutlets come in. Thin, even pieces of chicken cook faster, hold flavor better, and honestly just make life easier during the week.
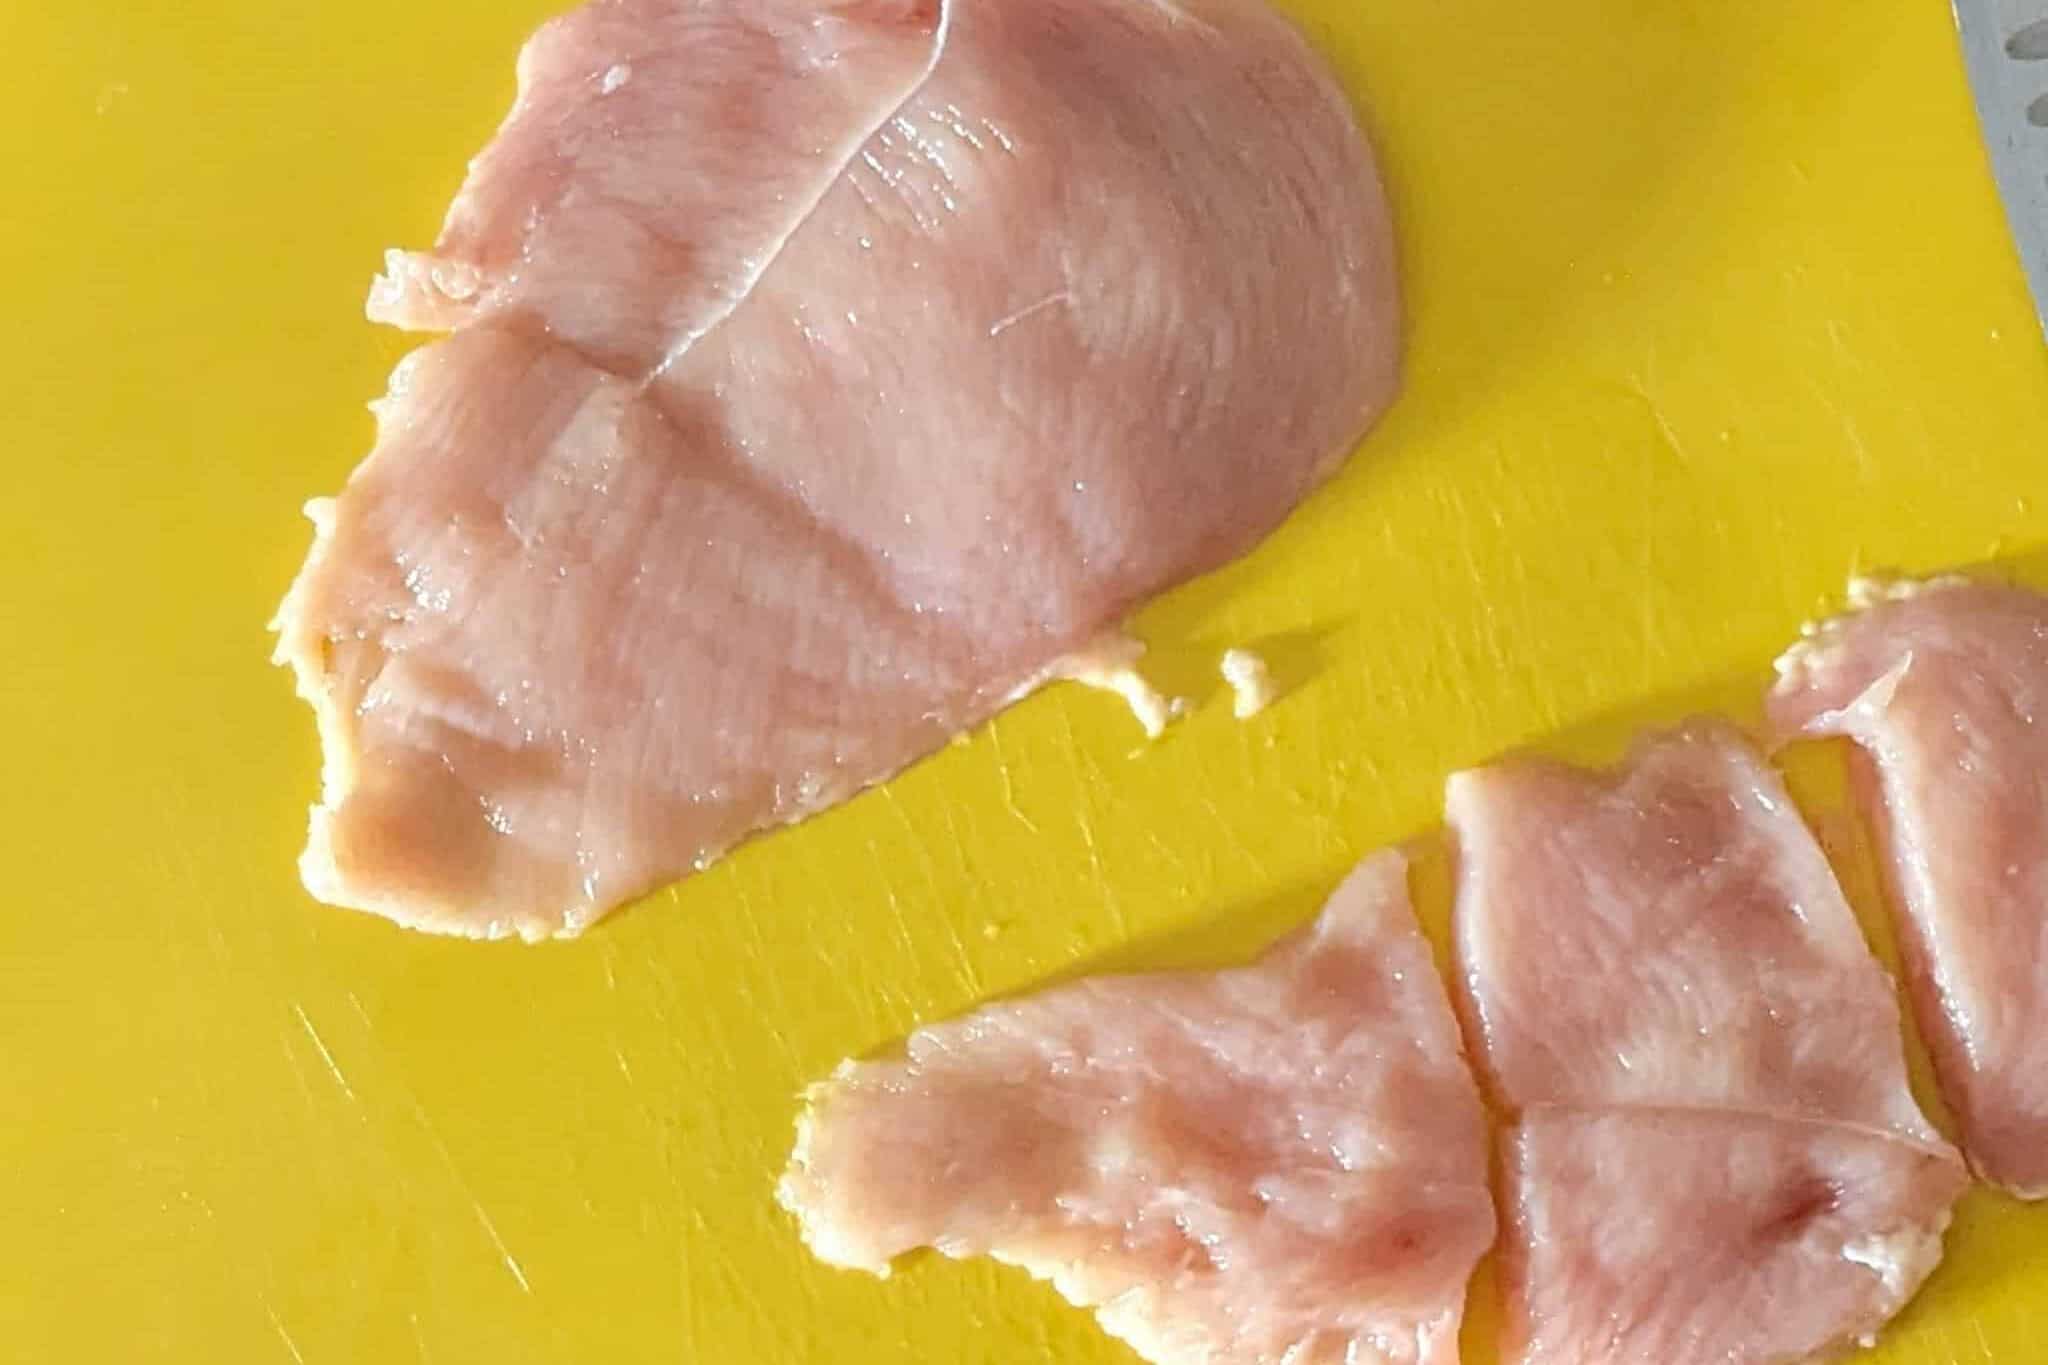
Table of Contents
Jump to:
- Dinner in Half the Time with Cutlets
- Why Bother with Chicken Cutlets?
- What You Need
- Kitchen Must-Haves Reviews
- How to Slice Chicken Cutlets (Step-by-Step)
- Tips for Success
- What to Do With Chicken Cutlets
- Frequently Asked Questions
- Explore Recipes
- Cooking Tips and Tutorials
- Subscribe to the YouTube Channel
- Have a Comment or Question?
Dinner in Half the Time with Cutlets
Thick chicken breasts can be a pain to work with; one end cooks faster than the other, and by the time it's done, you're left with dry, chewy bites. That's where cutlets come in. Learning how to prep chicken cutlets is one of those underrated kitchen skills that can save your dinner and your sanity.
In this guide, I'll walk you through how to slice chicken cutlets at home, why it makes such a difference, and how you can use them to get dinner on the table in half the time.
Why Bother with Chicken Cutlets?
Cutlets are simply thin, evenly sliced pieces of chicken breast. But don't let the simplicity fool you. This technique is your kitchen helper.
- They cook fast: No more standing over the stove forever.
- Better portion control: One large breast becomes two or even four usable pieces.
- More versatile: Use them in sandwiches, wraps, pasta, stir-fries, salads, or breaded and pan-fried.

If you're a meal prepper, busy parent, or just someone trying to avoid dry chicken, learning how to prep chicken cutlets for quick, delicious meals is a skill worth having.
What You Need
Before we slice, here's what I recommend having on hand:
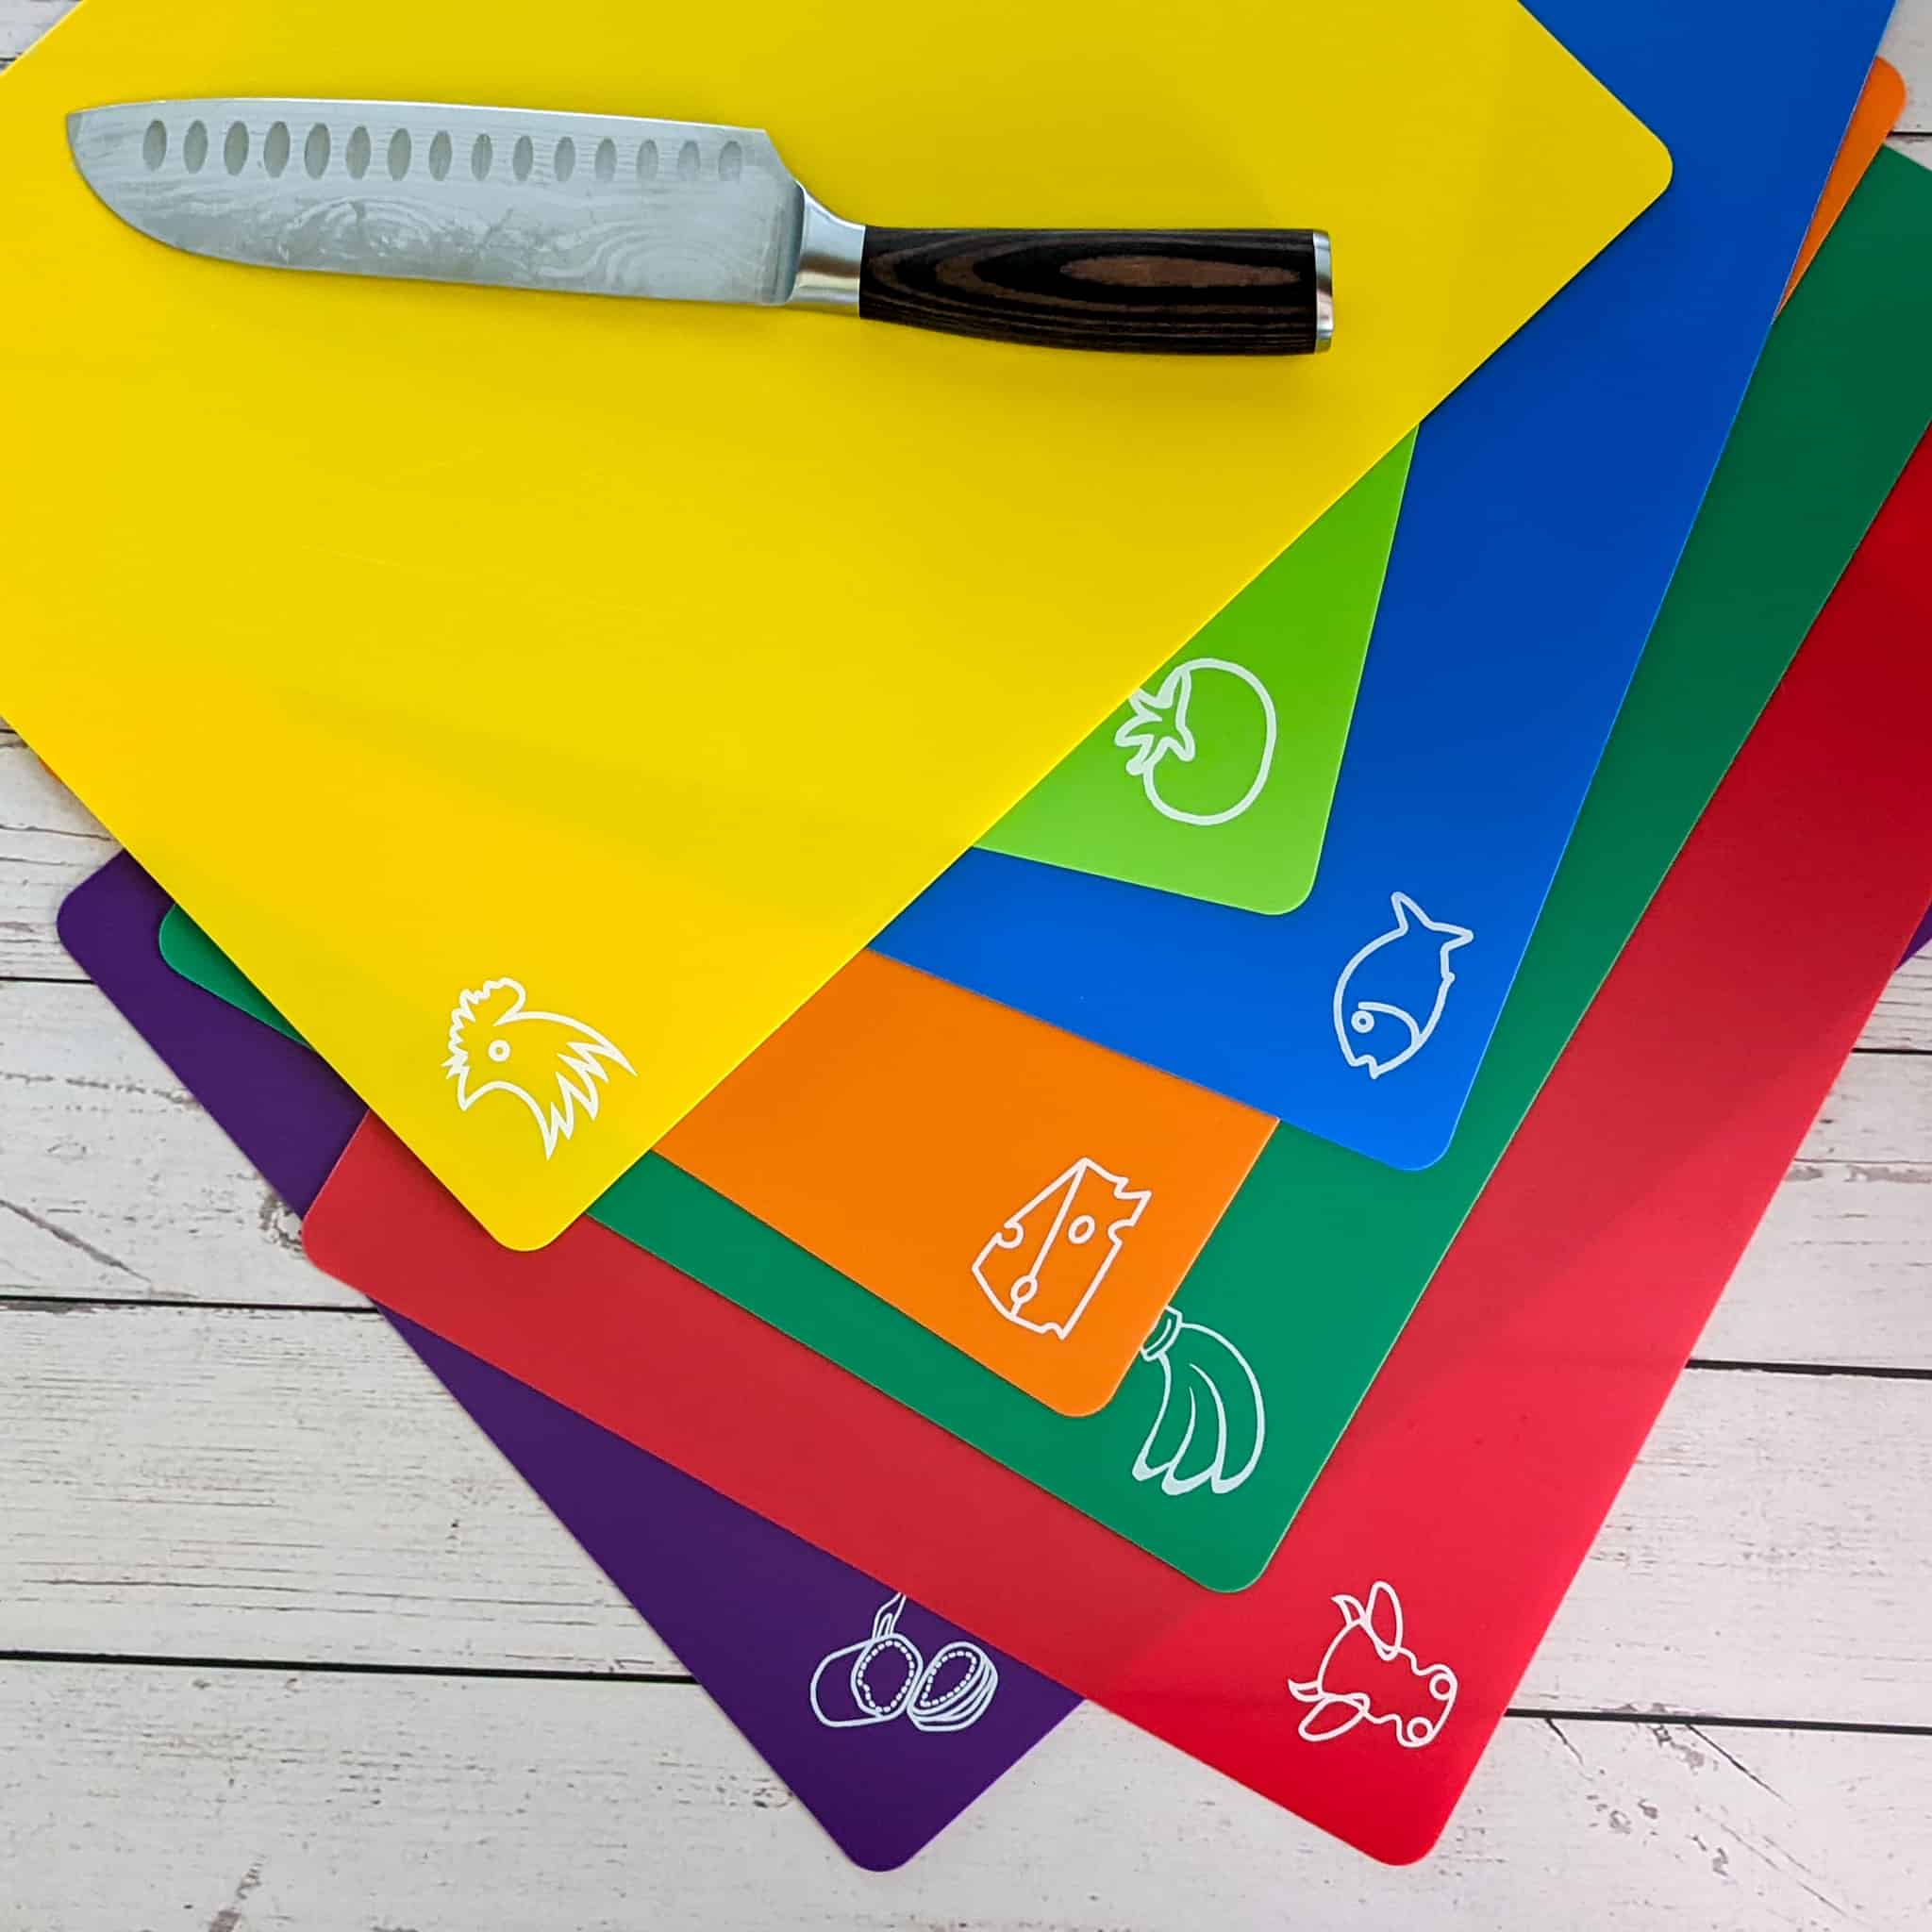
- A large cutting board (non-slip and plastic for easy sanitation)
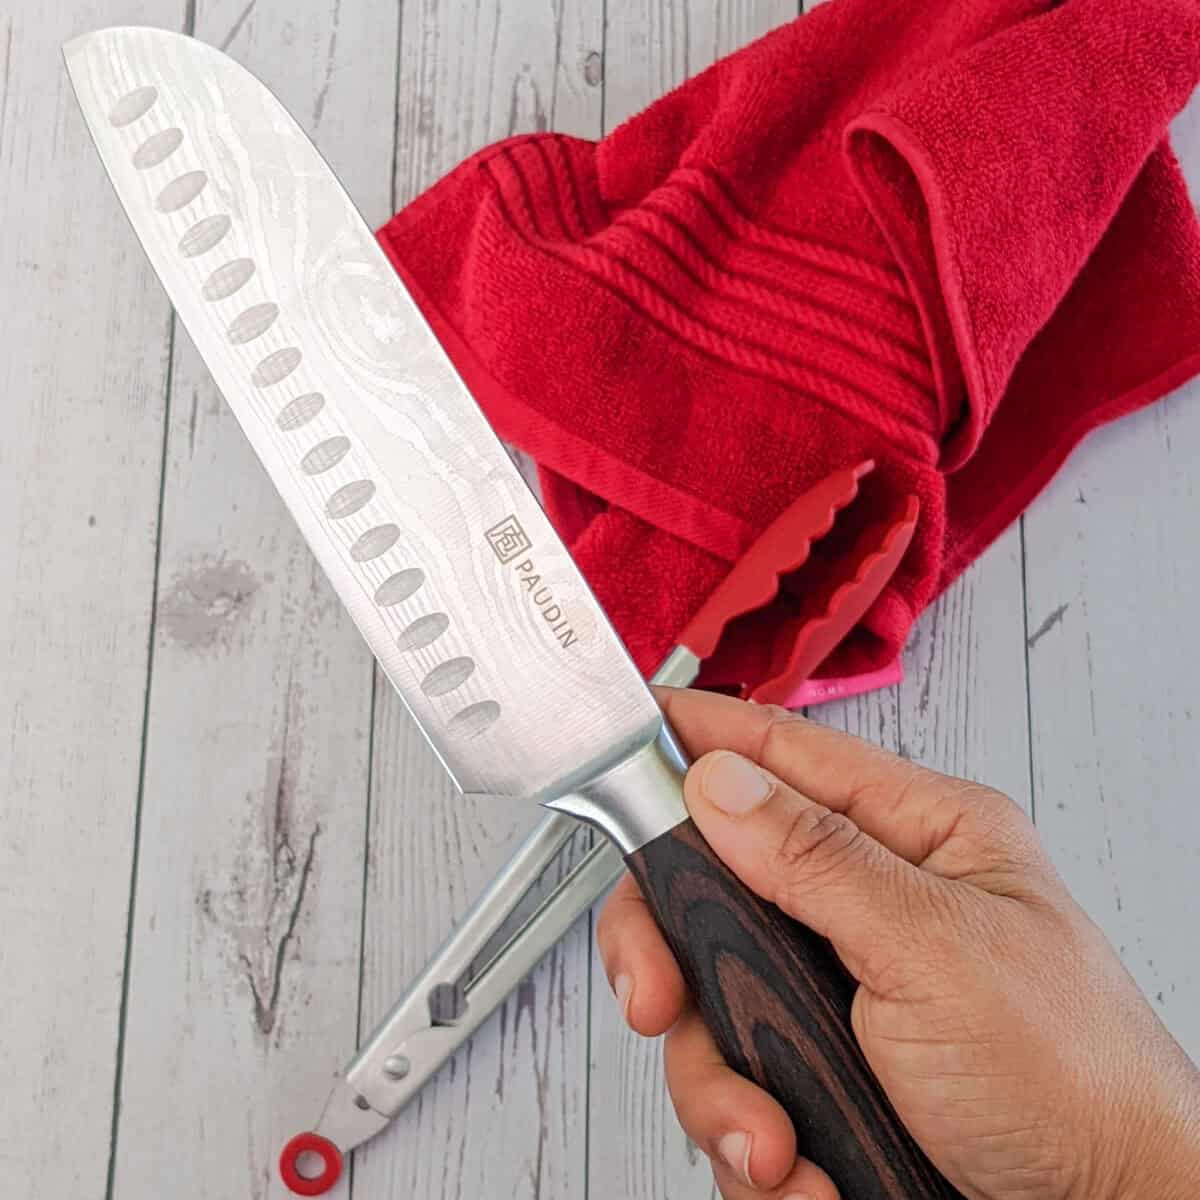
- A sharp chef's knife (this is key for clean, safe slicing)
- Paper towels for drying the chicken
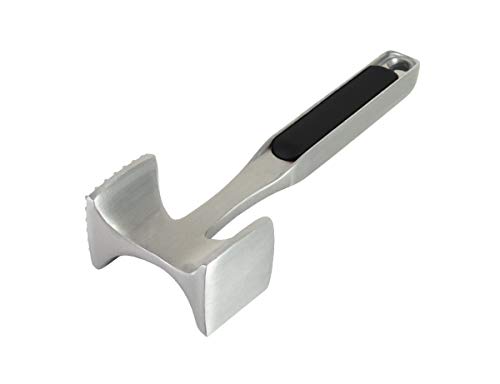
- Optional: Meat mallet if you want to even them out after slicing
Chef Tip: Keep a separate cutting board just for raw poultry. It keeps things cleaner and safer.
Kitchen Must-Haves Reviews
Find a collection of my reviews of kitchen equipment that I have purchased or recommend. Kitchen Must-Haves - Find other tools I use here.
My Review: I’ve used these Fotouzy Cutting Board Mats for a long time, and while they’re flexible, dishwasher-safe, and great for preventing cross-contamination with their color coding, I now prefer solid plastic cutting boards. They’re BPA-free, non-porous, and wide enough to protect my wooden board, especially handy when zesting or transferring ingredients. That said, they don’t stay perfectly steady, even with a damp towel underneath, so I give them a 4 out of 5. But I still use it a lot for quick meat and veggie preps and place them right in the dishwasher.
My Review: This knife is well-made. Super solid and multi-functional. It is made with high-carbon steel, so it will not rust. Slicing meat like fish is easier with the grooves. It doesn’t stick to the knife. The handle has an excellent grip, and it's not heavy. For some background, a Santoku is a versatile Japanese kitchen knife characterized by its straight edge and "sheepsfoot" blade, designed for precise slicing, dicing, and chopping. Its name means "three virtues," referring to its ability to handle meat, fish, and vegetables efficiently, making it a staple in both professional and home kitchens.
My Review: I recently got my hands on the KitchenAid Gourmet Multi-Sided Meat Tenderizer. My old mallet had these sharp edges that kept piercing the meat, which was beyond frustrating. This KitchenAid mallet is a real relief; its flat sides are smooth, the edges aren’t sharp, and it has a really nice weight to it. It feels solid and does exactly what it’s supposed to without mangling the meat. The only downside? It’s made from aluminum, so it needs to be washed by hand. But honestly, that’s a small trade-off for how well it works. Overall, I’m super happy with it. It’s simple, effective, and gets the job done perfectly.
Recommended Reads
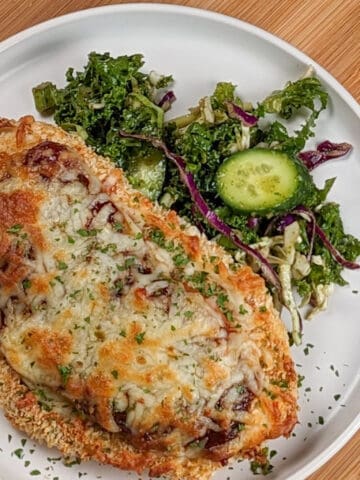
- Baked Cheesy Crispy Barbeque Chicken Cutlets
- Crispy Baked Wet Lemon Pepper Chicken Cutlets
- How to Cut Chicken: Several Methods for Prepping Tutorials
- How to Slice Chicken Perfectly Every Time
- How to Butterfly Chicken Breasts | Step-by-Step Guide
How to Slice Chicken Cutlets (Step-by-Step)
Follow the instructions and cooking tips below using the step-by-step picture guide. This is where things get real. Here's how I slice cutlets at home:
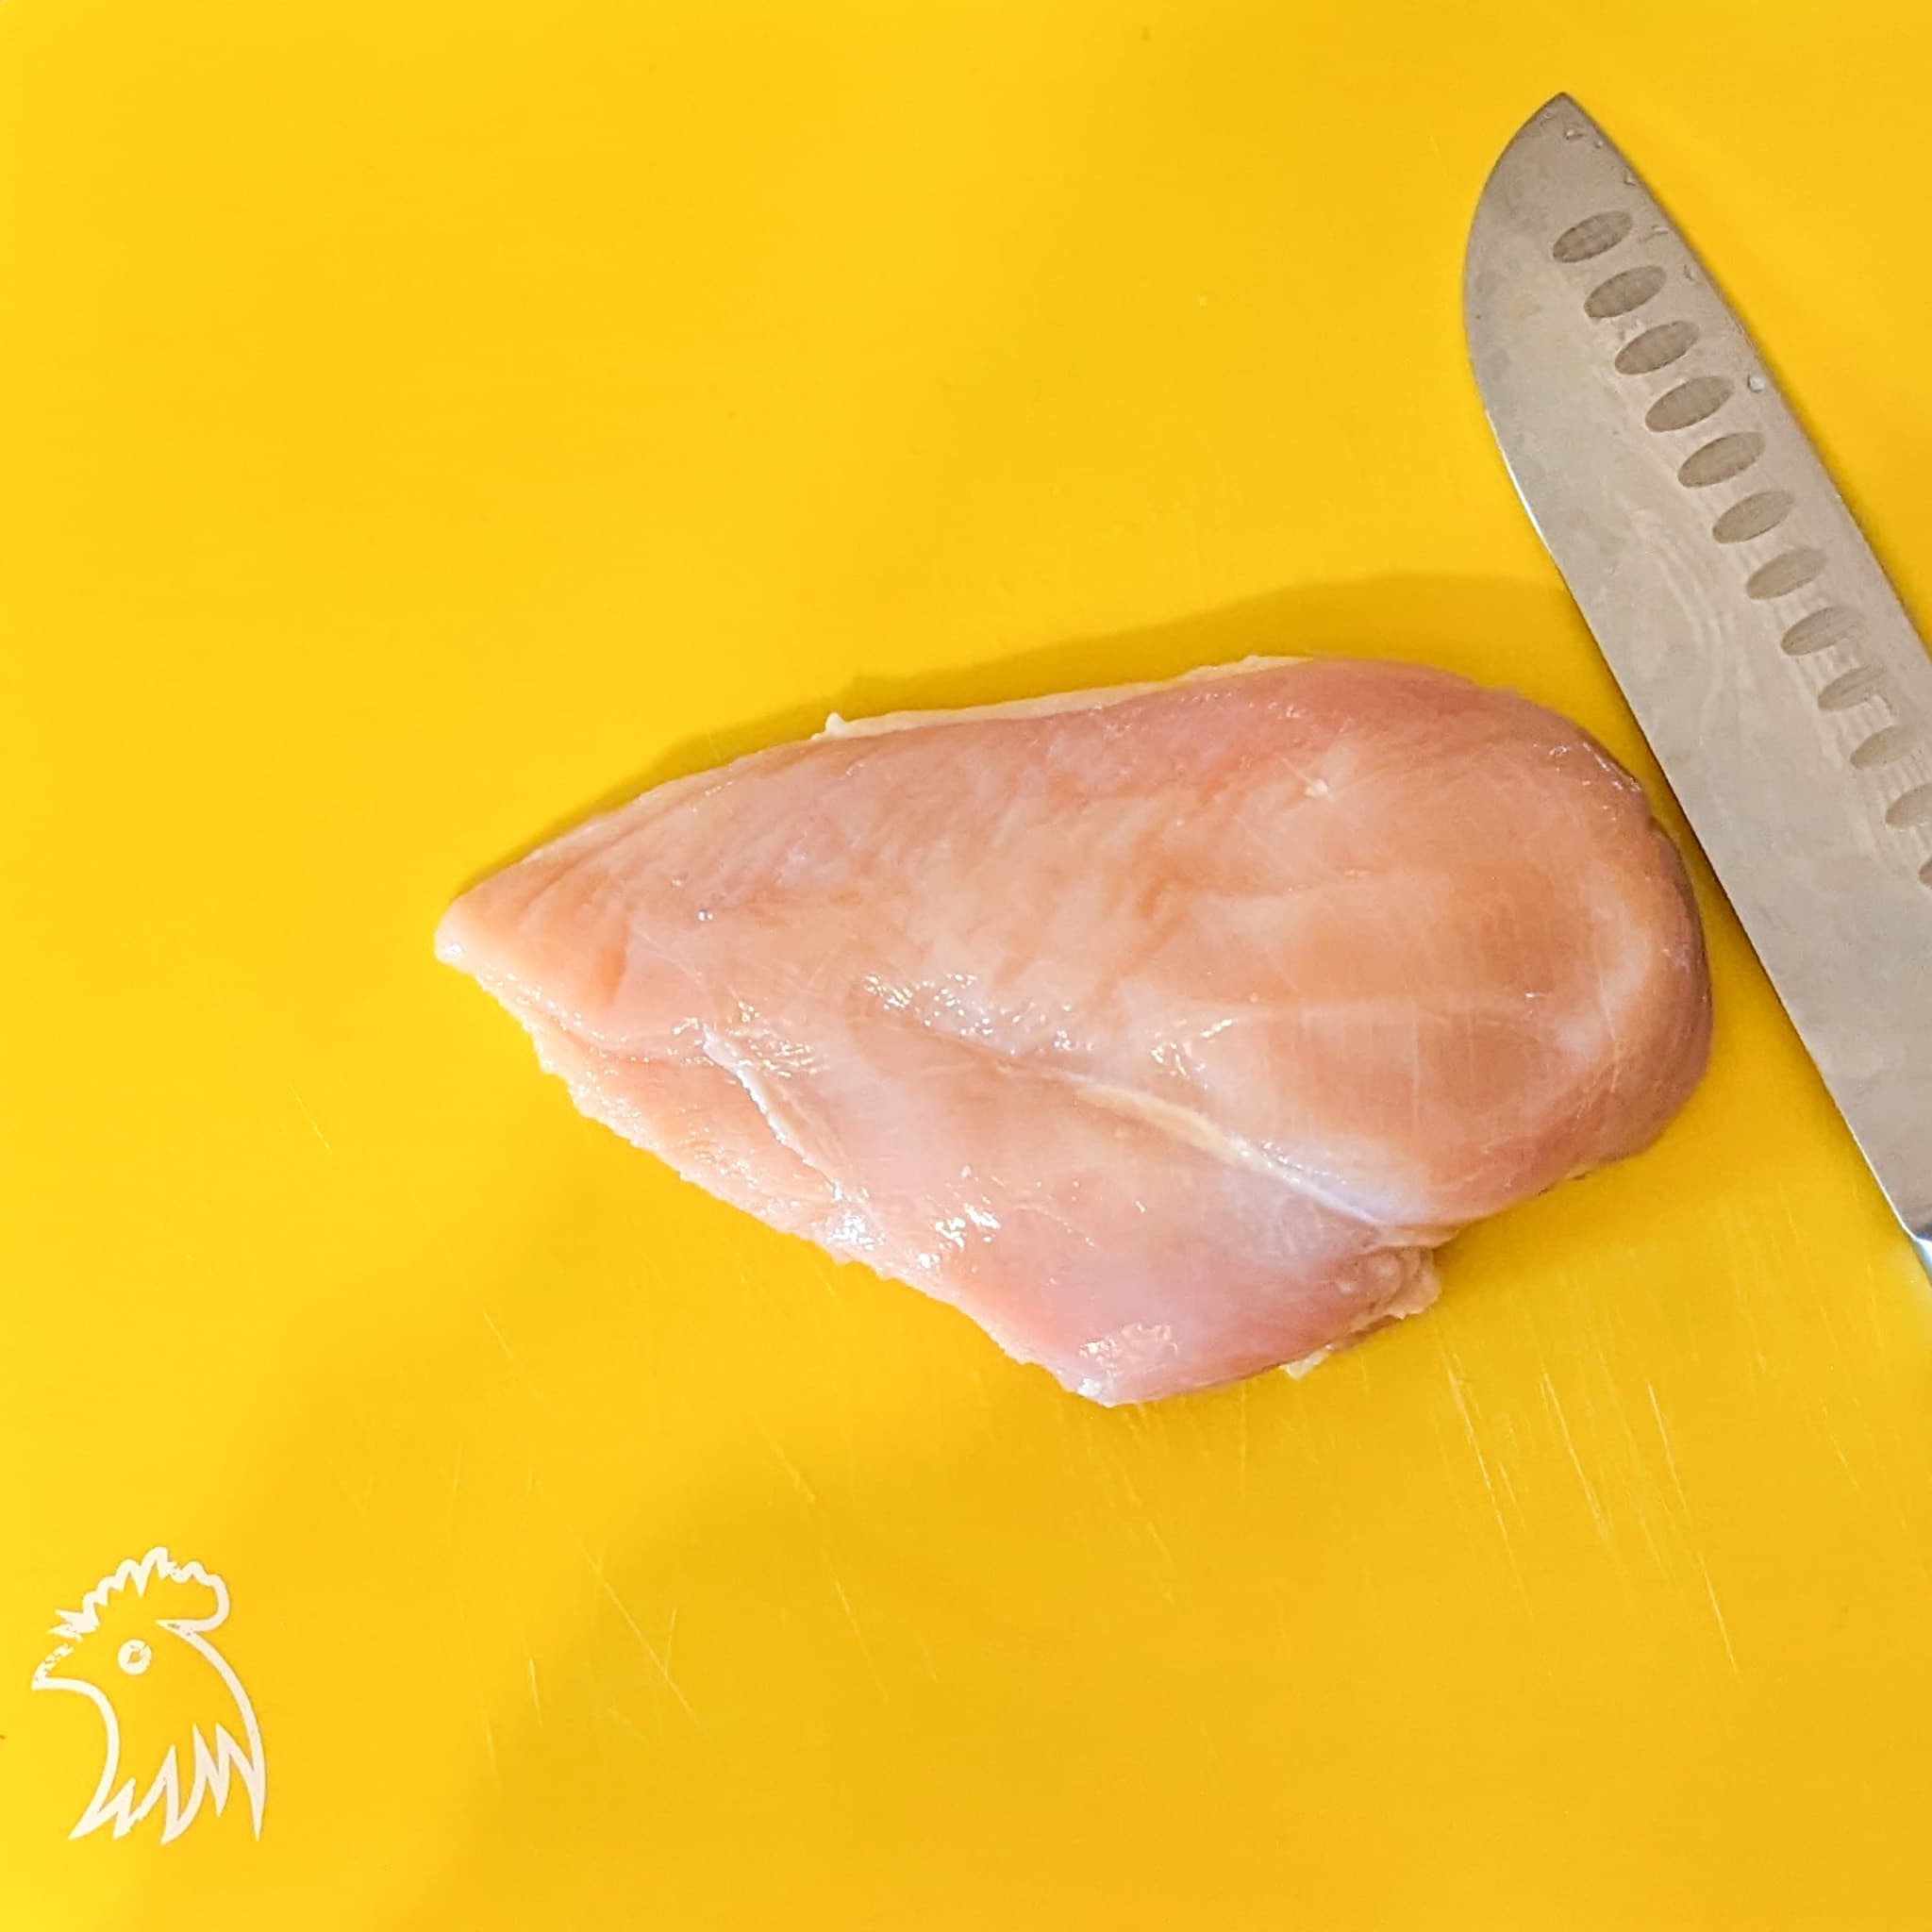
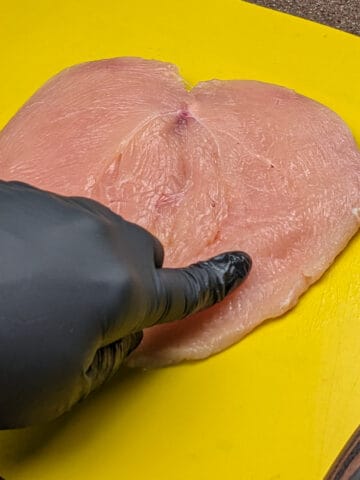
Lay it flat: Place the chicken breast smooth-side up on your cutting board. If you're right-handed, keep the thicker end to your right.
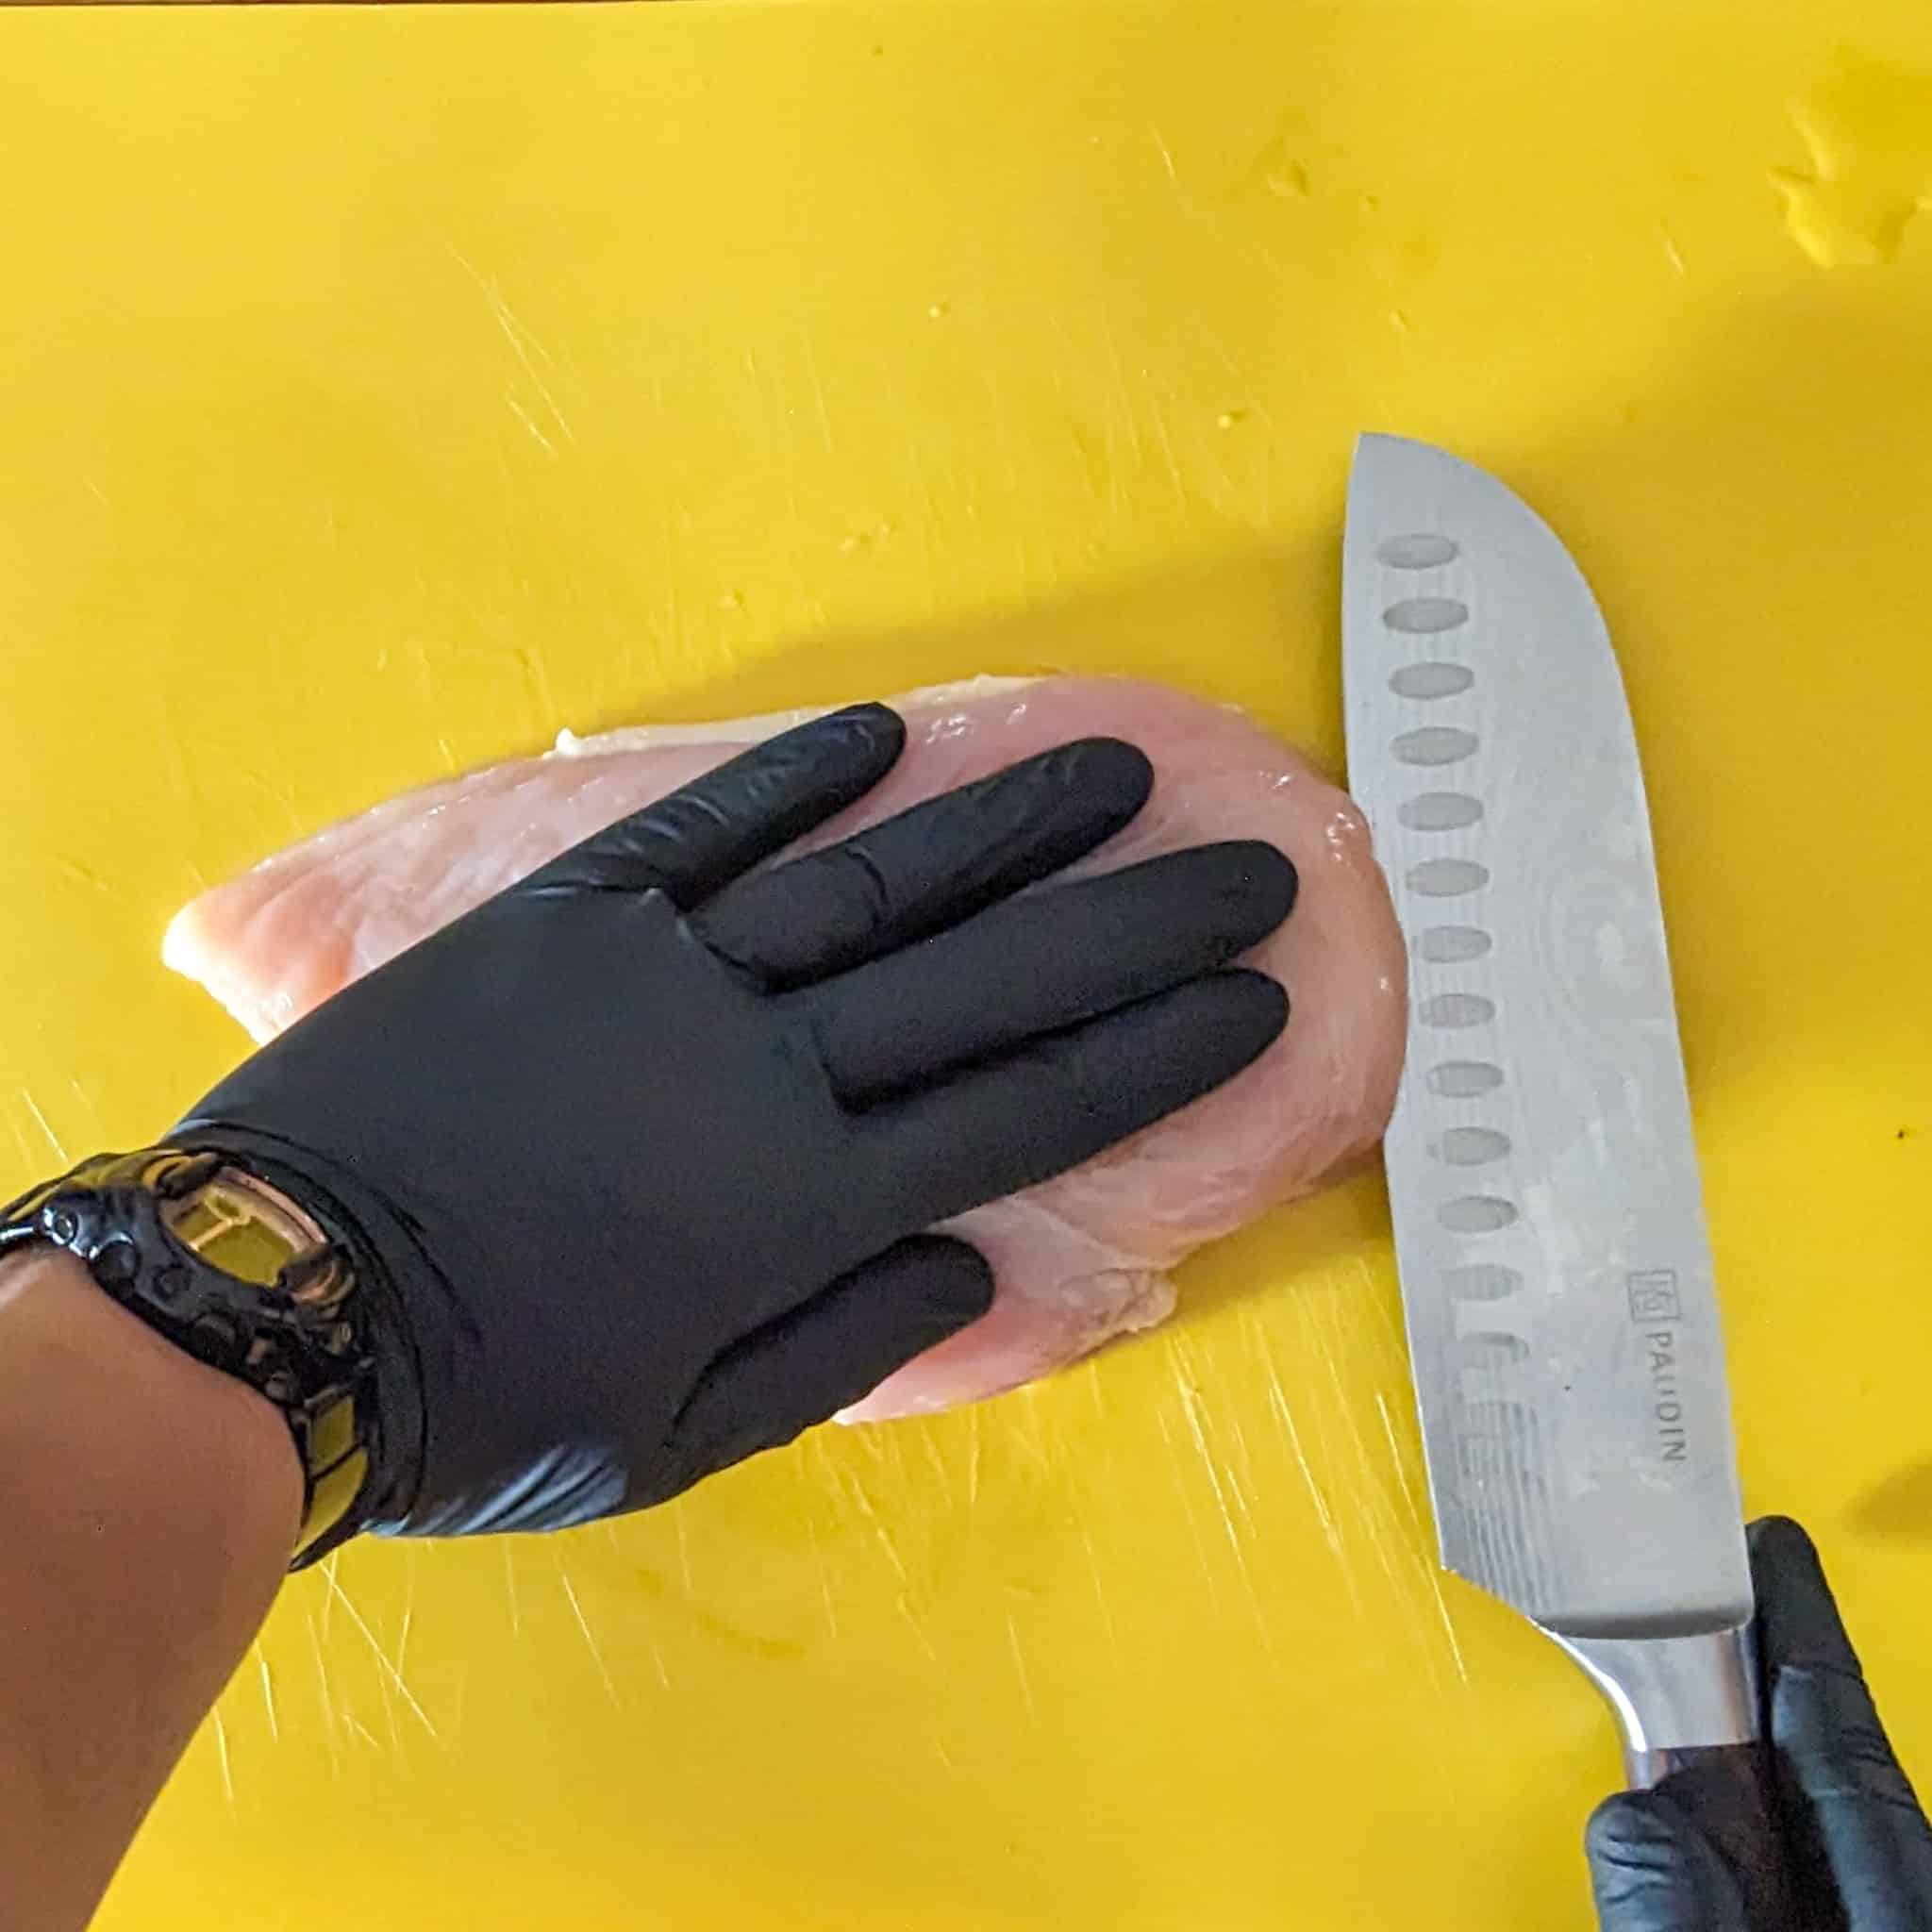
Stabilize with your hand: Lay your non-dominant hand flat on top of the chicken to steady it. Don't press too hard.
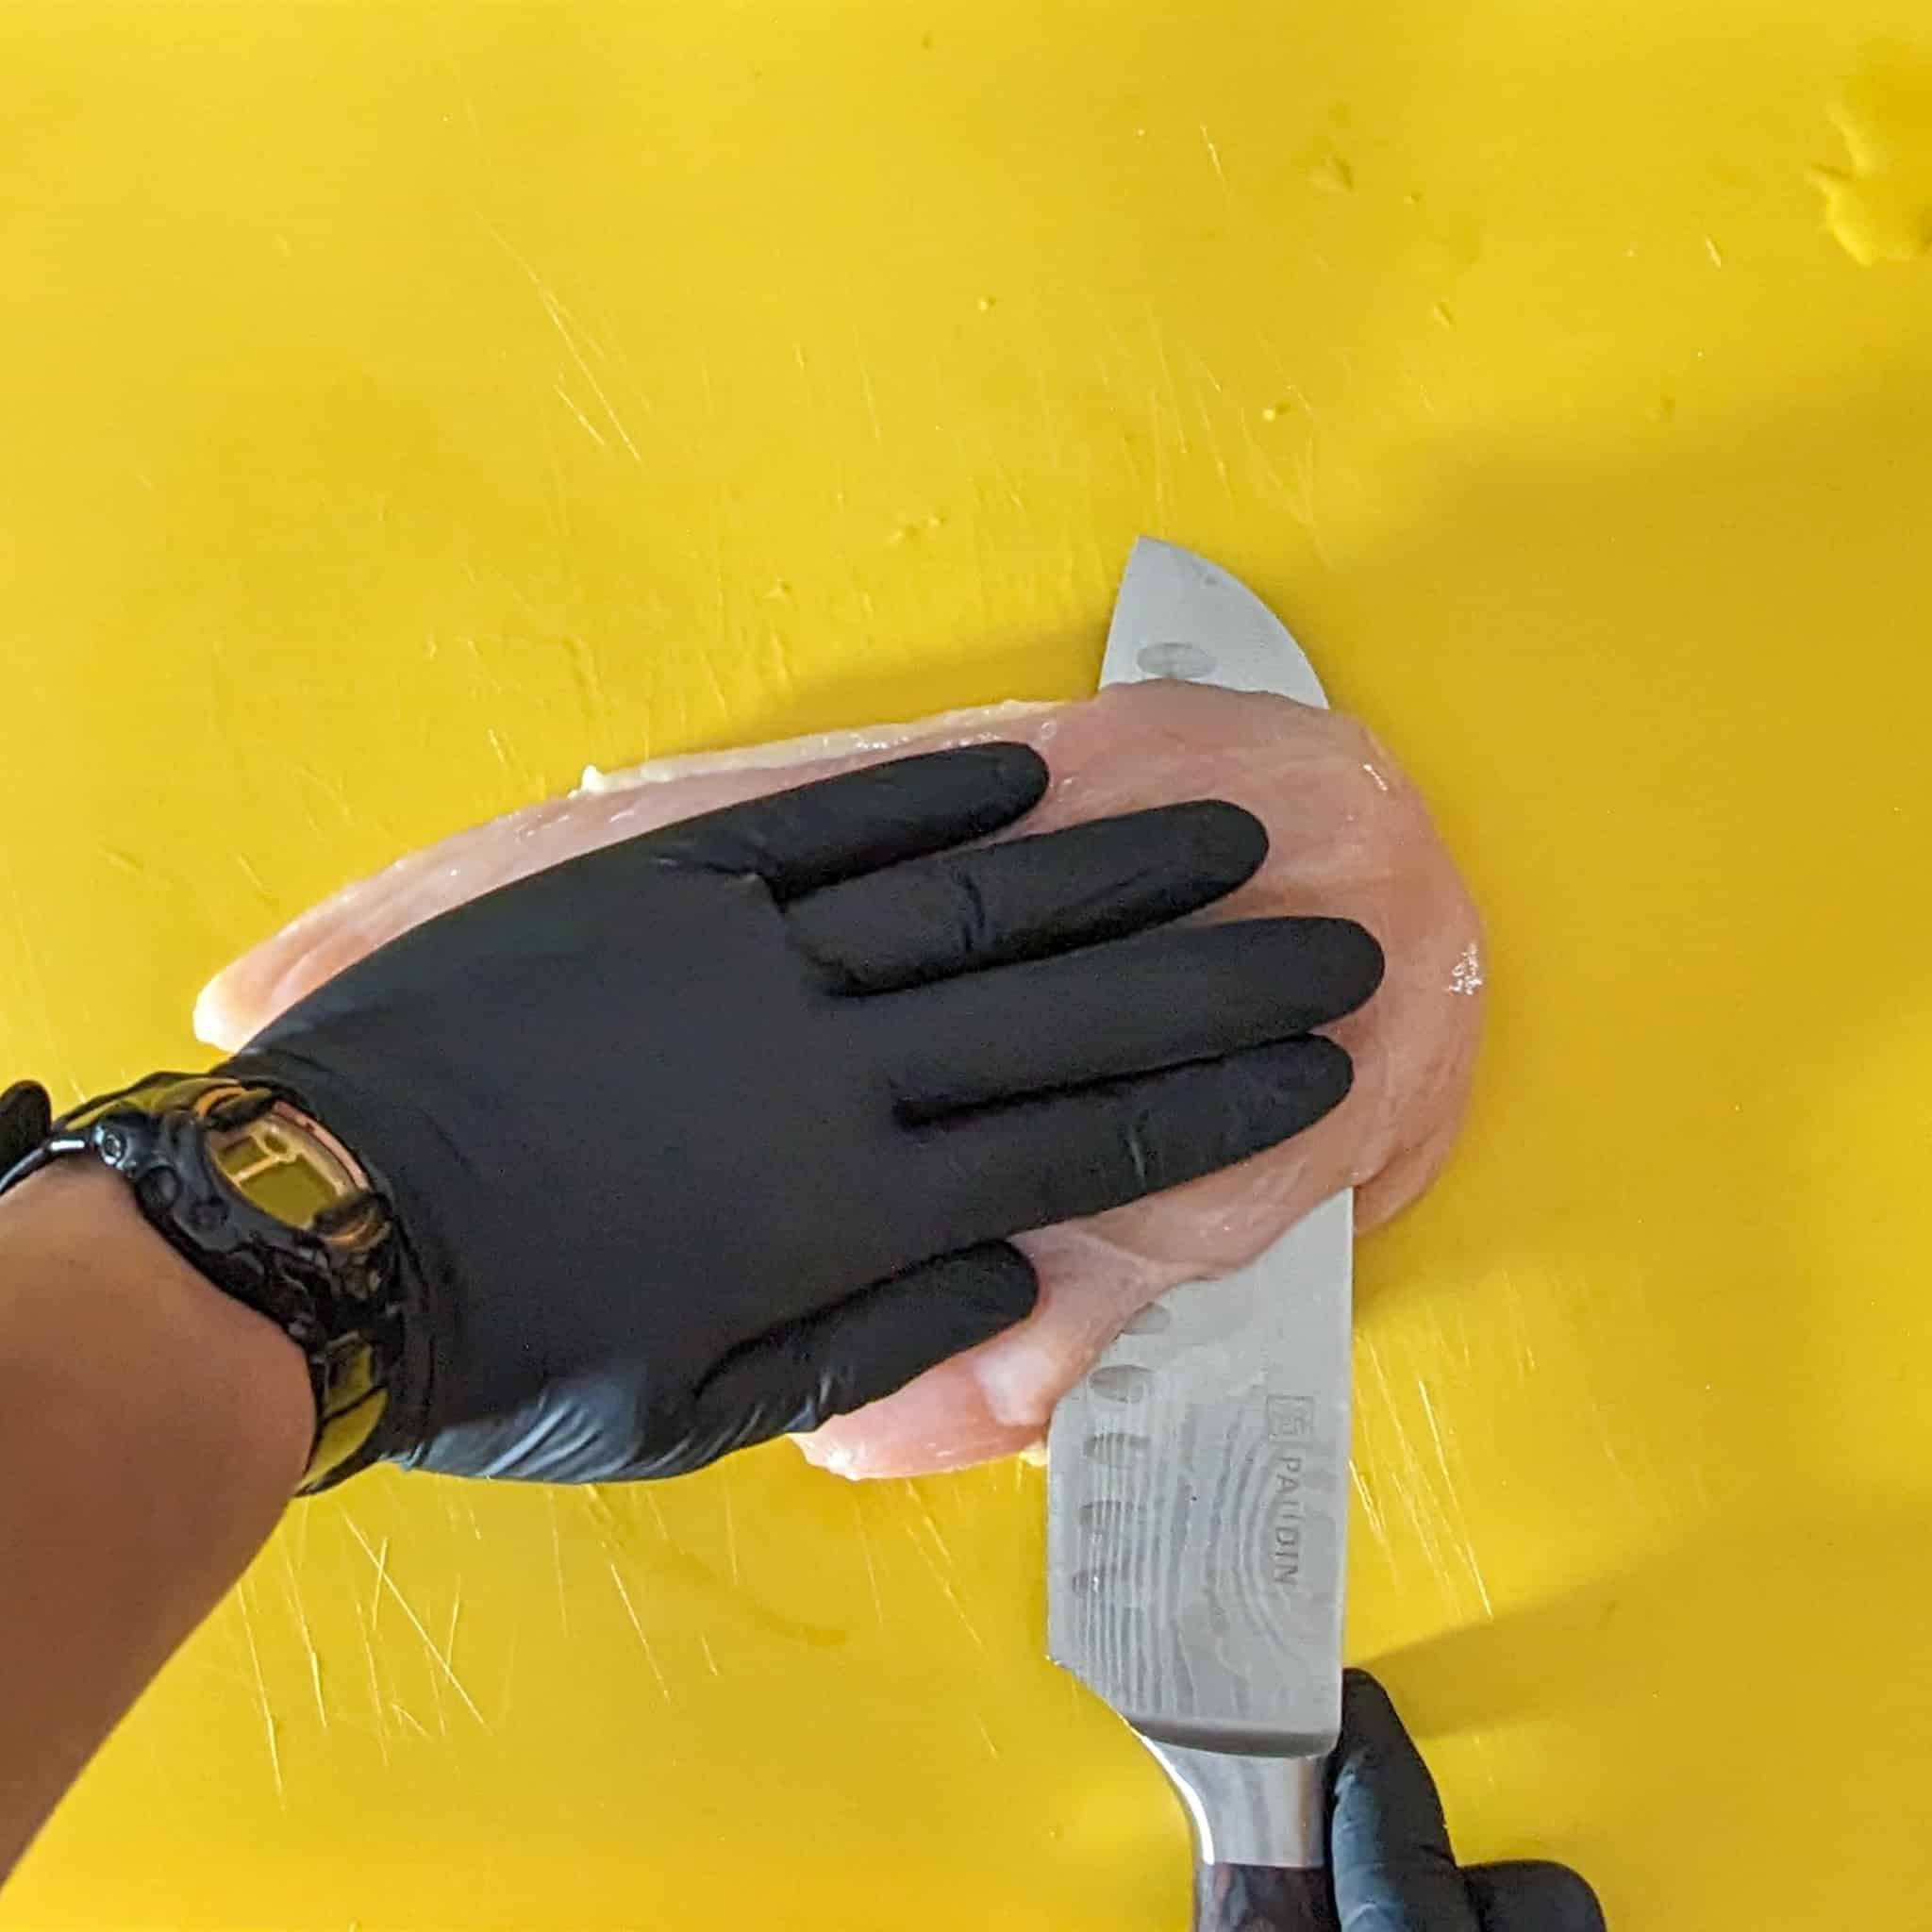
Slice horizontally: Using a sharp knife, start at the thickest side and carefully slice through horizontally.
Stop just before the end if you're butterflying, or slice all the way through to make two full cutlets.
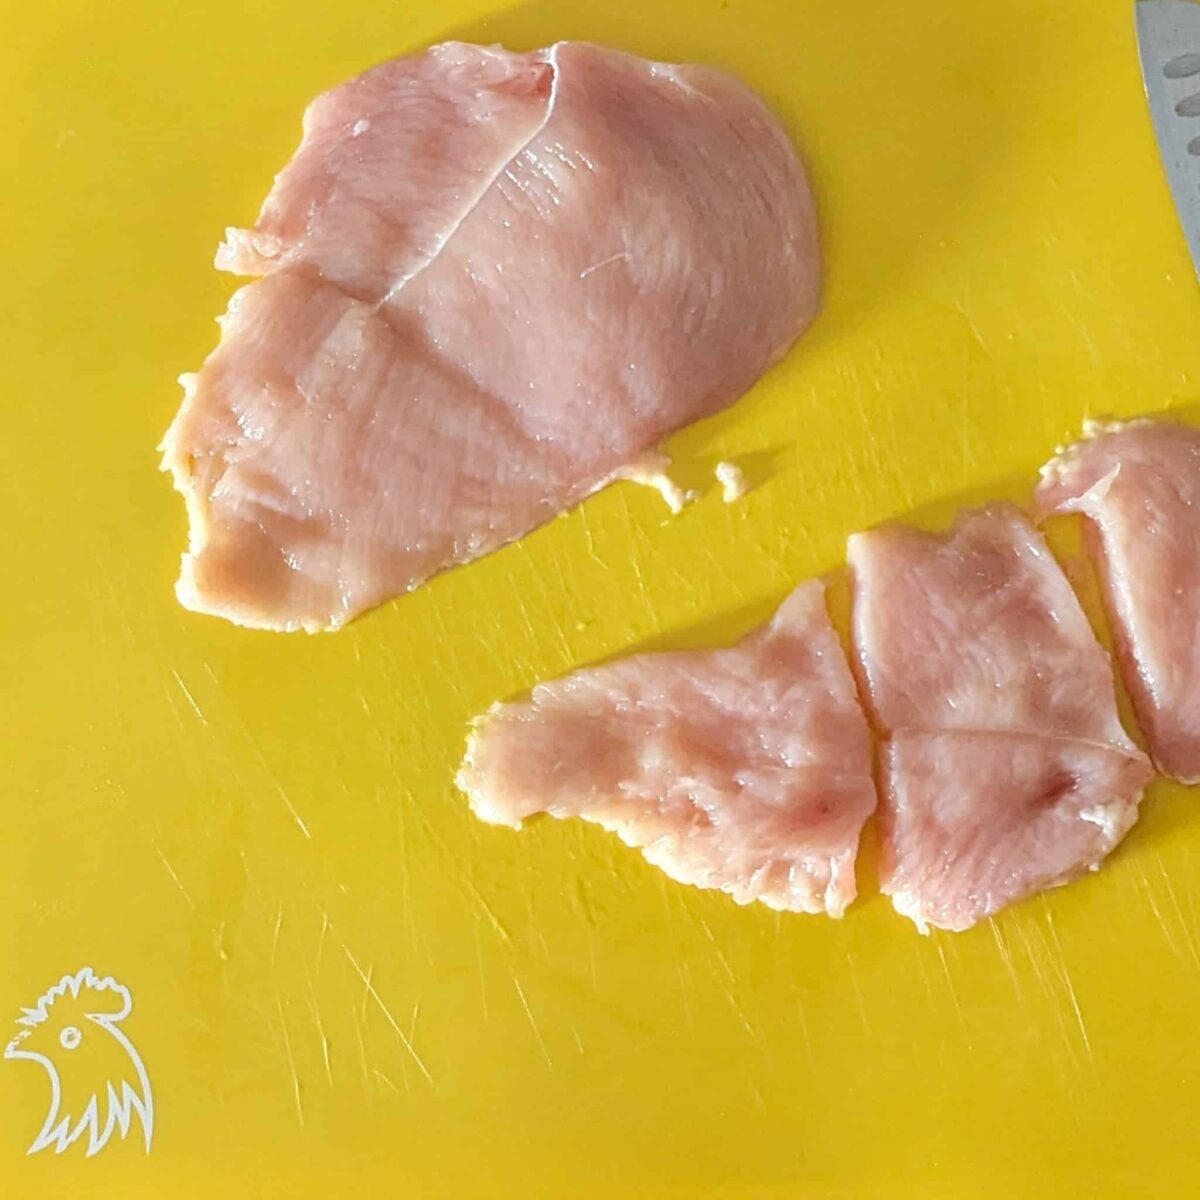
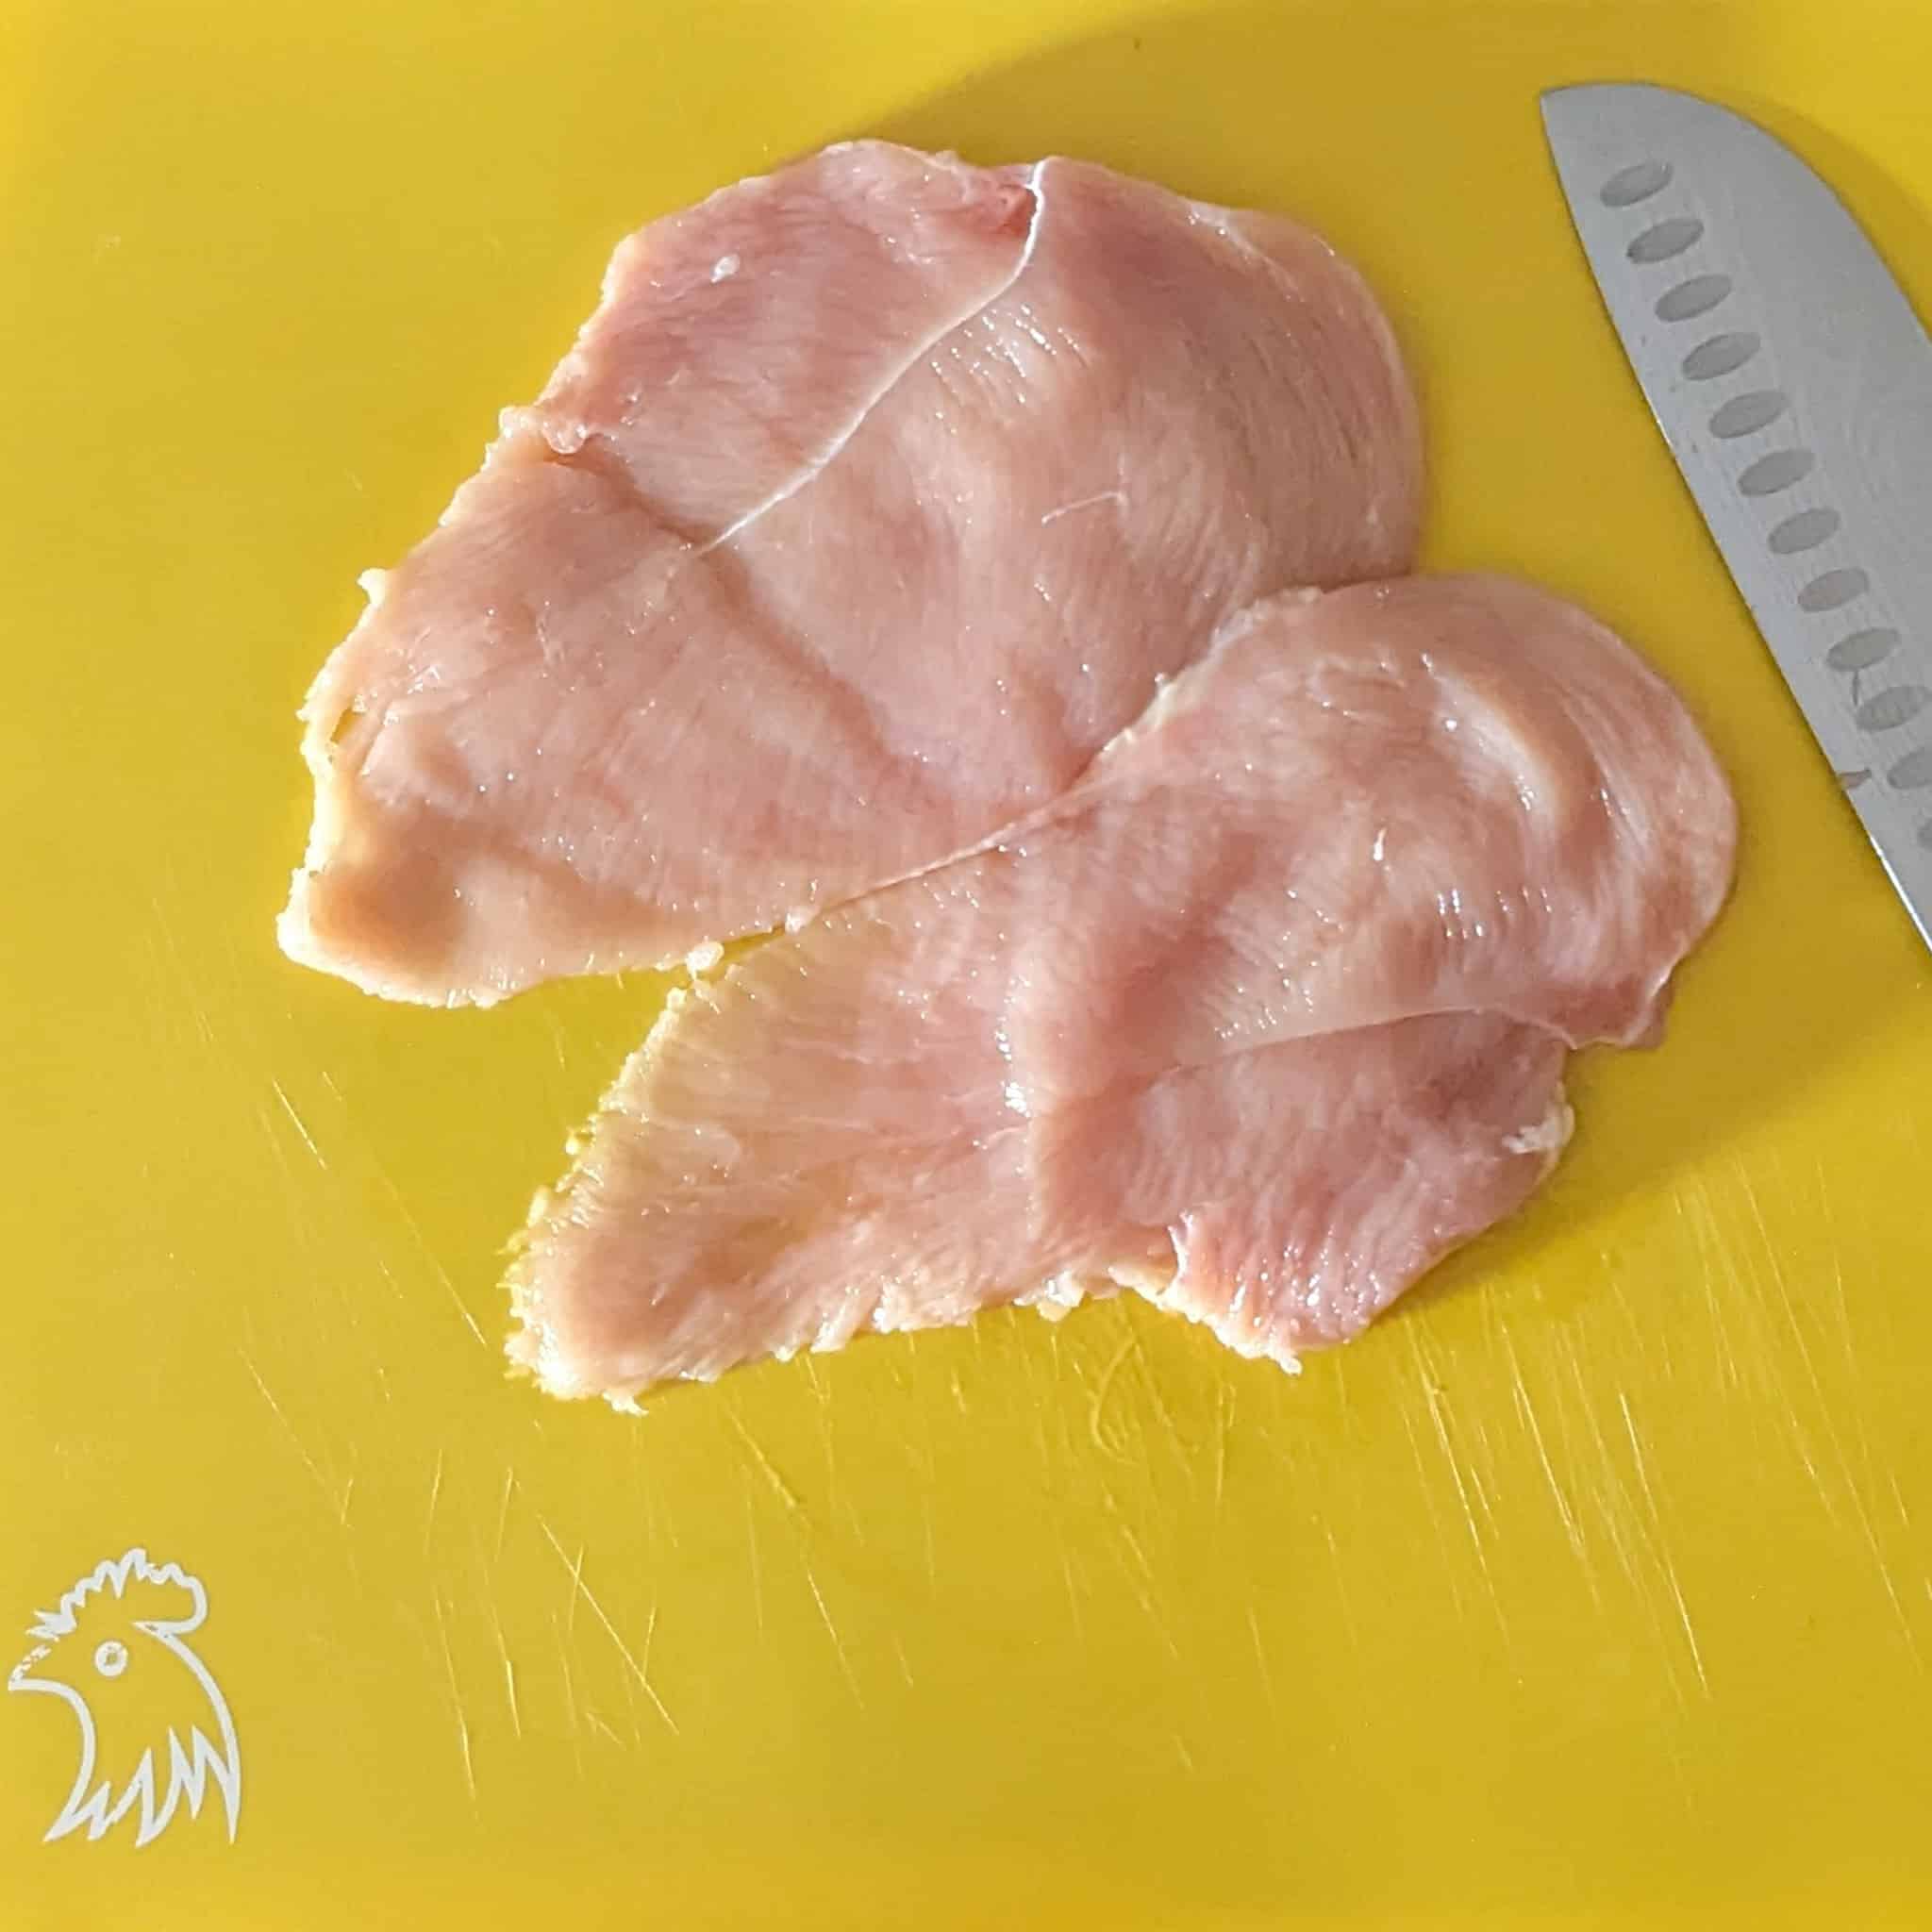
Trim or halve again if needed: If the cutlets are still thick ...
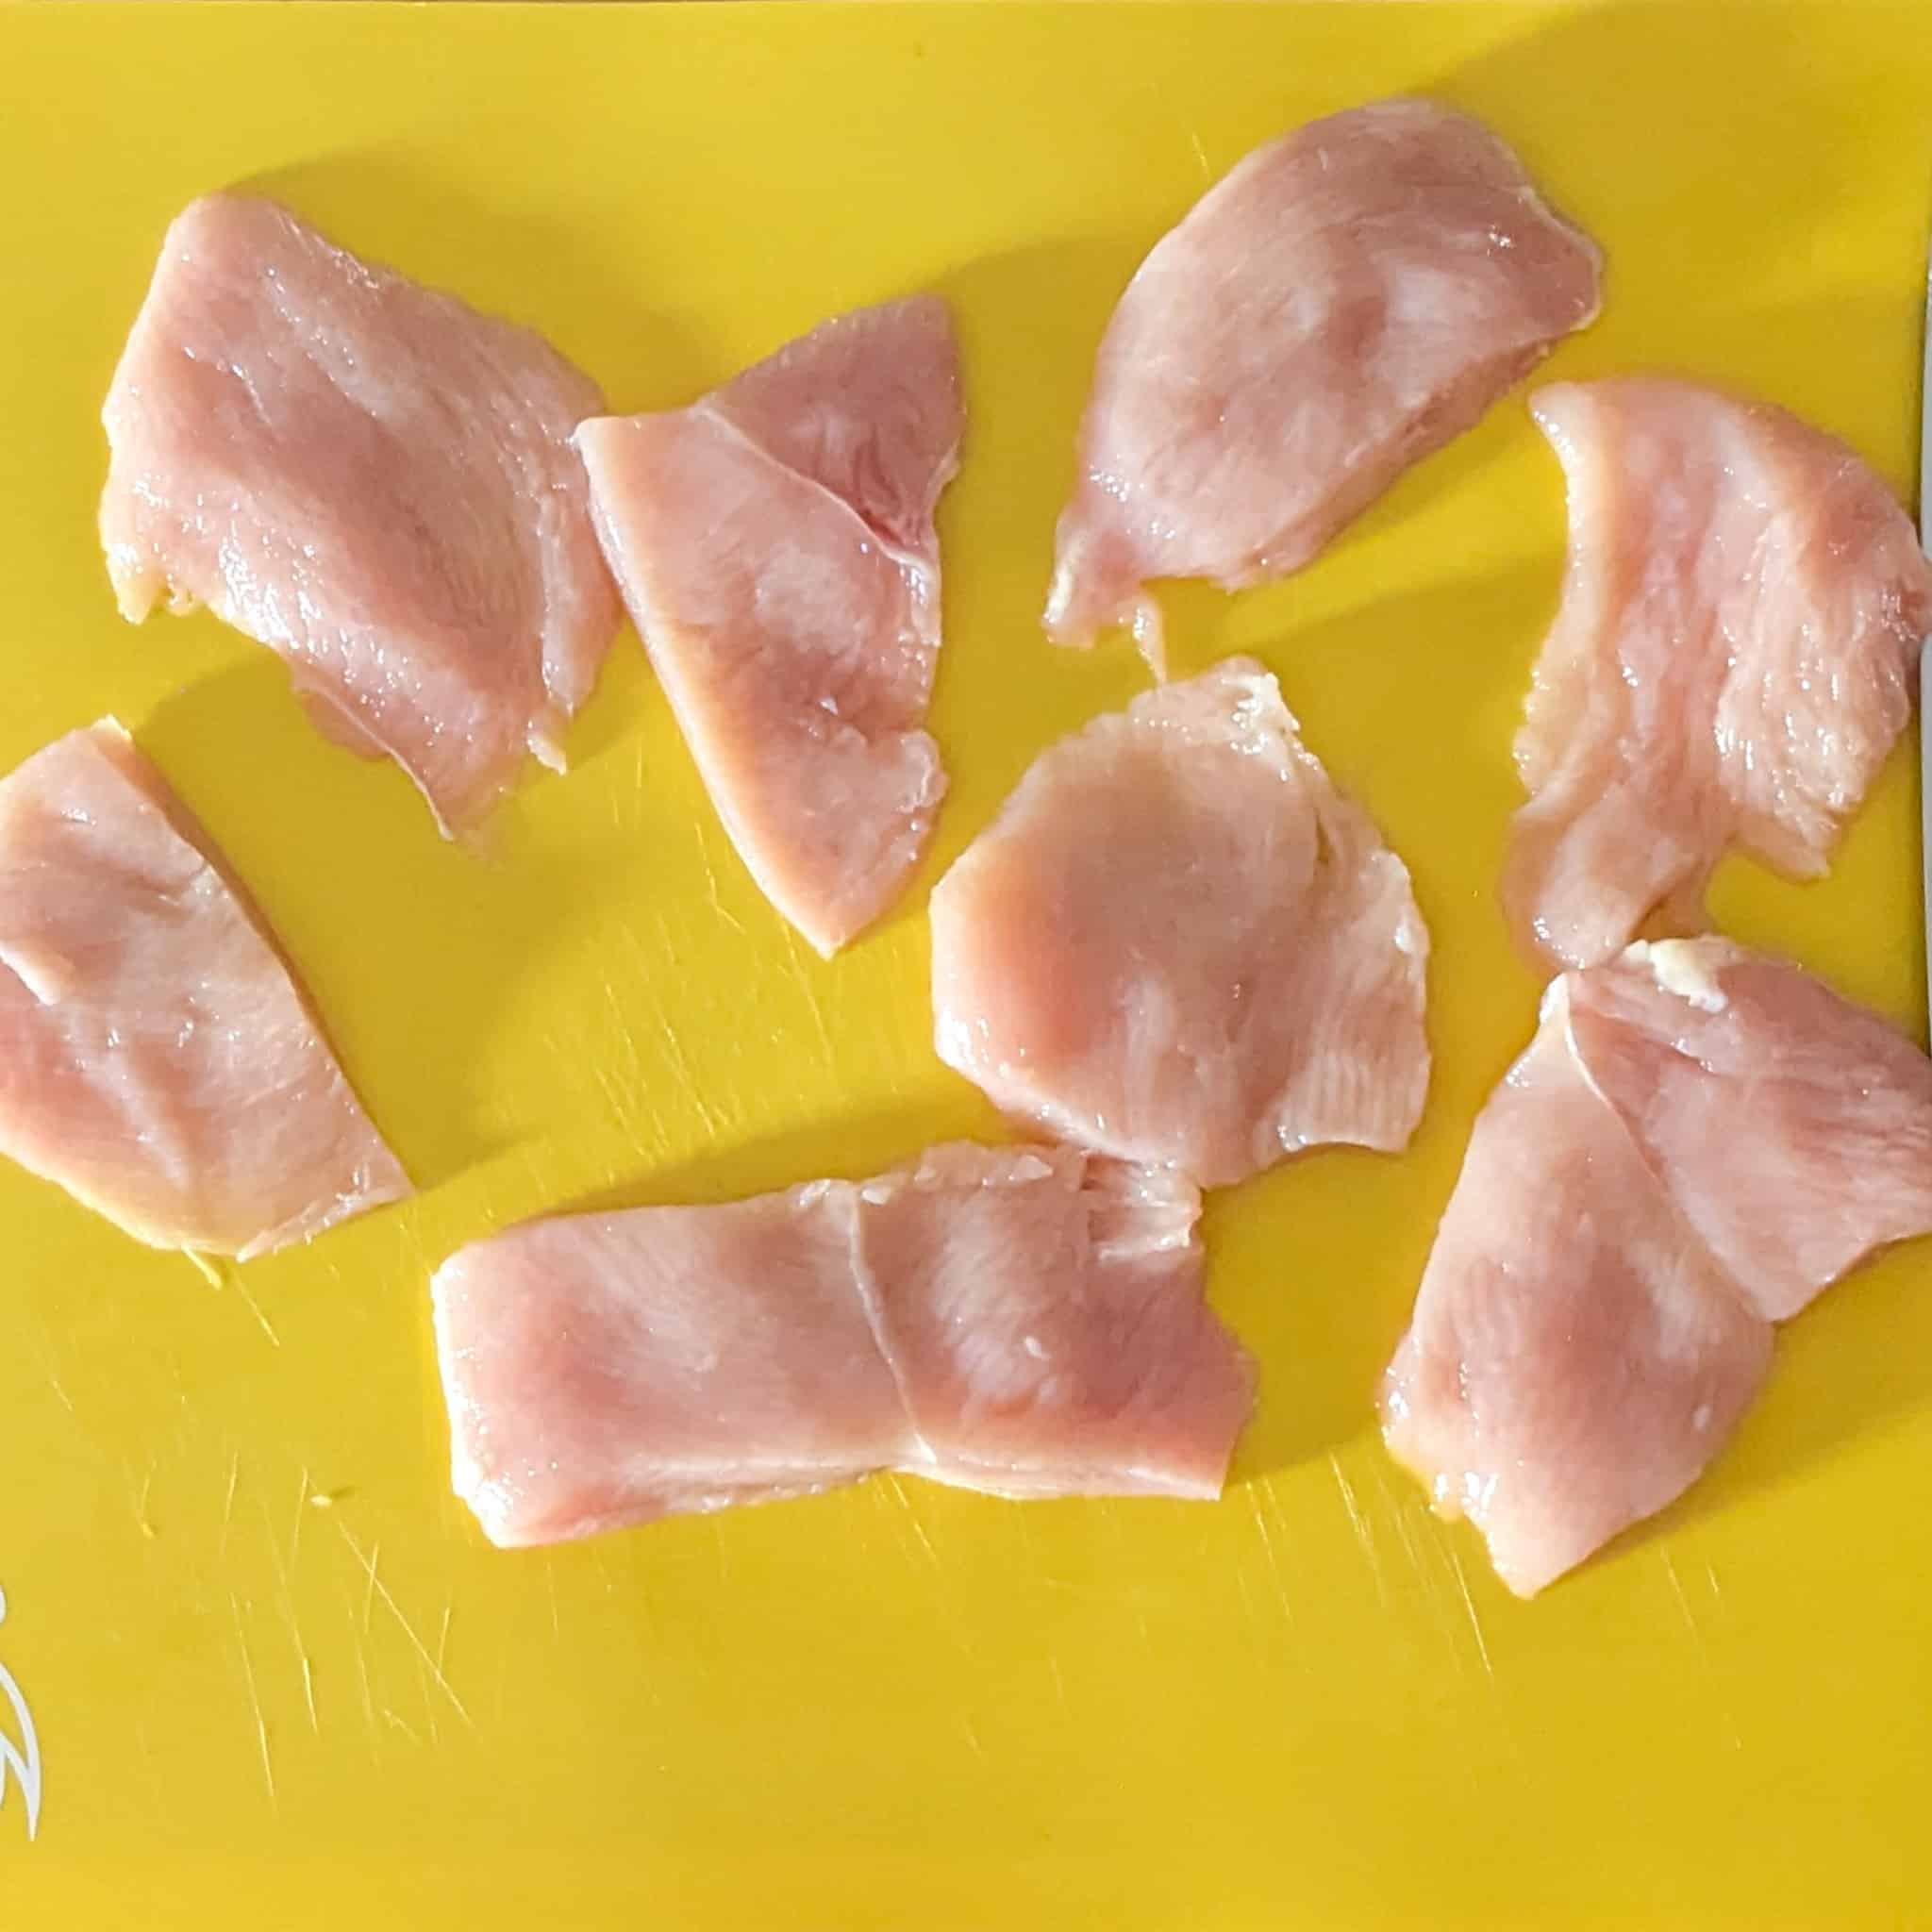
... or if you want smaller pieces (like for stir-fry or nuggets), slice them again. Easy.
Need help with the first cut? Check out my full guide to butterflying chicken breasts.
Tips for Success
- Even thickness is key: This ensures every piece cooks at the same rate.
- Use cold chicken: Slightly chilled meat is firmer and easier to slice.
- Practice makes it easier: The more you do it, the more natural your hand and knife placement will feel.
Optional: Use a meat mallet after slicing to gently pound the cutlets to an even thickness, especially if you're planning to bread or grill them.
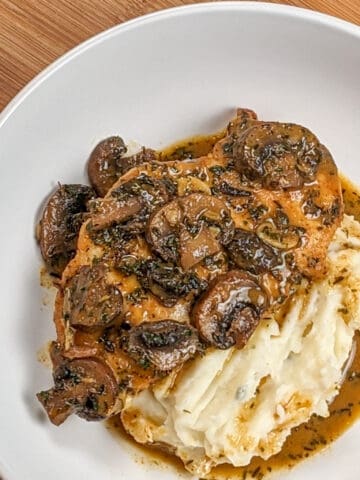
What to Do With Chicken Cutlets
Once you've got your cutlets sliced, here's how I like to use them:
- Breaded and pan-fried: Think crispy chicken parm or chicken katsu.
- Quick sauté: Just season and sear for wraps, salads, or pasta toppers.
- Baked: Toss with seasoning and olive oil, then bake for a low-effort meal prep option.
- Grilled: Great for wraps, sandwiches, or lettuce cups.
- How to Butterfly Chicken Breasts | Step-by-Step Guide
- Easy Spicy Creamy Coconut Mushroom Chicken with Rum
- Easy Baked Cheesy Crispy Barbeque Chicken Cutlets
- Easy Crispy Baked Wet Lemon Pepper Chicken Cutlets

Frequently Asked Questions
Here, you will find a list of common questions that I have answered. If you have questions, please write them in the comment section below.
Cutlets are sliced from the breast. Tenders are a separate muscle found beneath the breast and are usually smaller and more delicate.
Yes. Lay them flat between sheets of parchment and freeze. Store in a freezer-safe bag for up to 2 months.
Slice as evenly as possible and then lightly pound with a meat mallet between two sheets of plastic wrap or parchment.
Explore Recipes
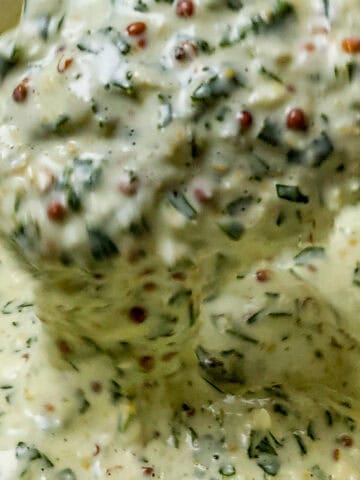
- 5-Minute Chunky Dijon Lemon Mustard Remoulade Sauce Recipe
- Easy Game Day Recipes with Bold Global Flavors
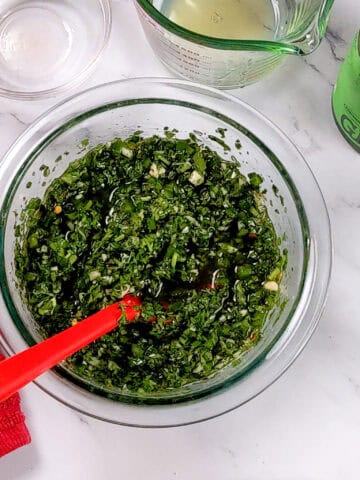
- Spicy Jalapeño Chimichurri Sauce Recipe
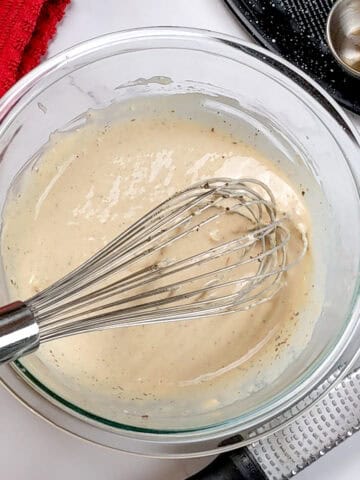
- Homemade Caesar Dressing Recipe (Creamy & Classic)

Cooking Tips and Tutorials
- Best Food Audiobooks for Chefs & Home Cooks
- Winter Seasonal Produce Guide: What's In Season
- What Is HACCP and Why Every Home Cook Should Care About It
- Holiday Kitchen Safety Tips: How to Cook, Serve, and Store

Subscribe to the YouTube Channel
SUBSCRIBE: 👈To my YouTube Channel to Get Notifications of New Videos.


Chef Maika Frederic-Liebman
Chef and Educator
Haitian-American chef and educator Maika Frederic blends bold flavors with approachable recipes. With a background in professional kitchens, classrooms, and children's therapy, she brings a thoughtful, inclusive touch to every dish as a trained chef, former teacher, and technician. Through her platform, Just Maika Cooking, she shares diverse meals and practical tips to empower home cooks of all ages and levels.
Have a Comment or Question?
If you have a question or comment about this post, please post it below. You will definitely get a quick response. It also helps our other readers to stay informed. Thanks!

Leave a Reply