

Learn how to pound out chicken breasts for even cooking, tender texture, and quicker prep. This simple technique guarantees juicy, uniform pieces perfect for cutlets, grilling, or weeknight dinners.
Table of Contents
Jump to:
Pounding Out Chicken for Even Cooking
Ever notice how one end of your chicken breast cooks faster than the other? That's because chicken breasts naturally have a thick side and a thin side, which makes them tricky to cook evenly.

The solution? Pound out your chicken breasts until they're an even thickness. This simple prep technique ensures juicier chicken, quicker cooking times, and a more professional-looking dish.
Why Pound Out Chicken?
- Even Cooking - No more dried-out thin ends while the thick part lags behind.
- Tender Texture - The gentle pounding helps break down muscle fibers.
- Faster Cook Time - Thin, even pieces cook quickly on the stove, grill, or in the oven.
- Better Presentation - Your chicken looks uniform and is easier to portion.
Recommended Reads
- How to Butterfly Chicken Breasts | Step-by-Step Guide
- Chicken Paillard with Cranberry Pecan Acorn Squash Salad
- How to Cut Chicken: Prepping to Cooking Tutorials
- How to Slice Chicken Perfectly Every Time
- Cook's Notebook: Cooking Tips and Tutorials
Culinary Glossary
This section concisely defines key techniques related to this post to enhance understanding and improve cooking skills on how to pound out chicken breasts.
- Meat Mallet: A kitchen tool with flat and textured sides, used to tenderize or flatten meats.
- Butterfly: A technique of slicing chicken breasts horizontally to open them up like a book before pounding.
- Cutlet: A thin piece of chicken made by pounding or slicing the breast, often used in breaded dishes.
Picture & Video Instructions
Follow the instructions and cooking tips below using the step-by-step picture guide.
Subscribe to the YouTube Channel
SUBSCRIBE: 👈To my YouTube Channel to Get Notifications of New Videos.
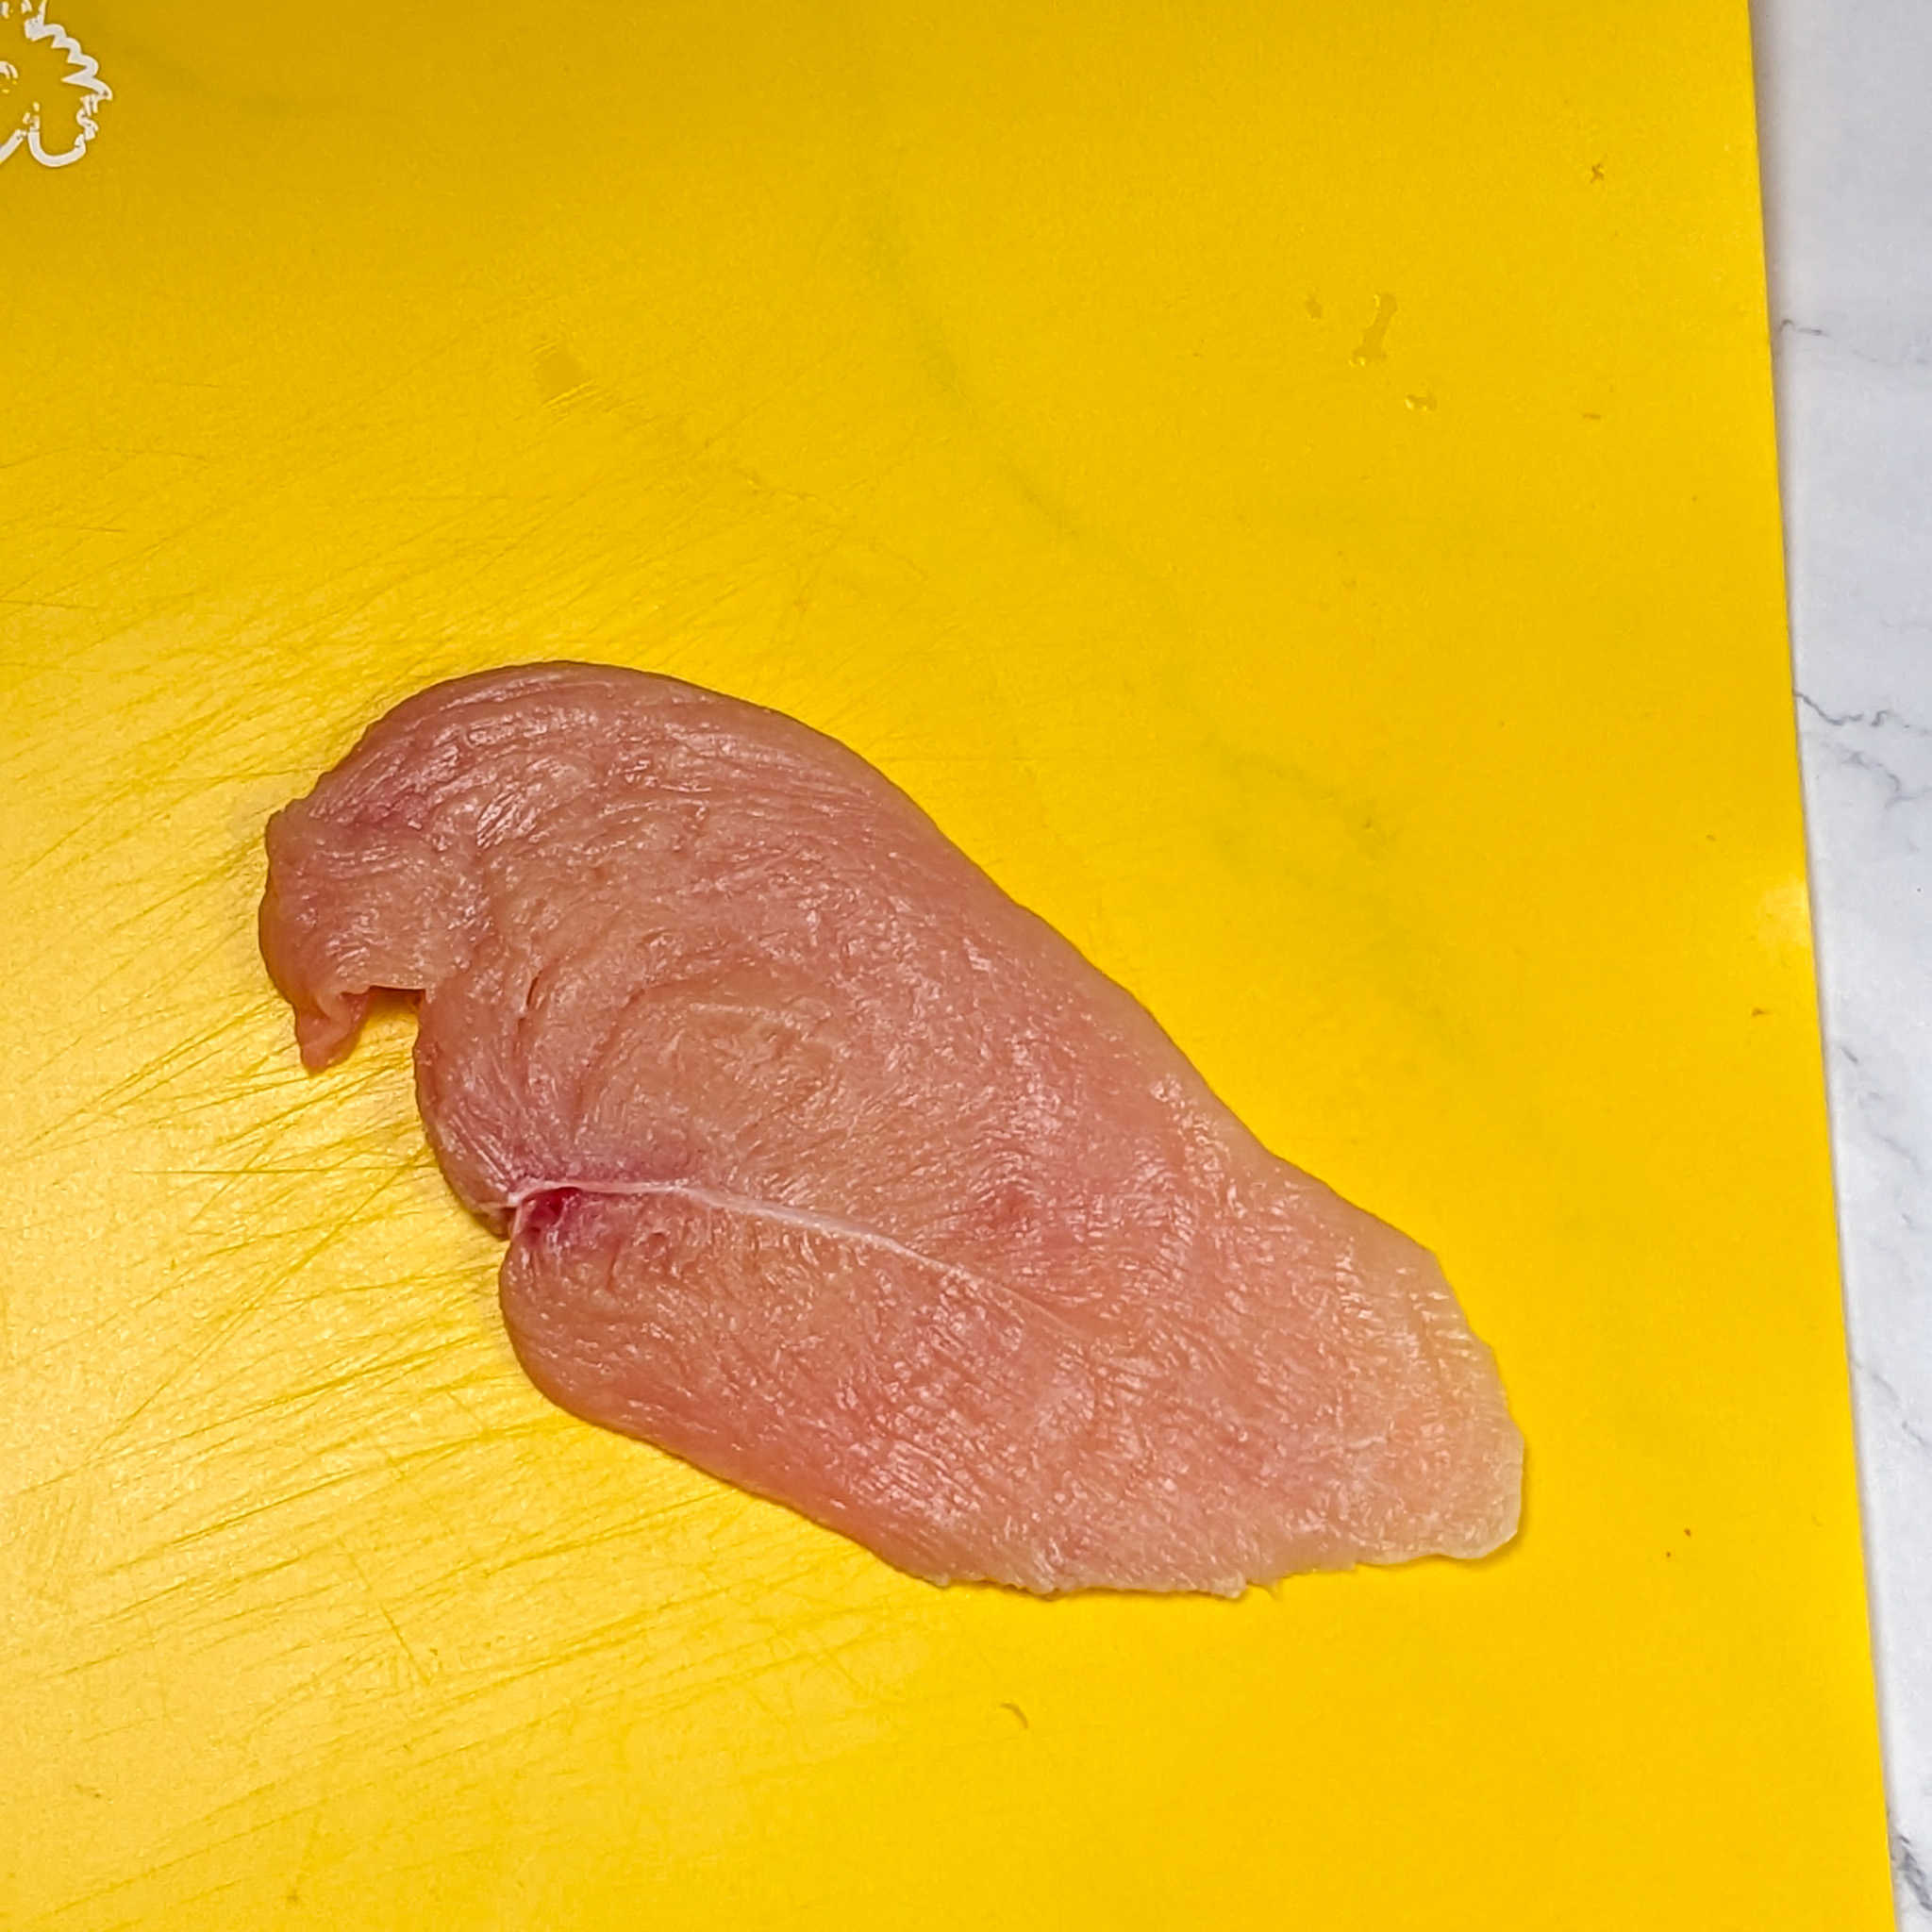
Place the chicken breast on your cutting board. Trim away excess fat. Then lay a piece of plastic wrap or parchment paper over the chicken to prevent splatter.
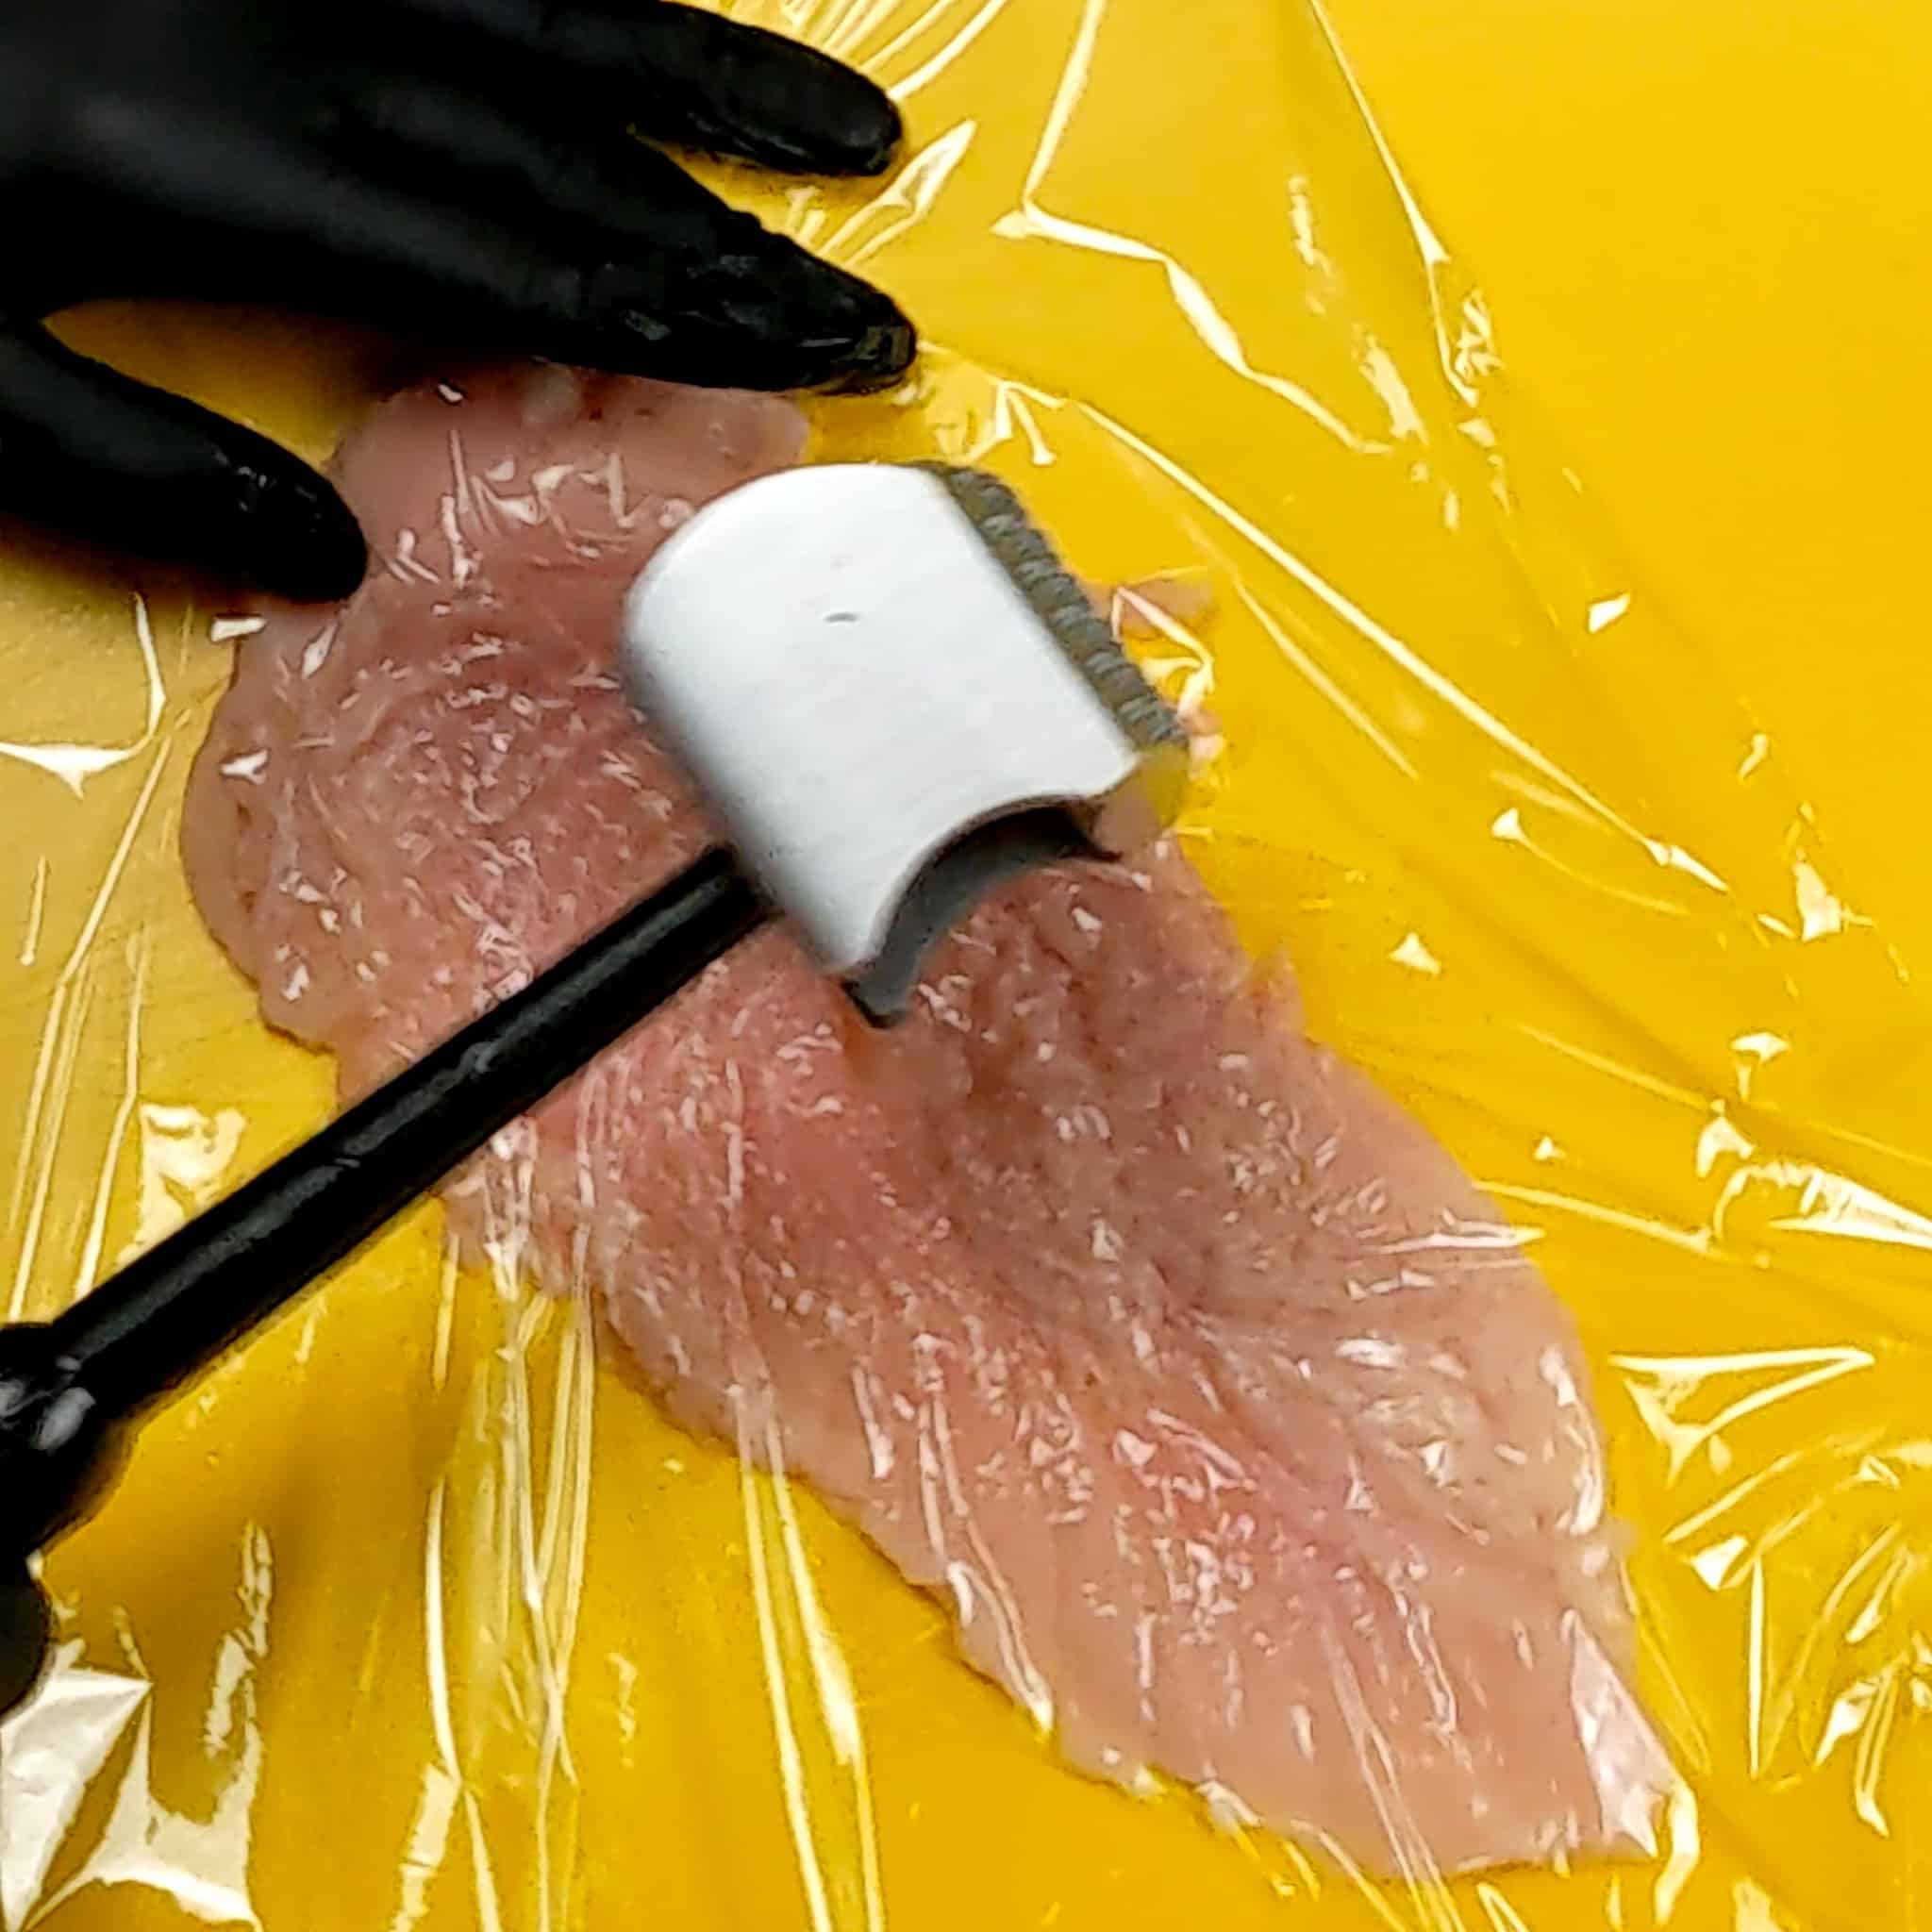
Using the flat side of your mallet, start from the thickest part and work your way out. Aim for a steady, firm tap, not an aggressive slam. You're looking for about ½ inch of even thickness across the whole piece.
Ready to Cook - Now you are ready to season, marinate, bread, or freeze your chicken as desired. And now that you know how to pound out chicken, try it before your next weeknight dinner; it'll make your cooking faster, tastier, and way more enjoyable.
Looking for more chicken prep tutorials? Check out my How to Butterfly Chicken Breasts and How to Make Chicken Cutlets guides.
Equipment
Here's what you'll need to pound chicken breast with ease:
- Cutting board - Sturdy and flat, big enough for a chicken breast.
- Plastic wrap or parchment paper - Keeps your counter and mallet clean.
- Meat mallet (flat side) - Or a rolling pin, heavy skillet, or wine bottle in a pinch.
- Sharp knife - To trim any excess fat before pounding.
- Disposable gloves (optional) - For safe handling of raw chicken.
Kitchen Must-Haves Reviews
Find a collection of my reviews of kitchen equipment that I have purchased or recommend. Kitchen Must-Haves - Find other tools I use here.
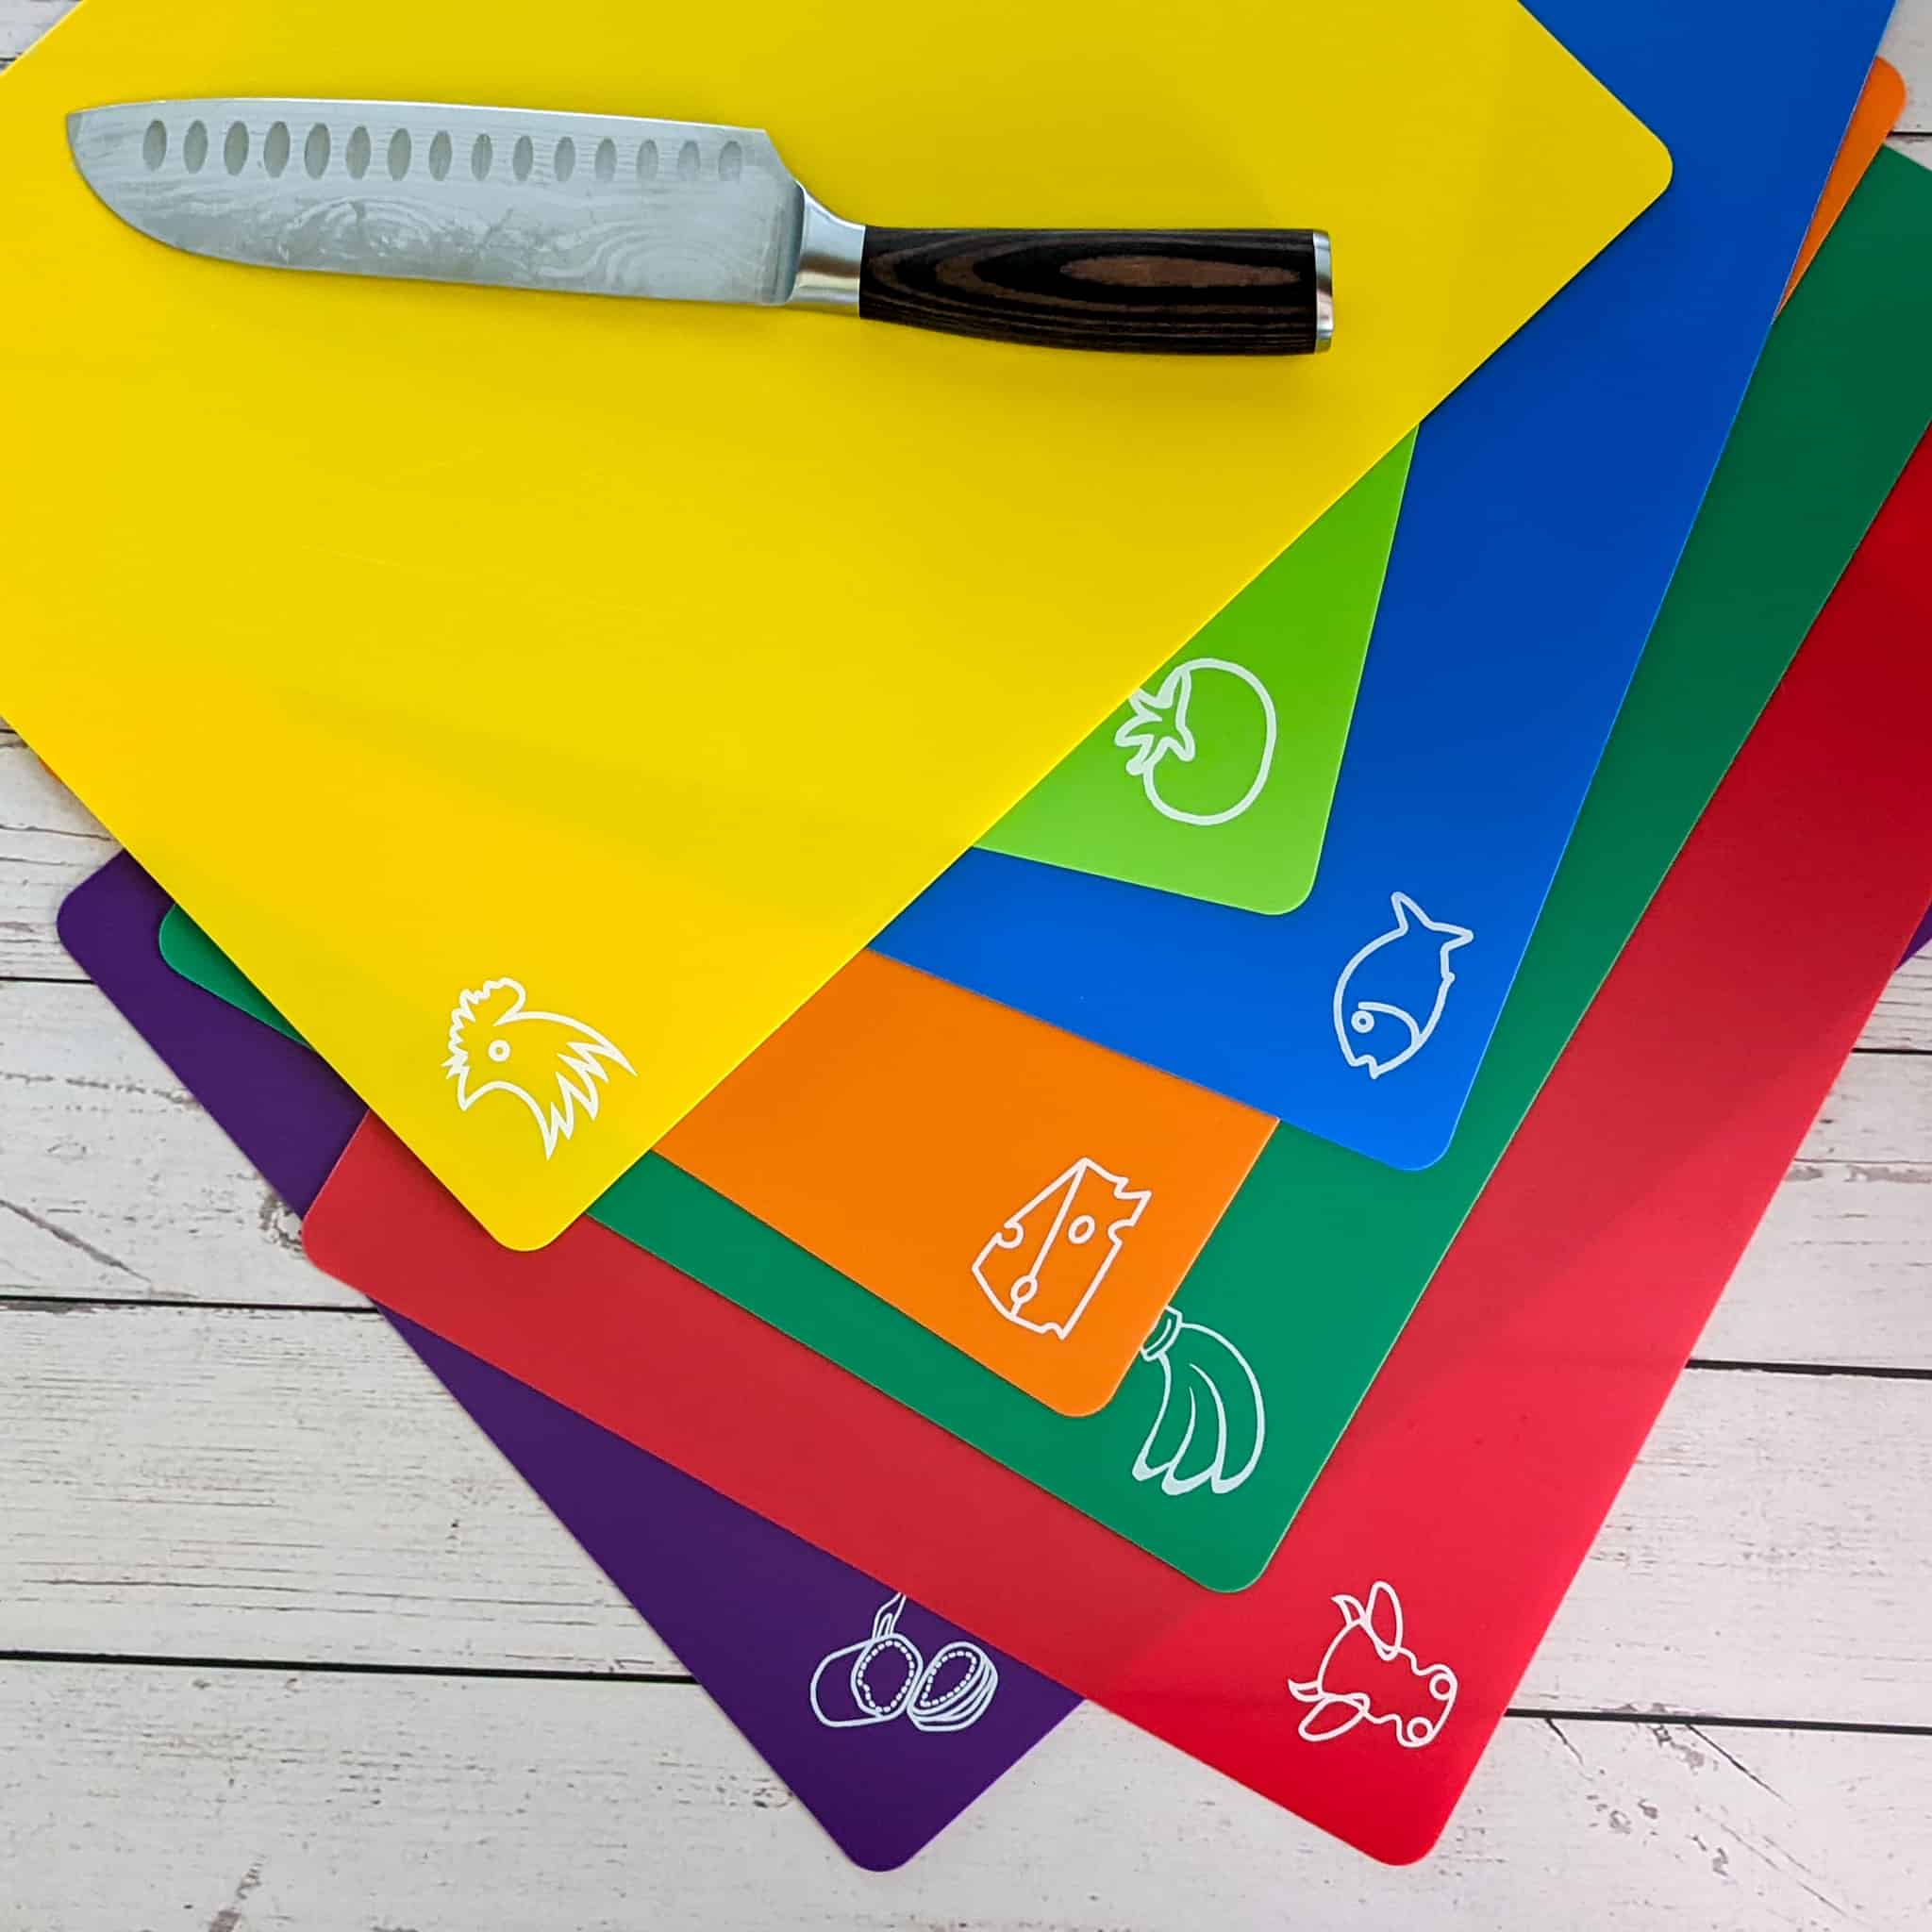
My Review: I’ve used these Fotouzy Cutting Board Mats for a long time, and while they’re flexible, dishwasher-safe, and great for preventing cross-contamination with their color coding, I now prefer solid plastic cutting boards. They’re BPA-free, non-porous, and wide enough to protect my wooden board, especially handy when zesting or transferring ingredients. That said, they don’t stay perfectly steady, even with a damp towel underneath, so I give them a 4 out of 5. But I still use it a lot for quick meat and veggie preps and place them right in the dishwasher.
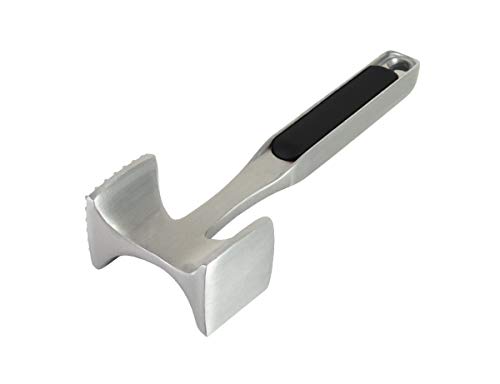
My Review: I recently got my hands on the KitchenAid Gourmet Multi-Sided Meat Tenderizer. My old mallet had these sharp edges that kept piercing the meat, which was beyond frustrating. This KitchenAid mallet is a real relief; its flat sides are smooth, the edges aren’t sharp, and it has a really nice weight to it. It feels solid and does exactly what it’s supposed to without mangling the meat. The only downside? It’s made from aluminum, so it needs to be washed by hand. But honestly, that’s a small trade-off for how well it works. Overall, I’m super happy with it. It’s simple, effective, and gets the job done perfectly.
My Review: The PAUDIN 8-inch Chef Knife is an absolute standout in both sharpness and craftsmanship. It stays incredibly sharp through regular use, making prep work effortless. The high-carbon stainless steel blade showcases PAUDIN’s attention to detail, while the ergonomic handle provides a comfortable grip for extended use. Despite its premium feel, this knife is impressively affordable, offering exceptional quality without the high price tag. That’s why I’ve recently switched all my knives to PAUDIN—they truly deliver on durability, beauty, and performance. If you want a reliable, well-crafted knife at a great value, this is the one to get!

My Review: I highly recommend the ForPro Professional Collection Disposable Nitrile Gloves. They’re food-safe, powder-free, and latex-free, making them perfect for cooking. I’ve ordered these several times and use them both personally and for my videos. The gloves are durable and chemically resistant, offering excellent protection when handling raw ingredients. When pressed for time, they’re my go-to for preventing cross-contamination without needing to wash my hands constantly. A must-have for any busy kitchen!

Storage Instructions
Learn how to store your pounded chicken breasts properly:
Once pounded, layer chicken breasts between sheets of parchment paper in a zip-top bag or airtight container. Store in the fridge for up to 2 days or freeze for up to 3 months. Defrost overnight in the fridge before cooking.
5 Prepping Tips
Cook's Notebook is your Cooking Tips Resource Guide. Become a better home cook with tips to help you cook more efficiently. Checking out the prepping chicken hub.
- Don't over-pound - The goal is to create uniform thickness, not paper-thin chicken. If you pound too aggressively, the meat can tear and lose its natural juices, resulting in dry or stringy meat.
- Stabilize your board - Place a damp paper towel or kitchen towel under your cutting board before you start. This prevents slipping, making the process safer and giving you more control over the pressure of each strike.
- Work from the center outward - Start pounding at the thickest part of the breast and move outward toward the edges. This distributes the pressure evenly, avoiding excessive thinning of the edges, which can cause uneven cooking or ragged pieces.
- Slightly chill the chicken first - If your chicken feels slippery or too soft, pop it in the freezer for 15-20 minutes. Firm, semi-chilled meat is easier to handle and less likely to tear under the mallet.
- Keep food safety in mind - always use a separate cutting board for raw poultry, wash your hands frequently, and sanitize your work area after preparing. Cross-contamination is one of the most common mistakes home cooks make, so this step is non-negotiable. Learn more about cross-contamination here.
Frequently Asked Questions
Here, you will find a list of common questions that I have answered. If you have questions, please write them in the comment section below.
No, you can use a rolling pin, skillet, or even an empty wine bottle.
Aim for about ½ inch thickness for quick, even cooking.
Yes, store pounded chicken in an airtight container in the fridge for up to 2 days, or freeze in layers with parchment paper in between.
They overlap, but here the goal is more about even thickness than breaking down fibers.
Chicken cutlets, schnitzel, chicken parmesan, stir-fries, grilled chicken, or stuffed chicken rolls.
Poultry Recipes
Looking for some chicken recipe ideas? Try these:
- Spicy Nuoc Cham Sauce (Vietnamese Fish Dipping Sauce)
- Grilled Lemon Oregano Dressing & Vinaigrette Recipe
- Kimchi Fried Rice Recipe - Simple Base You Can Build On
- West African Peanut Stew with Chicken and Collard Greens

Cooking Tips and Tutorials
If you found this tutorial helpful, you'll love my Cook's Notebook collection. From knife skills and flavor bases to time-saving tricks and essential equipment guides, this section is packed with chef-tested lessons to help you cook with confidence.
- Best Food Audiobooks for Chefs & Home Cooks
- Winter Seasonal Produce Guide: What's In Season
- What Is HACCP and Why Every Home Cook Should Care About It
- Holiday Kitchen Safety Tips: How to Cook, Serve, and Store


Chef Maika Frederic-Liebman
Chef and Educator
Haitian-American chef and educator Maika Frederic blends bold flavors with approachable recipes. With a background in professional kitchens, classrooms, and children's therapy, she brings a thoughtful, inclusive touch to every dish as a trained chef, former teacher, and technician. Through her platform, Just Maika Cooking, she shares diverse meals and practical tips to empower home cooks of all ages and levels.
Have a Comment or Question?
If you have a question or comment about this How to Pound Out Chicken Breasts post, please post it below. You will definitely get a quick response. It also helps our other readers to stay informed. Thanks!

Leave a Reply