


Learn how to bread chicken the right way with this easy step-by-step guide, plus a video tutorial to walk you through the process. From flour dredging to crispy golden coating, you'll discover the secrets to making juicy, flavorful breaded chicken every time.

Table of Contents
Jump to:
- Get Crispy Breaded Chicken
- Ingredients with Steps
- Culinary Glossary
- Instructions with Pictures
- How to Make Lightly Breaded Chicken
- Equipment
- Kitchen Must-Haves Reviews
- Freezer Storage Instructions
- Substitutions
- 5 Prepping Tips
- Frequently Asked Questions
- Delicious Chicken Recipes
- Cooking Tips and Tutorials
- Have a Comment or Question?
Get Crispy Breaded Chicken
From making chicken Parmesan, schnitzel, or crispy tenders, knowing the right breading process ensures that the crunchy coating actually sticks (and doesn't slide off in the pan).
Breading chicken isn't just about coating meat; it's a technique that transforms an ordinary chicken breast or thigh into a crispy, golden cutlet worthy of any restaurant menu straight from your home kitchen.
Why Breading Matters
- Texture Upgrade - The crispy outside contrasts beautifully with juicy, tender chicken.
- Flavor Layers - Each breading step adds seasoning and depth of flavor.
- Seals in Moisture - Helps keep chicken from drying out while cooking.
- Versatility - Once you learn the method, you can swap seasonings or coatings (panko, cornmeal, gluten-free crumbs, etc.) for endless variations.
Recommended Reads
- Bang Bang Crispy Tofu with Egg Fried Brown Rice
- Easy Baked Cheesy Crispy Barbeque Chicken Cutlets
- Spicy Zhug Chicken Pita Sandwich with Spinach Date Salad
- Spicy Chicken Pitas with Arugula Feta Pomegranate Salad
- Herb Panko Tofu with Curried Potatoes, Carrots, and Onions
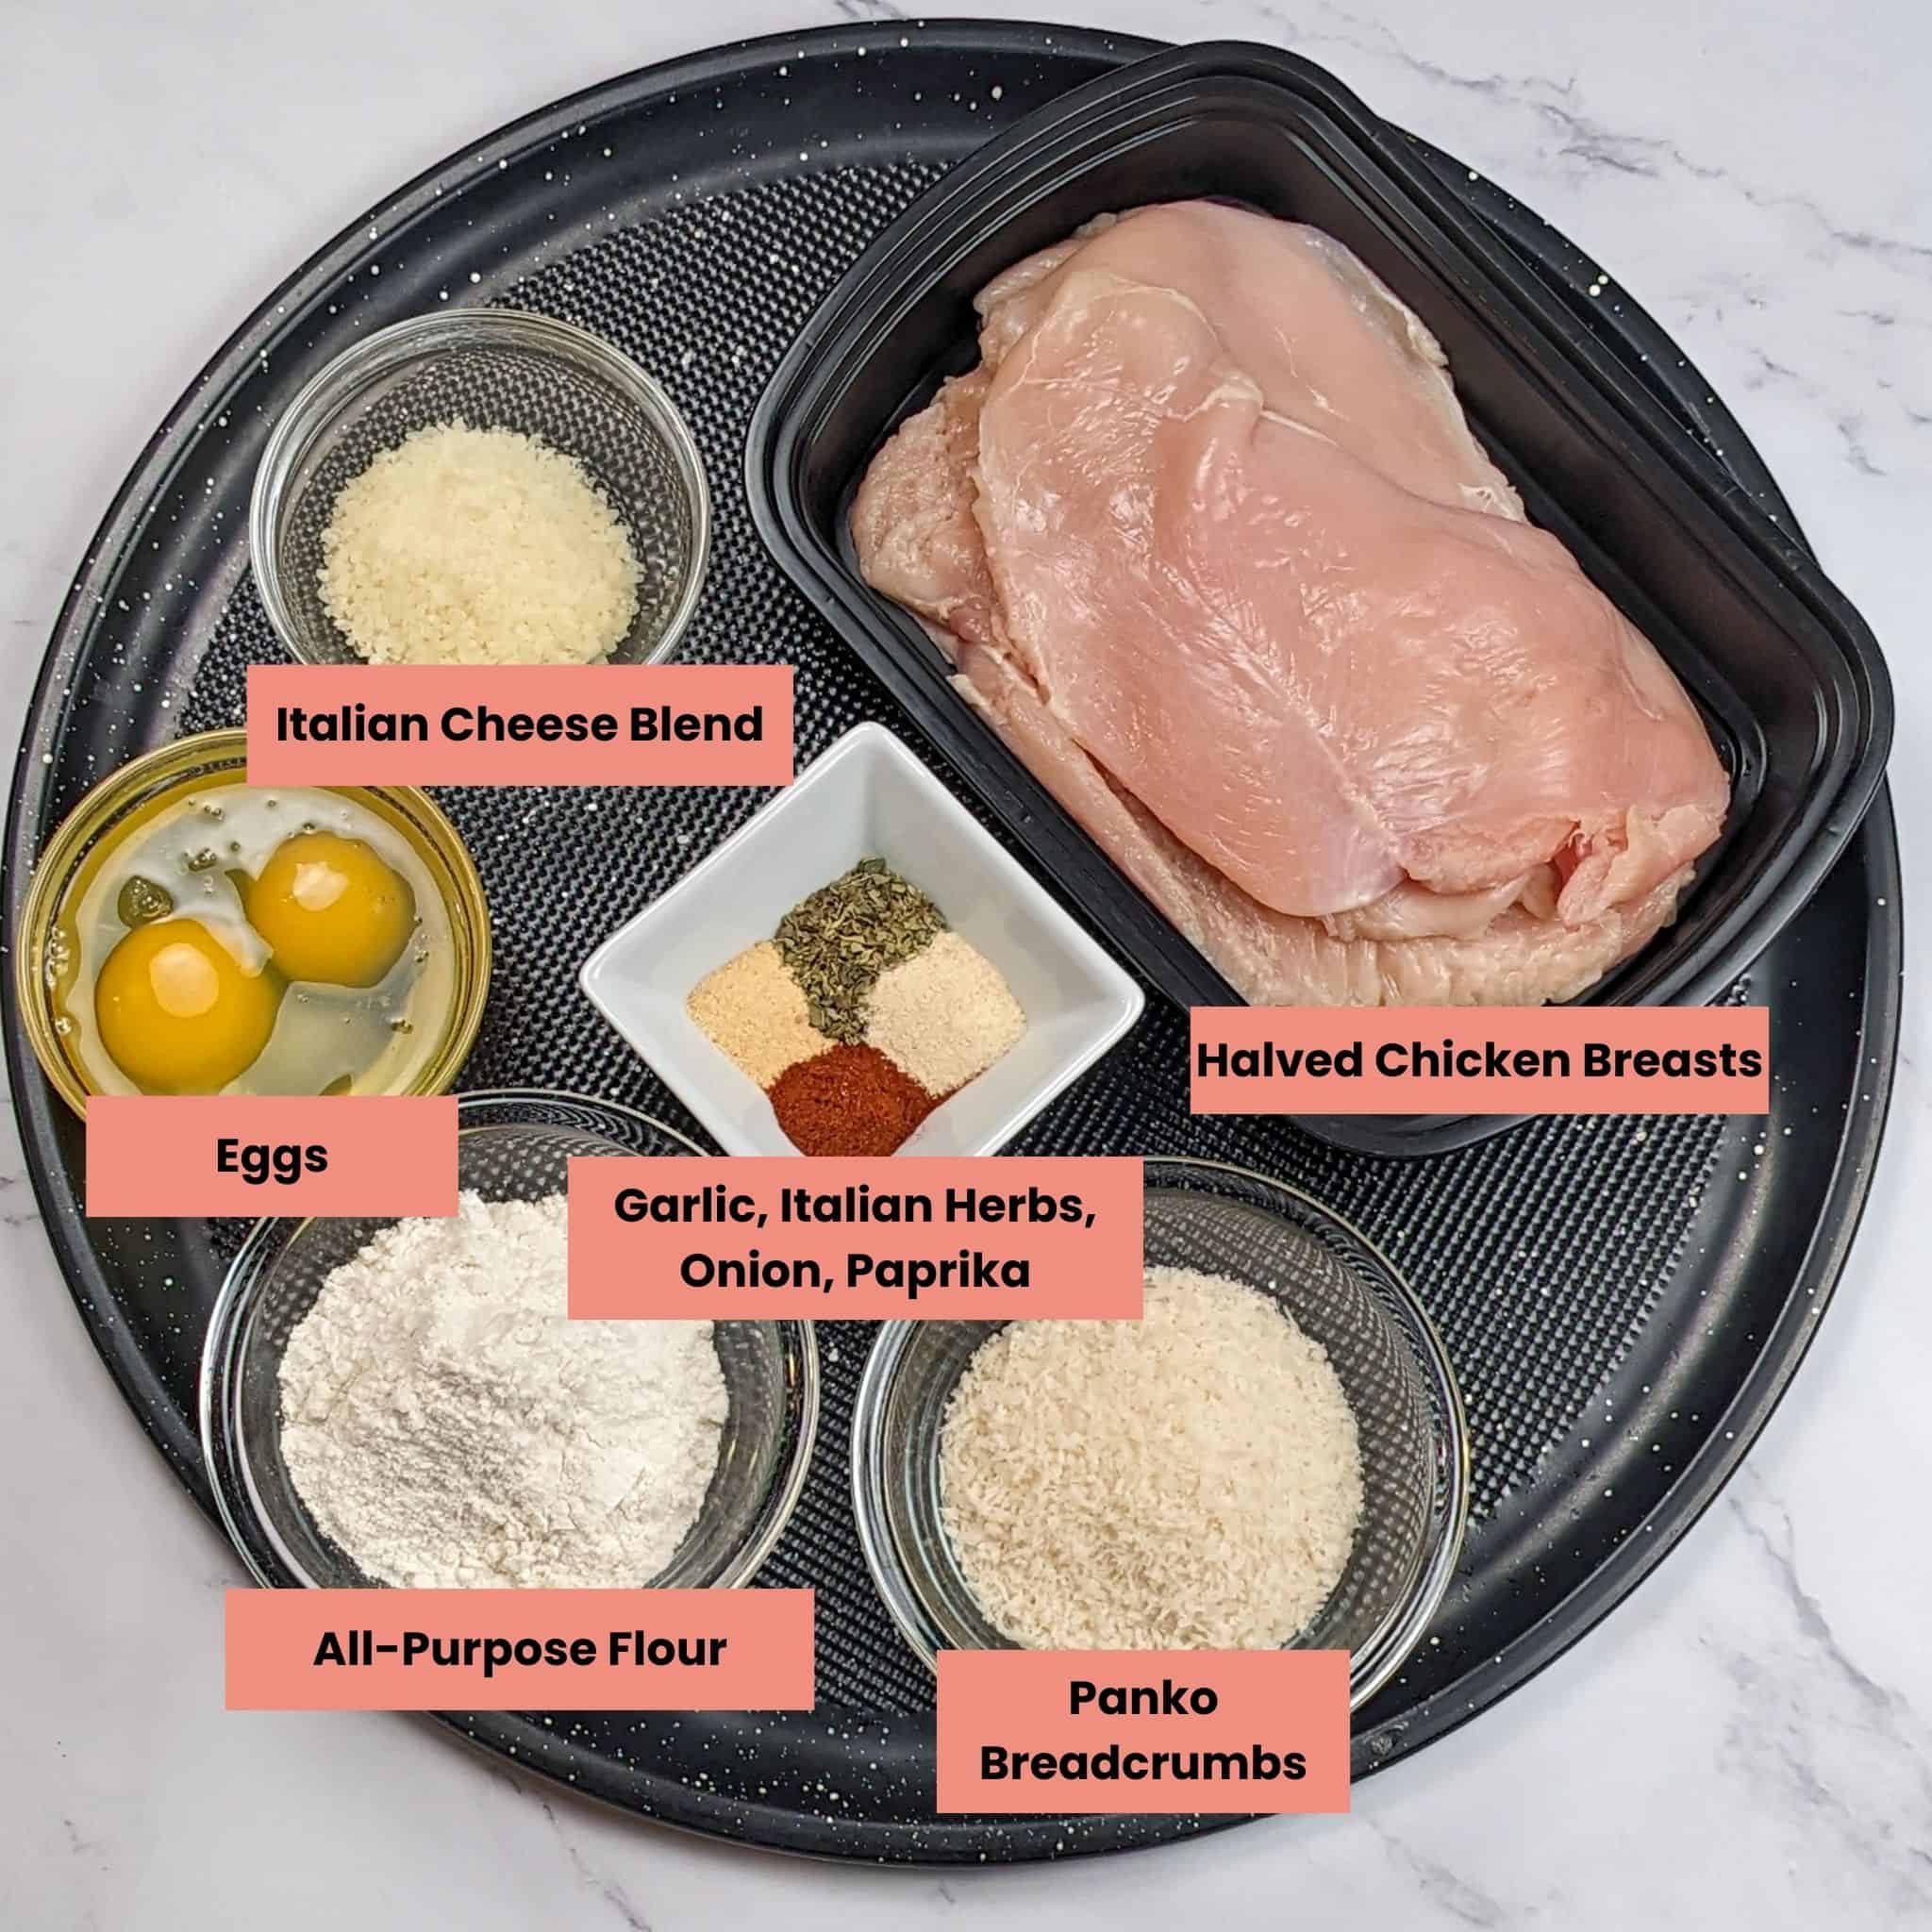
Ingredients with Steps
To bread chicken properly, start by setting up three shallow bowls: one with seasoned flour, one with beaten eggs, and one with breadcrumbs (panko or regular). Lightly coat the chicken in flour, shaking off excess so the egg will cling, then dip it into the beaten eggs to create a glue layer.
Press the chicken into the breadcrumbs on both sides for full coverage. Panko or a mix of panko and Parmesan adds extra crunch. Finally, place the breaded chicken on a sheet pan or wire rack and let it rest for 5-10 minutes before cooking to help the coating stick and stay crisp.
Culinary Glossary
This section concisely defines key ingredients and techniques related to this post to enhance understanding and improve cooking skills.
- Dredge - To lightly coat food in flour (or another dry ingredient) before dipping it into wet ingredients. This helps the next layer stick better.
- Egg Wash - A mixture of beaten eggs (sometimes thinned with milk or water) used as a "glue" to help breadcrumbs or coatings adhere to food.
- Breadcrumbs - Small pieces of dried bread used for coating or topping foods. Can be regular fine crumbs or coarse styles like panko.
- Panko - A Japanese-style breadcrumb made from crustless white bread.The Best! It's larger, flakier, and creates a lighter, crunchier coating.
- Seasoned Flour - Flour mixed with salt, pepper, and sometimes spices. It adds flavor while helping coatings stick to chicken.
- Cutlet - A thin slice of meat, often chicken breast, pounded or cut evenly to cook quickly and evenly. Perfect for breading.
- Resting - Allowing food to sit after breading so the coating sets before cooking, preventing it from falling off.
- Shallow Frying - Cooking food in a skillet with enough oil to cover the bottom, usually flipping once for even browning.
- Air Frying - Cooking with hot circulating air in an air fryer, producing crispy results with less oil than frying.
- Golden Brown - A common cooking term for the perfect color and crispness breaded foods should reach when cooked properly. AKA "GBD" - Golden Brown and Delicious!
Instructions with Pictures
Follow the instructions and cooking tips below using the step-by-step picture guide.

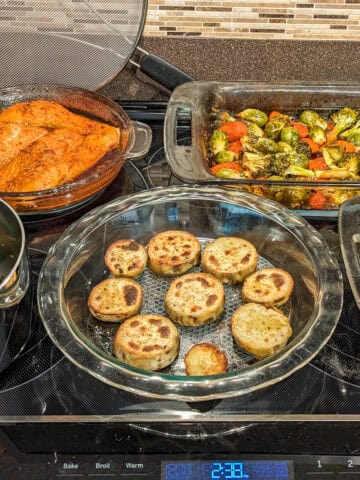
Yes! I know I messed up the order of the pans. What was going through my head, I don't know, when I get a chance, I will take the pictures again. Thank you for your understanding. This is a one-girl blog. It's just me. lol. I'll get on it when I can 😉 Love you guys! -Chef Maika
Prepare Your Station
Set up three shallow bowls: one with seasoned flour, one with beaten eggs, and one with breadcrumbs (panko or regular).

Chef Tip: Use a sheet pan at the end to rest breaded chicken before cooking; this will help the coating to stick.
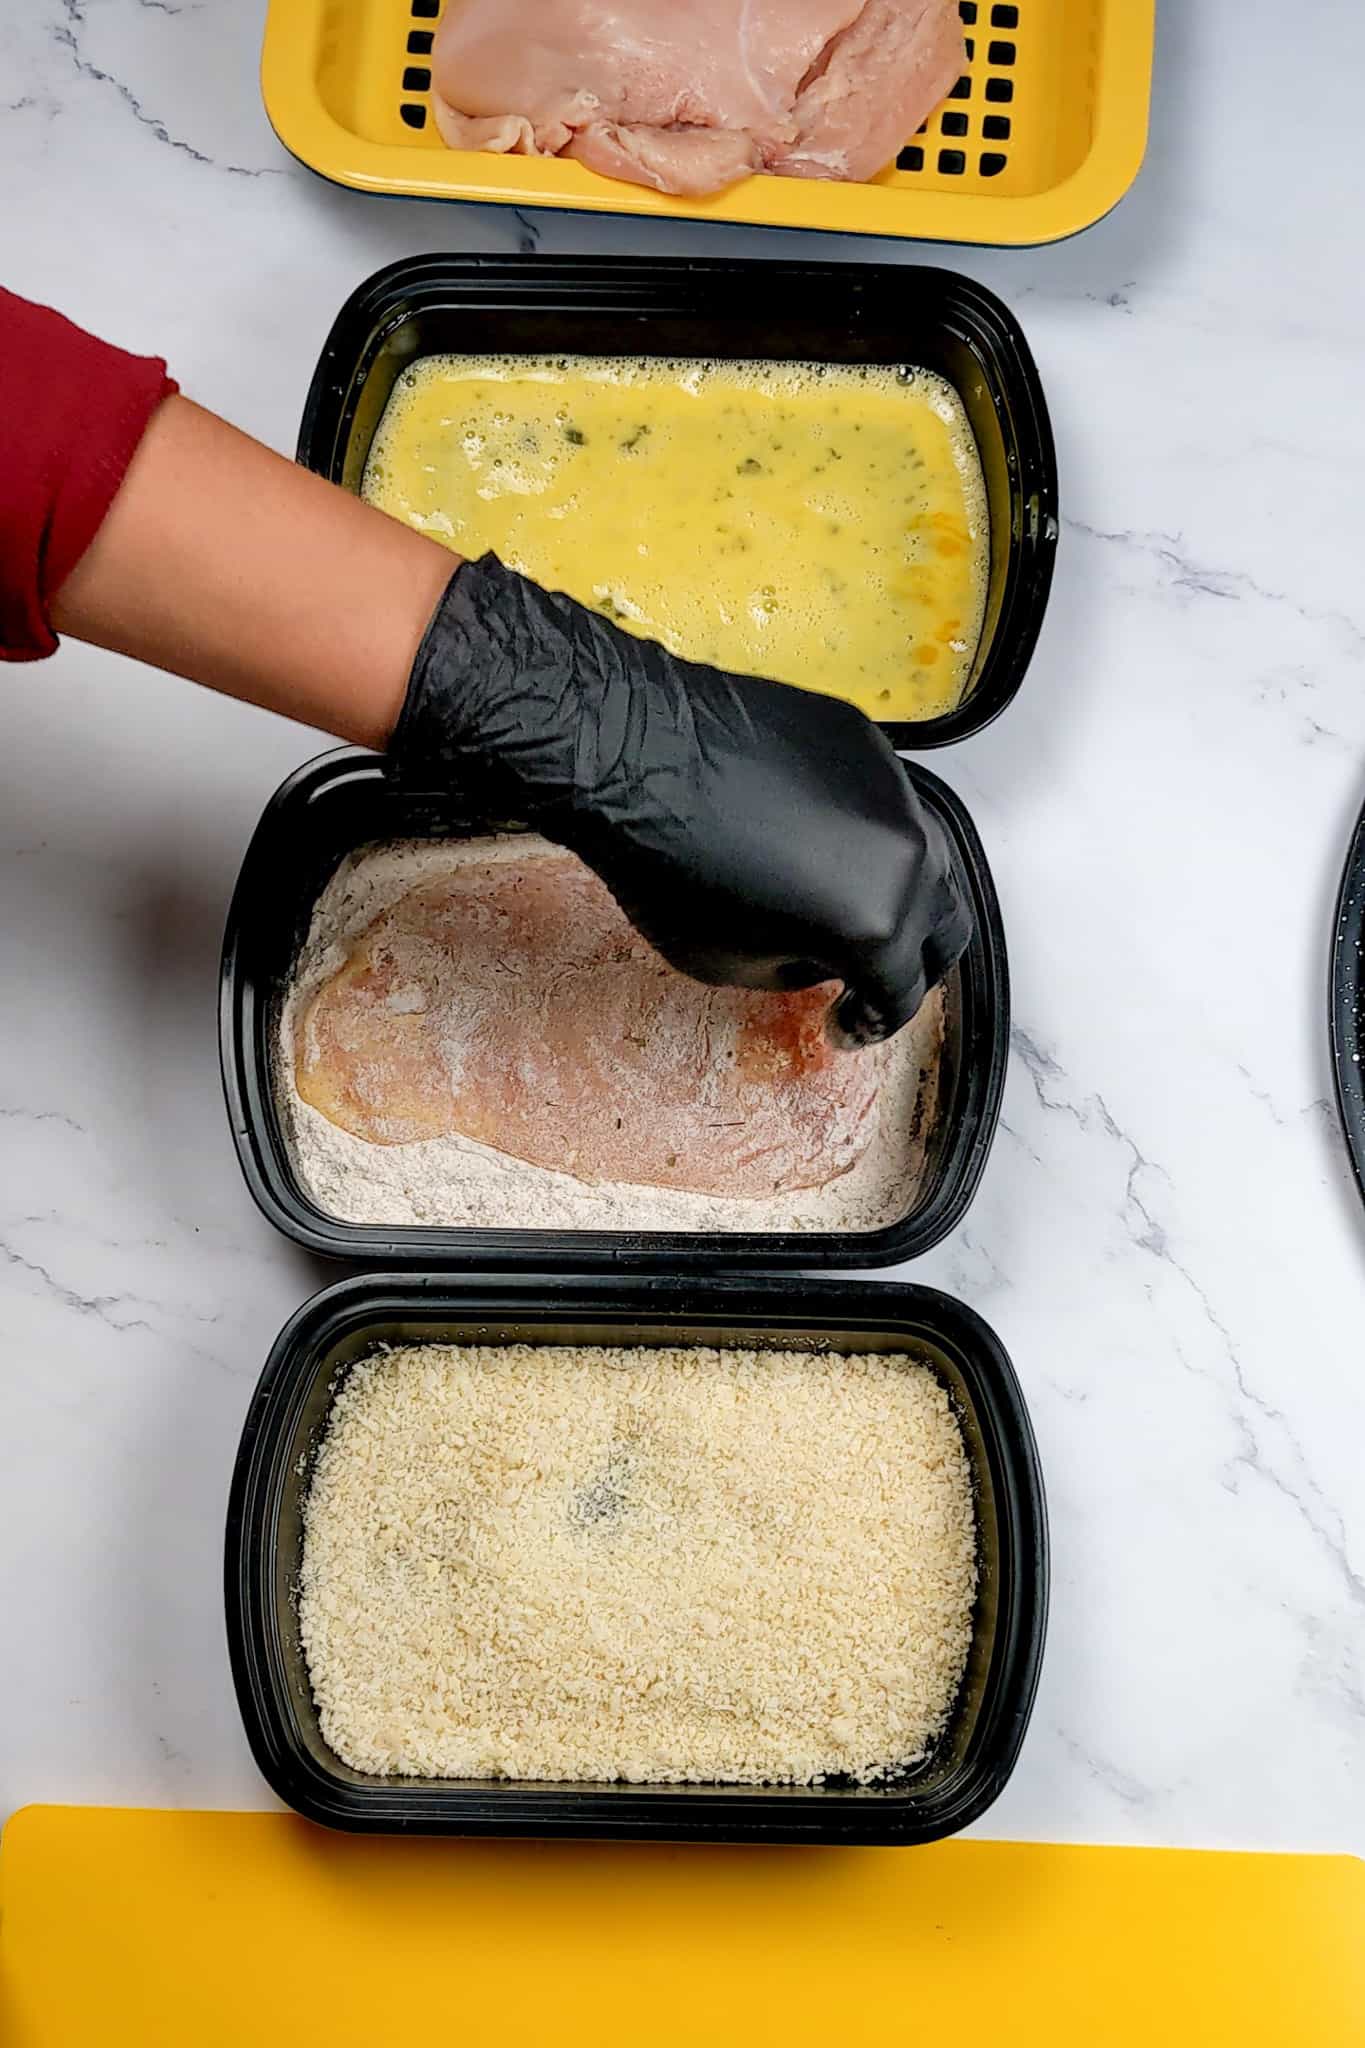
Dredge in Flour. Coat each piece of chicken lightly in flour. This step helps the egg cling to the surface. Shake off excess.
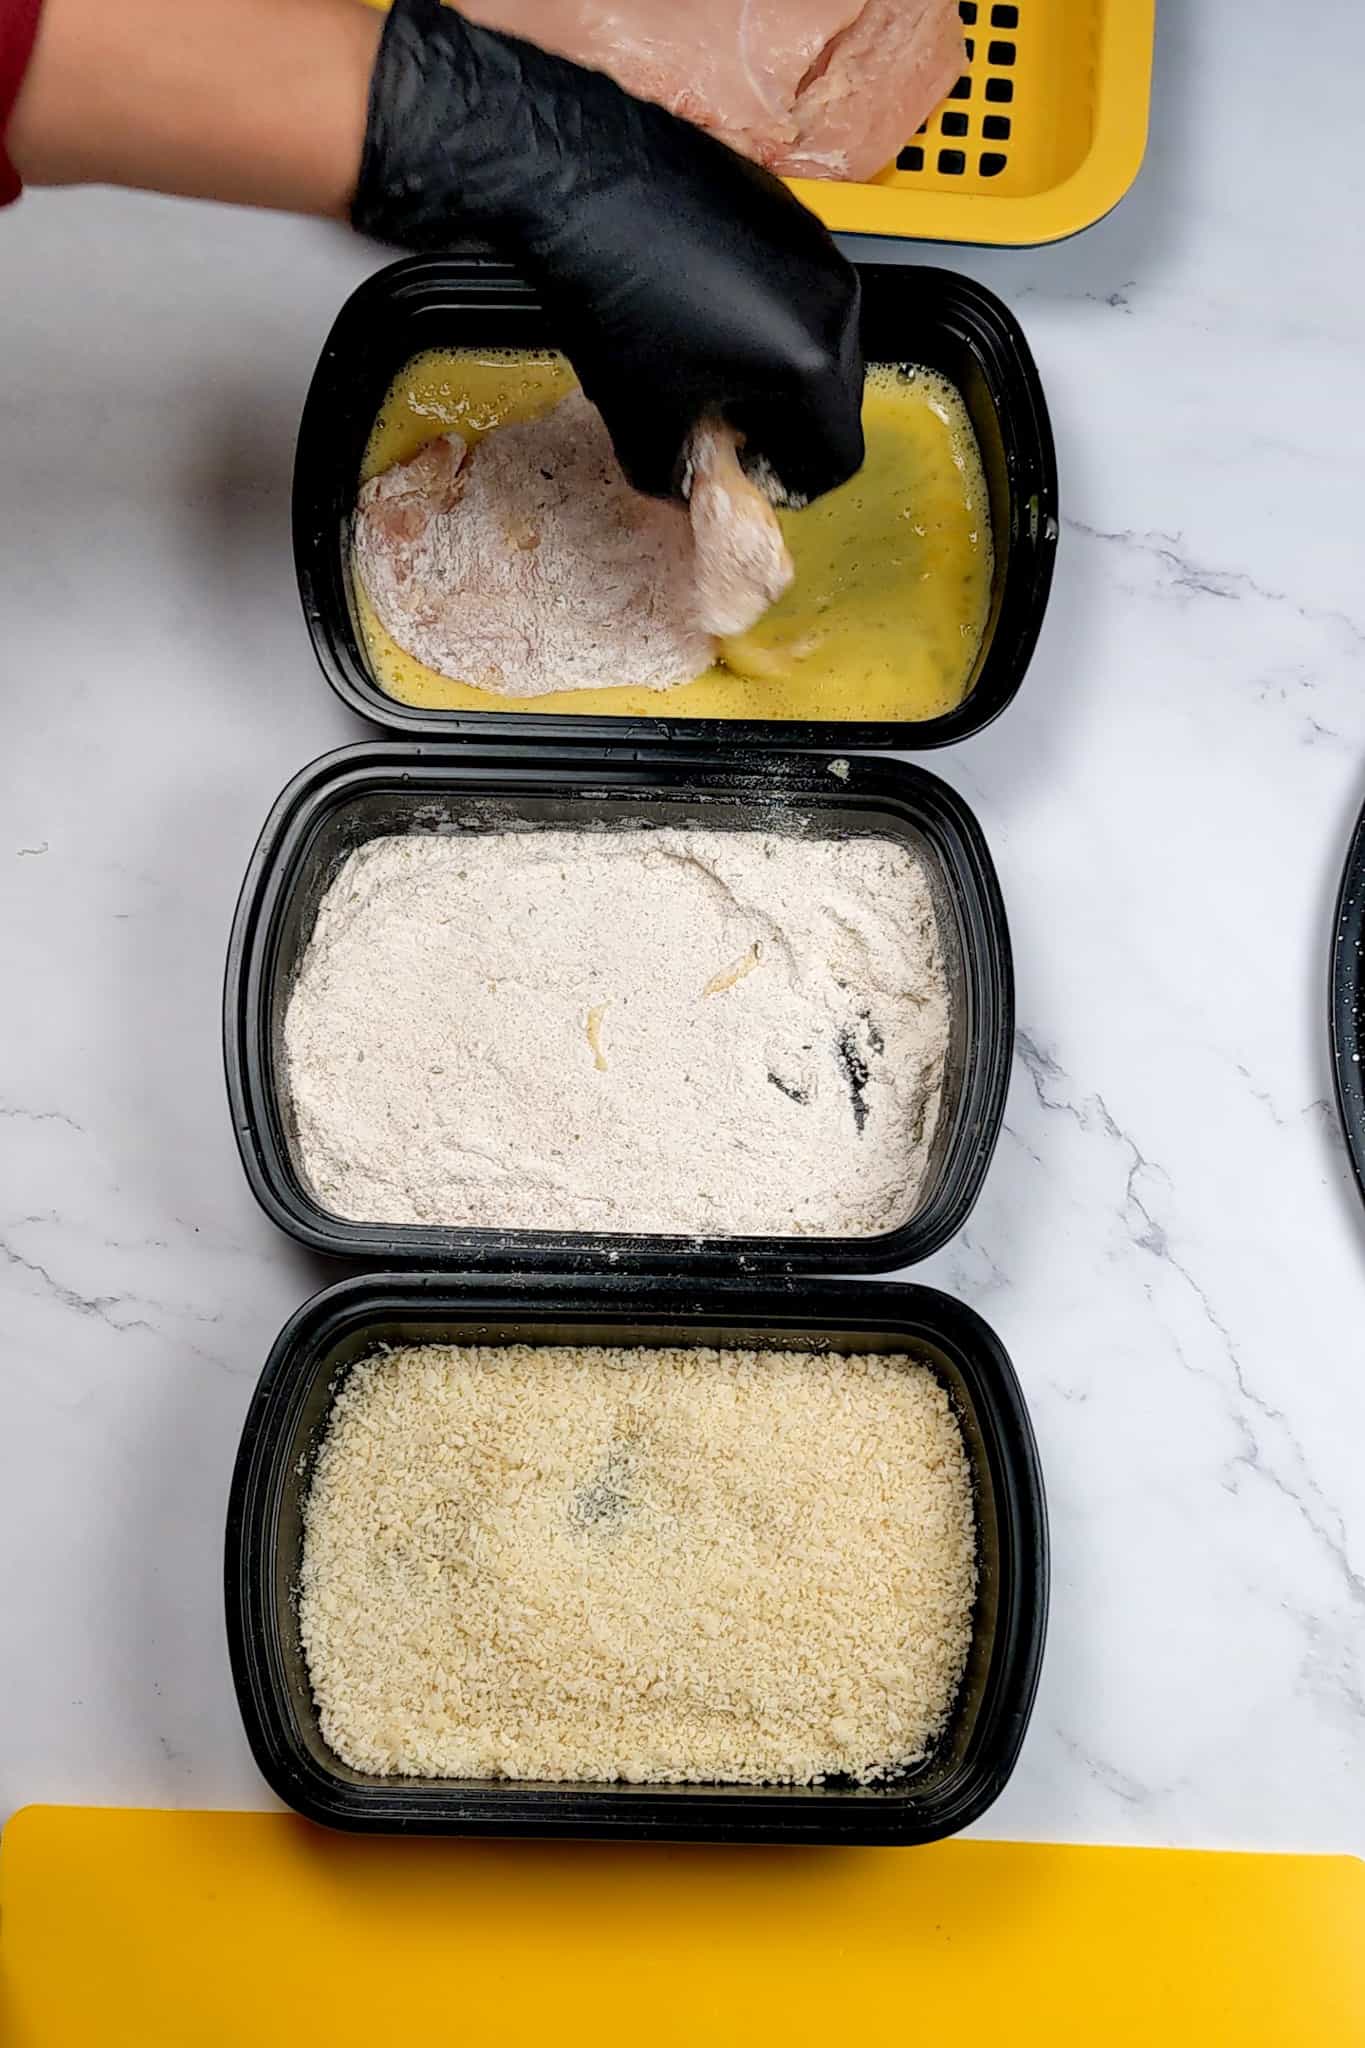
Dip in Egg Wash. Submerge the floured chicken in beaten eggs. This is your "glue" layer. Make sure the chicken is fully coated.
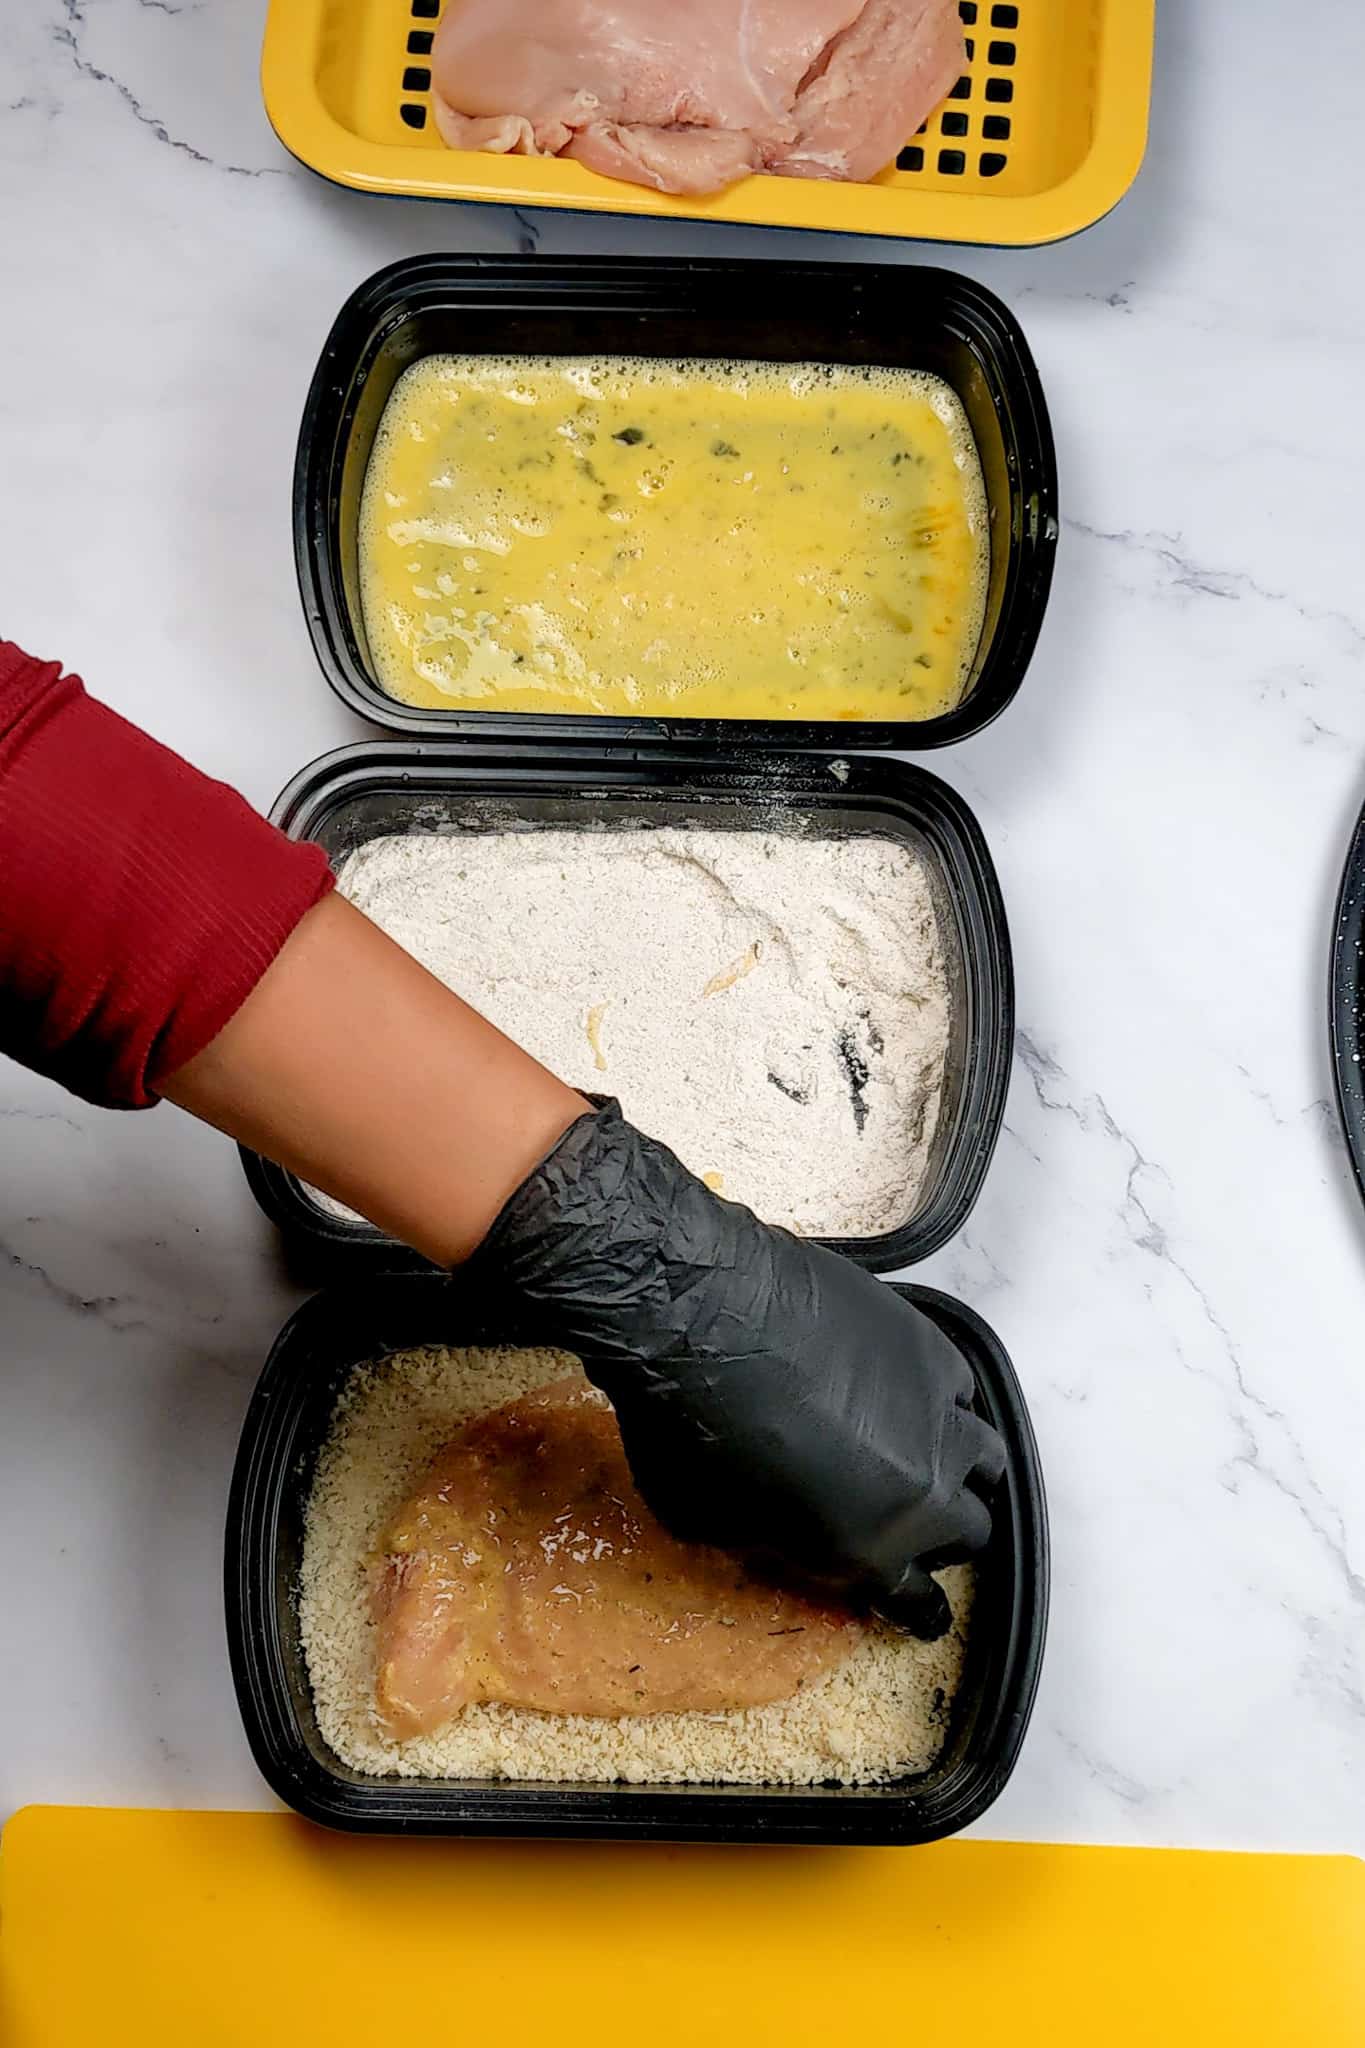
Coat in Breadcrumbs. Press the chicken firmly into the breadcrumbs on both sides for full coverage. For extra crunch, use panko or even a mix of panko and Parmesan.
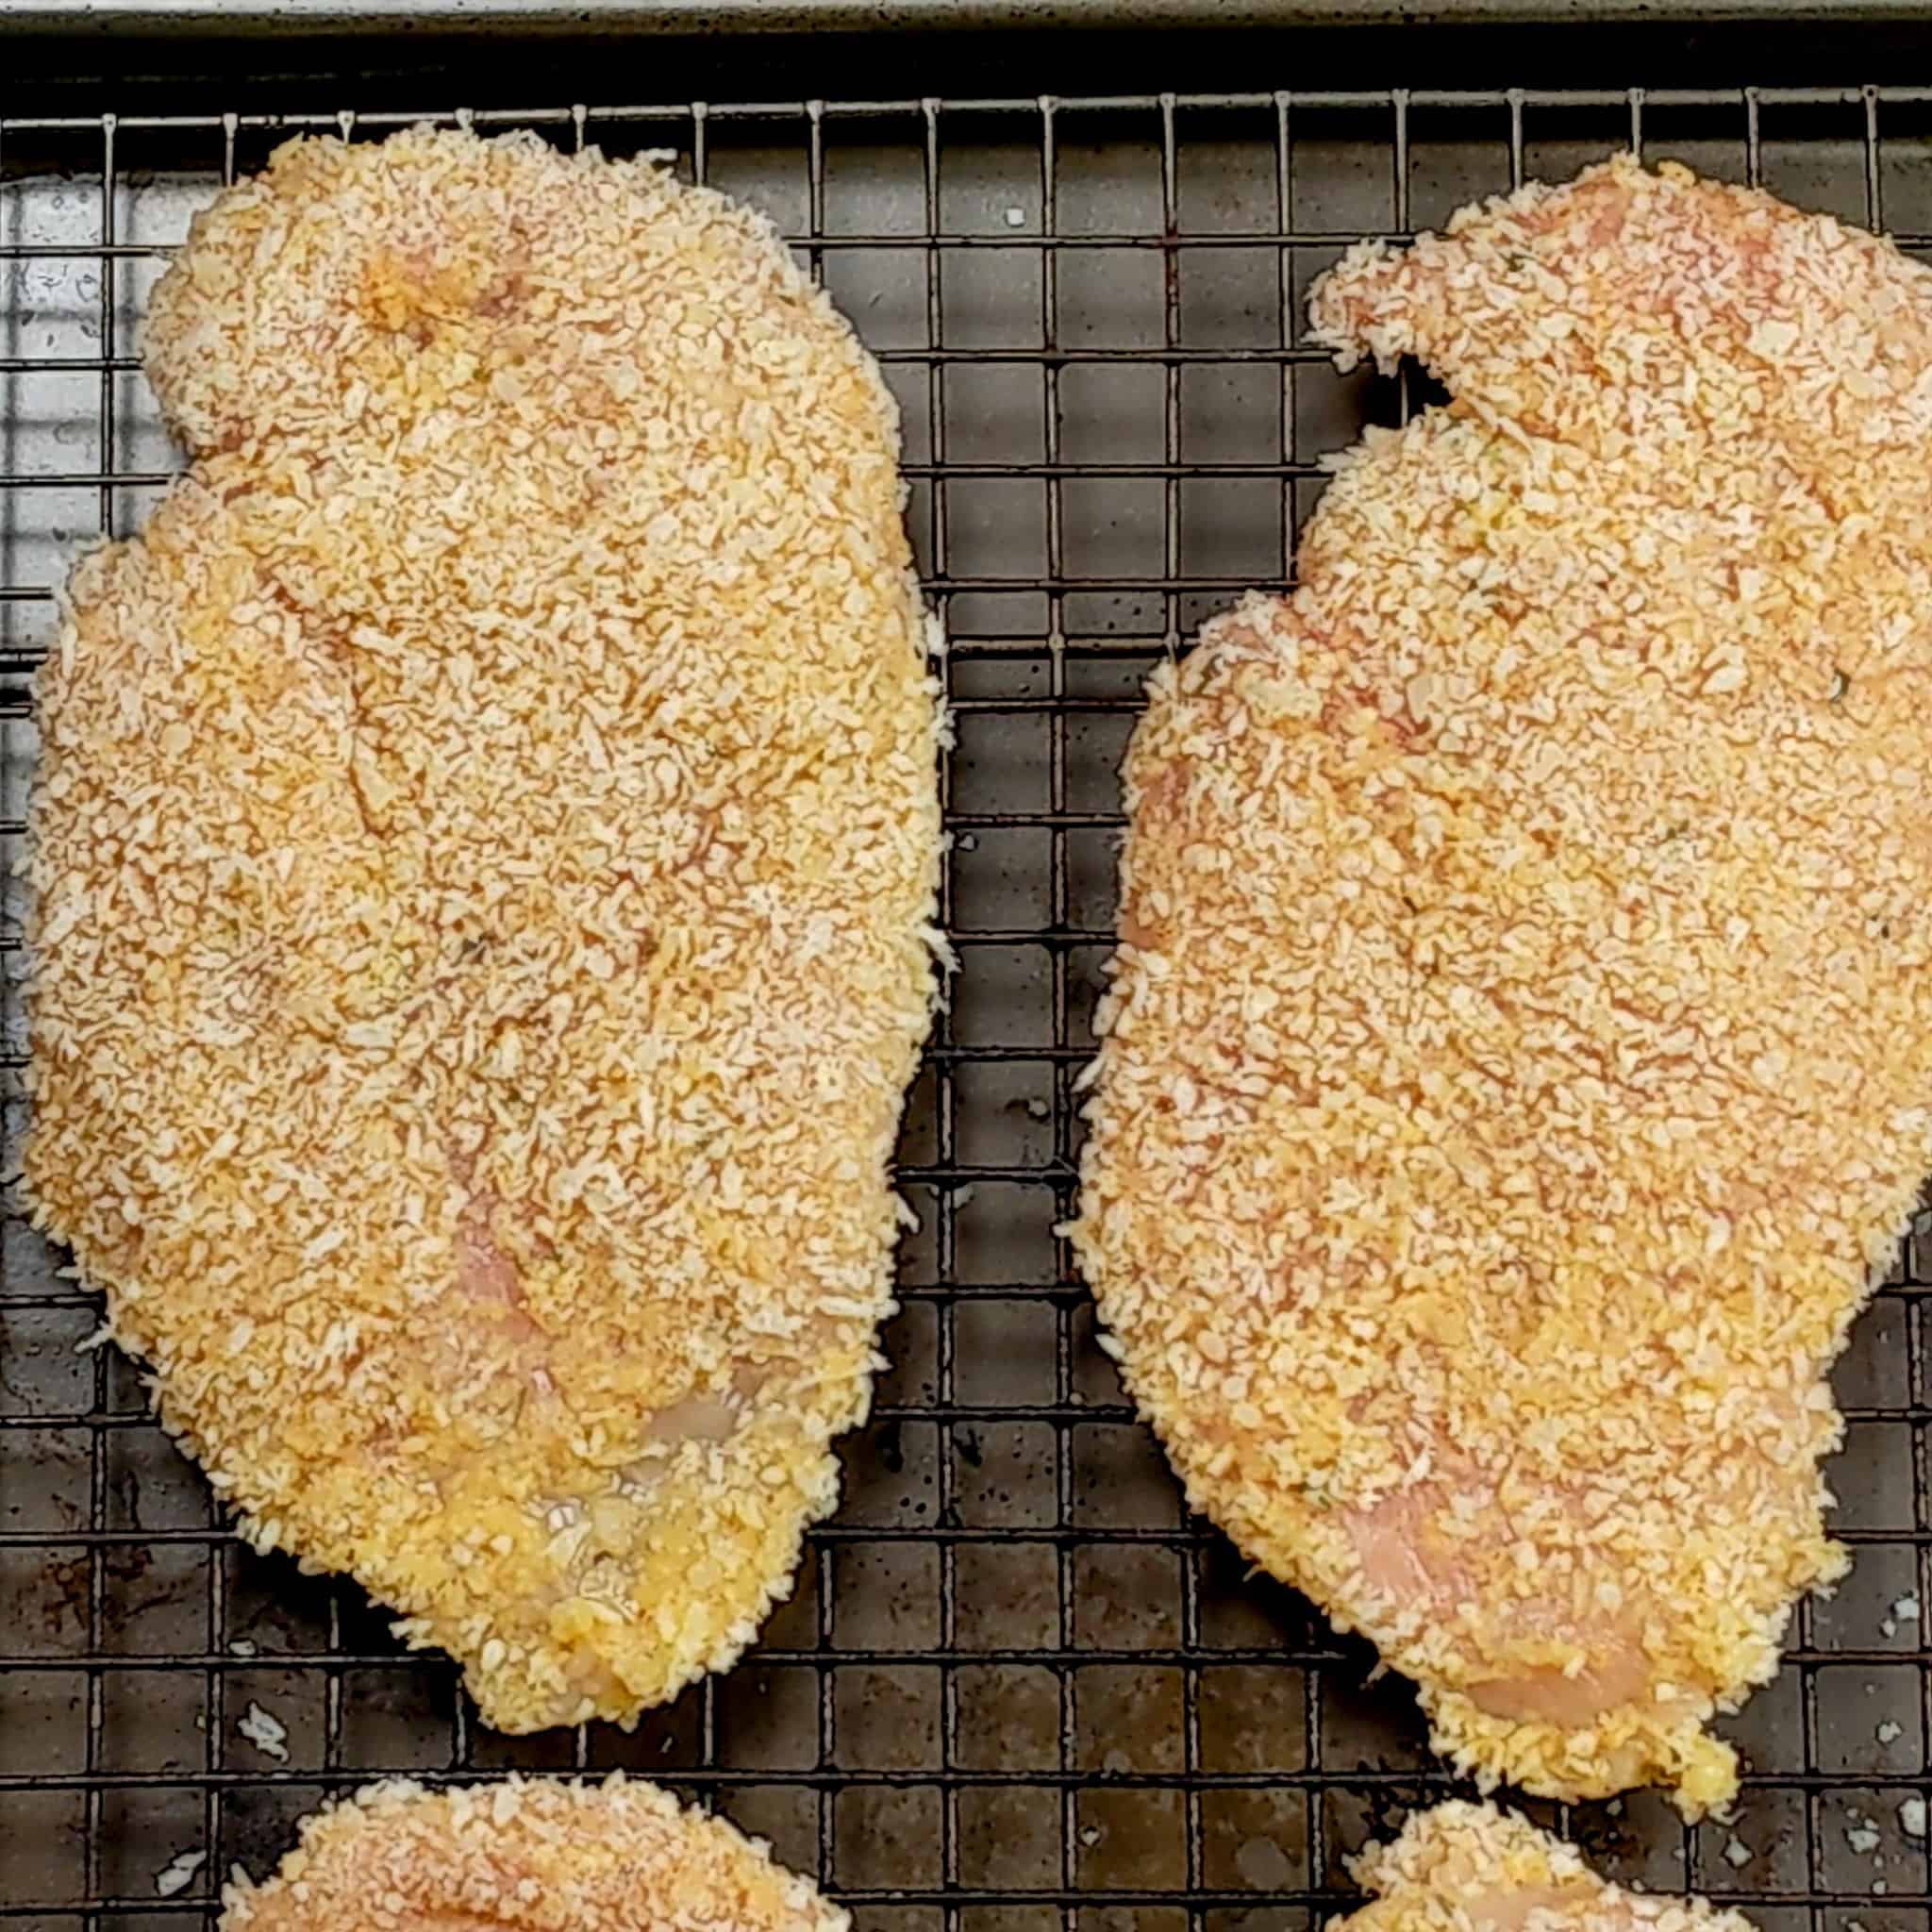
Rest Before Cooking. Place breaded chicken on a wire rack or tray for 5-10 minutes before frying, baking, or air frying. Resting helps prevent the coating from falling off.
Master to Customize. Breading chicken is one of those foundational cooking skills that makes home cooking feel instantly more restaurant-quality. Once you've mastered the flour-egg-breadcrumb method, you can customize it endlessly with different seasonings and cooking styles.
How to Make Lightly Breaded Chicken
Not every recipe calls for a thick, crunchy crust; sometimes, you just want a thin, golden layer that adds flavor without overpowering the chicken. This is where lightly breaded chicken comes in.
Steps for Light Breading:
- Skip the full breading station. Instead of the classic flour-egg-breadcrumb method, just dredge the chicken in seasoned flour or cornstarch.
- Optional light egg wash. If you want a touch more coating, dip the floured chicken quickly in beaten egg, then back into a very light dusting of flour.
- Shake off excess. The key is to keep the coating thin, tap or shake each piece to remove extra flour before cooking.
- Cook in a hot pan or air fryer. Because the coating is so thin, it crisps up quickly and lets the flavor of the chicken shine through.
Why Use This? This technique is great for stir-fries, chicken piccata, or dishes where you want sauce to cling to the chicken without a heavy crust.
Quick Reference: Lightly Breaded vs. Classic Breading
| Feature | Lightly Breaded Chicken | Classic Breaded Chicken |
|---|---|---|
| Coating Thickness | Thin, light dusting of flour or cornstarch | Full 3-step dredge: flour → egg → breadcrumbs |
| Texture | Delicate, lightly crisp | Thick, crunchy, golden crust |
| Flavor | Lets chicken and sauces shine | Layers of seasoning built into each step |
| Cooking Time | Stir-fries, chicken piccata, and saucy dishes | Faster crisping due to thin coating |
| Best For | Layers of seasoning are built into each step | Chicken Parmesan, schnitzel, cutlets, tenders |
When to Use: Think of lightly breaded chicken as your go-to when you want a subtle coating that works with sauces, while classic breading delivers that hearty crunch perfect for stand-alone crispy chicken dishes.
Equipment
Here's what you'll need to follow these procedures with ease:
- Three Shallow Bowls or Dishes (or ⅛ Sheet Pans) - Set up your breading station with one for seasoned flour, one for beaten eggs, and one for breadcrumbs.
- Using shallow bowls keeps things tidy, but ⅛ sheet pans are a chef's secret weapon; they're roomy enough to coat chicken without crowding, and the raised edges prevent spills.
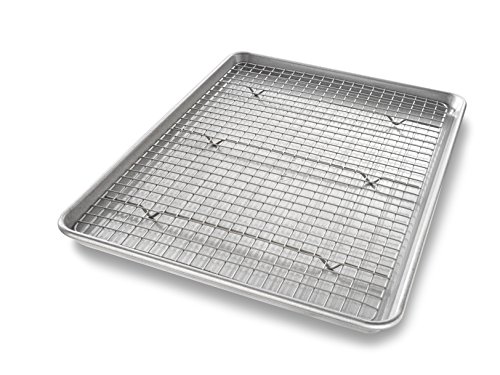
- Sheet Pan or Wire Rack - After breading, place chicken on a sheet pan lined with parchment or on a wire rack.
- Resting before cooking allows the coating to set, which helps it stay on during frying or baking.
- Tongs or Forks - Useful for moving chicken from one coating step to another without breading your fingers. If you're using your hands, go with the "one wet hand, one dry hand" method.
- Gloves (Optional) - Disposable gloves are helpful if you don't like handling raw chicken directly or if you're prepping a big batch.
- Frying Pan or Skillet - Perfect for shallow frying breaded chicken. A heavy-bottomed skillet ensures even cooking and browning.
- Air Fryer or Oven - Both make excellent lower-oil options. Spray lightly with oil before cooking to achieve a crispy crust.
- Paper Towels & Plate - Use these to drain excess oil after frying, keeping the coating crisp.
- Instant-Read Thermometer - Great for peace of mind. Check that the chicken has reached 165°F internally for safe eating without overcooking.
- Learn more about proper temperatures to avoid foodborne illnesses.
Kitchen Must-Haves Reviews
Find a collection of my reviews of kitchen equipment that I have purchased or recommend. Kitchen Must-Haves - Find other tools I use here.
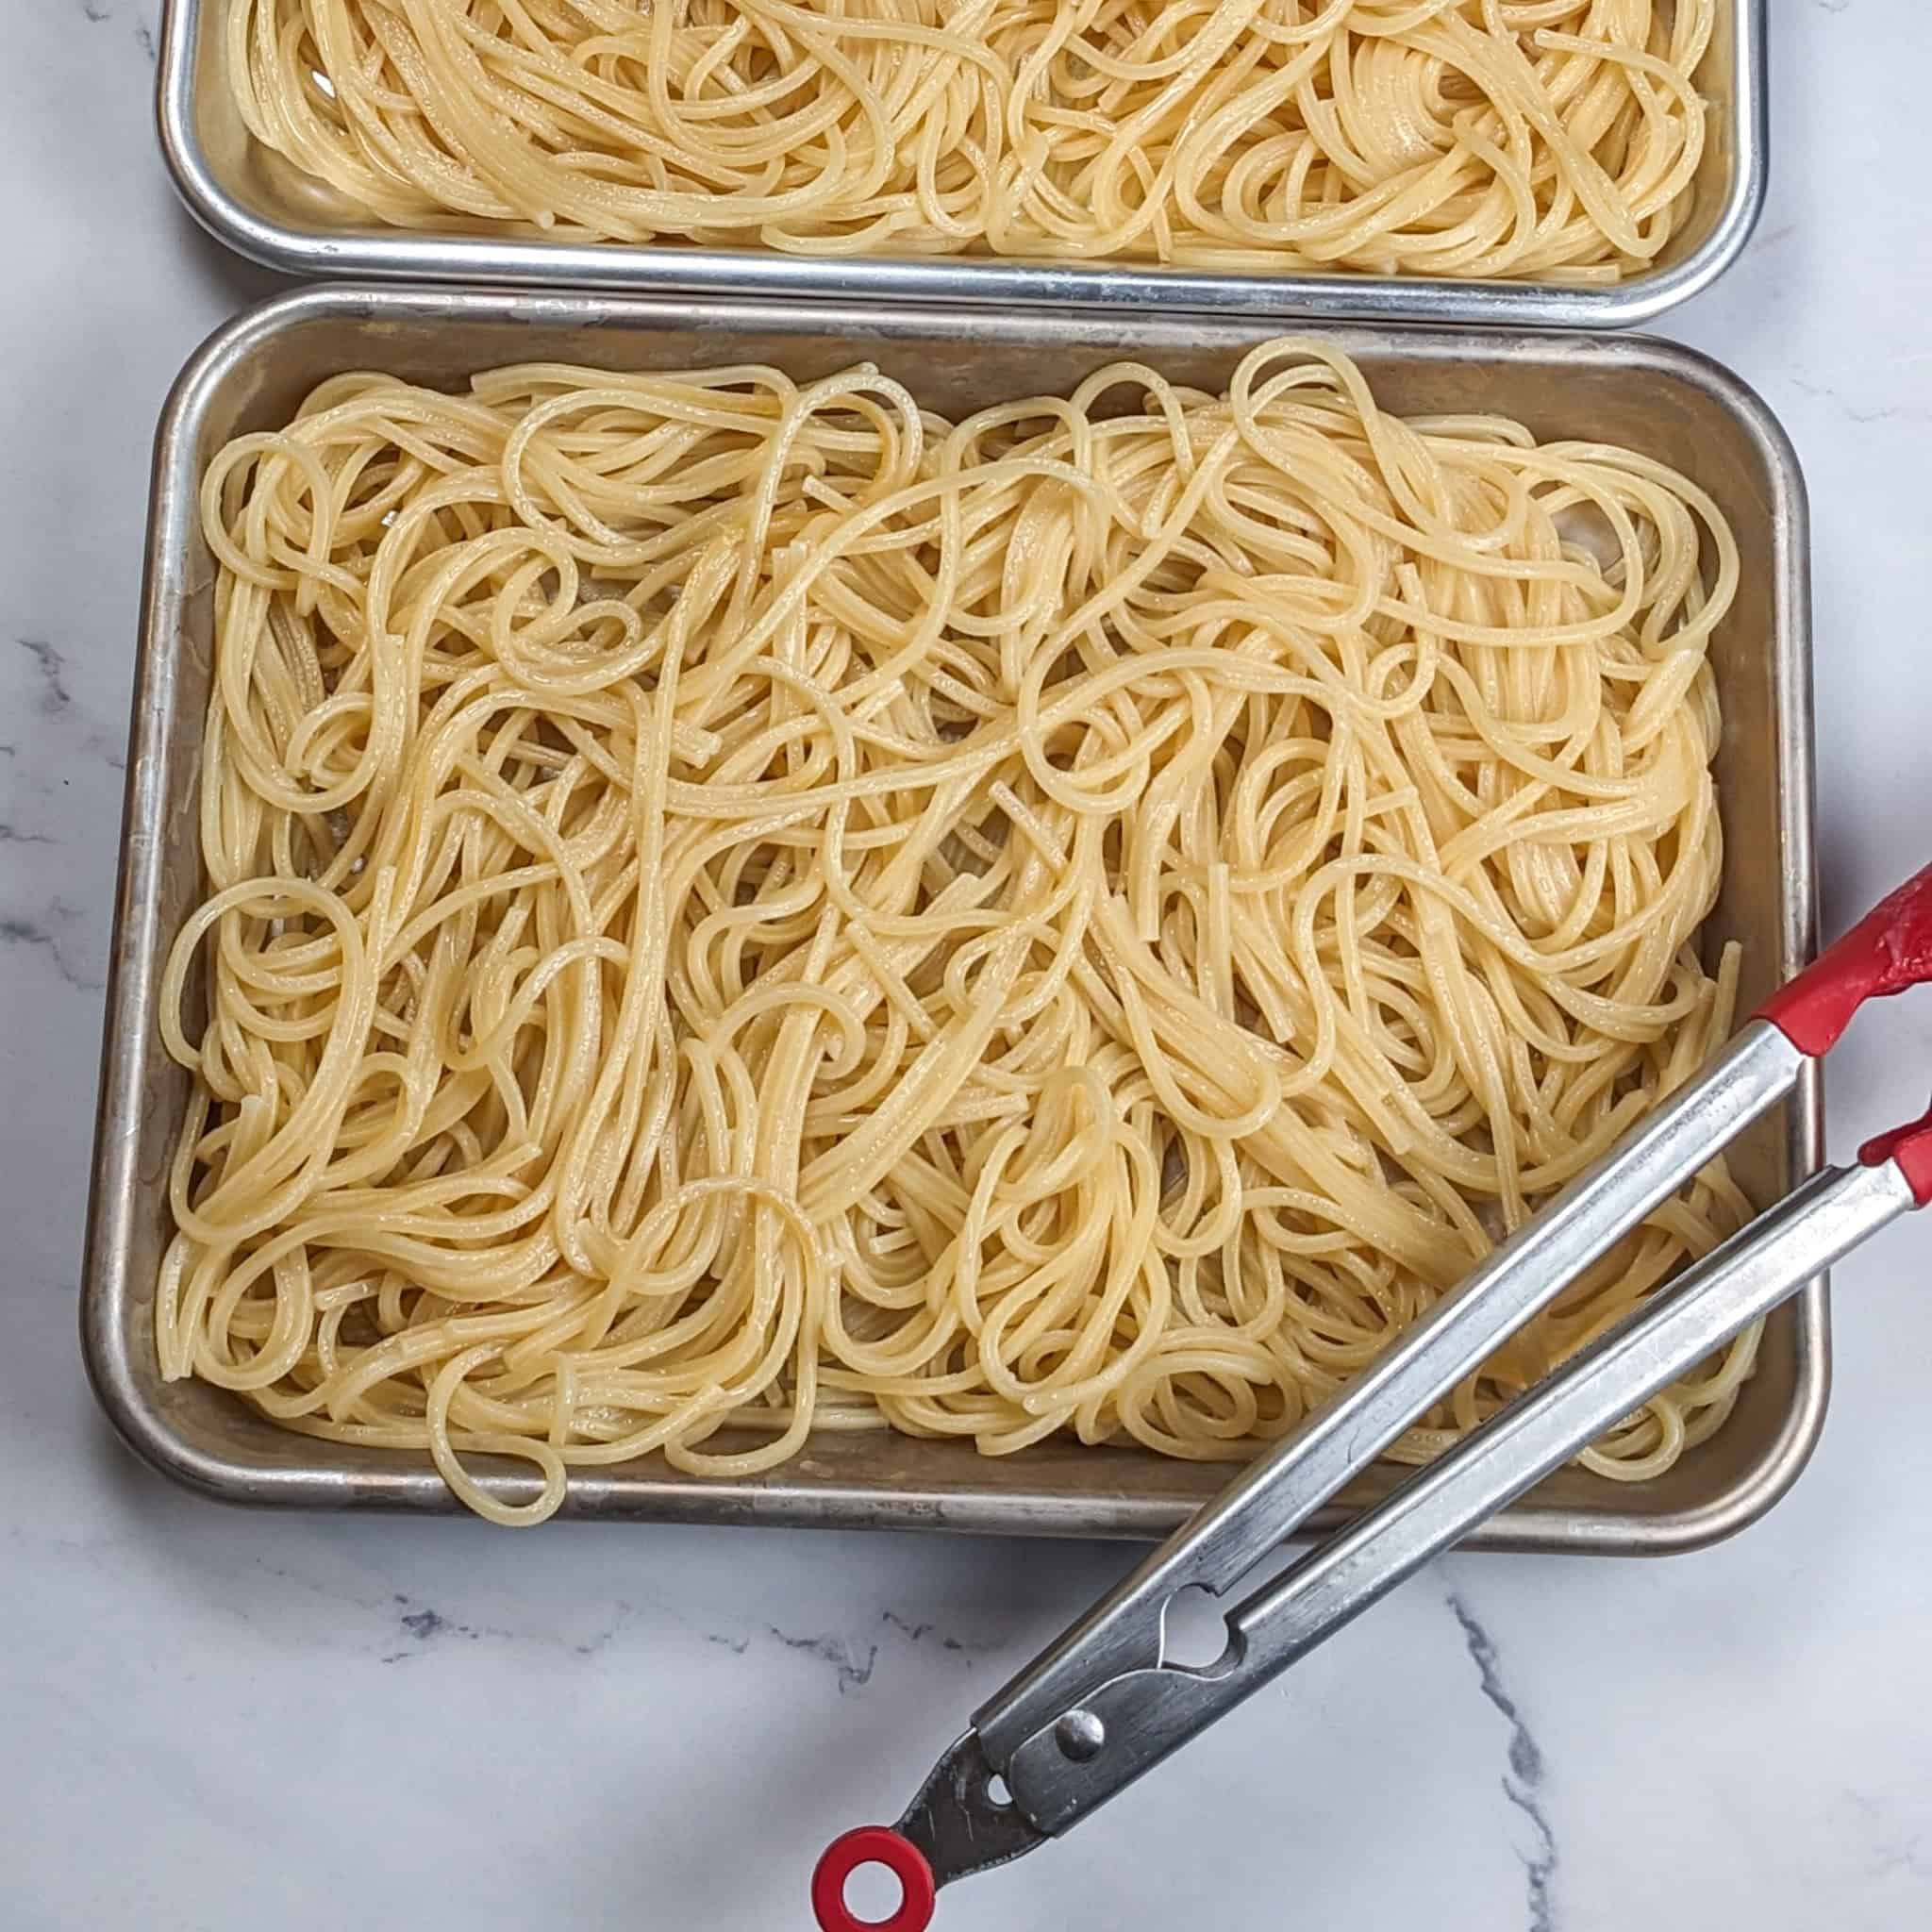
My Review: The Nordic Ware ⅛ Sheet Pan is one of those versatile tools I find myself reaching for daily, which is why I love keeping several on hand. Its sturdy aluminum build makes it perfect for everything from setting up a breading station to neatly holding prepped ingredients, and even spreading out hot pasta to cool quickly without sticking. Lightweight yet durable, it’s the ideal size for small tasks that make a big difference in keeping my kitchen organized and efficient. The only thing to note is that if you run them through the dishwasher, the finish will change, so hand washing is best to keep them looking their best.
My Review: These tongs have been indispensable kitchen tools. Their sturdy build and heat-resistant silicone tips make them dependable for various cooking tasks, from flipping delicate fish fillets to pulling a hot oven rack, ensuring they're a valuable addition to my kitchen. The only problem I've had is grasping items with the tip. Silicone tongs are flexible and are not sturdy enough to pick heavy things with their tips. So I gave it a 4 out of 5. Hence, the reason why I still keep my metal tongs.

My Review: The USA Pan Bakeware Half Sheet Baking Pan and Nonstick Cooling Rack Set is such a smart buy, it’s incredibly convenient to have both the pan and rack come together as a set. You never know when you’ll need the rack for roasting, cooling, or glazing, and having it perfectly fitted to the pan saves so much time and hassle. The pan itself is super sturdy with excellent heat distribution, and the nonstick rack makes cleanup a breeze. I’ve used it for everything from baking cookies to roasting vegetables and even draining fried foods. It’s one of those kitchen upgrades that just makes life easier.
Review: The Cosori Turbo Blaze Air Fryer has been an absolute big help in my kitchen! The large basket is perfect for cooking bigger portions, and cleanup is a breeze—just toss it in the dishwasher, and it comes out spotless with no damage. I also love the thoughtful design, with a flat grid basket and silicone feet that prevent scratching and are super easy to remove and reinsert. The big, clear display with multiple preset temperature and time options makes cooking so quick and hassle-free, taking all the guesswork out of the process. Honestly, I love it so much that I haven’t had to pull out my Ninja air fryer since getting this one!

Freezer Storage Instructions
Learn how to properly store your breaded chicken for future use so that they stay fresh and flavorful.
Breaded chicken can be frozen before cooking, making it a handy make-ahead option for quick weeknight meals. After breading, arrange the chicken in a single layer on a parchment-lined sheet pan and freeze until solid, about 1-2 hours. Once frozen, transfer pieces to a freezer-safe bag or airtight container, placing parchment paper between layers to prevent sticking.
When you're ready to cook, do not thaw; cook straight from frozen for the crispiest results. Bake at 400°F until the coating is golden and the internal temperature reaches 165°F (cooking time will take longer than fresh). For air frying, cook from frozen in a preheated air fryer at 375°F, flipping halfway, until cooked through.
Substitutions
Find easy ingredient swaps to fit dietary needs or what you already have in your pantry.
Dairy-Free
- Egg Wash Alternative - Eggs are not dairy, but use unsweetened plant-based milk mixed with a spoonful of cornstarch or ground flaxseed to help breadcrumbs stick. Or use a plant-based liquid egg alternative.
- Cheese Flavor Swap - Replace Parmesan in the breadcrumb mix with nutritional yeast, which adds that nutty, umami-rich flavor.
- Vegan Cheese Substitute - Finely grate a dairy-free cheese and mix it into your breadcrumbs for extra flavor and melt.
- Umami Boost - Add a sprinkle of umami seasoning (like mushroom powder, seaweed flakes, or soy-based blends) to mimic the depth of Parmesan. Try my Homemade Umami Seasoning Blend recipe.
Gluten-Free
- Flour Substitute - Replace all-purpose flour with rice flour, cornstarch, or potato starch for dredging. These create a light coating that holds up well during frying or baking.
- Breadcrumb Substitute - Use gluten-free breadcrumbs, available in most grocery stores, or try crushed cornflakes, gluten-free crackers, or ground oats for a crunchy coating.
- Panko Alternative - Many brands now sell gluten-free panko made from rice or corn; they deliver the same airy, crispy texture as traditional panko.
- Quick DIY Option - Pulse leftover gluten-free bread in a food processor, then toast the crumbs in the oven until dry and golden.
Vegetarian
- Mushrooms - Large mushrooms like portobello caps or thick-cut oyster mushrooms are perfect for breading. Their meaty texture holds up well, and once fried or baked, they become juicy inside with a crispy coating outside. Great for mushroom "cutlets" or sandwiches.
- Tofu - Use extra-firm tofu, press out excess water, and slice into cutlets or cubes. Dredge in flour, dip in egg wash (or plant-based alternative), and coat in breadcrumbs.
- Tofu soaks up seasonings beautifully, making it a blank canvas for different flavors.
- Check out my breaded tofu recipe, like the Herb Panko Tofu with Curried Potatoes, Carrots and Onions or Bang Bang Crispy Tofu with Egg Fried Brown Rice.
A Versatile Technique. The breading technique isn't just for chicken; you can apply the same steps to vegetarian proteins and vegetables for delicious results. Both options work well baked, shallow-fried, or air-fried, giving vegetarians (and flexitarians) a satisfying crispy dish that can stand alone or be paired with sauces like marinara, curry, or lemon butter.
5 Prepping Tips
Cook's Notebook is your Cooking Tips Resource Guide. Become a better home cook with tips to help you cook more efficiently.
- Season Every Layer - Don't rely only on the breadcrumbs for flavor. Add salt, pepper, and your favorite spices to the flour and the breadcrumb mixture. A little garlic powder, paprika, or Italian seasoning can transform the final taste and ensure every bite is well-seasoned from the inside out.
- Chill Before Cooking - After breading, place the chicken on a tray and chill it in the fridge for about 15 minutes. This step allows the coating to "set," which helps prevent it from sliding off while cooking and creates an even crisper crust once it hits the heat.
- Pick Your Crunch Style - For an airy, light crunch, go with panko breadcrumbs. If you prefer a denser, more traditional coating, Italian-style breadcrumbs with herbs already mixed in give you a classic flavor. You can even combine the two for the best of both worlds.
- Give It Space - Whether frying or air frying, avoid crowding the pan. Overlapping pieces steam instead of crisping, which leads to soggy breading. Cook in batches if needed, your patience will be rewarded with golden, crispy chicken.
- Boost Oven-Baked Results - If you're baking instead of frying, lightly spray the breaded chicken with oil before placing it in the oven. This encourages browning and mimics the golden color and crunch you'd normally get from pan-frying. A wire rack set over a baking sheet works best so heat can circulate around the chicken.
Frequently Asked Questions
Here, you will find a list of common questions that I have answered about breading chicken. If you have questions, please write them in the comment section below.
Yes. Bread the chicken, place it on a tray, cover, and refrigerate for up to 24 hours before cooking.
Swap all-purpose flour for rice flour or cornstarch, and use gluten-free breadcrumbs or crushed cornflakes.
The chicken may have been too wet before flouring, or you didn't let the coating rest before cooking.
Absolutely. Bake at 400°F for 20-25 minutes, flipping halfway, or use an air fryer for faster, crispier results.
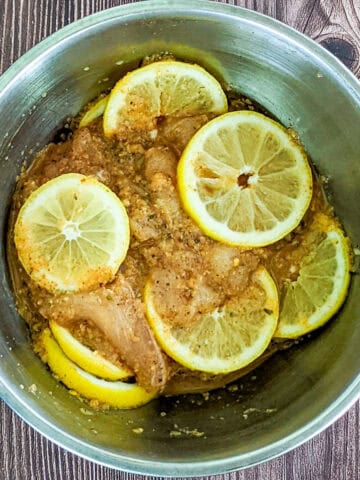
Chicken Parmesan, sandwiches, cutlets with lemon butter sauce, schnitzel, or simply serve with a fresh salad.
Delicious Chicken Recipes
Try these yummy, easy chicken recipes.
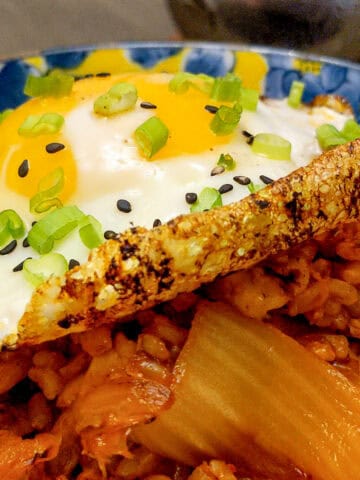
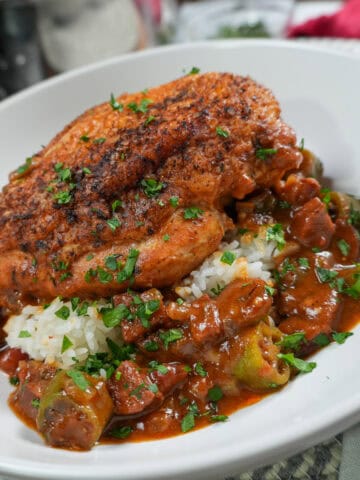
- Kimchi Fried Rice Recipe - Simple Base You Can Build On
- Pan-Roasted Chicken and Andouille Sausage Gumbo
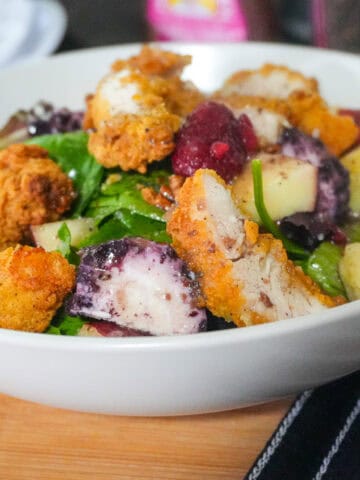
- Fresh Berry Apple Pecan Chicken Salad with Goat Cheese
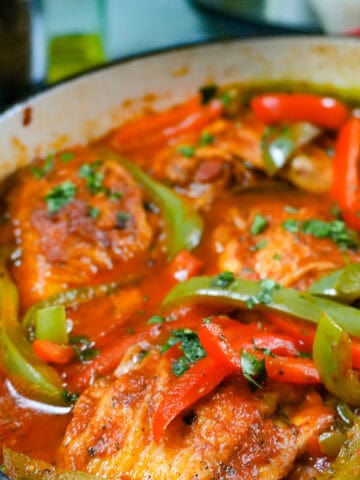
- Braised Chicken | Mexican-Style with Roasted Tomato Sauce
Cooking Tips and Tutorials
If you found this tutorial helpful on how to bread chicken, you'll love my Cook's Notebook collection. From knife skills and flavor bases to time-saving tricks and essential equipment guides, this section is packed with chef-tested lessons to help you cook with confidence.
- Spring Seasonal Produce Guide: What to Cook Fresh This Season
- Best Food Audiobooks for Chefs & Home Cooks
- Winter Seasonal Produce Guide: What's In Season
- What Is HACCP and Why Every Home Cook Should Care About It

Subscribe to the YouTube Channel
SUBSCRIBE: 👈To my YouTube Channel to Get Notifications of New Videos.


Chef Maika Frederic-Liebman
Chef and Educator
Haitian-American chef and educator Maika Frederic blends bold flavors with approachable recipes. With a background in professional kitchens, classrooms, and children's therapy, she brings a thoughtful, inclusive touch to every dish as a trained chef, former teacher, and technician. Through her platform, Just Maika Cooking, she shares diverse meals and practical tips to empower home cooks of all ages and levels.
Have a Comment or Question?
If you have a question or comment about this post on how to bread chicken, please post it below. You will definitely get a quick response. It also helps our other readers to stay informed. Thanks!

Leave a Reply