


This Spatchcock Turkey Backbone Gravy uses roasted mirepoix, turkey drippings, and Haitian-inspired seasoning to create a rich, silky sauce full of deep turkey flavor. It's an easy, reliable method that transforms leftover turkey parts into the perfect gravy for any holiday meal.
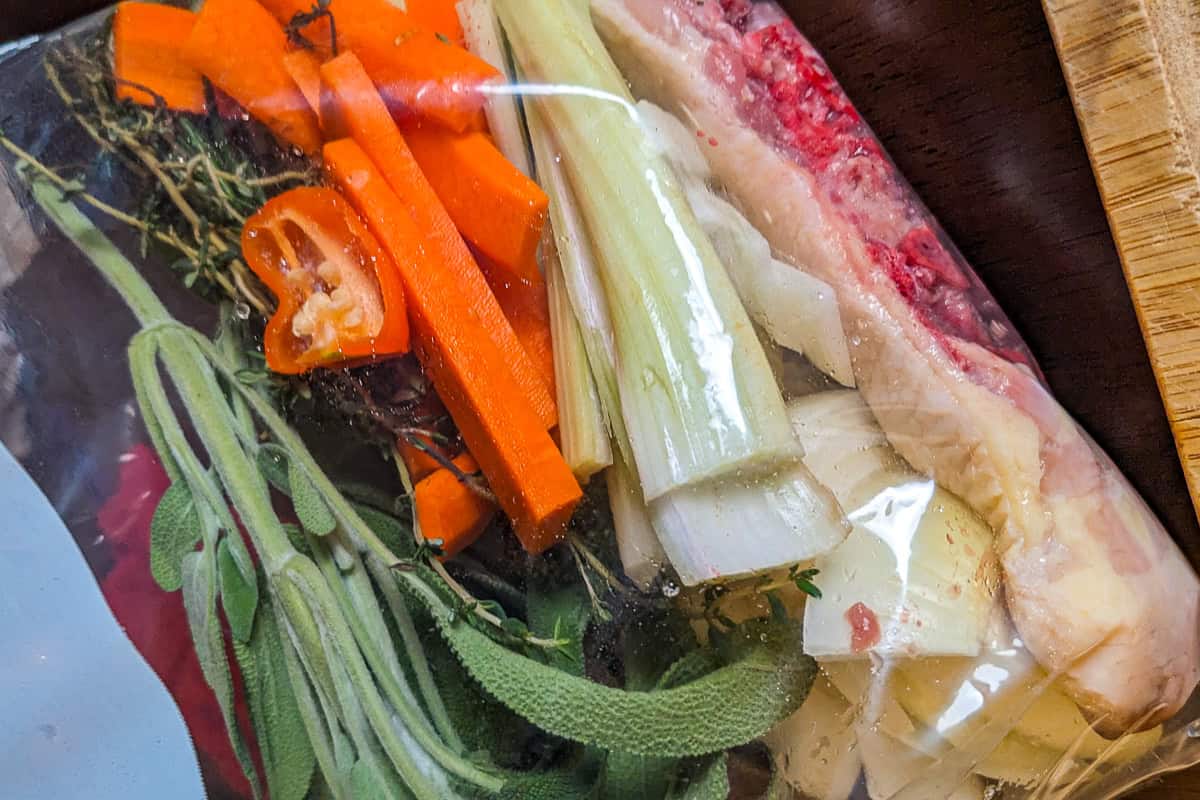
Table of Contents
Jump to:
Using Everything
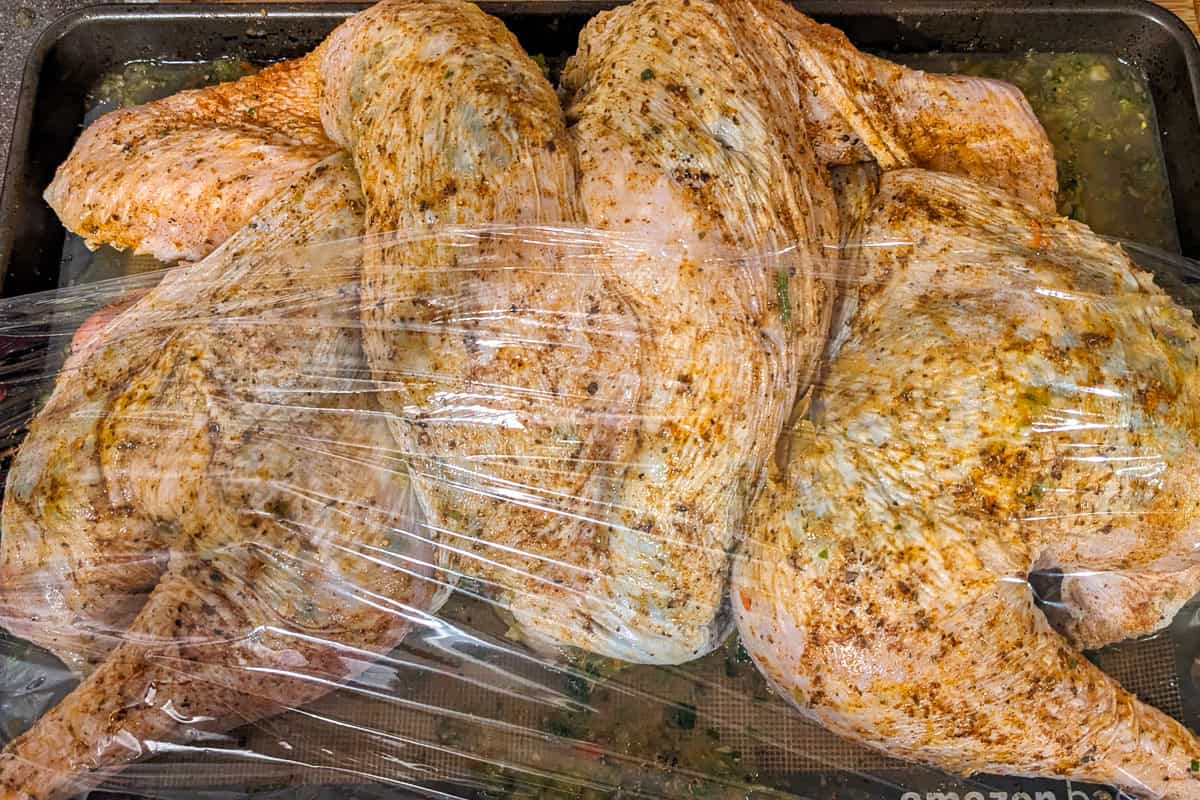
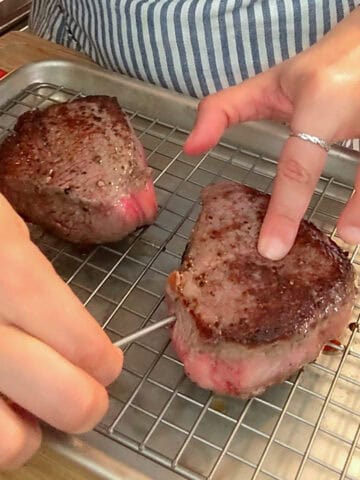
When you spatchcock a turkey, the backbone of the turkey becomes the secret to creating the best gravy of the holiday season. Instead of discarding those turkey parts, this recipe turns the backbone, neck, and giblets into a rich, golden brown gravy built on roasted mirepoix, warm Haitian-inspired seasonings, and savory pan drippings.
Everything roasts together on a rimmed baking sheet at a higher temperature, delivering deep turkey flavor without extra effort.

Backbone? The section of the turkey removed when spatchcocking; roasting it adds deep turkey flavor to stock and gravy.
Perfect Turkey Compliment
Once roasted, the aromatics and drippings simmer with turkey broth, chicken stock, or vegetable stock before being strained through a fine mesh strainer to reveal a smooth, glossy sauce.
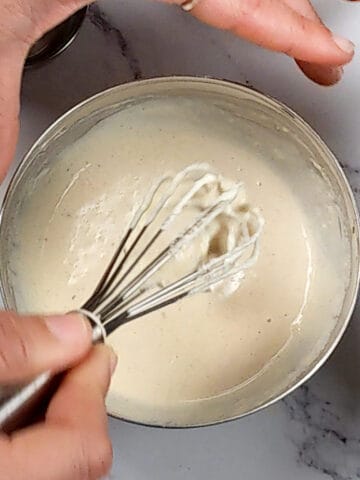
A simple roux made in a medium saucepan ties everything together, creating a gravy that pairs beautifully with your spatchcocked turkey and elevates any Thanksgiving turkey or holiday roast. It's practical, deeply flavorful, and one of the best ways to make use of the entire turkey.
Why You'll Like This
- Low Effort: Uses the turkey backbone, giblets, and drippings to build incredibly rich flavor with minimal effort.
- Robust Flavor: Roasting the mirepoix and turkey parts gives the gravy a deeper, golden brown color and savory depth.
- Super Easy: Perfect for beginners, the method is simple, repeatable, and easier than most traditional gravy recipes.
- Best Companion: Pairs beautifully with any roast turkey, especially a spatchcocked turkey cooked at a higher temperature.
- Saves on Groceries: Makes use of ingredients already on hand during Thanksgiving, helping reduce waste and stretch flavor.
Notes From Chef Maika
This method is truly one of the easiest ways I've ever made a deeply flavorful, restaurant-quality gravy. Using the backbone, giblets, and roasted vegetables builds such a rich base that the gravy practically makes itself.
If you've never made gravy from scratch before, I promise that by the end of this post, you'll see just how simple and foolproof it can be. I had to share this recipe because it's exactly what I served when I hosted Thanksgiving, and I received so many compliments on the gravy and, honestly, on the entire meal, that I knew it needed its own post.
The Golden Rule: For gravy, is 2 tablespoons of flour for every 1 cup of liquid (such as stock or drippings).
Recommended Reads
- How to Spatchcock a Chicken: Easy Step-by-Step Guide for Juicy, Even Cooking
- Easy Roasted Curry Spatchcocked Chicken and Vegetables
- Haitian Style Spatchcock Turkey (Seasoned with Epis)
- How to Make Smothered Salmon Burgers | Salisbury Steak Style
- Batch‑Prep Aromatics & Staples on Sunday Roundup
- Roasted Calabrian Pepper Spatchcock Chicken with Vegetables and Yogurt Sauce
Ingredients with Steps
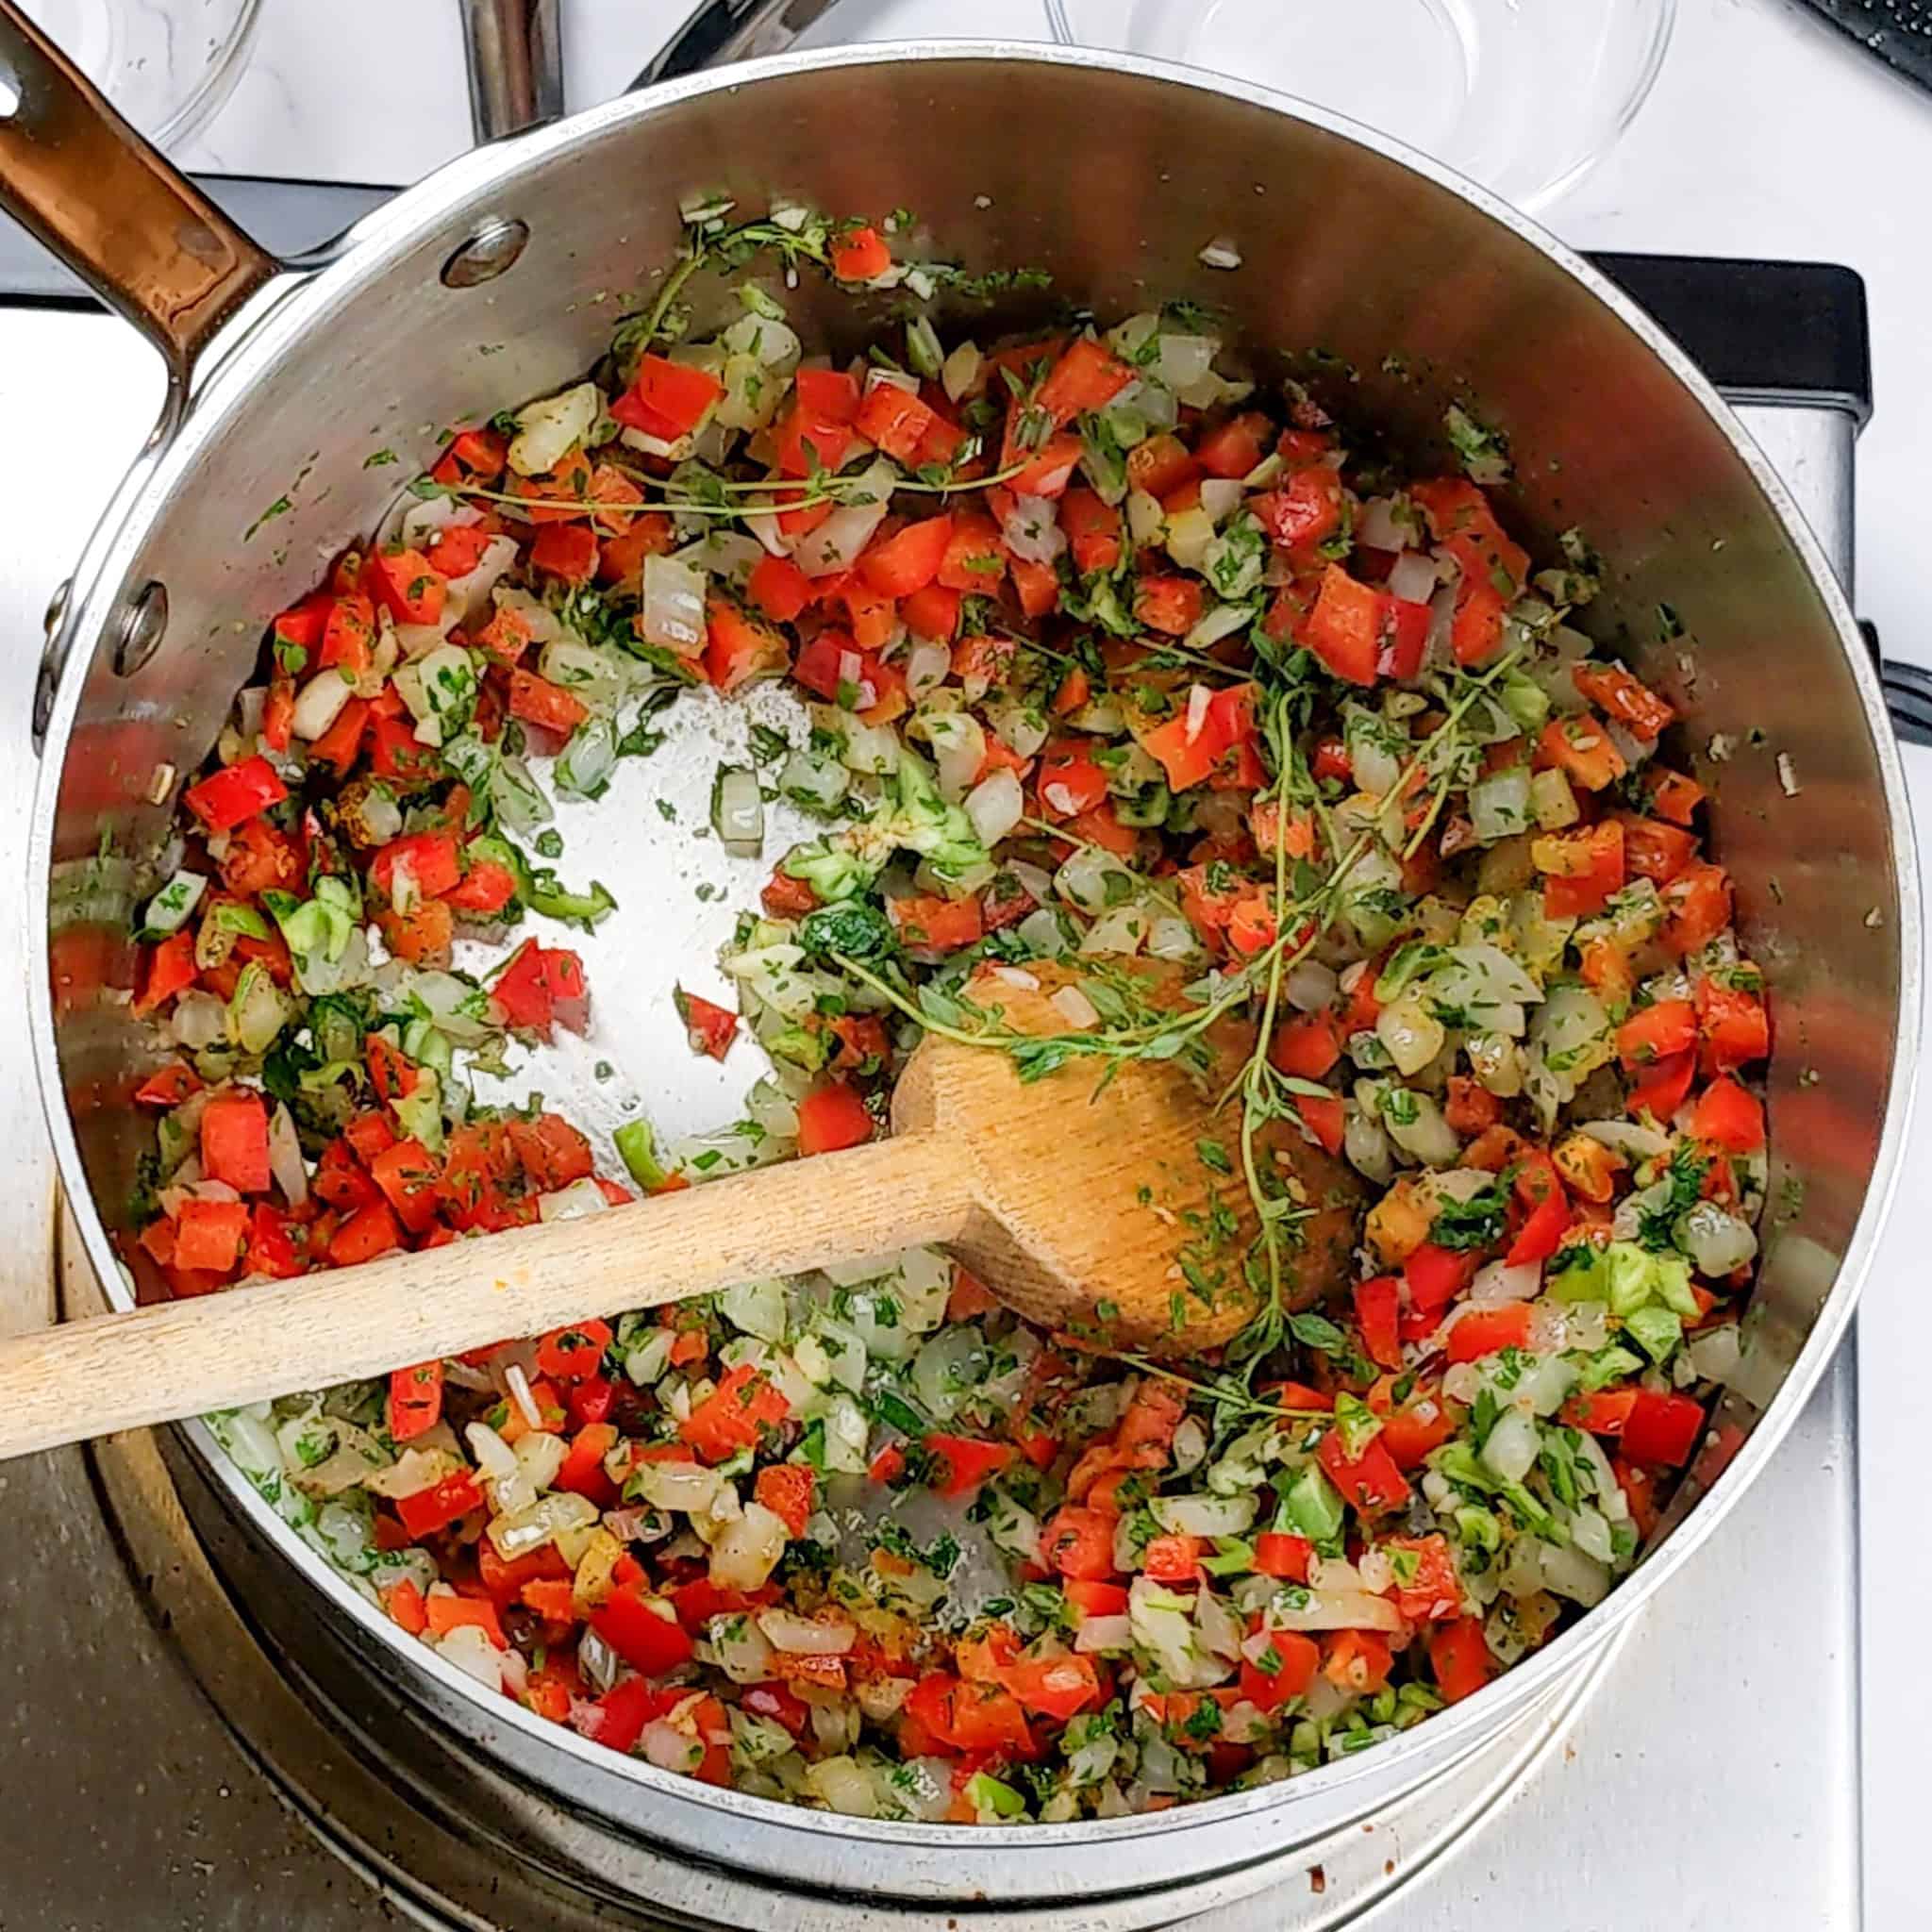
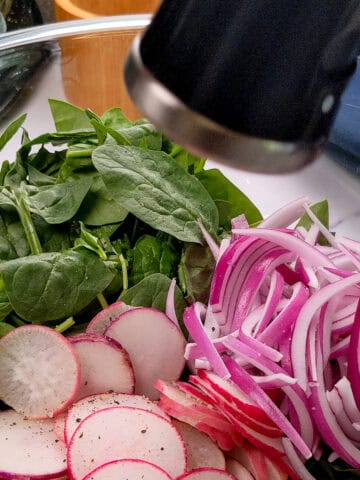
To make this gravy, roast carrots, celery, onions, the turkey backbone, and giblets on a sheet pan beneath the spatchcock turkey so the drippings flavor the vegetables.
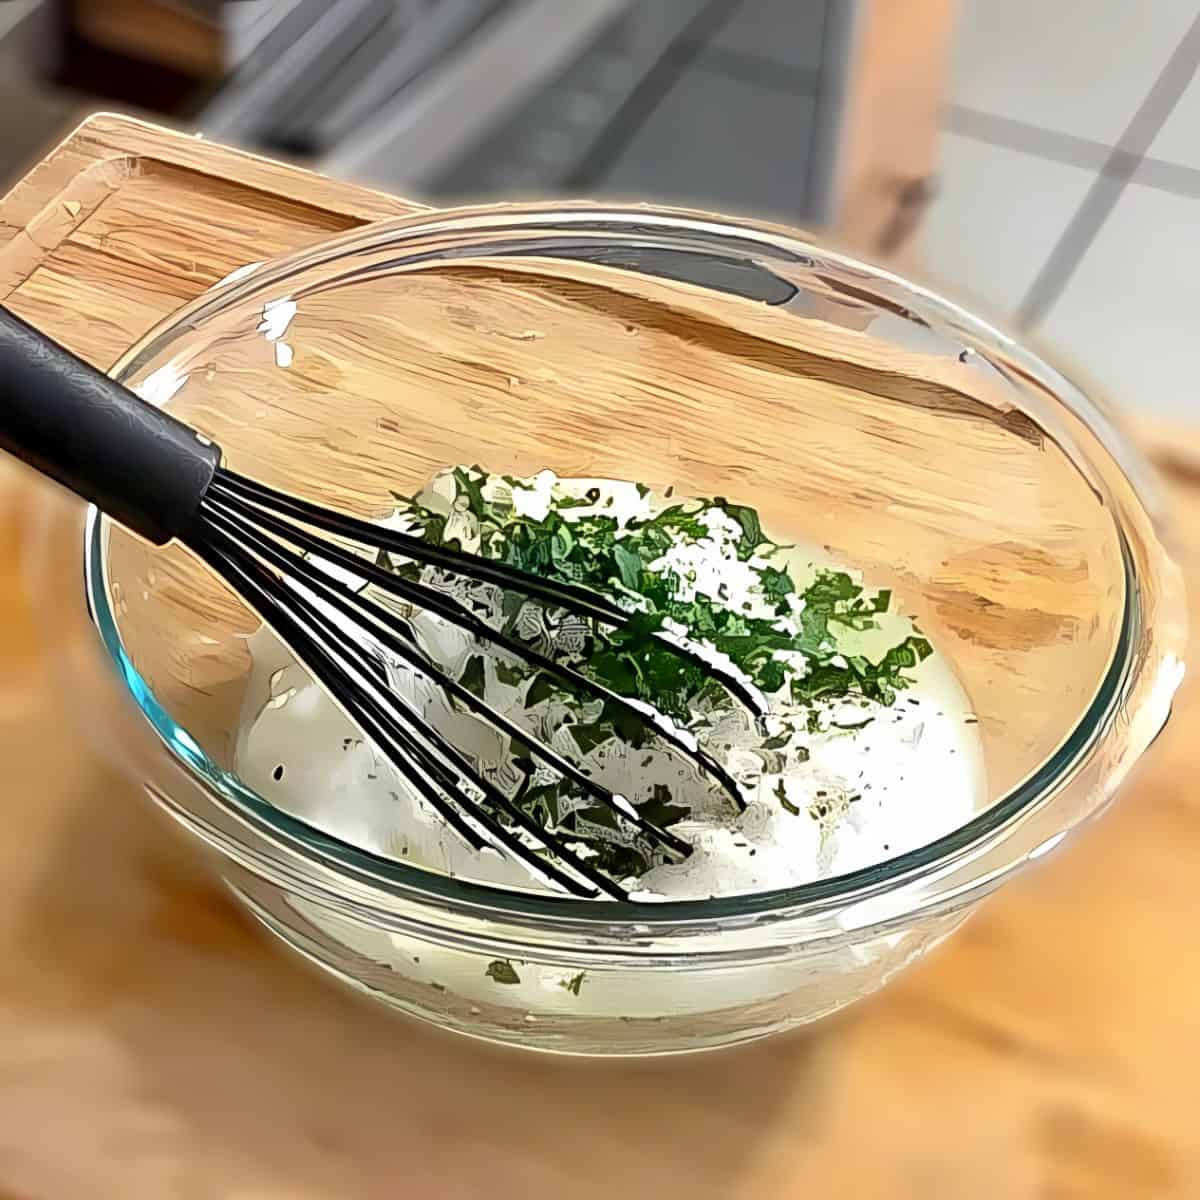
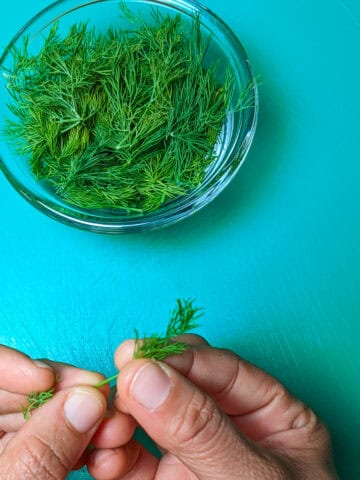
Transfer everything to a pot, scrape up the browned bits, and simmer with chicken broth, thyme, sage, epis, a Scotch bonnet pepper, and Creole seasoning for 20-30 minutes, then strain to create a rich stock. In a separate saucepan, whisk melted butter and flour into a roux, slowly add the strained stock, and cook until thickened.
Finish with black pepper, salt, and a splash of lemon juice, adjusting the seasoning to taste before serving warm with your roasted turkey.
Culinary Glossary
This section concisely defines key ingredients and techniques related to this post to enhance understanding and improve cooking skills.
Ingredients
- Mirepoix: A mix of chopped onions, carrots, and celery cooked together to build flavor in soups, gravies, and sauces.
- Backbone: The section of the turkey removed when spatchcocking; roasting it adds deep turkey flavor to stock and gravy.
- Giblets: The turkey's heart, liver, and gizzard, often included in the cavity, are excellent for making gravy or stock.
- Epis: A Haitian seasoning blend of herbs, aromatics, and peppers that adds savory depth to gravies and marinades.
- Creole Seasoning: A spice blend used for savory heat and color; often includes paprika, garlic powder, herbs, and black pepper.
Techniques
- Pan Drippings: The flavorful juices and browned bits left in the pan after roasting meat are used to enrich gravy.
- Deglaze: Adding liquid (like broth or wine) to a hot pan to loosen and dissolve browned bits for added flavor. Check out my YouTube video on deglazing.
- Roux: A cooked mixture of fat (such as butter) and flour used to thicken sauces and gravies.
- Simmer: Cooking liquid gently over low heat, just below a boil, to extract flavor without reducing too quickly.
- Strain: Pouring liquid through a fine mesh sieve to remove solids and create a smooth sauce or stock.
Equipment
Here's what you'll need to make this recipe with ease:
- Rimmed baking sheet: Holds the roasted backbone and mirepoix while catching turkey drippings for added flavor.
- Cutting board: Provides a stable surface for chopping vegetables and handling turkey parts.
- Sharp knife: Essential for slicing mirepoix vegetables and trimming turkey pieces safely and cleanly.
- Roasting pan with rack (from the main turkey recipe): Allows drippings to fall onto the mirepoix base while the turkey cooks above.
- Medium saucepan: Used to simmer the roasted turkey parts and vegetables into a rich stock.
- Fine mesh strainer: Strains out solids to create a silky, lump-free gravy.
- Whisk: Helps combine the roux with the stock and prevents clumping.
- Wooden spoon or spatula: Ideal for scraping up browned bits when deglazing the roasting pan.
- Heatproof bowl or measuring cup: Holds the strained stock or gravy during preparation and adjustments.
Kitchen Must-Haves Reviews
Find a collection of my reviews of kitchen equipment that I have purchased or recommend. Kitchen Must-Haves - Find other tools I use here.
My Review: The USA Pan Bakeware Half Sheet Baking Pan and Nonstick Cooling Rack Set is such a smart buy, it’s incredibly convenient to have both the pan and rack come together as a set. You never know when you’ll need the rack for roasting, cooling, or glazing, and having it perfectly fitted to the pan saves so much time and hassle. The pan itself is super sturdy with excellent heat distribution, and the nonstick rack makes cleanup a breeze. I’ve used it for everything from baking cookies to roasting vegetables and even draining fried foods. It’s one of those kitchen upgrades that just makes life easier.

My Review: I’ve used these Fotouzy Cutting Board Mats for a long time, and while they’re flexible, dishwasher-safe, and great for preventing cross-contamination with their color coding, I now prefer solid plastic cutting boards. They’re BPA-free, non-porous, and wide enough to protect my wooden board, especially handy when zesting or transferring ingredients. That said, they don’t stay perfectly steady, even with a damp towel underneath, so I give them a 4 out of 5. But I still use it a lot for quick meat and veggie preps and place them right in the dishwasher.
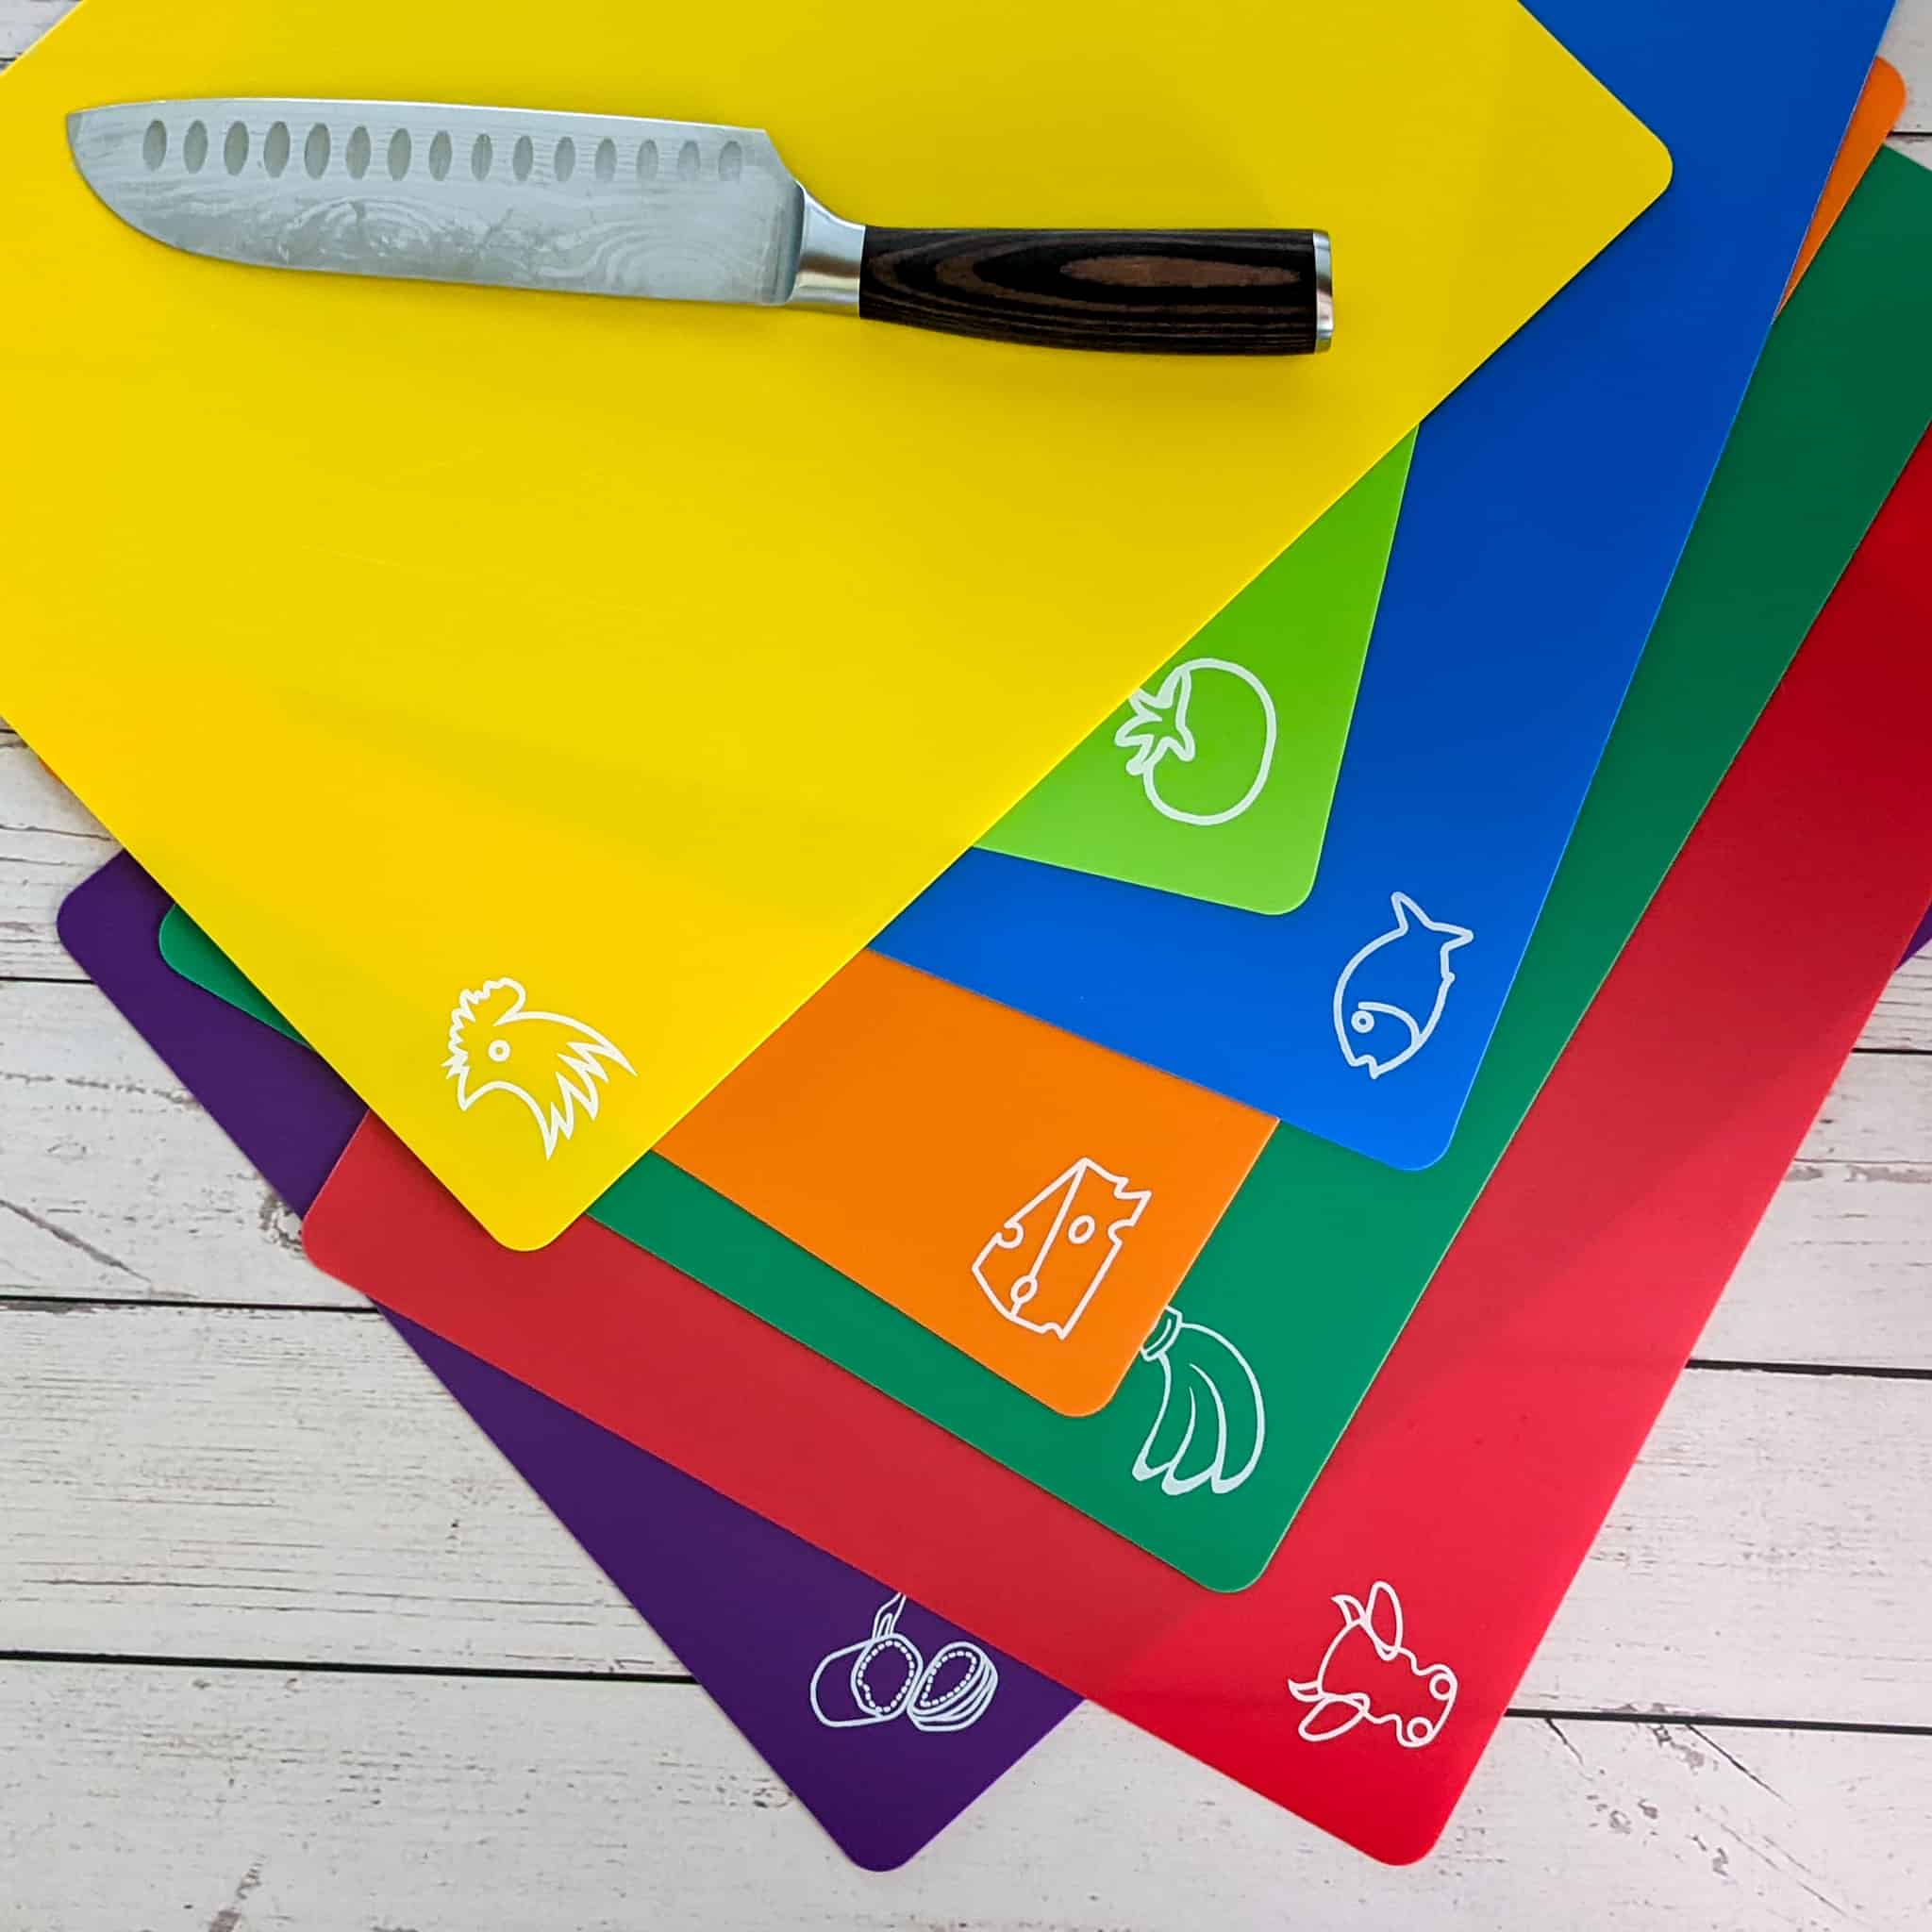
My Review: I absolutely love this Plastic Cutting Board Set of 4 with a Storage Stand! The color-coded boards are a lifesaver for preventing cross-contamination, especially when I’m switching between meats and veggies. The plastic is super sturdy, so I don’t have to worry about it flexing while I’m chopping. What really stands out for me is how easy they are to use after chopping. I slide everything straight into the pot, which keeps my kitchen clean and saves time. Cleanup is such a breeze, too; they go right into the dishwasher without any warping. Plus, the storage stand keeps everything neat and organized. These boards have made cooking so much easier and more enjoyable!

My Review: The PAUDIN 8-inch Chef Knife is an absolute standout in both sharpness and craftsmanship. It stays incredibly sharp through regular use, making prep work effortless. The high-carbon stainless steel blade showcases PAUDIN’s attention to detail, while the ergonomic handle provides a comfortable grip for extended use. Despite its premium feel, this knife is impressively affordable, offering exceptional quality without the high price tag. That’s why I’ve recently switched all my knives to PAUDIN—they truly deliver on durability, beauty, and performance. If you want a reliable, well-crafted knife at a great value, this is the one to get!

My Review: As a chef with over two decades of experience relying on All-Clad, their D5 Stainless 3-quart saucepan is a kitchen workhorse. The sturdy 3-ply construction ensures even heat distribution for perfect simmering, searing, and everything in between. It's a breeze to clean, goes effortlessly from stovetop to oven, and consistently delivers exceptional results for rice, soups, sauces, and more. This saucepan is a worthy investment if you're looking for durable, versatile, and American-made cookware.
My Review: First of all, I love the look of these Walfos silicone whisks. The sleek design instantly caught my eye. They’re sturdy, heat-resistant, and perfect for mixing in non-stick pans without scratching. A dependable, stylish set that gets regular use in my kitchen.
My Review: I finally used the ThermoWorks Square Dot®, and it's as great as my colleagues said. It's precise and easy to use, and America's Test Kitchen recommends it. ThermoWorks even provides helpful care and usage guides, so it earns a 5 out of 5 from me. The Square Dot® is perfect with dual temperature tracking and a clear display, making it easy to monitor both food and oven temperatures for accurate cooking.

Storage and Reheating
Learn how to properly store leftovers and reheat them so they stay fresh and flavorful. Learn more about Understanding Food Temperature Safety Zones: Cook, Store & Serve Safely.
Storage Instructions
- Refrigerator (3-4 days):
Allow the gravy to cool completely, then transfer it to an airtight container; it will thicken as it chills, which is completely normal. - Freezer (up to 3 months):
Freeze the gravy in small airtight containers or silicone cubes so you can thaw only what you need, and label the containers with the date.
Reheating Instructions
- Stovetop (best method):
Warm the gravy in a saucepan over low heat, adding a splash of broth or water to loosen the consistency as it reheats. - Microwave (quick method):
Heat in a microwave-safe bowl at 30-second intervals, stirring between each interval to prevent uneven heating. - If gravy separates:
Whisk vigorously over low heat or add a small pat of butter to help it come back together.
Substitutions
Find easy ingredient swaps to fit dietary needs or what you already have in your pantry.
Dairy-Free
- Unsalted Butter: Replace the butter in the roux with olive oil, avocado oil, or vegetable oil in equal amounts. Check out Heart Healthy, High Smoke Point Oils for Cooking.
- For a richer finish without dairy, whisk in a small amount of coconut oil or a ghee-style dairy-free butter at the end.
Gluten-Free
- All-Purpose Flour: Replace the all-purpose flour with a gluten-free flour blend (like sorghum flour), 1:1.
- For a grain-free option, use cornstarch (1 tablespoon cornstarch mixed with one tablespoon cold water per cup of stock).
- Arrowroot powder also works; whisk in a slurry at the end for a glossy, smooth finish.
Vegetarian
- Turkey: If you're not using turkey or turkey parts, here is the simplest vegetarian version of this gravy:
- Roast a mirepoix (carrots, celery, onions) with olive oil, thyme, sage, bay leaf, and Creole seasoning until golden brown.
- Simmer the roasted vegetables with vegetable stock, a spoonful of epis for flavor, and a splash of lemon juice.
- Strain, then create a roux with oil and gluten-free flour (or regular flour if not GF), whisk in the stock, and cook until thickened.
Convenience
- Chicken or turkey Broth: Substitute with water mixed with bouillon or seasoning salt.
- Fresh Thyme and sage: Replaced with ¼ teaspoon dried thyme, ⅛ teaspoon dried sage.
- Butter: Swap with any neutral oil, such as olive, canola, or vegetable. Check out Heart Healthy, High Smoke Point Oils for Cooking.
- Creole Seasoning: Replace with Cajun seasoning or seasoned salt.
- Fresh Lemon Juice: Substitute with bottled lemon juice or apple cider vinegar.
- Epis: Mimic with garlic powder, onion powder, dried herbs, and oil mixed into a paste.
- Mirepoix Vegetables: Replace with frozen mirepoix or just onions and celery.
- Flour: Replace with a cornstarch slurry or gluten-free flour.
- Turkey Parts: Substitute with chicken wings, chicken drumettes, or roasted vegetable scraps.
- Scotch Bonnet: Swap with red pepper flakes or cayenne pepper. Read Meet the Scotch Bonnet Pepper: Caribbean Heat with a Fruity Twist.
Change Heat Level - Modify the recipe's heat level to your liking and learn more about the Scoville Scale and Chili Pairings.
5 Cooking Tips
Cook's Notebook is your Cooking Tips Resource Guide. Become a better home cook with tips to help you cook more efficiently.
- Golden Brown equals Deep Flavor: Roast everything until deeply golden brown to build the richest flavor; pale vegetables make a weak gravy.
- Use the Fond: Scrape every browned bit from the pan when deglazing because these caramelized pieces hold the most turkey flavor.
- Gentle Cooking: Simmer gently, not rapidly, so the stock extracts flavor without reducing too fast or turning cloudy.
- For Smooth Sauce: Whisk the roux constantly to avoid lumps, and add the strained stock slowly for a smooth, velvety finish.
- Always Taste: Adjust seasoning at the end, especially salt and acidity, since different broths and drippings vary in sodium.
Fond? It's the layer of browned, flavorful bits that stick to the bottom of a pan after searing or roasting, and they dissolve into liquid to deepen sauces and gravies. Learn more terms in the culinary glossary section found in the table of contents.
Frequently Asked Questions
Here, you will find a list of common questions that I have answered. If you have questions, please write them in the comment section below.
Your stock-to-roux ratio may be off; simmer longer to reduce or whisk in a little more flour slurry to thicken.
Strain it through a fine mesh sieve or blend with an immersion blender to smooth it out.
Yes, you can make it 2-3 days ahead and reheat gently over low heat, adding broth as needed to loosen the texture.
Too much turkey fat remained in the drippings; skim off the top layer before making the roux or blend it in slowly.
Yes, but the flavor will be lighter; roasting the mirepoix longer will deepen the gravy's taste if using vegetable stock.
Fall Recipes
Looking for fall recipe ideas? Try these:
- Instant Pot Collard Greens with Smoked Turkey
- Pasta and Lentil Soup Recipe (Italian Style)
- Banana Berry Corn Muffins with Greek Yogurt
- Pan-Roasted Chicken and Andouille Sausage Gumbo

Cooking Tips and Tutorials
If you found this tutorial helpful, you'll love my Cook's Notebook collection. From knife skills and flavor bases to time-saving tricks and essential equipment guides, this section is packed with chef-tested lessons to help you cook with confidence.
- Internal Meat Temperature Chart (Printable Guide)
- How to Tell When Fish Is Done Cooking - Home Cooks Guide
- How to Store Fresh Herbs Properly to Last Longer
- Spring Seasonal Produce Guide: What to Cook Fresh This Season

📖 Recipe

Spatchcock Turkey Backbone Gravy (Mirepoix & Haitian Spices)
Ingredients
For the Mirepoix (Base)
- 2 cups carrots sliced
- 2 cups celery sliced
- 2 cups onions sliced
- 1 Turkey backbone and any giblets (neck, liver, etc., if provided)
- 1 sprig fresh thyme or ¼ dried thyme
- 1 sprig fresh sage or ⅛ dried sage
- 1 whole Scotch bonnet pepper pierced for mild heat or finely chopped for spicier gravy
- 1 tablespoons olive oil
For the Gravy:
- 3 tablespoons Haitian epis seasoning
- 1 tablespoons Creole seasoning or adobo seasoning
- 3 cups low-sodium chicken broth
- 2 tablespoons unsalted butter
- 2 tablespoons all-purpose flour
- ½ teaspoon ground black pepper
- ¼ cup dry white wine or apple cider vinegar (optional, for deglazing)
- 1 teaspoon lemon juice optional, for brightness
Equipment
- Wooden Spoon or Saptula
Instructions
- Save Time in the Kitchen: Read the instructions thoroughly, then gather and prep all your ingredients before cooking! Learn Prepping Tips.
- Prepare the Mirepoix Base: Arrange the carrots, celery, and onions on the sheet pan beneath the turkey rack before roasting the turkey or on a seperate sheet pan. Place the turkey backbone and giblets (if included) on top of the mirepoix. Roast alongside the spatchcock turkey, allowing the turkey drippings to flavor the vegetables or add the drippings to the sheet afterwards.
- Extract the Flavor: After roasting, transfer the roasted backbone, giblets, turkey drippins and vegetables to a large pot or saucepan. Scrape any browned bits from the sheet pan into the pot (deglaze with wine or a splash of broth if needed).
- Simmer the Stock: Add the chicken broth, thyme, sage, epis seasoning, Scotch bonnet pepper, and Creole or adobo seasoning to the pot. Bring to a boil, then reduce the heat to low and simmer for 20-30 minutes to extract flavor from the turkey and vegetables.
- Strain the Stock: Strain the liquid through a fine mesh sieve into a clean saucepan, discarding the solids. You should have about 2-3 cups of rich turkey stock.
- Make the Gravy: In a separate saucepan, melt the butter over medium heat. Whisk in the flour and cook for 1-2 minutes to form a roux. Gradually add the strained turkey stock to the roux, whisking constantly to prevent lumps. Cook until the gravy thickens to your desired consistency, about 5 minutes.
- Finish and Season: Stir in black pepper and adjust seasoning with salt, lemon juice, or additional Creole seasoning, if needed. For extra heat, mash and strain the Scotch bonnet into the gravy. Then add salt if needed (salt was not mentioned in the ingredients due to the other seasonings that may contain salt).
- Serve: Pour the gravy into a serving dish and serve warm alongside the roasted spatchcock turkey.
Notes
- Roast the backbone and mirepoix until golden brown for the deepest flavor.
- Strain the stock well for a smooth, lump-free gravy.
- Adjust thickness by adding more stock to thin or simmering longer to thicken.
- Skim excess fat from the drippings before making the roux if you prefer a lighter gravy.
- This gravy pairs perfectly with spatchcocked turkey but also works with roast chicken.
- Also check out Haitian Style Spatchcock Turkey (Seasoned with Epis).
Nutrition
Subscribe to the YouTube Channel
SUBSCRIBE: 👈To my YouTube Channel to Get Notifications of New Videos.


Chef Maika Frederic-Liebman
Chef and Educator
Haitian-American chef and educator Maika Frederic blends bold flavors with approachable recipes. With a background in professional kitchens, classrooms, and children's therapy, she brings a thoughtful, inclusive touch to every dish as a trained chef, former teacher, and technician. Through her platform, Just Maika Cooking, she shares diverse meals and practical tips to empower home cooks of all ages and levels.
Have a Comment or Question?
If you have a question or comment about this post, please post it below. You will definitely get a quick response. It also helps our other readers to stay informed. Thanks!


Leave a Reply